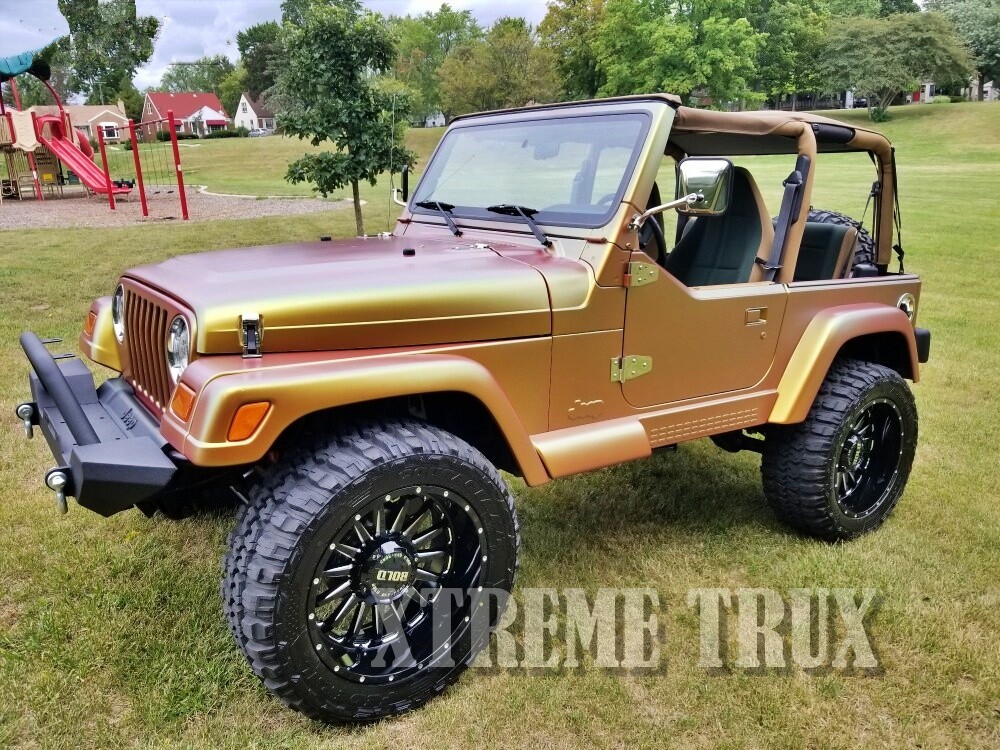
Painting your Jeep Wrangler fender flares is a smart way to refresh your vehicle’s look and protect parts from rust or sun damage. Many Jeep owners try this DIY project to save money and add a custom touch. However, painting fender flares requires careful steps and the right materials. Missing a step or rushing can lead to peeling, uneven coverage, or a finish that fades quickly. With the right approach, your Jeep’s fender flares can look as good as new and withstand tough weather or off-road conditions.
What You Need Before Starting
Getting ready is half the job. You need to gather supplies and set up a clean workspace. Here’s what you’ll need:
- Fender flare cleaner (mild detergent or automotive cleaner)
- Sandpaper (grit 320–400)
- Masking tape
- Plastic primer
- Automotive paint (color-matched for Jeep)
- Clear coat
- Microfiber cloths
- Disposable gloves
- Drop cloths or plastic sheeting
Check your paint type. Most Jeep fender flares are plastic, so you must use a plastic-friendly primer and paint. Buying the wrong type is a common mistake. Also, check the weather forecast: painting outside in humidity or wind can ruin the finish.
Step-by-step Painting Process
Painting Jeep Wrangler fender flares isn’t difficult, but each step matters. Here’s a practical guide:
1. Remove Fender Flares
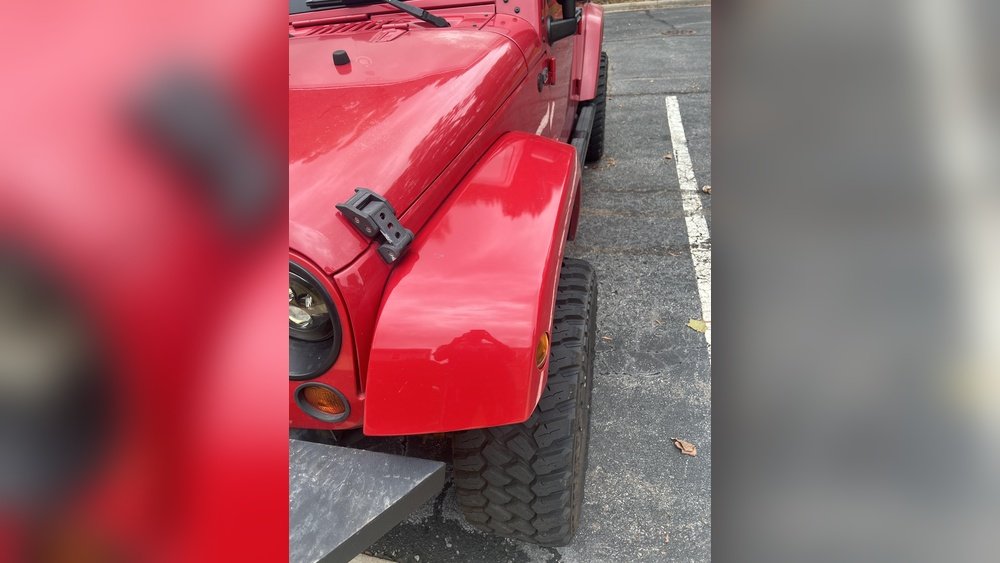
While you can paint them attached, removing the fender flares is safer and easier. Use a screwdriver or socket wrench. Be gentle—plastic clips break easily. Place removed flares on a clean, flat surface.
2. Clean Thoroughly
Wash the fender flares with mild detergent and water. Remove dirt, grease, and old wax. Dry with a microfiber cloth. Even small dust particles can cause bumps in the paint.
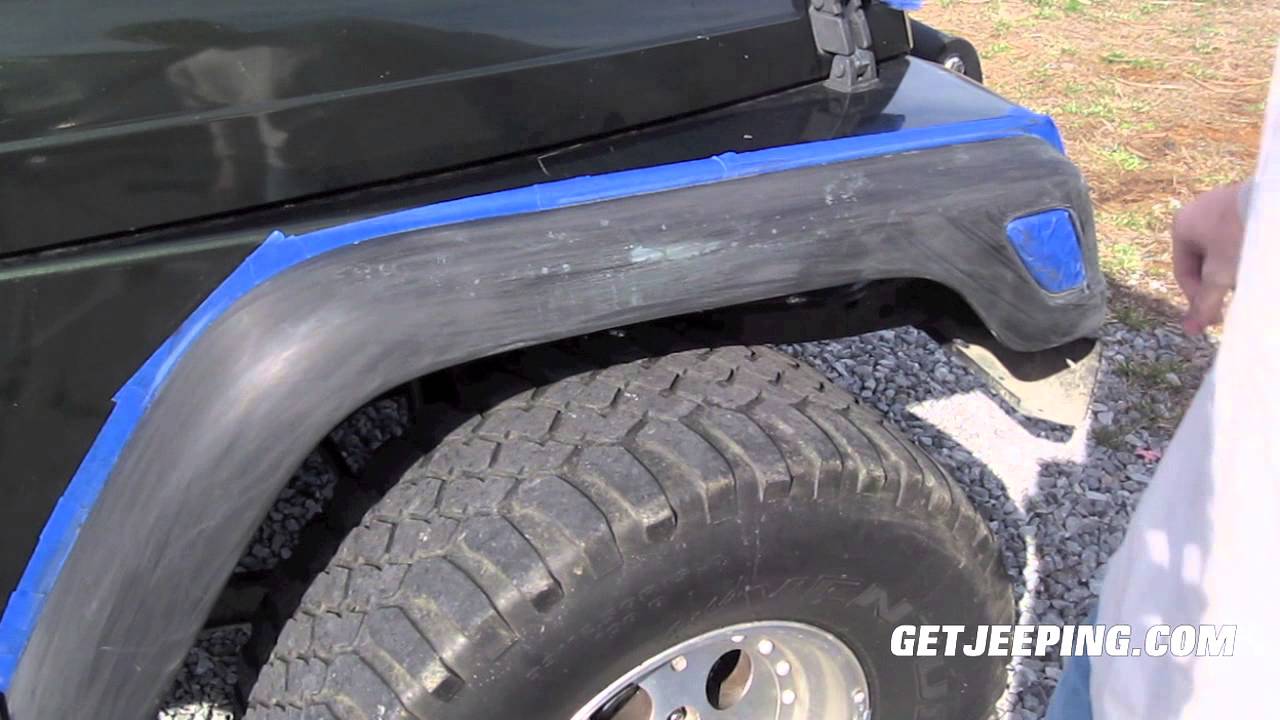
3. Sand The Surface
Use 320–400 grit sandpaper to lightly scuff the surface. Sanding helps paint stick better. Focus on uneven areas or scratches. After sanding, wipe again with a damp cloth.
4. Mask Off Areas
If you left the flares on the Jeep, cover surrounding areas with masking tape and plastic sheeting. This avoids overspray. If you removed them, mask only the mounting points.
5. Apply Primer
Choose a plastic primer. Spray a thin, even coat from 8–10 inches away. Wait 10–15 minutes, then add another coat. Let the primer dry for at least 1 hour. Skipping primer is the most common beginner mistake—it causes paint to flake.
6. Paint The Flares
Shake the paint can for 1–2 minutes. Spray the first coat lightly. Wait 15–20 minutes, then apply a second coat. Add a third coat if needed. For best results, keep a steady hand and avoid thick layers, which may drip.
7. Add Clear Coat
After the paint dries (about 1 hour), spray on a clear coat. This protects the paint and adds shine. Apply 2–3 coats, waiting 10–15 minutes between each.
8. Reinstall Fender Flares
Let the clear coat cure for at least 24 hours. When dry, reinstall the fender flares using the original hardware.
Comparing Paint Types For Fender Flares
Choosing the right paint is crucial. Here’s a quick comparison of common options:
| Paint Type | Durability | UV Resistance | Cost (avg) |
|---|---|---|---|
| Acrylic Spray | Medium | Moderate | $8–$12/can |
| Automotive Enamel | High | Strong | $15–$25/can |
| Bedliner Spray | Very High | Excellent | $18–$30/can |
Most Jeep owners prefer bedliner spray for its rugged look and top protection. But enamel paint offers a smooth, factory-like finish.
How Long Does The Paint Last?
Paint longevity depends on the paint type, prep work, and climate. Here’s an estimate:
| Paint Type | Average Lifespan | Typical Issues |
|---|---|---|
| Acrylic Spray | 1–2 years | Fading, minor chips |
| Automotive Enamel | 2–4 years | Scratches, UV fading |
| Bedliner Spray | 4–6 years | Rare peeling |
If you drive off-road or in harsh weather, use a durable paint. Also, regular cleaning and waxing can extend paint life.

Common Mistakes And Tips
Many beginners overlook key details. Here are two insights:
- Skipping primer is the top mistake. Primer helps paint stick and prevents peeling.
- Painting in bad weather—humidity or wind causes bubbles or dust to stick.
For best results, always work in a dry, dust-free space. Wear gloves to avoid fingerprints. Allow each layer to dry fully. Rushing between coats creates uneven spots and weak paint.
Real-world Example
A Jeep owner in Colorado painted his fender flares using bedliner spray. He followed every step, worked in a garage, and let each coat dry for an hour. After two winters and frequent off-road trips, the paint still looked new—no peeling, no fading.
Another owner skipped the primer. His paint started flaking after 6 months, especially near the edges. This shows how preparation and patience make a big difference.
For more tips on painting plastic parts, check Autoblog.
Frequently Asked Questions
How Many Coats Of Paint Should I Use?
Most experts recommend 2–3 coats for even coverage. More than 3 can lead to drips or a heavy finish.
Can I Paint Fender Flares Without Removing Them?
Yes, but it’s harder. You must use masking tape carefully to protect the Jeep’s body. Removing the flares gives better access and prevents overspray.
What Is The Best Paint For Jeep Wrangler Fender Flares?
Bedliner spray is very popular for durability and a rugged look. Automotive enamel is good if you want a smooth, factory finish.
How Long Should I Wait Between Coats?
Wait 15–20 minutes between paint coats and at least 1 hour before applying clear coat. Let the clear coat cure for 24 hours before reinstalling.
Will Painted Fender Flares Chip Easily?
If you use a plastic primer and follow drying times, the paint should resist chips. Off-roading or harsh weather can shorten lifespan, so choose durable paint and maintain regularly.
Painting Jeep Wrangler fender flares is a practical DIY project that can transform your vehicle’s look. With careful prep, the right materials, and patience, you’ll achieve a finish that lasts for years. Always check paint compatibility and weather conditions before starting.
When done right, your Jeep’s fender flares will stand out—and stay protected—on every adventure.


