Building a cardboard Jeep is a fun project for kids and adults. It’s a creative way to spend time, recycle old boxes, and make a unique toy. Whether you want a Jeep for pretend play or a school project, cardboard is easy to work with and safe.
You don’t need special skills—just patience and a few household tools. This guide will help you make a strong, realistic-looking cardboard Jeep step by step.
What You’ll Need
Before you start, collect all the materials. This makes the process smoother and faster. Here’s a simple list:
- Large cardboard boxes (appliance or moving boxes work best)
- Box cutter or scissors
- Hot glue gun and extra glue sticks
- Packing tape (strong tape for extra support)
- Ruler and pencil
- Acrylic paint and brushes
- Black marker
- Disposable cups or small paper plates (for wheels)
- Plastic bottle caps (optional, for headlights)
- Craft knife (for detail work)
A big workspace is helpful. Cover the floor with newspaper to make clean-up easier.
Planning The Cardboard Jeep
It’s smart to plan your Jeep before cutting anything. Decide how large you want it. For a child to sit inside, you’ll need bigger boxes. For a model, smaller boxes are fine.
Draw a rough sketch of the Jeep’s shape—body, roof, hood, and wheels. This helps you cut the right pieces and avoid mistakes. Most Jeeps have a boxy look, which makes them easier to build from cardboard.
Example Dimensions For A Sit-in Jeep
If you want a child to fit inside, use these sample dimensions:
- Body: 36 inches long, 20 inches wide, 18 inches tall
- Wheels: 8-10 inches in diameter
Adjust these based on your cardboard size.
Building The Jeep Body
- Cut the main body: Use a large box. Mark and cut it to your chosen size.
- Create the hood: Cut a rectangular piece and attach it to the front with glue and tape.
- Add sides: For the sides, cut two rectangles. Glue and tape them securely to the main body.
- Make the windshield: Cut an angled piece and attach it on top of the hood. For extra detail, cut out “windows” or draw them with a marker.
Strengthening Tips
- Glue flaps inside corners for extra support.
- Add double layers to areas where kids might lean or sit.
- Reinforce the floor with another piece of cardboard.
Here’s a quick comparison of ways to strengthen your build:
| Method | Strength | Best For |
|---|---|---|
| Single Layer | Low | Display models |
| Double Layer | Medium | Light play |
| Corner Flaps | High | Ride-in toys |
Making The Wheels And Details
The wheels give your Jeep character. Use these steps:
- Draw circles on cardboard using a plate as a guide.
- Cut out four wheels and paint them black.
- Attach wheels: Glue disposable cups behind each wheel. Glue the cups to the Jeep body. This lifts the wheels off the ground, making them more realistic.
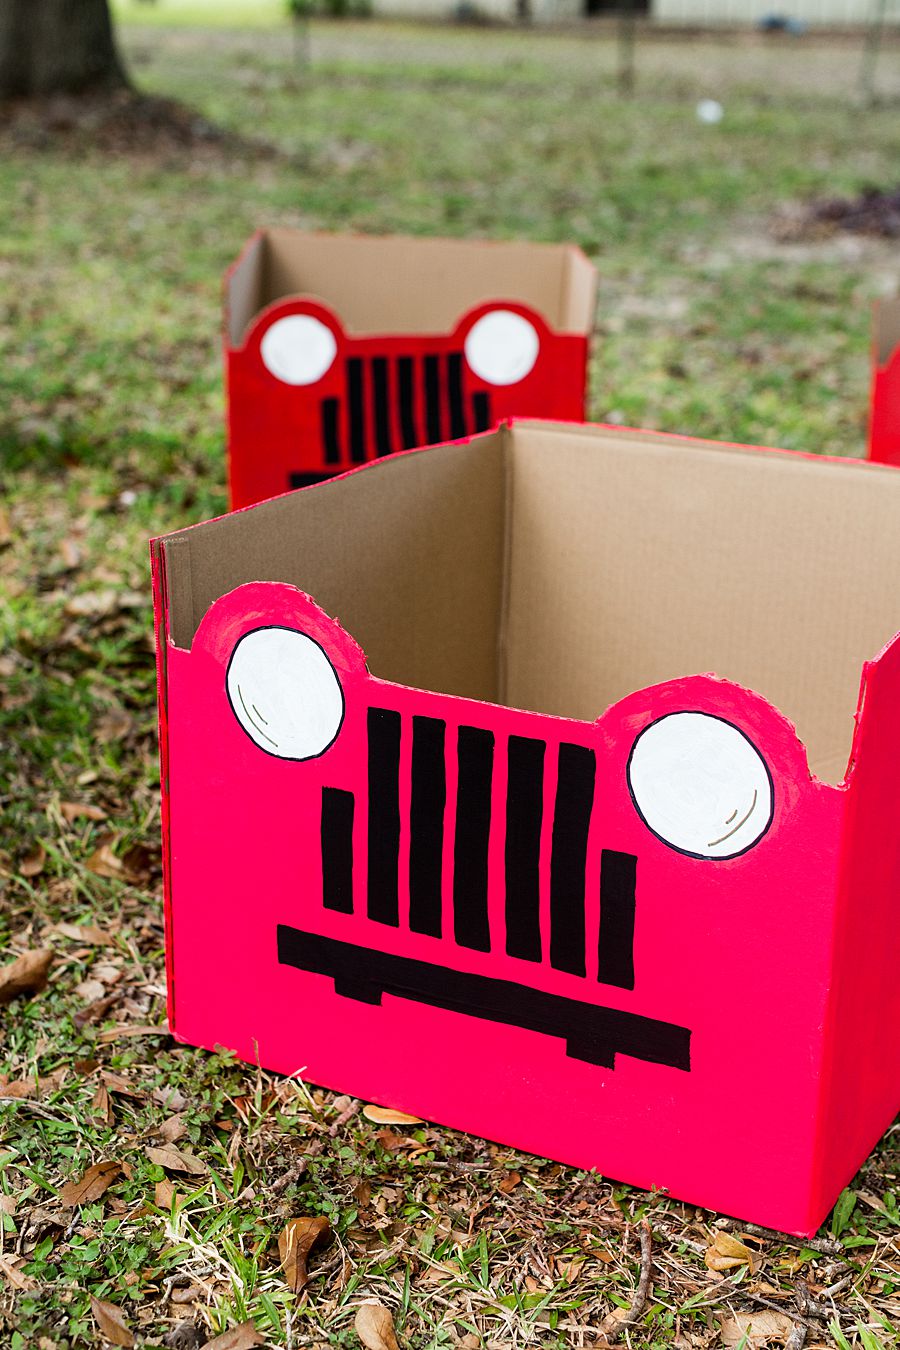
- Add details: Use bottle caps for headlights. Draw the Jeep’s grille and doors with black marker.
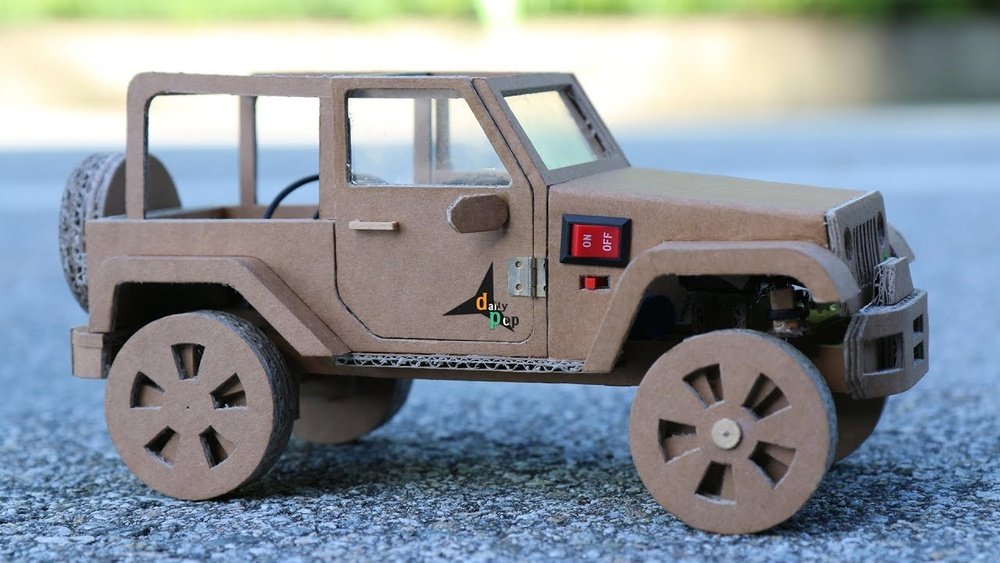
You can also add mirrors or a spare tire using extra cardboard. Small details make the Jeep look more real.
| Detail | Material | How to Attach |
|---|---|---|
| Headlights | Bottle caps | Hot glue |
| Mirrors | Small box pieces | Glue or tape |
| Spare Tire | Extra wheel | Back of Jeep |

Painting And Finishing Touches
Painting brings your cardboard Jeep to life. Choose classic Jeep colors like green, blue, or red.
- Paint the body: Use acrylic paint for bright colors. Let it dry between coats.
- Add details: Paint the wheels, windows, and grille. Use a black marker for lines and logos.
- Let everything dry: This prevents smudges and makes the Jeep last longer.
For extra shine, add a coat of clear varnish spray. Make sure to do this outside or in a well-ventilated area.
Common Mistakes And How To Avoid Them
Even careful builders can make mistakes. Here are some common problems and how to fix them:
- Weak structure: Always double-layer cardboard for parts that take weight. Flimsy Jeeps collapse quickly.
- Crooked wheels: Use a ruler or plate to make circles even. Mark wheel positions before gluing.
- Paint soaking in: If paint soaks into the cardboard, use a primer or white base coat first.
- Loose parts: Use enough hot glue and tape. Press pieces together firmly for at least 30 seconds.
These small steps make your project stronger and better looking.

Extra Tips For A Realistic Cardboard Jeep
- Add a steering wheel: Cut a circle from cardboard and glue it inside.
- Make working doors: Cut out door shapes and attach with tape “hinges.”
- Personalize your Jeep: Add a license plate with your name or stickers.
If you want more design ideas, websites like wikiHow have visual guides.
Frequently Asked Questions
How Long Does It Take To Build A Cardboard Jeep?
Most projects take 2-4 hours for a simple Jeep. If you add lots of details or paint, plan for a whole afternoon.
What Type Of Cardboard Is Best?
Corrugated cardboard from appliance boxes is strongest. Avoid thin or single-layer boxes—they bend too easily.
Can The Wheels Turn Or Roll?
If you want moving wheels, use wooden dowels or pencils as axles. Most cardboard Jeeps have fixed wheels for safety.
Is It Safe For Kids To Sit Inside?
Yes, if you double-layer the floor and reinforce all sides. Never let kids stand or jump inside—it’s still cardboard!
How Can I Waterproof My Cardboard Jeep?
You can spray it with clear acrylic sealer or cover it with packing tape. Still, keep it indoors to prevent damage.
Building a cardboard Jeep is more than just crafting—it’s about creativity and teamwork. The joy comes from making something unique with your hands. With the right materials, careful planning, and a bit of patience, you can create a Jeep that stands out.
Remember, the small details and extra touches make your project special. Enjoy the process and don’t be afraid to add your own ideas!