If you own a Jeep Cherokee XJ, you might be thinking about lifting it. A lift gives your XJ a tougher look, more ground clearance, and space for bigger tires. But lifting a Jeep is not just about looks—it’s also about performance on and off the road. Doing it right can make your ride more fun and safe. This guide walks you through the process, step by step, with practical advice and tips most beginners miss.
Why Lift A Jeep Cherokee Xj?
People lift their XJs for a few main reasons:
- To fit larger tires for better off-road grip.
- To improve ground clearance and avoid rocks or obstacles.
- To enhance the vehicle’s appearance.
But it’s not just about raising the body. Lifting changes how your Jeep handles.
You’ll need to think about safety, ride comfort, and how the lift will affect other parts.
Choosing The Right Lift Kit
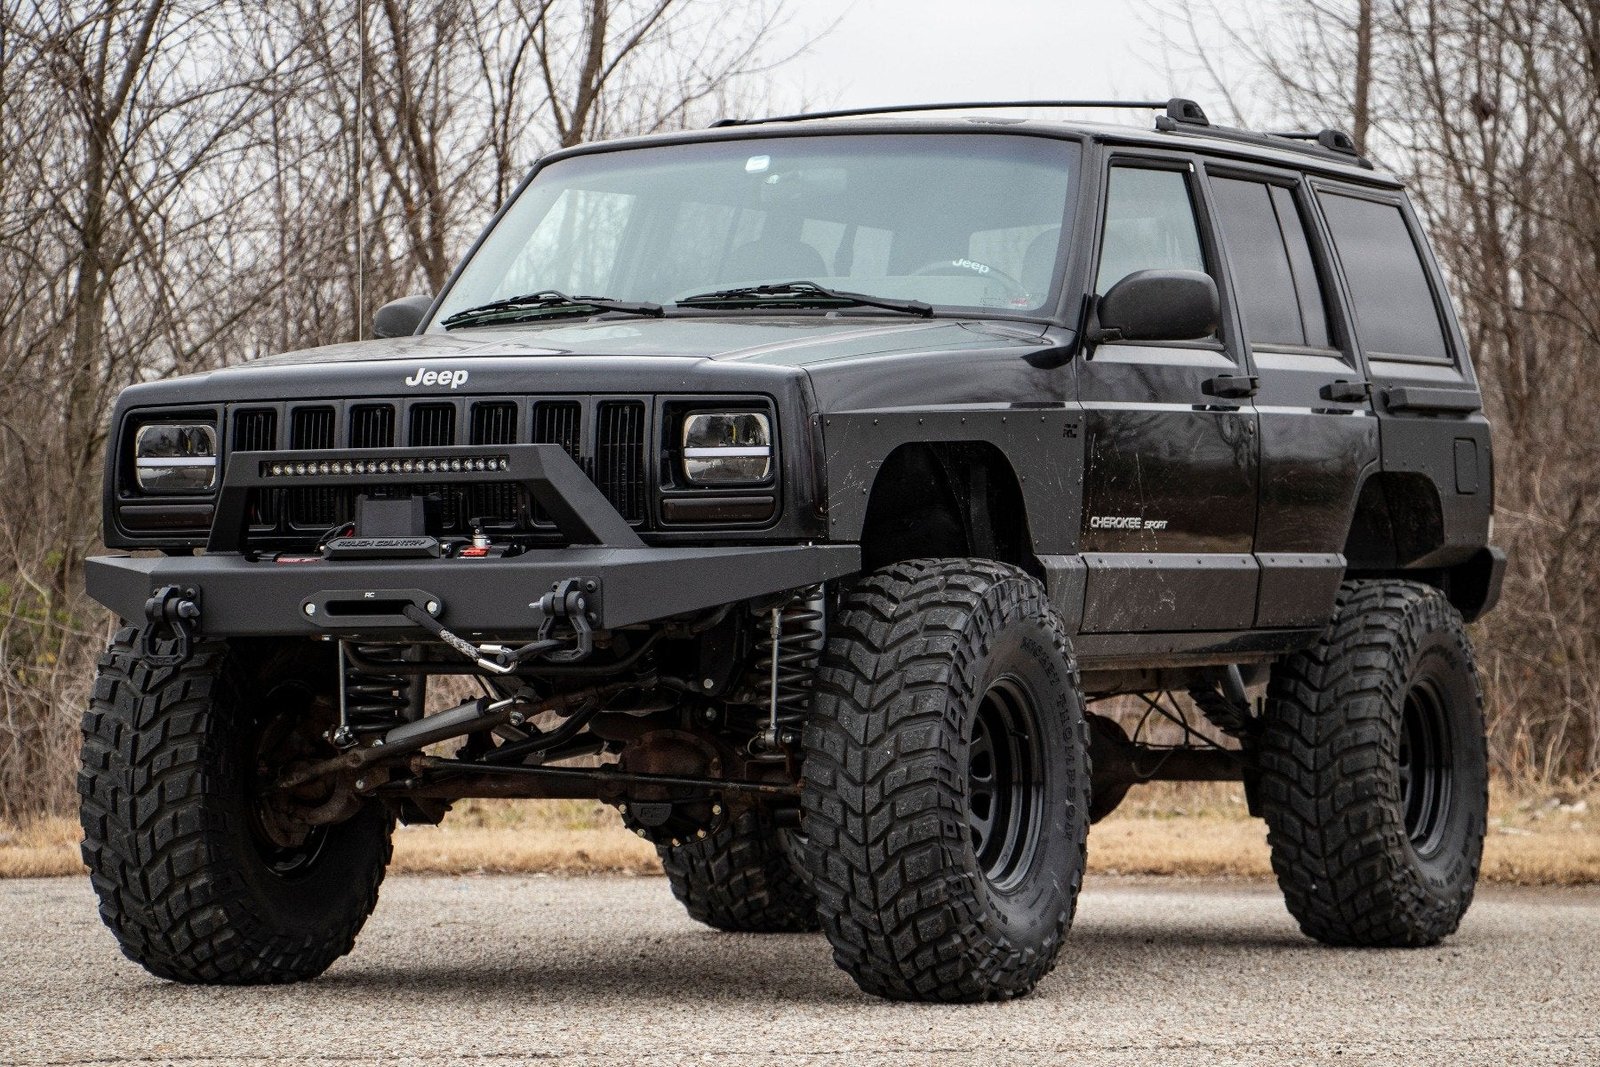
Before you start, pick the right lift kit. Kits usually range from 1.5 inches to over 6 inches. Here’s a simple comparison of common lift heights:
| Lift Height | Max Tire Size | Best For |
|---|---|---|
| 2 inches | 30 inches | Daily driving, light trails |
| 3-3.5 inches | 31-32 inches | Mixed use, moderate off-roading |
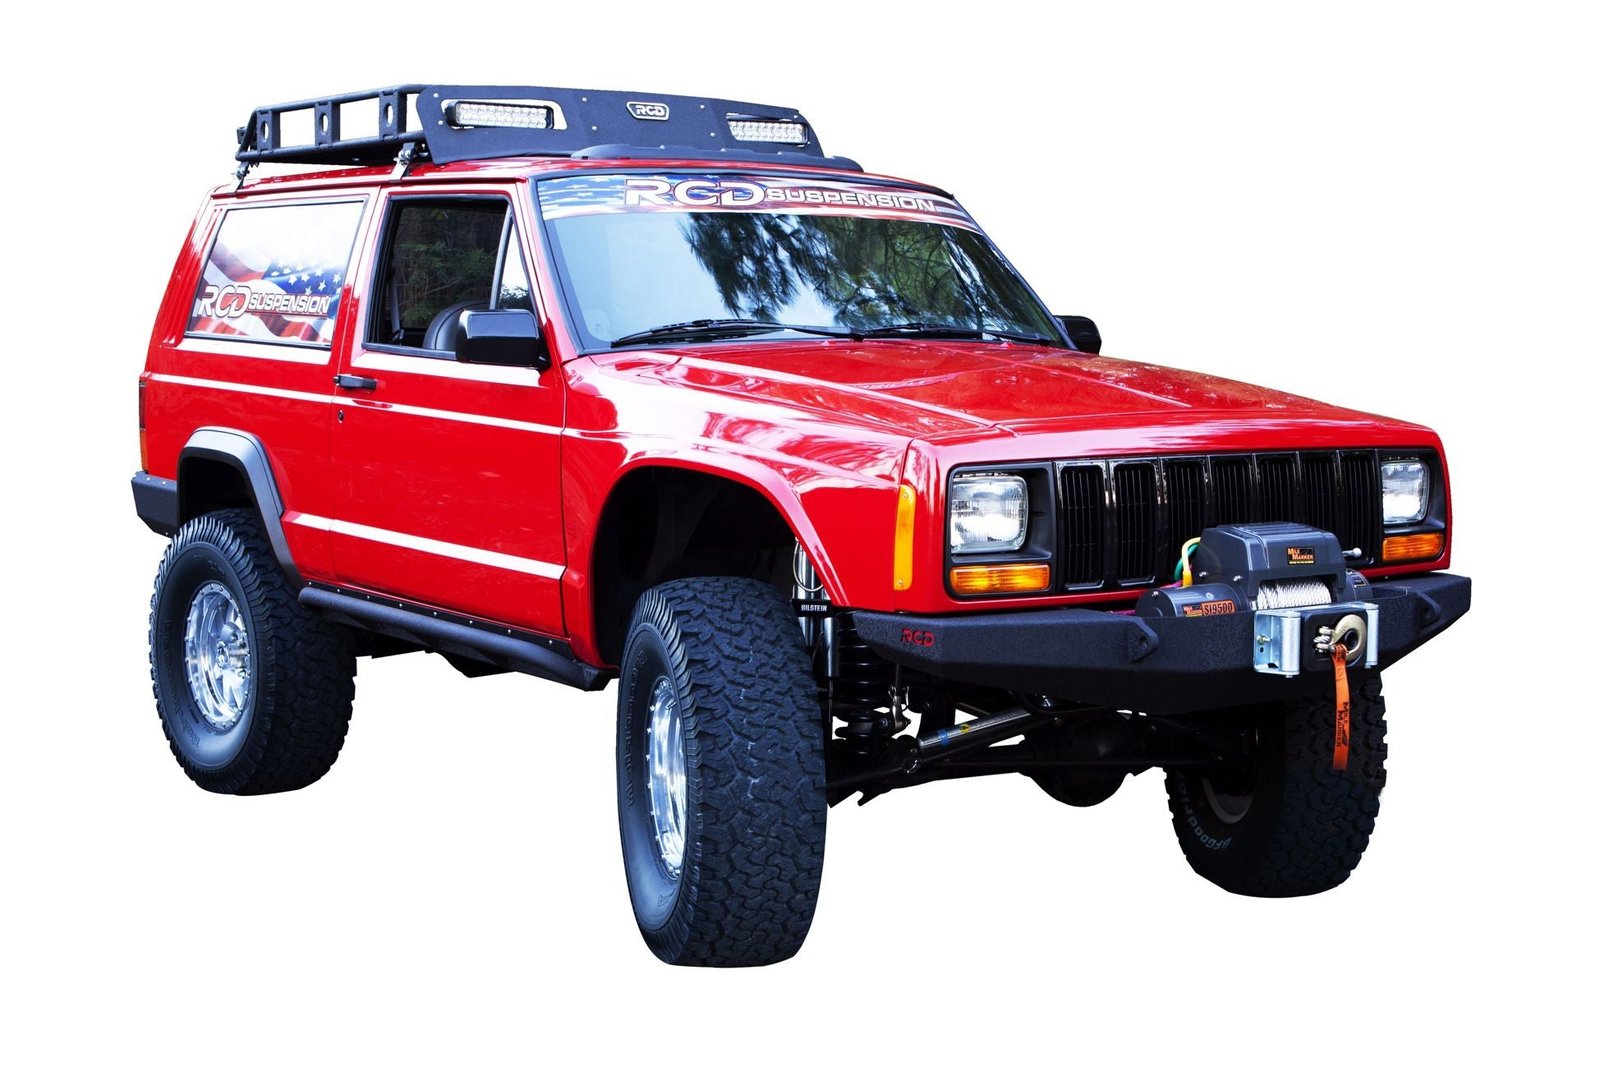
| 4.5 inches+ | 33 inches+ | Serious off-roading |
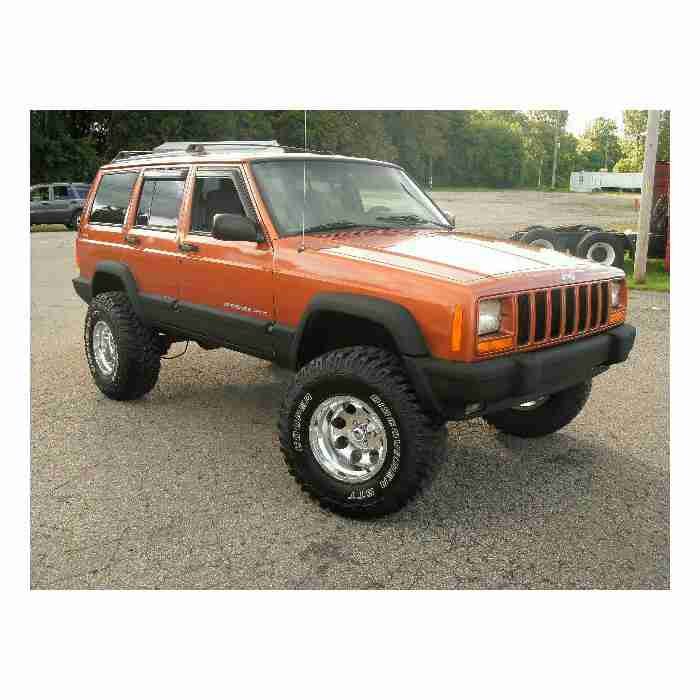
A 3-inch lift is popular because it balances off-road ability with on-road comfort. Be aware: anything above 3 inches often needs extra parts like longer brake lines or adjustable track bars.
Tools And Parts Needed
Gather everything before you begin. Here are the basics:
- Lift kit (springs, shackles, hardware)
- Jack and jack stands
- Lug wrench, socket set, and wrenches
- Torque wrench
- WD-40 or similar spray
- Safety glasses and gloves
If your kit is 3 inches or higher, you may need:
- Drop pitman arm
- Extended sway bar links
- Longer shocks
- Driveline spacers
Double-check your kit’s instructions; some have unique pieces.
Step-by-step: How To Lift Your Xj
Raising a Jeep Cherokee XJ is a big job, but you can do it with patience and careful work. Here’s how:
1. Preparation
Park your Jeep on a flat surface. Set the parking brake and block the wheels. Spray all bolts you’ll loosen with WD-40 a day in advance. This helps with old, rusty bolts—a step many skip and regret.
2. Jack Up The Jeep
Loosen the lug nuts on all wheels. Use the jack to lift the vehicle and place it safely on jack stands.
Never trust only the jack; always use stands for safety.
3. Remove Wheels And Old Suspension
Take off the wheels. Next, remove the shocks, sway bar links, and track bars. For the front, you’ll replace coil springs; for the rear, you’ll swap out leaf springs or add lift blocks, depending on your kit.
4. Install New Components
Install the new springs or spacers according to your lift kit instructions. Make sure to follow the order in the kit some parts must be tightened after the Jeep is back on its wheels.
If your kit includes new control arms or track bars, install them now. These help keep your Jeep’s wheels centered after the lift.
5. Reinstall Everything And Check
Put the wheels back on, lower the Jeep, and torque all bolts to the manufacturer’s specs. Double-check every nut and bolt.
6. Alignment And Final Adjustments
After lifting, your steering and suspension will be out of alignment. Drive slowly to a shop for a professional alignment. Skipping this step causes uneven tire wear and poor handling.
If you notice vibrations, you may need to adjust your driveshaft or install a transfer case drop. This is common on lifts over 3 inches.
Key Tips Most Beginners Miss
- Reuse factory bolts if they’re in good condition, but always replace worn or rusted ones.
- Grease all suspension bushings during installation. This prevents squeaks and extends part life.
- If you’re installing extended brake lines, bleed the brakes afterward to remove air.
- Take photos before removing parts. These will help if you forget how something fits.
Common Mistakes To Avoid
- Forgetting about driveline angles. Lifts change the angle of your driveshaft. Ignoring this can lead to vibrations or even damage.
- Skipping torque specs. Tighten bolts to the correct value—too loose or too tight can be dangerous.
- Not checking tire clearance. Test fit your new tires before final assembly.
- Neglecting alignment. Driving without a proper alignment can ruin your tires quickly.
Cost Considerations
Lifting a Jeep Cherokee XJ can cost from $300 to $2,000+ depending on the kit and whether you install it yourself. A basic 2-inch kit is much cheaper than a full 4.5-inch kit with all the upgrades.
Here’s a quick price comparison:
| Lift Height | DIY Cost | Shop Install Cost |
|---|---|---|
| 2 inches | $300 – $500 | $700 – $1,000 |
| 3-4.5 inches | $600 – $1,200 | $1,200 – $2,000 |
Remember, you’ll also need to budget for an alignment and possibly new tires.
Final Thoughts
Lifting your Jeep Cherokee XJ is a rewarding project that can improve both looks and performance. Plan your lift based on how you use your Jeep. Take your time, follow the instructions, and don’t skip safety steps. If you’re unsure, ask for help—many online forums and guides, such as this Wikipedia page, offer valuable advice. With care, your lifted XJ will be ready for any adventure ahead.
Frequently Asked Questions
What Size Tires Can I Fit With A 3-inch Lift On My Xj?
A 3-inch lift usually allows for 31-inch tires without rubbing. You may need to trim or adjust the fenders for larger sizes.
Do I Need To Change My Driveshaft After Lifting?
If you lift more than 3 inches, you may need a longer driveshaft or a slip-yoke eliminator to avoid vibrations.
Will A Lift Affect My Jeep’s Ride Quality?
Yes, lifting changes ride quality. A mild lift (2-3 inches) keeps most comfort.
Larger lifts may make the ride stiffer or bouncier, depending on the kit.
Can I Install A Lift Kit Myself?
Yes, if you have basic tools and patience, a lift is a DIY project. For anything over 3 inches, experience and extra tools help a lot.
Is An Alignment Necessary After Lifting?
Absolutely. Lifting your XJ changes steering and suspension angles. Always get a professional alignment after installation.


















