Installing new Xprite Jeep tail lights is a simple way to upgrade your vehicle’s look and boost safety. Many Jeep owners choose Xprite because their lights are bright, durable, and easy to install. If you’re ready to swap your old lights for something better, you don’t need special tools or expert skills. This guide will show you step-by-step how to install Xprite tail lights, highlight common mistakes, and give you useful tips. Whether you drive a Jeep Wrangler JK or JL, you’ll find clear advice here.
What Makes Xprite Tail Lights Special?
Xprite tail lights stand out for their rugged design and reliable performance. They’re built for off-road use, resisting water, dust, and vibration. Most models use LED technology, which is brighter and lasts longer than standard bulbs.
Here’s a quick comparison between Xprite and factory Jeep tail lights:
| Feature | Xprite LED | Factory Tail Light |
|---|---|---|
| Brightness (Lumens) | 800–1200 | 400–600 |
| Water Resistance | IP67 | IP54 |
| Average Lifespan | 50,000 hours | 10,000 hours |
| Design Options | Multiple | Limited |
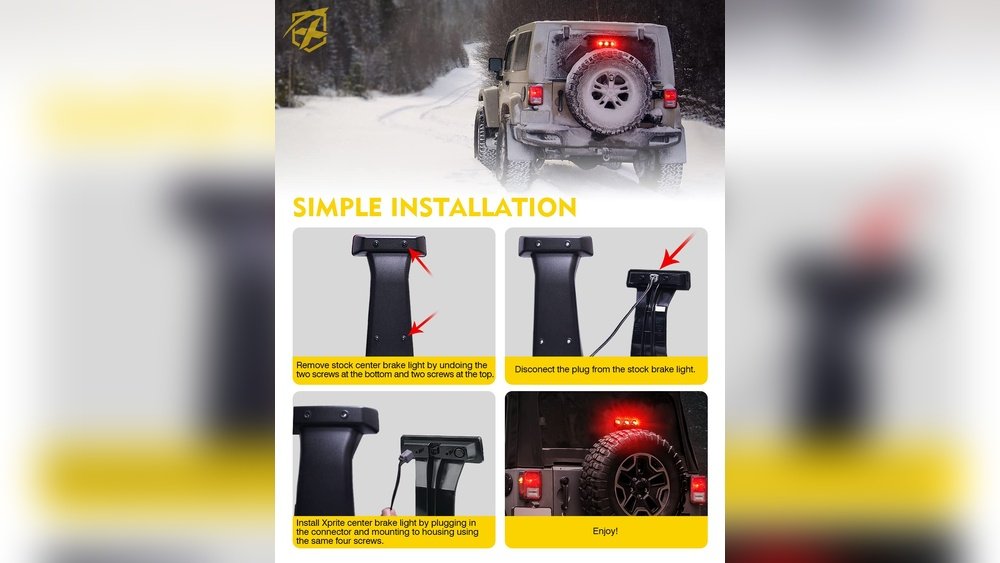
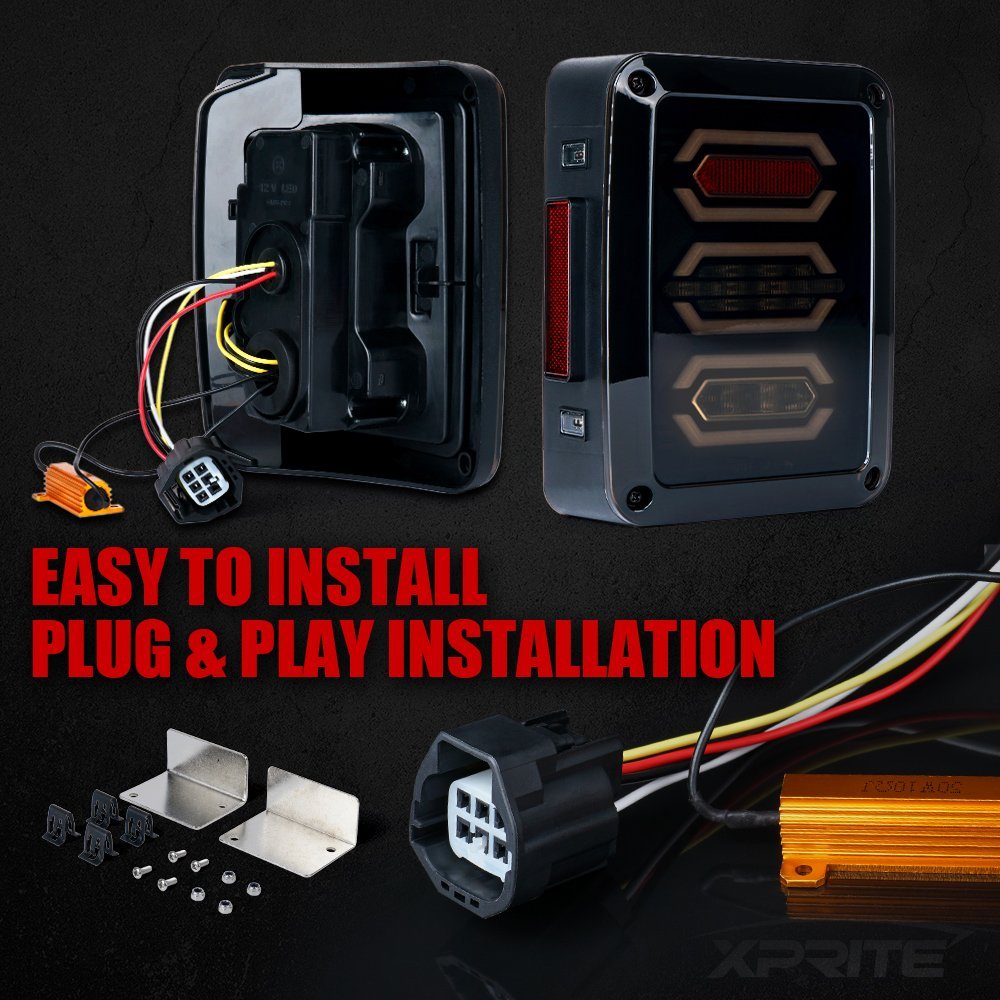
These lights are plug-and-play for most Jeep models, meaning you don’t need to cut wires or use adapters. This is especially helpful for beginners.
What You Need Before Starting
Before you begin, gather these items:
- Xprite tail lights (make sure they fit your Jeep model)
- Flathead screwdriver
- Phillips screwdriver
- Socket wrench (10mm or 8mm, based on your model)
- Clean cloth
If your Jeep has aftermarket parts or special brackets, check the instructions for extra steps.
Here’s a quick checklist for preparation:
- Park your Jeep on a level surface.
- Turn off the ignition and remove the key.
- Disconnect the negative battery terminal for safety.
Skipping the battery step can cause electrical shorts something many beginners miss.
Step-by-step Installation Guide
Follow these steps to install Xprite tail lights on a Jeep Wrangler JK or JL:
1. Remove The Old Tail Lights
- Open your Jeep’s rear tailgate.
- Locate the screws holding the tail light in place (usually 2-4).
- Use a screwdriver or socket wrench to remove the screws.
- Gently pull the tail light out. Do not yank; wires are attached at the back.
- Disconnect the wiring harness by pressing the clip and sliding it out.
2. Prepare The Area
- Wipe the mounting surface with a clean cloth to remove dust and debris.
- Check for rust or damaged wires. Repair if needed.
A clean surface ensures better electrical contact and a tight fit.
3. Connect The Xprite Tail Light
- Align the Xprite tail light with the mounting holes.
- Plug the wiring harness into the new tail light. It should click into place.
- If your model includes extra features (like sequential turn signals), check the manual for extra wire connections.
Not all models have the same plug double-check before forcing the connector.
4. Install The New Tail Light
- Carefully fit the light into the opening.
- Replace the screws and tighten them. Do not overtighten, as this can crack the housing.
- Repeat for the other side.
5. Test Your Lights
- Reconnect the battery terminal.
- Turn on your Jeep and test all functions: Brake, reverse, turn signals, and running lights.
If any light doesn’t work, check the wiring harness and ensure it’s plugged in correctly.
Common Mistakes And How To Avoid Them
Installing tail lights is easy, but these mistakes can cause problems:
| Mistake | Result | How to Avoid |
|---|---|---|
| Forgetting battery disconnect | Electrical short | Always disconnect before starting |
| Overtightening screws | Cracked housing | Use gentle pressure |
| Wrong model fit | Loose or poor connection | Check compatibility before purchase |
| Dirty contacts | Dim or flickering lights | Clean area well |
Many Jeep owners rush the installation and miss these steps. Taking a few extra minutes can save hours of trouble.
Practical Tips For A Smooth Installation
- Check fit before starting. Xprite tail lights are made for different Jeep models. Wranglers from 2007–2018 usually use JK versions, while 2018+ use JL.
- Don’t mix up left and right. Some lights are designed for a specific side.
- Save your old lights. If you ever need to return to stock or sell your Jeep, having originals is useful.
- Test before screwing in. Plug the new light in and check all functions before final install.
A non-obvious tip: If your Jeep is lifted, use a small step stool so you can reach comfortably. This prevents strain and mistakes.
How Xprite Tail Lights Improve Your Jeep
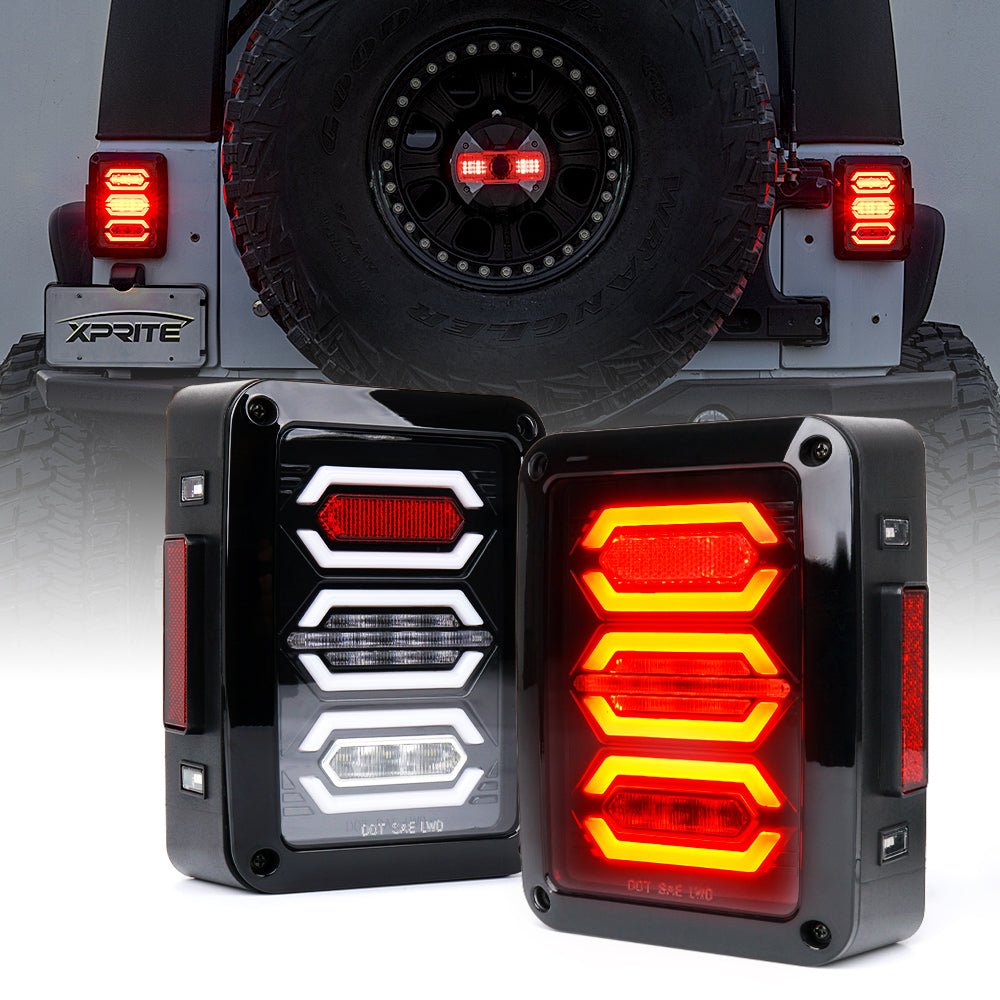
Upgrading to Xprite tail lights isn’t just about style. The bright LEDs are easier to see in bad weather, reducing the risk of rear-end accidents. The tough housing means you don’t have to worry about water leaks or cracked lenses. Many Xprite models also offer cool features like smoked lenses, sequential turn signals, and unique patterns.
According to NHTSA, brighter rear lights can improve vehicle visibility by up to 38% in foggy conditions.
Frequently Asked Questions
How Long Does The Installation Take?
Most people finish in 20–30 minutes per side. If you’re new, plan for an hour so you can work carefully.
Do I Need Extra Wiring Or Adapters?
No, most Xprite tail lights are plug-and-play for Jeep Wranglers. If your Jeep has unique modifications, you may need extra adapters.
Will Installing Xprite Tail Lights Void My Warranty?
Usually, replacing tail lights does not void your warranty. If you’re concerned, check with your dealer before starting.
Are Xprite Tail Lights Legal In All States?
Most Xprite models are DOT approved and legal in the US. Always check your local rules, especially if you choose smoked or colored lenses.
Can I Install Xprite Tail Lights Myself, Or Do I Need A Mechanic?
You can install them yourself with basic tools and patience. Only seek a mechanic if you’re not comfortable working with vehicle wiring.
Swapping your Jeep’s tail lights for Xprite models is a smart upgrade. It’s easy, doesn’t require special skills, and offers better safety and style.
By following these steps and tips, you’ll enjoy brighter, longer-lasting lights on your next adventure.


















