Installing side steps on your Jeep Grand Cherokee can make getting in and out easier, especially for kids and older adults. It also adds a rugged look and protects your vehicle’s sides from rocks and debris. Many owners worry about the process, but with some basic tools and careful planning, it’s a task you can handle at home. This guide will walk you through every step, from choosing the right side steps to mounting them securely. You’ll learn common mistakes, smart tips, and see how different options compare, so you can upgrade your Jeep confidently.
Choosing The Right Side Steps
Before you start, it’s important to select the best side steps for your Jeep Grand Cherokee. There are several types, each with its own benefits.
| Type | Material | Durability | Style |
|---|---|---|---|
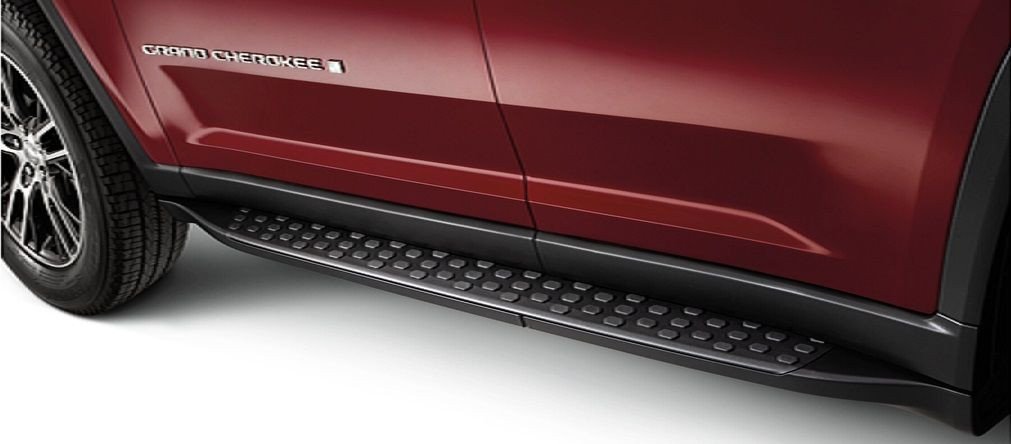
| Running Boards | Aluminum/Steel | High | Wide, flat |
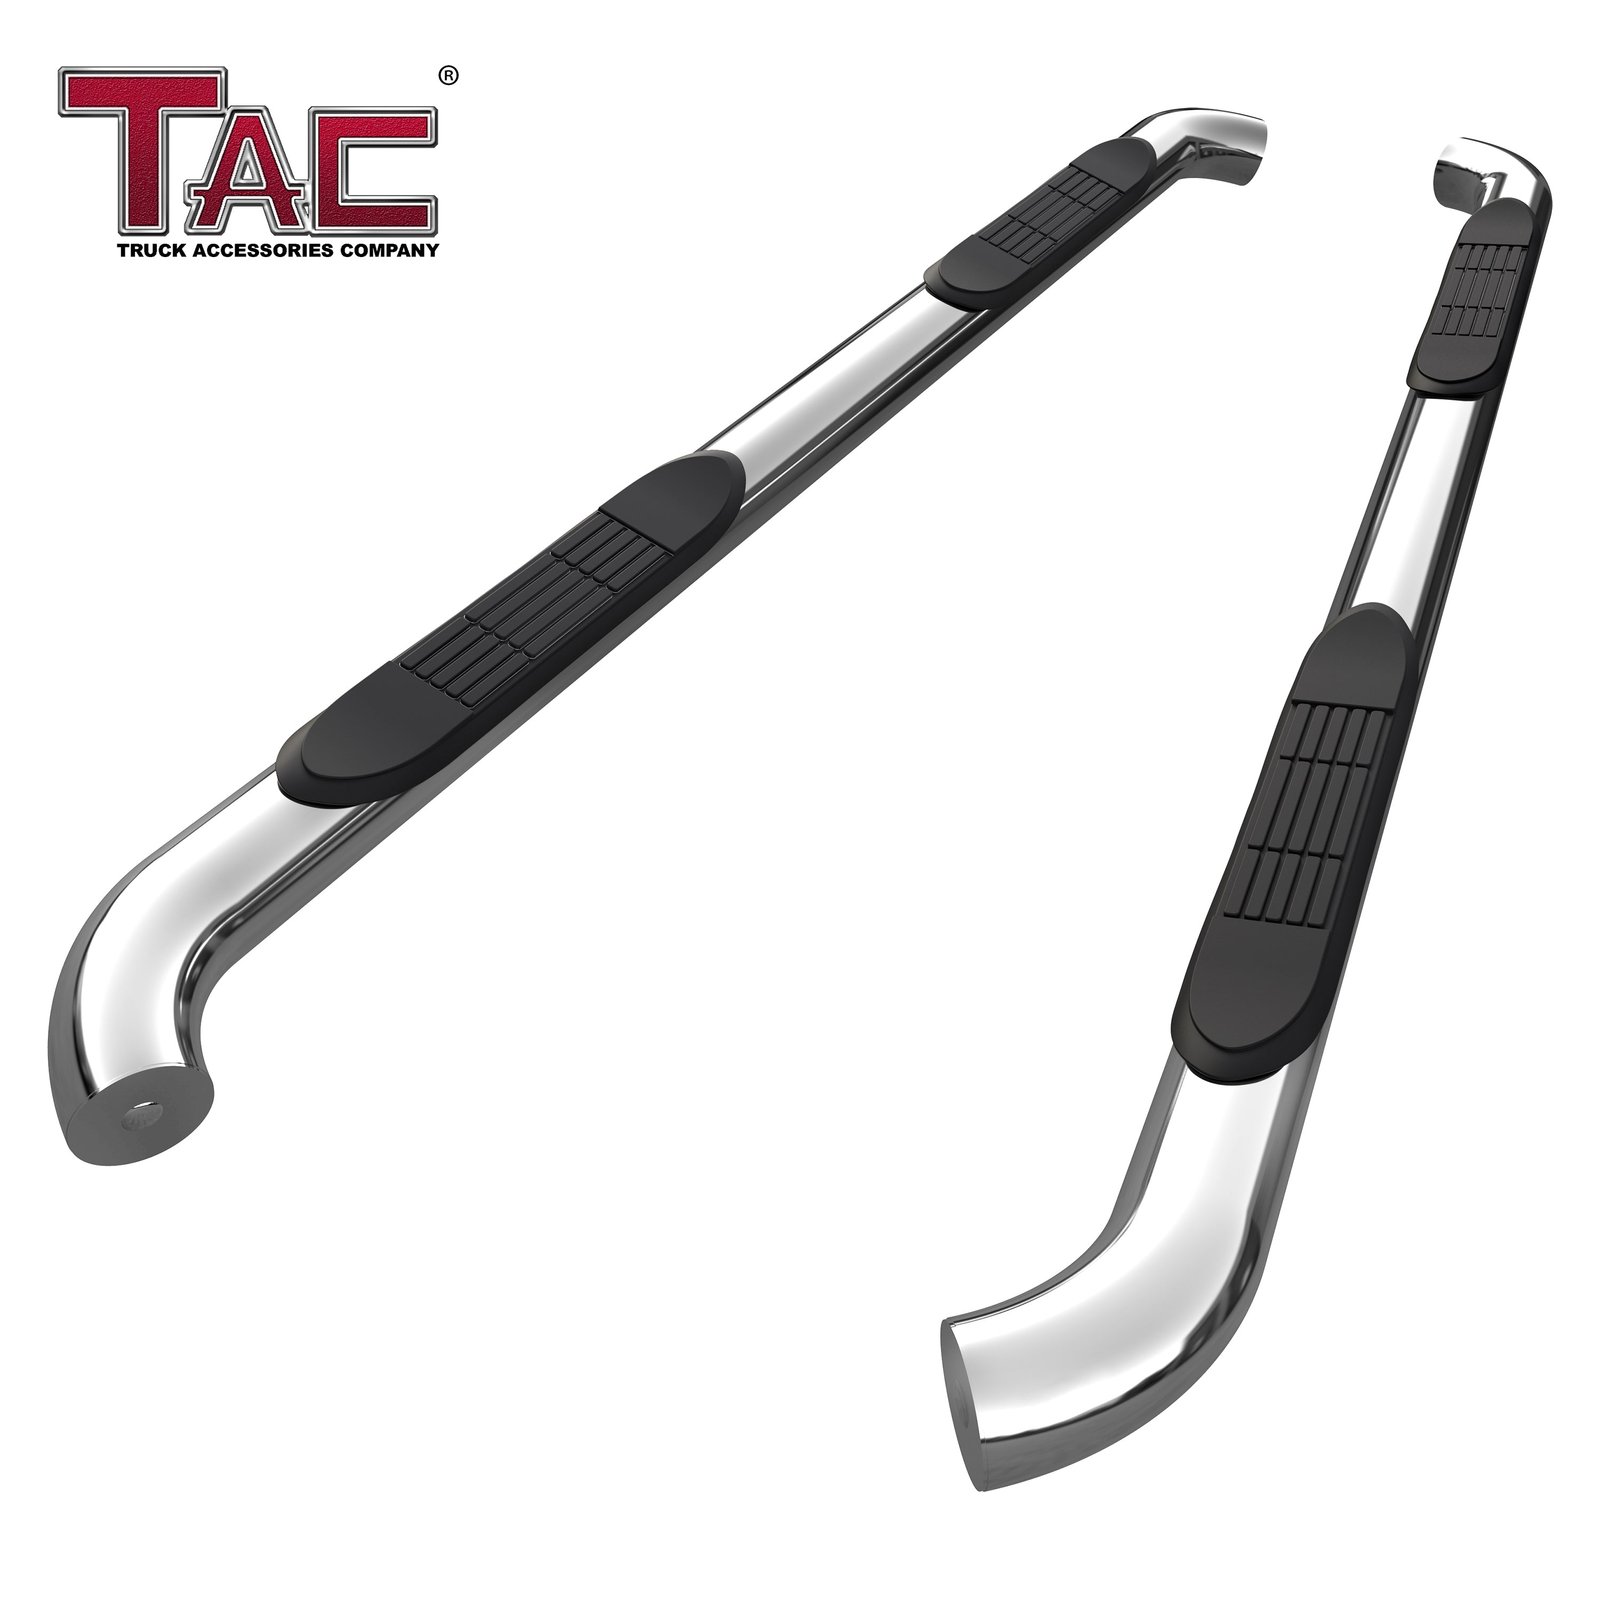
| Tube Steps | Steel | Medium | Round, sporty |
| Retractable Steps | Aluminum | Very High | Hidden, automatic |
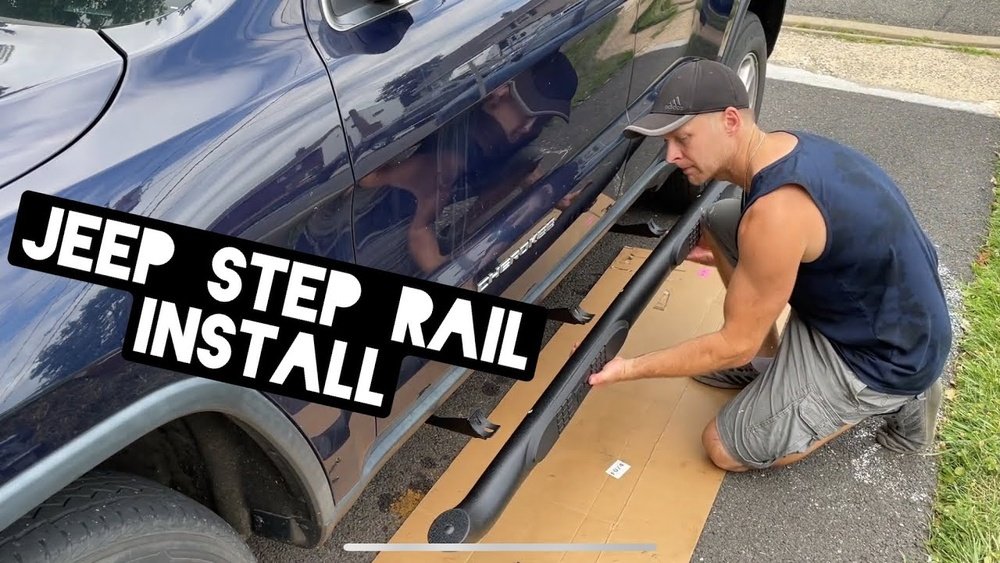
Most Grand Cherokee owners choose running boards for their stability and wide stepping surface. Tube steps are lighter and offer a sportier look. Retractable steps are premium but expensive. Make sure the side steps are compatible with your Jeep’s model year. Check reviews and confirm the mounting kit is included.
Tools And Preparation
Getting ready is half the job. You’ll need a few tools and a clean workspace.
Recommended tools:
- Socket set (10mm, 13mm, 15mm)
- Ratchet wrench
- Torque wrench
- Screwdriver
- Safety glasses
- Gloves
Preparation tips:
- Park your Jeep on a level surface.
- Use wheel chocks for safety.
- Lay out all parts and hardware.
- Read the manufacturer’s instructions fully.
Many beginners skip this last step, but reading the manual prevents mistakes and helps you spot missing parts early.
Step-by-step Installation Guide
Follow these steps to install side steps on your Jeep Grand Cherokee:
1. Locate Mounting Points
Most Jeeps have factory holes under the rocker panels. Clean the area to avoid trapping dirt.
If your model doesn’t have pre-drilled holes, you may need to drill carefully. Double-check the alignment before drilling.
2. Assemble Brackets
Attach the mounting brackets to the side steps loosely. Don’t tighten bolts yet—this allows you to adjust the position later. If your kit includes spacers, install them as directed.
3. Attach Brackets To Vehicle
Slide the brackets into the factory holes or drilled holes. Use the supplied bolts and washers.
Start all bolts by hand before tightening. This reduces the chance of cross-threading.
4. Position Side Steps
With brackets in place, lift the side steps onto the brackets. An extra pair of hands makes this easier and safer.
Adjust the steps so they sit straight and even.
5. Tighten Bolts
Use your torque wrench to tighten all bolts to the manufacturer’s recommended values. Over-tightening can damage threads; under-tightening can cause steps to loosen.
6. Check For Clearance
Open and close the doors. Make sure the side steps don’t interfere with the doors or body. If needed, adjust the brackets slightly.
7. Final Inspection
Double-check all bolts and connections. Step on the side steps gently to test their stability.
If they wobble, re-tighten or adjust the brackets.
Estimated time: 1.5–2 hours for a first-time installer.
Common Mistakes And How To Avoid Them
Many new installers run into problems. Here are some mistakes you can avoid:
| Mistake | Consequence | How to Avoid |
|---|---|---|
| Skipping alignment | Steps look crooked | Align before tightening |
| Over-tightening bolts | Stripped threads | Use torque wrench |
| Ignoring door clearance | Doors won’t open fully | Test before final tightening |
| Missing hardware | Loose steps | Check parts before starting |
One insight many beginners miss: Some side steps require removing plastic covers under the Jeep. Don’t force-fit brackets—check for hidden fasteners and clips.
After Installation: Care And Maintenance
Proper care keeps your new side steps looking good and working well.
- Wash regularly to remove mud, salt, and debris.
- Check bolts every three months for tightness.
- Touch up scratches with rust-resistant paint.
- Inspect brackets after off-road trips.
Most side steps last 3 5 years with basic maintenance. If you notice any wobble or rust, fix it early before it becomes a bigger issue.
Cost And Value Comparison
Let’s look at the cost and value of different options for Jeep Grand Cherokee side steps.
| Type | Average Price | Installation Difficulty | Warranty |
|---|---|---|---|
| Running Boards | $200–$400 | Easy | 1–3 Years |
| Tube Steps | $150–$300 | Moderate | 1–2 Years |
| Retractable Steps | $800–$1400 | Advanced | 3–5 Years |
For most Grand Cherokee owners, running boards offer the best balance of price and usability. If you drive off-road often, consider tube steps for extra clearance. Retractable steps are great for luxury builds but need professional installation.
Frequently Asked Questions
How Long Does It Take To Install Side Steps?
Most people finish in 1.5 to 2 hours. If you’re new to car modifications, plan for a bit longer. Having a friend to help speeds up the process.
Do I Need Special Tools For Installation?
No, just basic hand tools like a socket set and wrench. A torque wrench helps ensure bolts are tight but not overdone. Some kits may require a drill if your Jeep lacks factory holes.
Can I Install Side Steps Without Drilling?
Many side steps use factory holes in the Jeep Grand Cherokee. If your model doesn’t have them, you’ll need to drill. Always check your vehicle before buying.
Will Side Steps Affect Ground Clearance?
A bit. Most side steps reduce clearance by 1–2 inches. If you drive on rocky trails, choose tube steps or higher-mounted boards.
Where Can I Find Reliable Side Steps For My Jeep?
Check trusted brands and official suppliers. For more details on compatible accessories, visit the official Jeep website.
Adding side steps to your Jeep Grand Cherokee is a smart upgrade. It’s a manageable project with the right tools and a careful approach.
You’ll enjoy easier access, a tougher look, and added protection. Take your time, follow each step, and your Jeep will be ready for adventure.


















