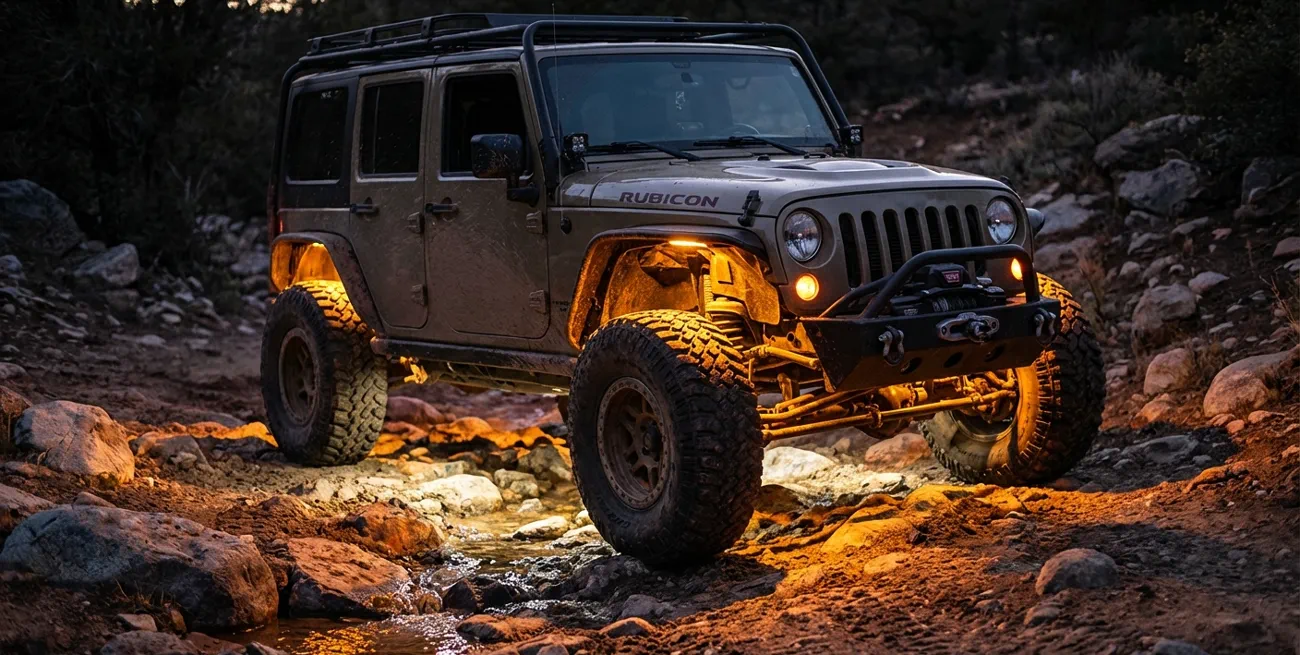
Installing rock lights on a Jeep Wrangler is a popular upgrade for off-road fans. These bright, durable lights make night driving safer and help you see obstacles under and around your vehicle. The process is not too complex, but attention to detail is important. Even beginners can do it with the right guidance. In this article, you’ll learn step-by-step how to install rock lights, what tools you need, tips for better results, and common mistakes to avoid.
Why Install Rock Lights?
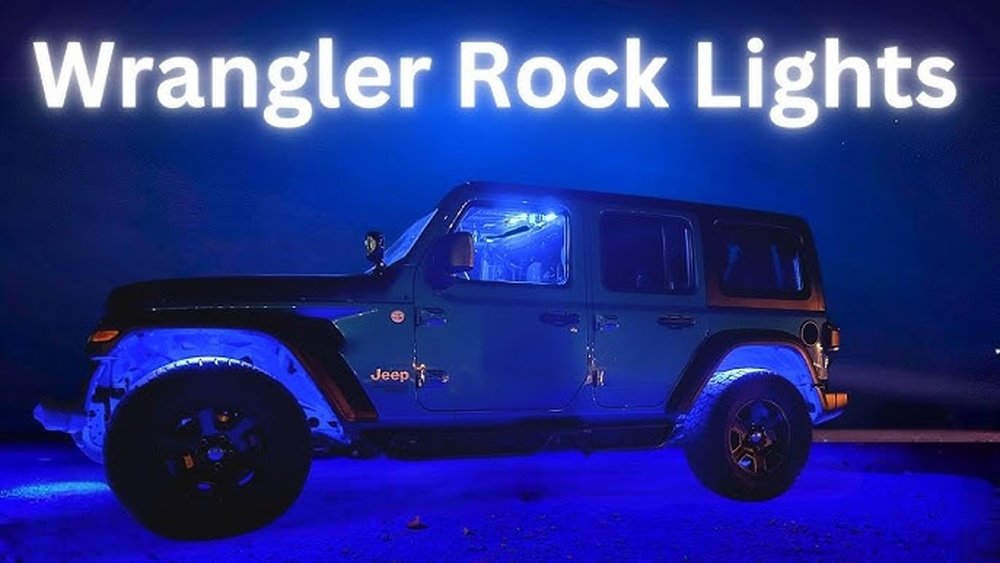
Rock lights improve your Jeep Wrangler’s visibility when driving off-road in dark conditions. They let you see rocks, mud, and other hazards under your tires. Many drivers also like the cool look these lights add to their Jeep. According to a 2023 survey by Off-Road Magazine, over 30% of Jeep Wrangler owners use rock lights, mostly for night trail rides.
Choosing The Right Rock Lights
Quality matters when picking rock lights. Cheap lights often fail or break quickly. Here’s a quick comparison of three popular choices:
| Brand | Brightness (Lumens) | Waterproof Rating | Price (USD) |
|---|---|---|---|
| KC HiLiTES | 1350 | IP68 | 180 |
| Nilight | 1200 | IP67 | 60 |
| Quake LED | 1500 | IP68 | 150 |
Look for IP67 or IP68 waterproofing, at least 1200 lumens brightness, and a strong aluminum or polycarbonate housing.
Tools And Materials Needed
Before starting, gather these tools and materials:
- Drill with small bits
- Screwdrivers (Phillips and flathead)
- Wire stripper/cutter
- Heat shrink tubing
- Electrical tape
- Zip ties
- Fuse tap or add-a-circuit kit
- Rock light kit (with wires and mounting hardware)
A few extra zip ties and heat shrink tubes help keep your wiring neat and protected.
Planning Your Installation
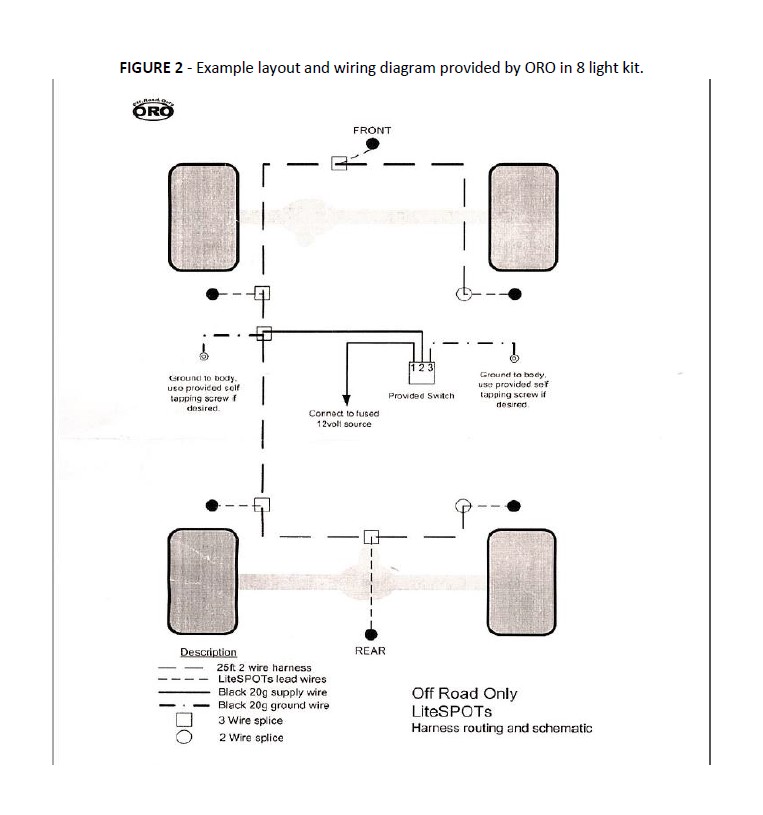
Proper planning saves time and prevents mistakes. Decide where you want to mount the rock lights. Most Jeep Wrangler owners place them:
- Under each wheel well
- Below the front and rear bumpers
- Sometimes under the side steps
For a standard kit with 4-8 lights, spacing them evenly gives the best coverage.
| Jeep Model Year | Wheel Well Size (inches) | Recommended Lights Per Side |
|---|---|---|
| 2010-2017 | 18 | 2 |
| 2018-2024 | 20 | 2-3 |
Mark the spots with painter’s tape before drilling.

Step-by-step Installation Guide
1. Disconnect The Battery
Safety first. Remove the negative cable from your Jeep’s battery to prevent shocks or damage.
2. Mount The Lights
Drill holes in the marked areas. Use the screws or brackets from your kit to secure each light.
Make sure the lights are facing down and not blocked by any parts.
3. Run The Wires
Route wires along the frame, away from moving parts and hot areas. Use zip ties to hold wires in place.
If your kit has extension wires, connect them now.
4. Connect To Power
Find an open fuse slot in your fuse box. Use a fuse tap or add-a-circuit kit to connect the power wire.
Attach the ground wire to a clean metal spot near the frame.
5. Protect The Connections
Use heat shrink tubing and electrical tape on all wire joints. This keeps out water and dirt.
6. Test The Lights
Reconnect the battery. Turn on your rock lights with the switch.
Check each light for brightness and correct placement.
Practical Tips
- Use dielectric grease on connections to prevent corrosion.
- Check for wire slack to avoid pulling or breaking when driving.
- If you want remote control or color-changing lights, choose a kit with Bluetooth or wireless options.
Common Mistakes And How To Avoid Them
- Mounting too low: Lights can get damaged by rocks or mud. Place them higher in the wheel well.
- Poor wire routing: Wires close to hot parts may melt. Always route along the frame, not near the exhaust.
- Skipping waterproofing: Unprotected connections lead to shorts. Always use heat shrink tubing.
- Wrong fuse size: Using a fuse that is too large can cause electrical fires. Check your kit’s instructions for the correct size.
Two mistakes beginners often miss:
- Not checking for tire clearance after mounting. If your tires hit the lights, you risk breaking them during off-road use.
- Forgetting to test the lights before finalizing the wiring. It’s easier to fix placement before everything is tied down.
Maintenance And Safety
Rock lights are tough, but regular checks are useful. Inspect connections every few months, especially after muddy or wet trips.
Clean the lens with a damp cloth for best brightness. If a light fails, check the fuse and wiring before replacing.
According to Jeep forums, most users report their rock lights last 2-5 years with proper care. If you drive in salty or coastal areas, check more often since salt speeds up corrosion.
Frequently Asked Questions
How Many Rock Lights Do I Need For My Jeep Wrangler?
Most kits include 4-8 lights. For basic coverage, 4 lights (one per wheel well) work well. For full visibility, choose 8.
Can I Install Rock Lights Without Drilling?
Some kits offer magnetic mounts or adhesive pads, but drilling provides a more secure fit, especially for rough trails.
Will Rock Lights Drain My Battery?
Rock lights use little power, usually 10–30 watts per light. If you use them only while driving, your battery will be fine.
Are Rock Lights Legal Everywhere?
Laws vary. In most states, off-road use is fine, but some places restrict colored lights or using them on public roads. Check your local regulations for details.
Where Can I Learn More About Jeep Lighting Upgrades?
You can find more advice from the official Jeep community at Jeep Community.
Installing rock lights on your Jeep Wrangler boosts safety and style. With careful planning and the right tools, this upgrade is possible for most DIY enthusiasts. Take your time, follow each step, and enjoy your new night-time adventures.