Installing RGB LED rock lights can transform your vehicle with vibrant underbody illumination. These lights are popular for off-road trucks, SUVs, and even some cars, helping you see obstacles at night and making your ride stand out.
Many beginners worry about wiring and mounting, but you can do it safely with simple tools and careful planning. This guide explains everything you need to install RGB LED rock lights, from choosing the right kit to final testing.
Choosing The Right Rgb Led Rock Light Kit
Quality matters when picking RGB LED rock lights. Cheap kits may flicker, fail quickly, or produce weak colors. Look for:
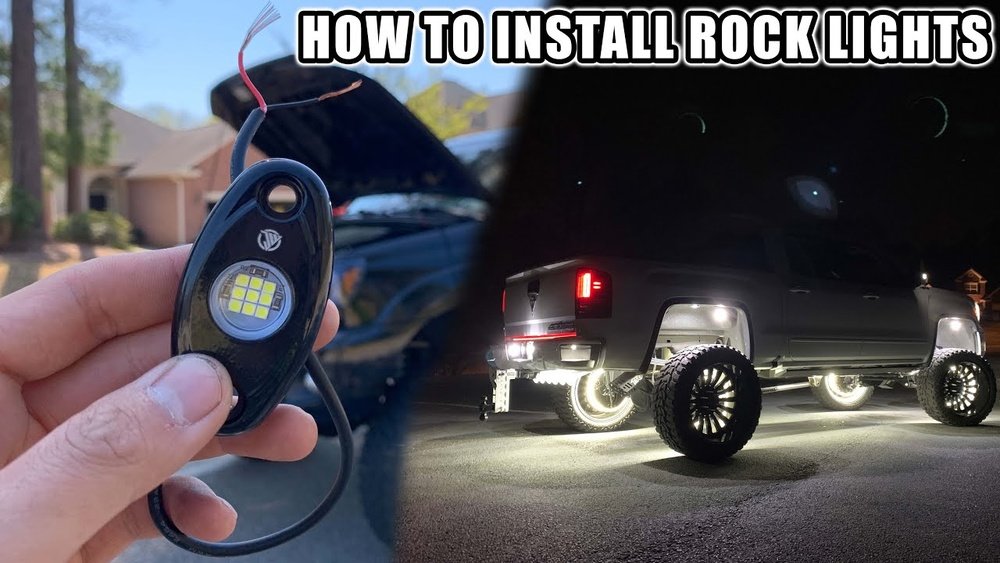
- Waterproof rating: IP67 or IP68 is best for outdoor use.
- App or remote control: Choose kits with Bluetooth or wireless remotes for easy color changes.
- Wattage and lumens: Higher numbers mean brighter lights.
- Installation hardware: Kits should include mounting brackets, screws, and wiring.
Here’s a comparison of popular kit features:
| Brand | Waterproof Rating | Control Method | Max Lumens | Warranty |
|---|---|---|---|---|
| Auxbeam | IP68 | Bluetooth App | 1,200 | 2 Years |
| Mictuning | IP67 | Remote + App | 1,000 | 1 Year |
| Nilight | IP68 | App Only | 1,500 | 2 Years |
Tip: Always check reviews for real-world performance. Some brands exaggerate brightness or waterproof claims.
Tools And Materials Needed
Before starting, gather these:
- RGB LED rock light kit
- Drill with metal/plastic bits
- Screwdriver set
- Wire stripper/cutter
- Electrical tape
- Zip ties
- Multimeter (for checking connections)
- Safety glasses and gloves
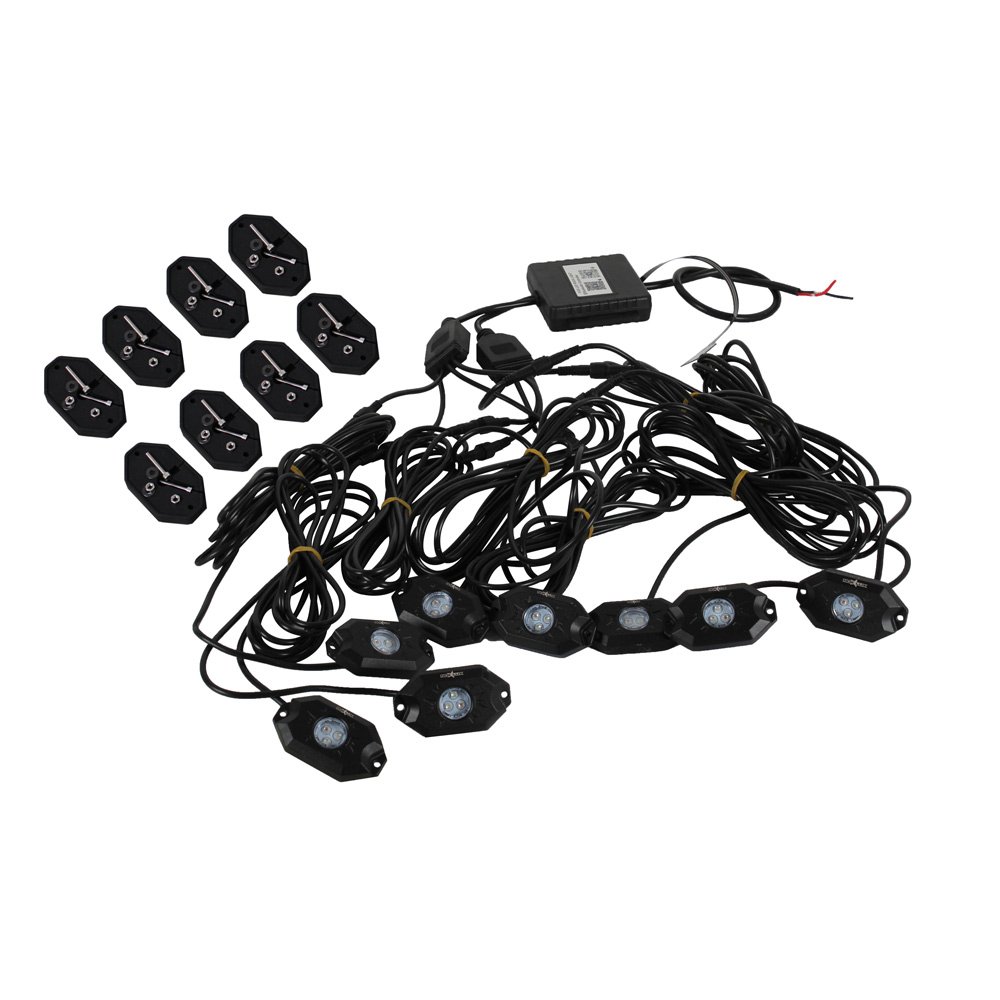
Make sure your kit includes enough lights for your vehicle (usually 4, 6, or 8 pods).
Planning The Installation
Careful planning prevents mistakes. Decide where to mount the lights common spots are inside wheel wells, under the chassis, or near bumpers.
Avoid areas near moving parts, exhaust pipes, or places exposed to heavy mud.
Non-obvious insight: Mark each spot with tape before drilling. This avoids uneven placement and helps you visualize the final look.
Wiring route: Plan how wires will reach the battery or fuse box. Avoid sharp edges and hot surfaces. Running wires along existing harnesses is safer and neater.
| Location | Visibility | Risk | Recommended? |
|---|---|---|---|
| Wheel Wells | High | Medium (mud, debris) | Yes |
| Under Chassis | Medium | Low | Yes |
| Near Exhaust | Low | High (heat) | No |
Step-by-step Installation Process
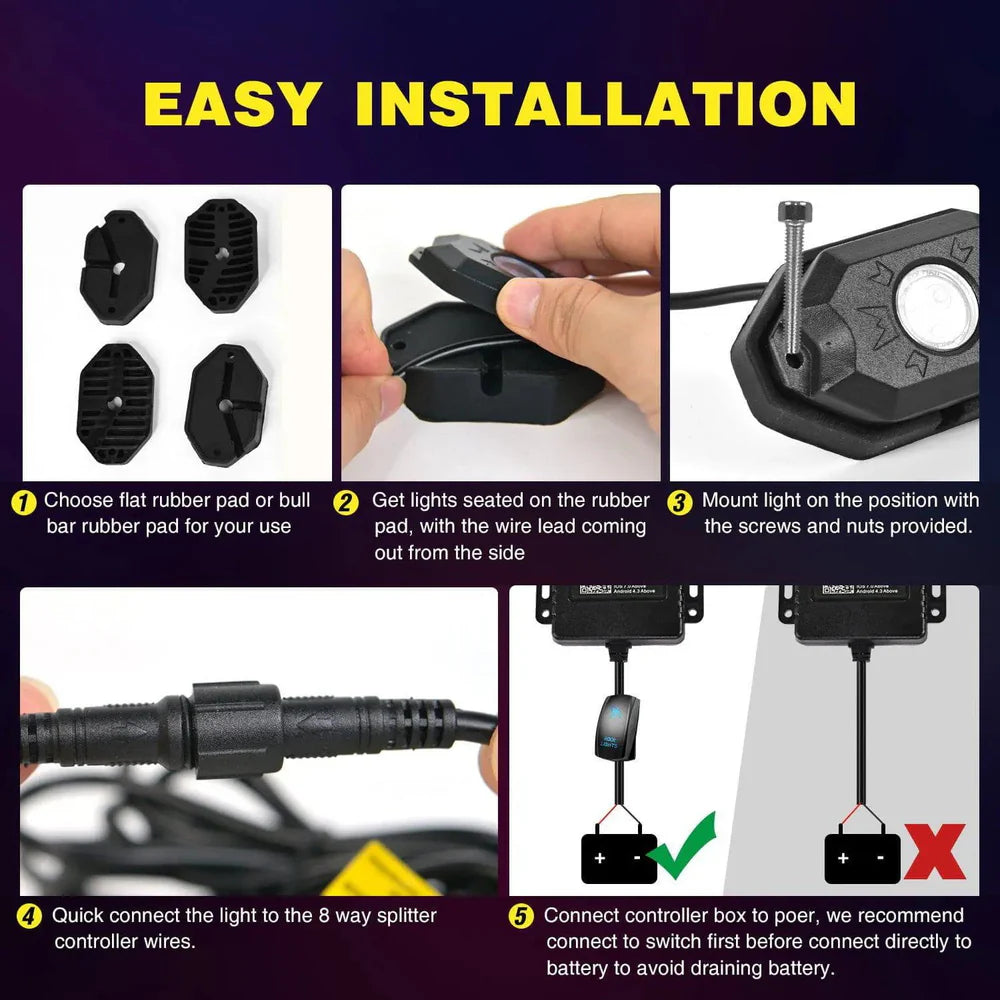
1. Mounting The Lights
- Clean the mounting areas to remove dirt.
- Drill holes for brackets, using safety glasses.
- Attach each pod with screws. Make sure the lights face down or outward for best coverage.
2. Routing And Securing Wires
- Run wires along the frame, avoiding sharp edges.
- Use zip ties to secure wires every 12–18 inches.
- Leave some slack to prevent tension when the vehicle moves.
Common mistake: Over-tightening zip ties can damage wires. Tighten just enough to hold, not crush.
3. Connecting To Power
- Locate the battery or fuse box.
- Use the supplied wiring harness to connect lights.
- Strip wire ends and attach them securely, using connectors or solder.
- Wrap connections with electrical tape for waterproofing.
If your kit has a control box, mount it in a dry, accessible spot. Connect it to the battery, usually using a fuse tap for safety.
4. Testing The System
- Before finalizing, turn on the lights and cycle through colors.
- Use a multimeter to check voltage at each light.
- If any pod doesn’t work, check connections and polarity.
Pro tip: Test each light before mounting. This saves time if you need to replace a faulty pod.
5. Final Adjustments
- Adjust the angle of each pod for even illumination.
- Trim excess wire and secure loose ends.
- Clean up any debris from drilling.
Practical Examples And Real-world Tips
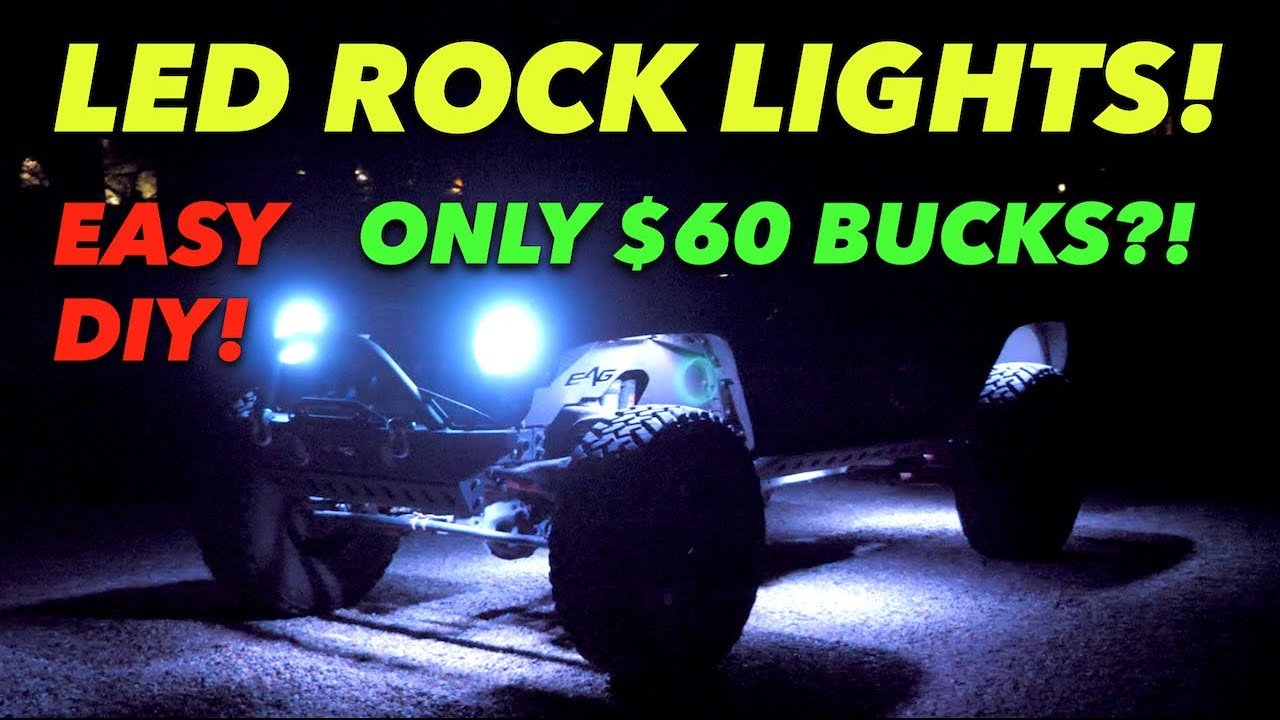
Drivers often install RGB LED rock lights for both style and safety. For example, off-roaders use them to spot rocks at night. Show trucks use them to highlight custom paint or wheels.
Non-obvious insight: Some states have laws about underbody lights. Check local rules before using colored lights on public roads.
If you drive in rainy or muddy areas, check pod seals twice a year. Water can damage even IP68-rated lights if seals loosen.
Troubleshooting And Maintenance
Most problems come from loose connections or water damage. If a light stops working:
- Check wire connections and reseal with tape.
- Inspect for water inside the pod.
- Replace damaged pods or wires.
For long-lasting performance:
- Clean pods regularly
- Avoid pressure washing directly on pods
- Check wiring after off-road trips
Here’s a quick comparison of common issues:
| Problem | Cause | Fix |
|---|---|---|
| Flickering lights | Loose wires | Reseat and tape connections |
| Dim colors | Low voltage | Check battery/fuse |
| Pod not working | Water damage | Replace pod |
Final Thoughts
Installing RGB LED rock lights is a fun project that improves both the look and function of your vehicle. Careful planning, clean wiring, and regular maintenance will keep your lights shining bright. Always test before final mounting, and use quality kits for the best results. For more technical details, visit the Wikipedia page on automotive lighting.
Frequently Asked Questions
How Long Does It Take To Install Rgb Led Rock Lights?
Most installations take 2 to 4 hours. It depends on your experience and the number of pods. Planning and testing can save time.
Are Rgb Led Rock Lights Legal In All States?
No. Some states limit colored underbody lights on public roads. Always check local laws before using them.
Can I Connect Rock Lights To My Phone?
Yes. Many kits use Bluetooth apps for color control. Make sure your kit supports this feature before buying.
Do Rock Lights Drain The Car Battery?
When used correctly, LED rock lights use little power. However, leaving them on while parked can drain the battery over time.
What Is The Best Way To Waterproof Connections?
Use heat-shrink tubing and electrical tape. Seal all exposed wires, and check seals regularly for wear.


















