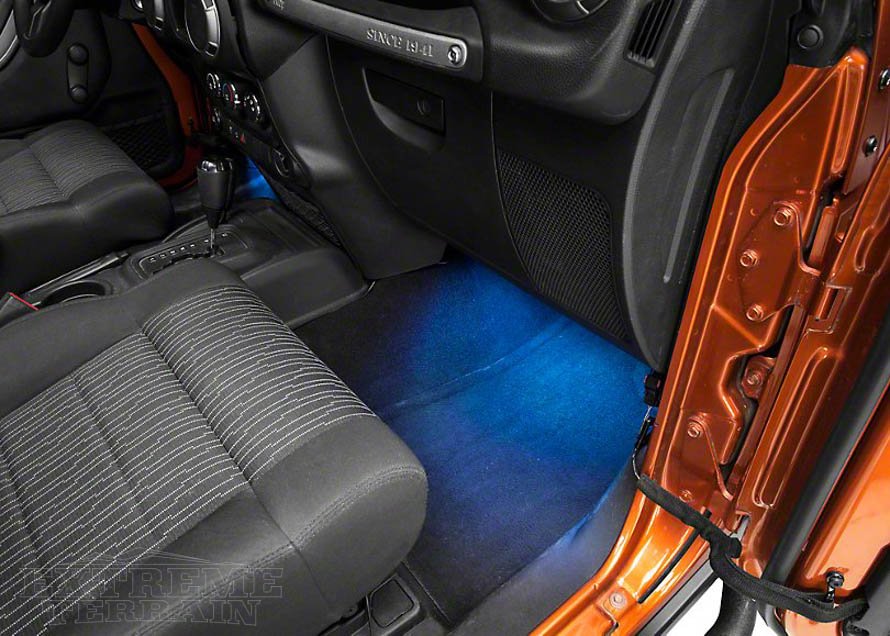
Installing overhead lights on your Jeep Wrangler is more than just a cool upgrade. It boosts visibility for night driving, off-roading, and camping. Many Jeep owners want better lighting but worry about wiring or damaging their vehicle.
With the right tools, clear steps, and a bit of patience, you can install overhead lights yourself, improve safety, and make your Jeep stand out.
Choosing The Right Overhead Lights
Before you start, pick the best lights for your needs. LED light bars are popular for their brightness and efficiency.
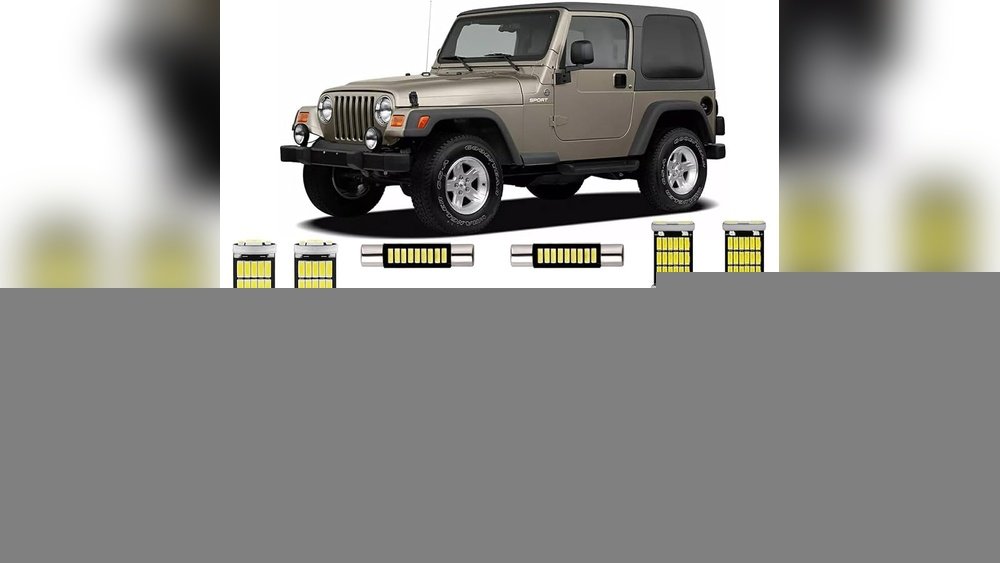
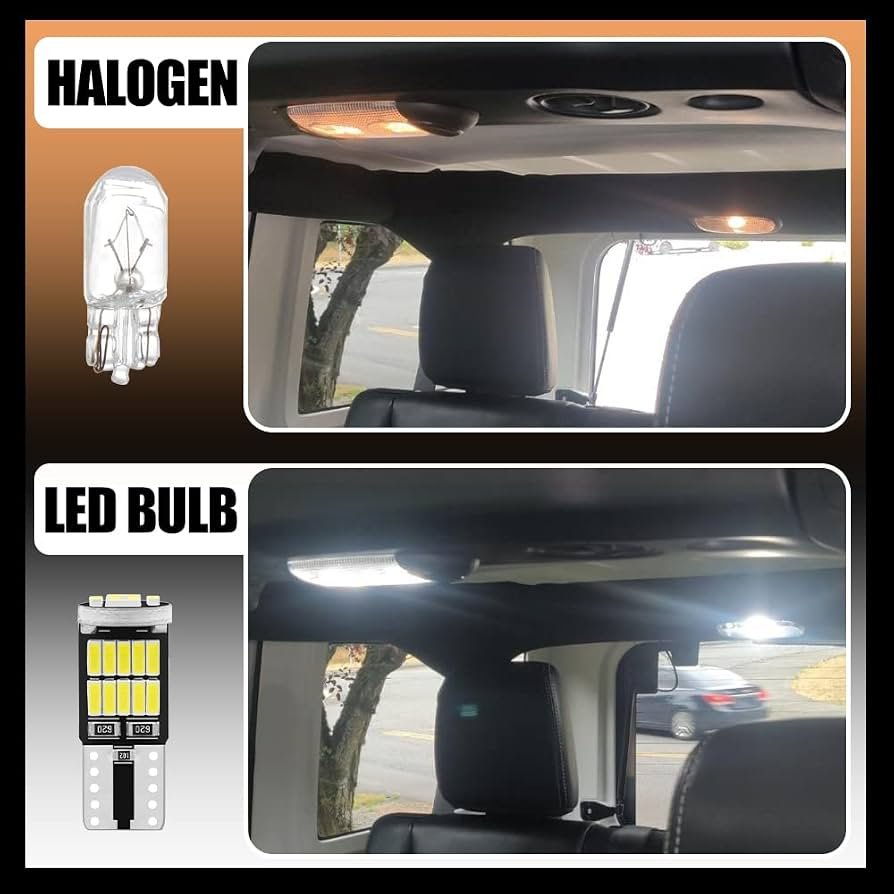
Halogen lights cost less but use more energy and don’t last as long. Think about your driving style—do you need maximum brightness for off-roading, or just a moderate upgrade for city use?
Here’s a quick comparison to help you decide:
| Type | Brightness (Lumens) | Energy Use | Lifespan (Hours) |
|---|---|---|---|
| LED | 10,000+ | Low | 30,000+ |
| Halogen | 2,000-4,000 | High | 500-1,000 |
| HID | 8,000-12,000 | Medium | 2,000-3,000 |
LED lights are usually the best choice for durability and performance. Make sure the lights you choose are designed for outdoor use and match your Jeep’s roof size.
Tools And Materials Needed
Gather these items before starting:
- Overhead light bar or pods
- Mounting brackets (specific for Jeep Wrangler)
- Wiring harness (with relay and fuse)
- Switch (dash-mounted is common)
- Drill and bits
- Socket wrench
- Screwdriver
- Electrical tape
- Zip ties
- Protective gloves
Some kits include most parts, but check before buying. Missing a bracket or harness can cause delays.
Step-by-step Installation Guide
Follow these steps to install overhead lights safely:
1. Plan Your Placement
Decide where you want the lights. Most people mount them above the windshield or on the roof rack. Double-check fit and clearance, especially if you use a soft top.
2. Attach Mounting Brackets
- Clean the mounting area to remove dirt.
- Position the brackets using the template (often included).
- Mark drill holes with a marker.
- Drill holes carefully. Avoid drilling too deep—check for wires inside.
- Secure the brackets with bolts and tighten them.
3. Install The Light Bar Or Pods
- Place the light bar onto the brackets.
- Use bolts to fix the lights firmly.
- Adjust the angle for best coverage. Tighten all fasteners.
4. Route The Wiring
- Plan the wiring path. Most people run wires along the windshield pillar, then into the engine bay.
- Use zip ties to secure wires. Avoid loose wires—they can snag or cause shorts.
- Protect exposed wires with electrical tape or wire loom.
5. Connect To Power
- Find a safe spot for the relay and fuse—usually near the battery.
- Connect positive wire to battery terminal, negative to ground.
- Run switch wire into the cabin. Many people use the firewall grommet to avoid drilling new holes.
- Mount the switch where you can reach it easily.
- Plug all connectors, double-check for loose ends.
6. Test The Lights
- Turn on the switch. If the lights don’t work, check fuse, relay, and connections.
- Adjust the aim if needed. Properly aimed lights give maximum visibility without blinding other drivers.
7. Final Checks
- Make sure all wires are secure.
- Check for leaks around drill holes. Use silicone sealant if needed.
- Clean up tools and packaging.
Here’s a comparison of common mounting locations:
| Location | Visibility | Installation Difficulty | Protection |
|---|---|---|---|
| Above Windshield | Wide | Medium | Moderate |
| Roof Rack | Maximum | High | Low |
| Front Bumper | Narrow | Easy | High |
Practical Tips And Common Mistakes
Installing overhead lights is simple but some mistakes can cause problems:
- Skipping the relay: Directly wiring lights to the battery can overload circuits. Always use a relay.
- Poor weatherproofing: Exposed wires and holes can cause rust or shorts. Use sealant and tape.
- Wrong bracket fit: Not all brackets fit every Jeep model. Check compatibility before drilling.
- Ignoring switch location: Mount switches where you can reach them while driving. Hidden switches can be dangerous.
- Wire length issues: Make sure wires are long enough, especially if you run them through the firewall.
Many beginners overlook the importance of aiming the lights. Poorly aimed lights can reduce visibility or annoy other drivers. Also, some states have laws about light placement. Always check local rules before installing.
Safety And Legal Considerations
Installing overhead lights may change how your Jeep looks and works. In some states, extra lights must be covered when driving on public roads.
Check your local DMV website for rules. Improper installation can void your warranty or cause electrical issues.
Always disconnect the battery before starting. Wear gloves and eye protection. If you’re unsure about wiring, consider asking a professional or using guides from trusted sources like ExtremeTerrain.
Frequently Asked Questions
How Long Does Installation Take?
Most people finish in 2–4 hours. If you’re new to vehicle wiring, plan for extra time to check connections and seal holes.
Can I Install Overhead Lights Without Drilling?
Some bracket kits use clamp-on mounts. These work for roof racks but may not be as secure as drilled mounts, especially for heavier light bars.
Will Overhead Lights Drain My Battery?
LED lights use little power and won’t drain the battery if wired correctly. Always use a relay and fuse to protect your electrical system.
Do I Need Professional Help?
If you’re comfortable with basic tools and wiring, you can install lights yourself. For complex setups or custom switches, a professional installer can help.
Are Overhead Lights Street Legal?
Laws vary by state. Many areas require light covers when driving on public roads. Check local laws before using the lights outside off-road areas.
Upgrading your Jeep Wrangler with overhead lights is a smart way to improve safety and style. With careful planning and the right tools, you can finish the job in a few hours.
Remember to check local rules, aim your lights properly, and protect your wiring for long-lasting results.