Installing a light bar on your Jeep Grand Cherokee is one of the most popular upgrades for off-road enthusiasts and night drivers. A light bar gives you better visibility in dark or rough terrain, adds a rugged look to your vehicle, and can even make night driving safer. If you want to install a light bar yourself, it’s important to understand the process, choose the right equipment, and avoid common mistakes. This guide will walk you through everything you need to know—step by step.
Why Install A Light Bar On A Jeep Grand Cherokee?
Many Jeep owners add a light bar for extra illumination during off-road adventures or rural driving. The Grand Cherokee, while well-equipped, can benefit from the powerful light output a bar provides. Factory headlights often don’t cover enough area for safe night driving in tough conditions. Light bars offer a wide, bright beam pattern that lets you see obstacles earlier.
Beyond function, a light bar adds a tough, adventurous look that many owners love. It’s also a practical upgrade if you use your Grand Cherokee for camping, hunting, or exploring remote areas.
Choosing The Right Light Bar
Before you buy, it’s smart to compare different types of light bars and their features. Consider these key factors:
- Size: Light bars for a Grand Cherokee usually range from 20 to 52 inches. Larger bars offer wider coverage but may require more complex mounting.
- Beam Pattern: Spot beams shine far ahead, while flood beams cover a wide area. Combo bars offer both.
- Power and Lumens: Higher wattage and more lumens mean a brighter bar, but also higher energy use.
- Waterproofing: Look for IP67 or IP68 ratings to ensure your bar survives rain, mud, and car washes.
- Color Temperature: Most bars use 6000K (cool white) for maximum visibility.
- Legal Compliance: Check your local laws—some areas restrict light bar use on public roads.
Here’s a quick comparison of common light bar specs:
| Size (inches) | Lumens | Beam Pattern | Average Price |
|---|---|---|---|
| 20 | 9,000–12,000 | Spot/Flood/Combo | $70–$150 |
| 32 | 18,000–21,000 | Spot/Flood/Combo | $120–$220 |
| 50–52 | 27,000–34,000 | Combo | $200–$400 |
If your Grand Cherokee is mostly for city driving, a smaller bar may be enough. For serious off-roading, go for a larger combo bar.

Tools And Materials Needed
You’ll need some basic tools and a few special items:
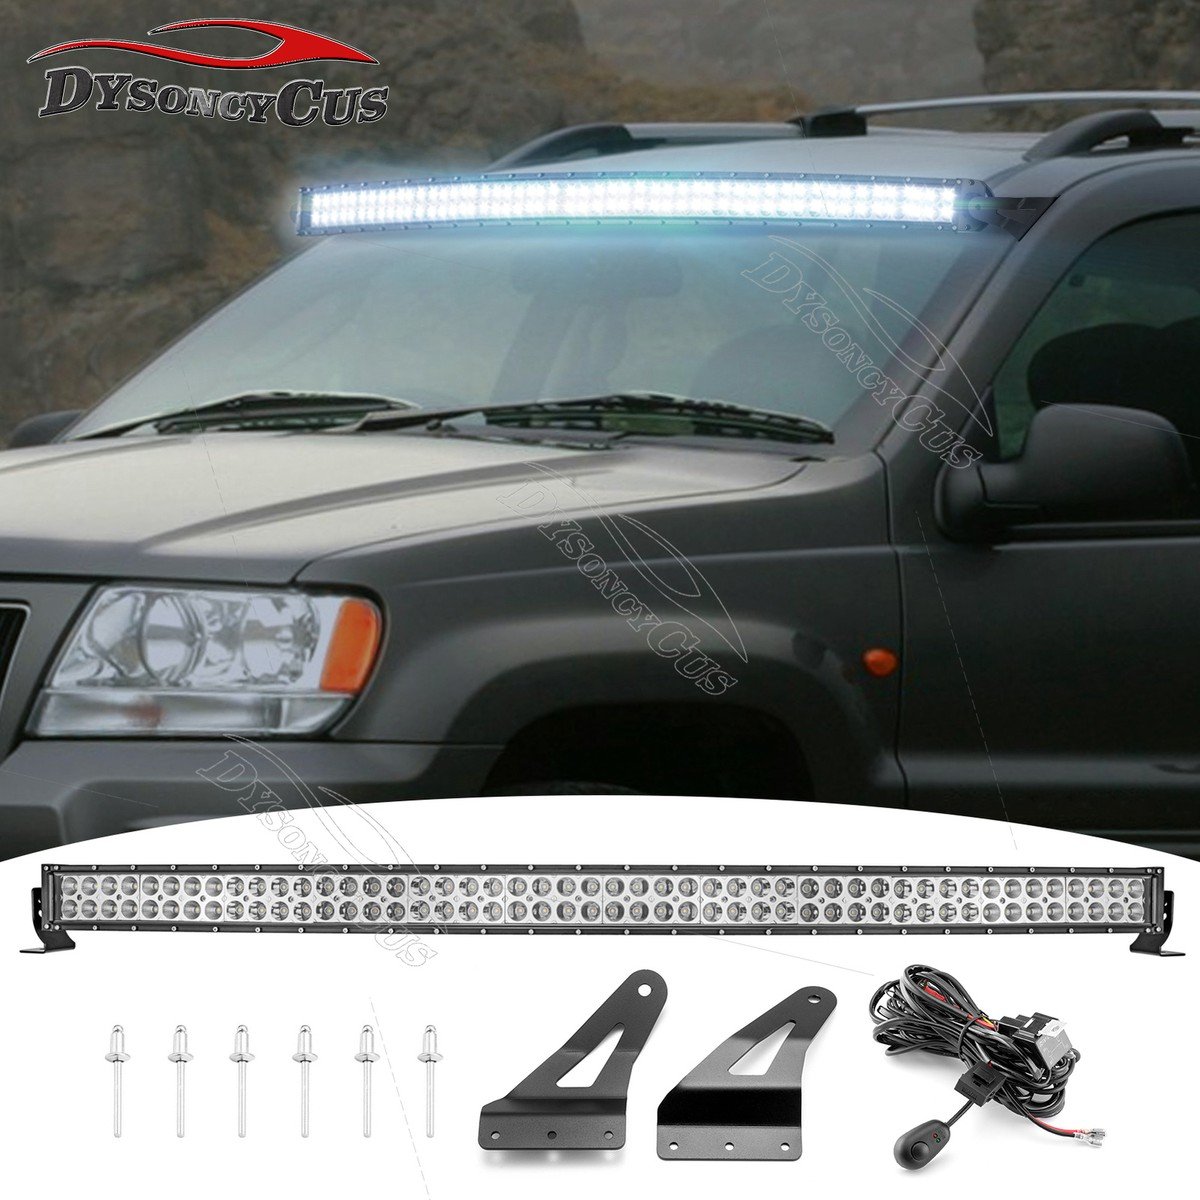
- Light bar kit (includes bar, mounting brackets, wiring harness, relay, and switch)
- Socket and wrench set
- Drill (if brackets need new holes)
- Screwdrivers
- Wire stripper/crimper
- Electrical tape or heat-shrink tubing
- Zip ties
- Voltmeter (for checking connections)
- Safety glasses and gloves
Quality wiring is critical a cheap harness can cause failure or even fires. Always use the harness supplied with your light bar, or buy a heavy-duty one rated for your bar’s wattage.
Planning Your Installation
Before starting, plan where you’ll put the light bar. Common locations include:
- Roof mount: Most popular for large bars. Requires special brackets.
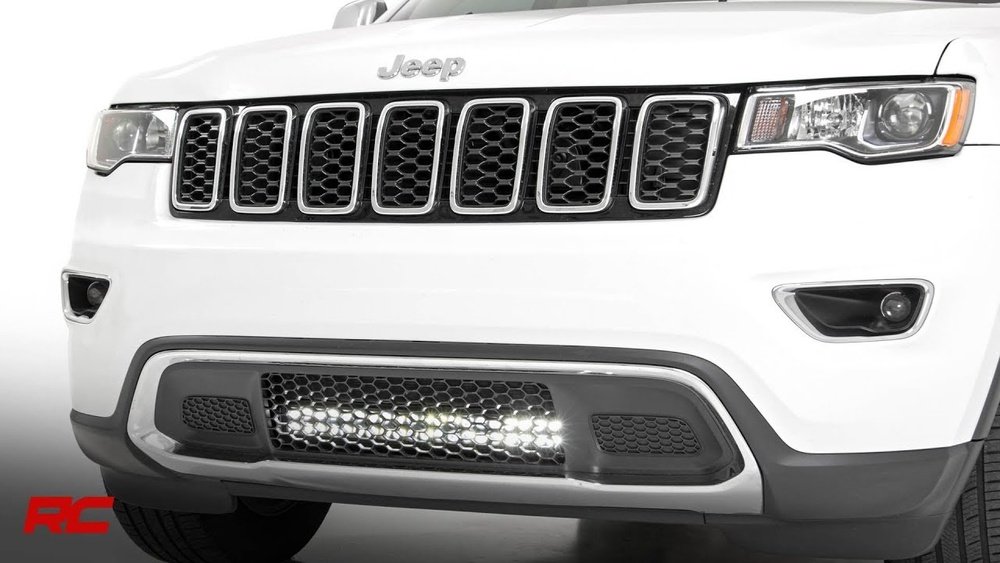
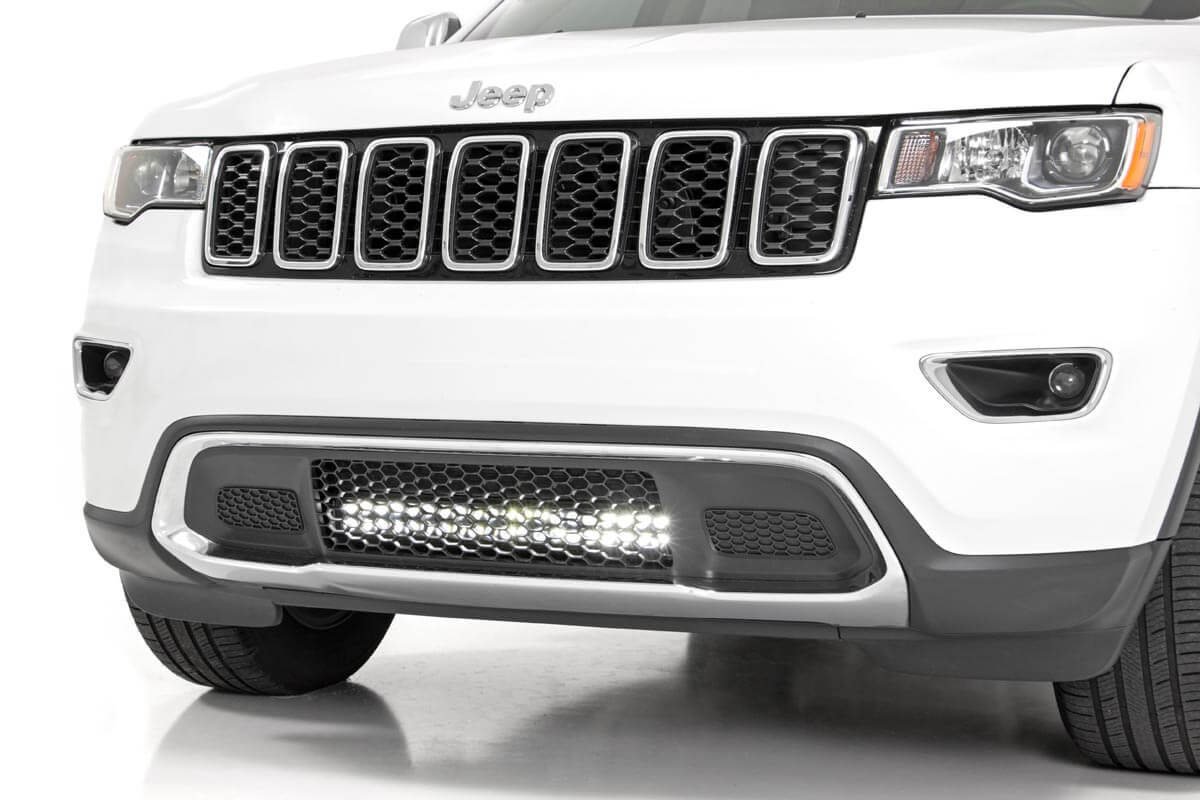
- Grille mount: Good for smaller bars; less wind noise, easier access.
- Bumper mount: Easiest for 20–30-inch bars; less visible, but less light coverage.
Check for factory holes or mounting points these make installation easier and avoid drilling. If your bar requires drilling, measure carefully to avoid damaging wiring or airbags.
Step-by-step Installation Guide
1. Test The Light Bar
Before mounting, connect the bar to your battery with the supplied harness. Make sure it works.
This avoids wasting time if the bar is defective.
2. Mount The Brackets
Place the mounting brackets where you want the bar. Most roof or bumper brackets use existing bolts, but some require drilling.
Hold the brackets in place and mark the holes with a marker.
If drilling is needed, wear safety glasses and drill slowly. Use a rust-resistant paint on exposed metal to prevent corrosion.
3. Attach The Light Bar
Once brackets are installed, set the light bar in place. Hand-tighten the bolts first.
Stand back and check alignment make sure it’s centered and level. When satisfied, fully tighten all bolts, but do not overtighten (this can crack the housing).
4. Route The Wiring Harness
Plan your wiring route before connecting anything. Avoid sharp edges, hot engine parts, and moving components.
For a roof-mounted bar, run wires down the windshield pillar and under the weather stripping, using zip ties to secure.
Route the harness through the engine bay and toward the battery. Keep wires away from the radiator and exhaust.
5. Connect The Relay And Switch
Most harnesses include a relay (protects circuits) and a dashboard switch.
- Connect the positive (red) wire to the battery’s positive terminal.
- Connect the negative (black) wire to a bare metal ground.
- Run the switch wire through the firewall into the cabin. Many Grand Cherokees have a small rubber grommet for this purpose.
- Mount the switch in a location that’s easy to reach but won’t get bumped.
Use heat-shrink tubing or electrical tape to seal connections. Double-check that wires are not pinched or exposed.
6. Test The System
With everything connected, turn on the vehicle and test the switch. The light bar should turn on and off without flickering.
If not, check all connections and make sure the relay clicks when the switch is flipped.
7. Final Adjustments
Aim the light bar for best coverage. Most off-roaders tilt the bar slightly downward to light the road ahead without blinding other drivers.
Tighten all bolts, check wire security, and trim extra zip ties.
Common Mistakes To Avoid
Many first-time installers make the same errors. Watch out for these:
- Skipping the test: Always test the bar before mounting. Defective units are rare, but it saves time.
- Weak ground connection: If the ground wire is not tight to bare metal, the bar may flicker or not work.
- Drilling without checking: Always check behind the panel before drilling. Hidden wires, airbags, or hoses could be damaged.
- Routing near hot parts: Wires that touch hot engine or exhaust parts can melt and short-circuit.
- Not sealing connections: Water can corrode wires quickly. Use heat-shrink tubing or quality tape.
- Improper aiming: Bars aimed too high can blind oncoming drivers and may be illegal.
Cost And Time Estimate
Installing a light bar yourself saves money but requires patience and the right tools. Here’s a quick breakdown:
| Item | DIY Cost | Shop Install Cost | Time Needed |
|---|---|---|---|
| Light Bar Kit | $70–$400 | Included | – |
| Brackets | $20–$80 | Included | – |
| Wiring Tools | $10–$30 | Included | – |
| Labor | Free | $100–$250 | 2–4 hours (DIY) |
A professional install can cost $150 $300 extra, but guarantees a clean job. DIY installation usually takes 2 4 hours, depending on experience.
Real-world Tips For A Better Install
Even if you follow guides, small details can make a big difference. Here are some insights:
- Fuse protection: Add an in-line fuse close to the battery. This protects against shorts and is often missing in cheap kits.
- Switch placement: Don’t mount the switch where you might hit it with your knee or hand by accident. Under the dash or in a blank switch panel is ideal.
- Wind noise: Roof-mounted bars can whistle at high speeds. Adding a small rubber strip between the bar and roof can reduce noise.
- Cover the bar: If you drive on public roads, use a light bar cover to comply with laws and protect against debris.
Many beginners forget to regularly check their light bar after installation. Vibrations can loosen bolts over time inspect every few months.
Legal Considerations
Laws about light bars vary by state and country. In many areas, it’s illegal to use off-road lights on public roads. Some states require covers when not in use. Always check your local laws before driving with a visible light bar. The Jeep Grand Cherokee community forums and your state’s DMV website are good resources.
For more details on lighting laws, the National Highway Traffic Safety Administration provides official guidelines.
Upgrading Or Maintaining Your Light Bar
Light bars are tough, but not invincible. Dust, mud, and rain can affect performance. Here’s how to keep yours in top shape:
- Wash the bar with mild soap and water—never use harsh chemicals.
- Check the lens for scratches or cracks. Replace if damaged.
- Inspect wiring and brackets every oil change.
- Re-tighten bolts if you hear rattles or see movement.
- Upgrade to stronger brackets if you plan to add more accessories.
If you want to upgrade to a larger bar or add side pods, make sure your wiring and battery can handle the extra power. Overloading the system can cause dimming or electrical problems.
Frequently Asked Questions
How Do I Wire A Light Bar To Turn On With My High Beams?
You can use a relay to connect the light bar switch wire to the high beam circuit. This way, the bar only turns on when high beams are on.
You’ll need to find the high beam wire under the hood, splice into it with a relay trigger wire, and test before finalizing.
Be sure to follow your Jeep’s wiring diagram.
Will Installing A Light Bar Void My Jeep Warranty?
Most Jeep warranties are not affected by adding external lighting, as long as you don’t cut factory wires or damage the vehicle. Always use a separate harness and avoid tapping into the main electrical system.
If in doubt, ask your dealer before starting.
Can I Install A Light Bar Without Drilling Holes?
Yes, many mounting kits use factory bolts or clamps that don’t require drilling. However, roof mounts often need extra holes for secure attachment.
Double-check your specific light bar kit for “no-drill” options before buying.
Why Does My Light Bar Flicker Or Not Turn On?
Common causes include a loose ground connection, weak battery, or faulty relay. Check all connections, especially the ground wire to bare metal.
Also, make sure the battery is fully charged and the relay clicks when the switch is used.
Are Light Bars Street Legal?
In most US states, it’s illegal to use off-road light bars on public roads due to brightness. You may need to cover the bar when not in use.
Check your local laws and always use the light bar only in off-road or private areas.
Installing a light bar on your Jeep Grand Cherokee is a rewarding project that boosts both safety and style.
With careful planning and a bit of patience, you can achieve a professional result in just a few hours while enjoying the benefits on every nighttime drive or off-road adventure.


















