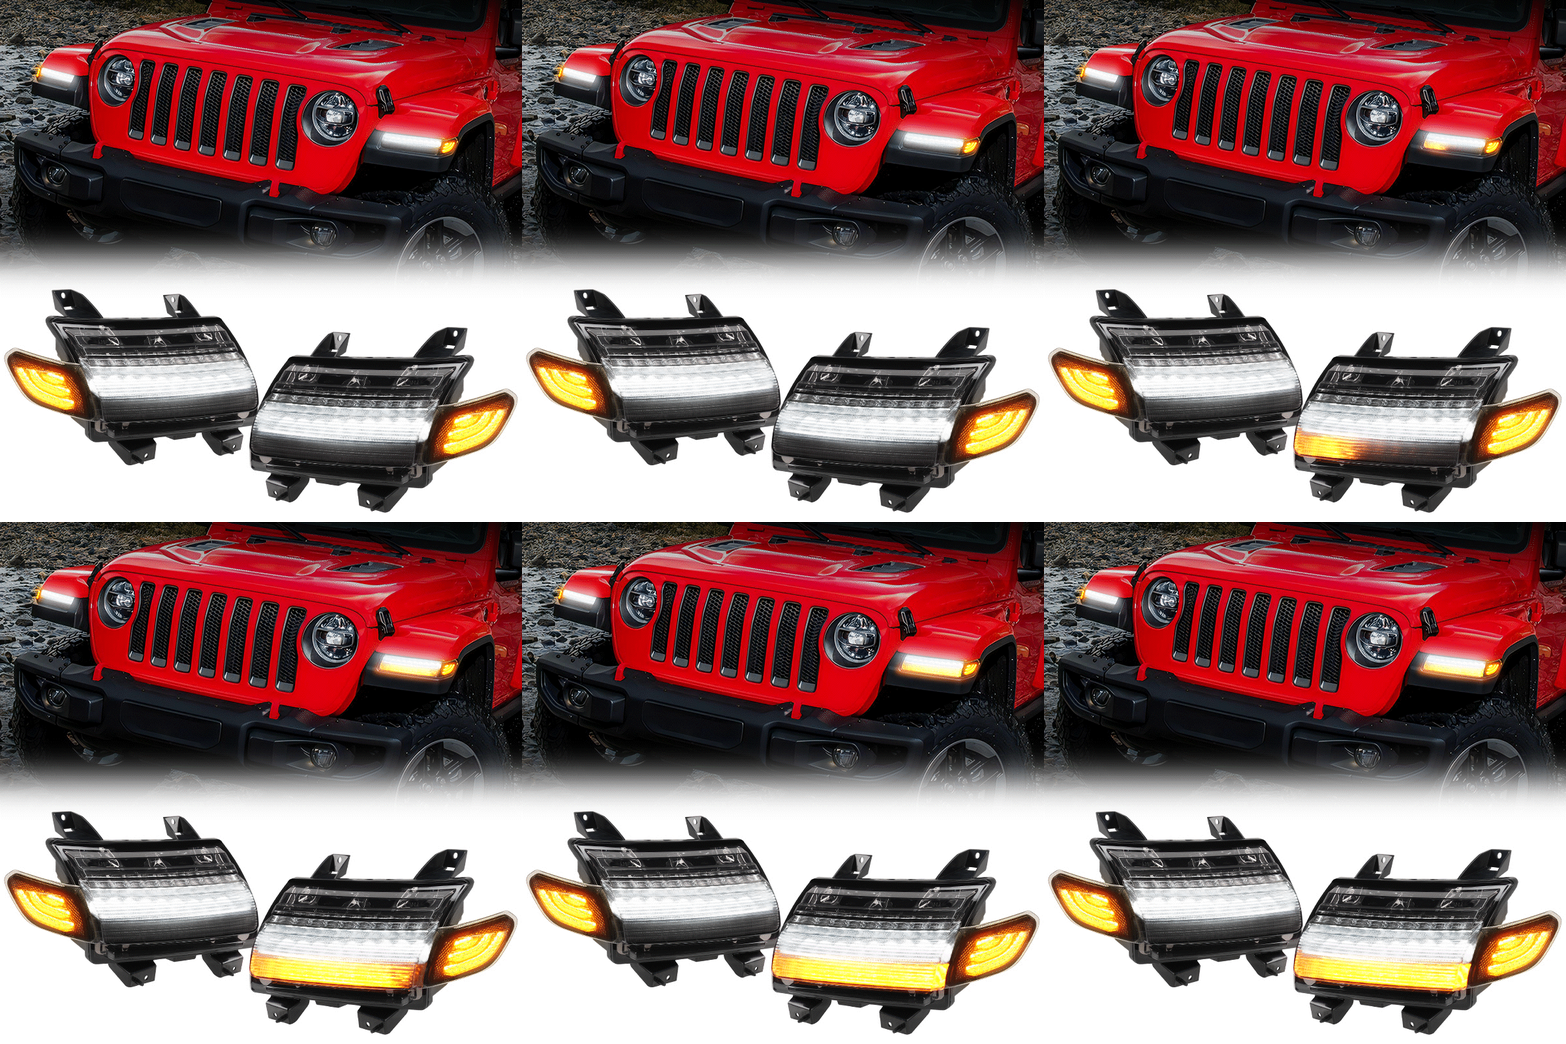
Installing flashing lights on your Jeep Wrangler JK is a popular upgrade for off-road enthusiasts, first responders, and anyone looking to boost visibility and style. Whether you want warning lights for trail safety or eye-catching accents, it’s important to do the job right. This guide explains the process step by step, highlights key decisions, and helps you avoid costly mistakes. Even if you’re not a car expert, you can install flashing lights on your Jeep with the right tools and a bit of patience.
Why Install Flashing Lights On A Jeep Wrangler Jk?
Flashing lights serve more than just a decorative purpose. They help you stand out in low-visibility conditions, signal your presence during group off-roading, and alert others if you’re stopped on the roadside. Emergency responders often add LED flashers for extra safety. For off-roaders, flashing lights can help your group keep track of each other, especially in dusty or foggy environments.
Choosing The Right Flashing Light
Not all flashing lights are equal. There are key factors to consider before buying:
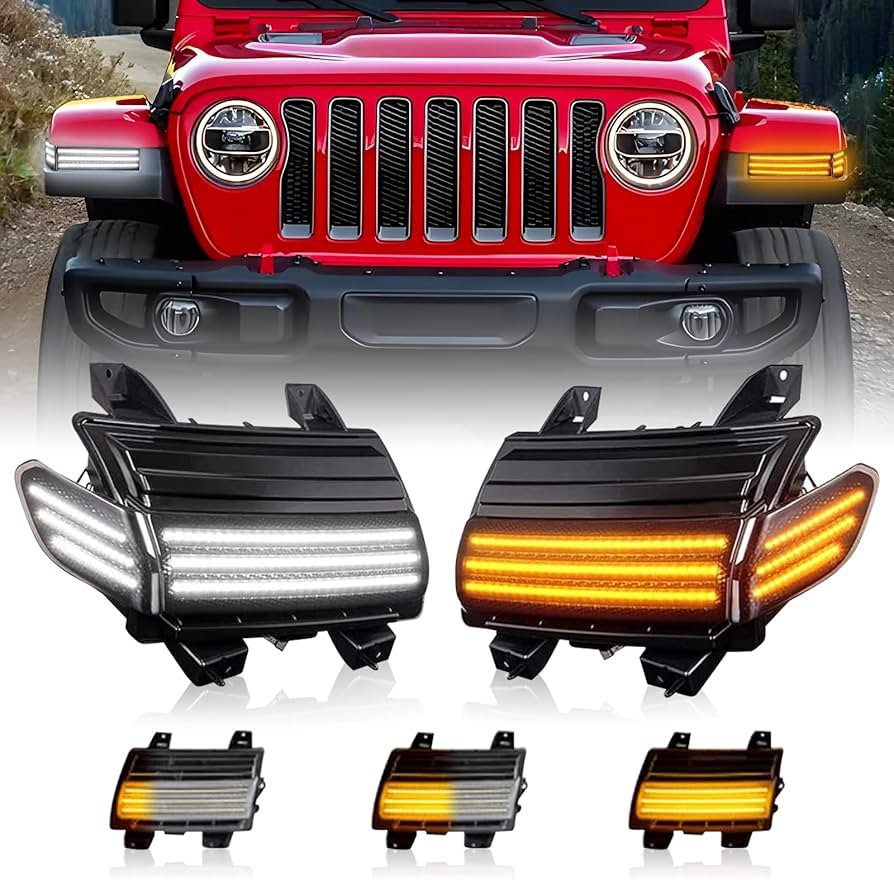
- Type of light: Most Jeep owners choose LED strobe lights for their brightness and low power usage. Halogen and incandescent options are less common today.
- Color and pattern: Check your local laws—some colors (like blue or red) might only be legal for emergency vehicles.
- Mounting location: Common spots are grille, bumper, roof, or windshield. Pick a location that fits your needs and doesn’t block your view.
- Weather resistance: Look for lights rated IP67 or higher to ensure they handle rain, mud, and dust.
Here’s a quick comparison of popular flashing light types:
| Type | Brightness | Power Use | Durability |
|---|---|---|---|
| LED | Very High | Low | Excellent |
| Halogen | Moderate | High | Good |
| Incandescent | Low | High | Poor |
Pro tip: Buy extra wiring and connectors—you might need them if you make a mistake or want to add lights later.
Tools And Materials Needed
Before starting, gather these items:
- Flashing light kit (with lights, controller, and mounting hardware)
- Wire stripper/crimper
- Screwdrivers (Phillips and flathead)
- Socket set
- Electrical tape or heat shrink tubing
- Multimeter (to check connections)
- Zip ties (for wire management)
- Drill (if mounting on metal surfaces)
Optional but helpful: fuse tap (to connect safely to your Jeep’s fuse box) and a relay (if your lights draw high current).
Step-by-step Installation Guide
1. Plan Your Installation
Decide where to mount your lights. The grille is the most popular spot, but the roof or bumper works well too. Check for clear access behind the mounting surface for wiring.
2. Disconnect The Battery
Safety first disconnect the negative terminal of your Jeep’s battery before working with any wiring.
3. Mount The Lights
Hold each light in place and mark the drill holes. Drill carefully, especially if you’re mounting on metal or plastic parts.
Secure the lights with bolts or screws from your kit. Make sure they’re tight, but don’t over-tighten and crack the housing.
4. Route The Wiring
Run the wires from the lights toward the engine bay. Use zip ties to secure them away from hot or moving parts. Avoid sharp edges that could cut through the insulation. If you’re routing wires through the firewall, look for a factory grommet or drill a new hole with a rubber grommet to prevent damage.
5. Connect The Wires
- Attach the positive (usually red) wire to your power source. Common options are the fuse box or directly to the battery (with a fuse).
- Connect the ground (black) wire to a bare metal spot on the Jeep’s body.
- If your kit has a controller box, follow the instructions to connect the lights and switch.
Here’s a quick look at common Jeep Wrangler JK fuse box locations:
| Year | Fuse Box Location | Access Difficulty |
|---|---|---|
| 2007-2011 | Engine Bay (Near Battery) | Easy |
| 2012-2018 | Engine Bay (Behind Airbox) | Moderate |
6. Install The Switch
Most flashing light kits include a toggle switch or push-button. Mount the switch in a spot you can reach easily—many drivers use a blank switch spot on the dashboard. Run wires from the controller or relay to the switch.
7. Test The System
Reconnect your battery. Turn on the switch and check each light.
If a light doesn’t work, double-check your connections with a multimeter. Make sure no wires are loose or exposed.
8. Secure Everything
Use zip ties and electrical tape to keep wires neat and protected. Tuck away any excess wiring.
Make sure nothing is near hot engine parts or moving components like the fan.
Common Mistakes And How To Avoid Them
Many first-timers make preventable errors:
- Using the wrong fuse: Always use a fuse that matches the amp rating for your lights. Too high, and you risk fire; too low, and the fuse will blow constantly.
- Skipping relays: High-power lights need a relay to prevent switch burnout.
- Poor grounding: A bad ground connection causes flickering or dead lights. Sand the grounding spot to bare metal.
- Messy wiring: Loose wires can catch on things or melt. Always secure them with zip ties.
Non-obvious insight: Avoid mixing different types of lights (LED and halogen) on the same circuit. They draw power differently and can cause flickering.
Legal Considerations
Some states restrict flashing light colors (especially blue and red) to emergency vehicles. Always check local laws before installation. Using illegal lights on public roads can result in fines or impounding your vehicle. For more details, consult your local Department of Motor Vehicles or review guidelines at NHTSA Lighting Requirements.
Maintenance Tips
- Check all connections every few months, especially after off-roading.
- Clean the light lenses with mild soap and water—never use harsh chemicals.
- Replace any worn or cracked wiring immediately.
Cost Breakdown
Installing flashing lights can cost anywhere from $40 to $200 for DIY kits, depending on quality and features. Professional installation may add $100 to $300. Doing it yourself saves money, but always prioritize safety.
A simple cost comparison:
| Option | Parts Cost | Labor Cost | Total |
|---|---|---|---|
| DIY | $40–$200 | $0 | $40–$200 |
| Professional | $40–$200 | $100–$300 | $140–$500 |
Final Thoughts
Adding flashing lights to your Jeep Wrangler JK is a practical and rewarding project. With proper planning and attention to detail, you can boost both safety and style.
Take your time, follow each step, and double-check your work. The result will be a Jeep that stands out and keeps you safe on any adventure.
Frequently Asked Questions
How Long Does It Take To Install Flashing Lights On A Jeep Wrangler Jk?
Most DIYers can complete the job in 2 to 4 hours. If you’re new to wiring, set aside extra time to avoid rushing.
Are Flashing Lights Legal For Personal Vehicles?
It depends on your state. Amber lights are usually legal, but blue and red are often restricted. Always check local regulations.
Do I Need To Disconnect The Battery Before Installation?
Yes. Disconnecting the battery prevents accidental short circuits or shocks while working on your Jeep.
Can I Use My Factory Switch Panel For The Lights?
If your Jeep has extra unused switches, you can wire the lights to them. Otherwise, add a dedicated switch for safety.
What Should I Do If A Light Doesn’t Work After Installation?
Check your connections, fuse, and ground first. Use a multimeter to test voltage at the light. If all else fails, consult the kit manual or ask for help from a Jeep forum.