If you’re a Jeep owner, you know how small upgrades can make a big impact. One easy way to give your vehicle a fresh look and added protection is installing blinker light trim. This simple mod not only enhances the style but also protects the blinker lights from minor impacts and debris. If you’re interested in doing it yourself, you’ll be happy to know the process is straightforward, even for beginners. Let’s walk through everything you need to install blinker light trim on your Jeep, including tools, prep, installation steps, and troubleshooting common issues.
Why Install Blinker Light Trim On Your Jeep?
Upgrading your Jeep with blinker light trim is more than just about looks. Here’s why many Jeep enthusiasts consider this a must-have modification:
- Protection: The trim acts as a shield, reducing the risk of cracks or chips from rocks and road debris.
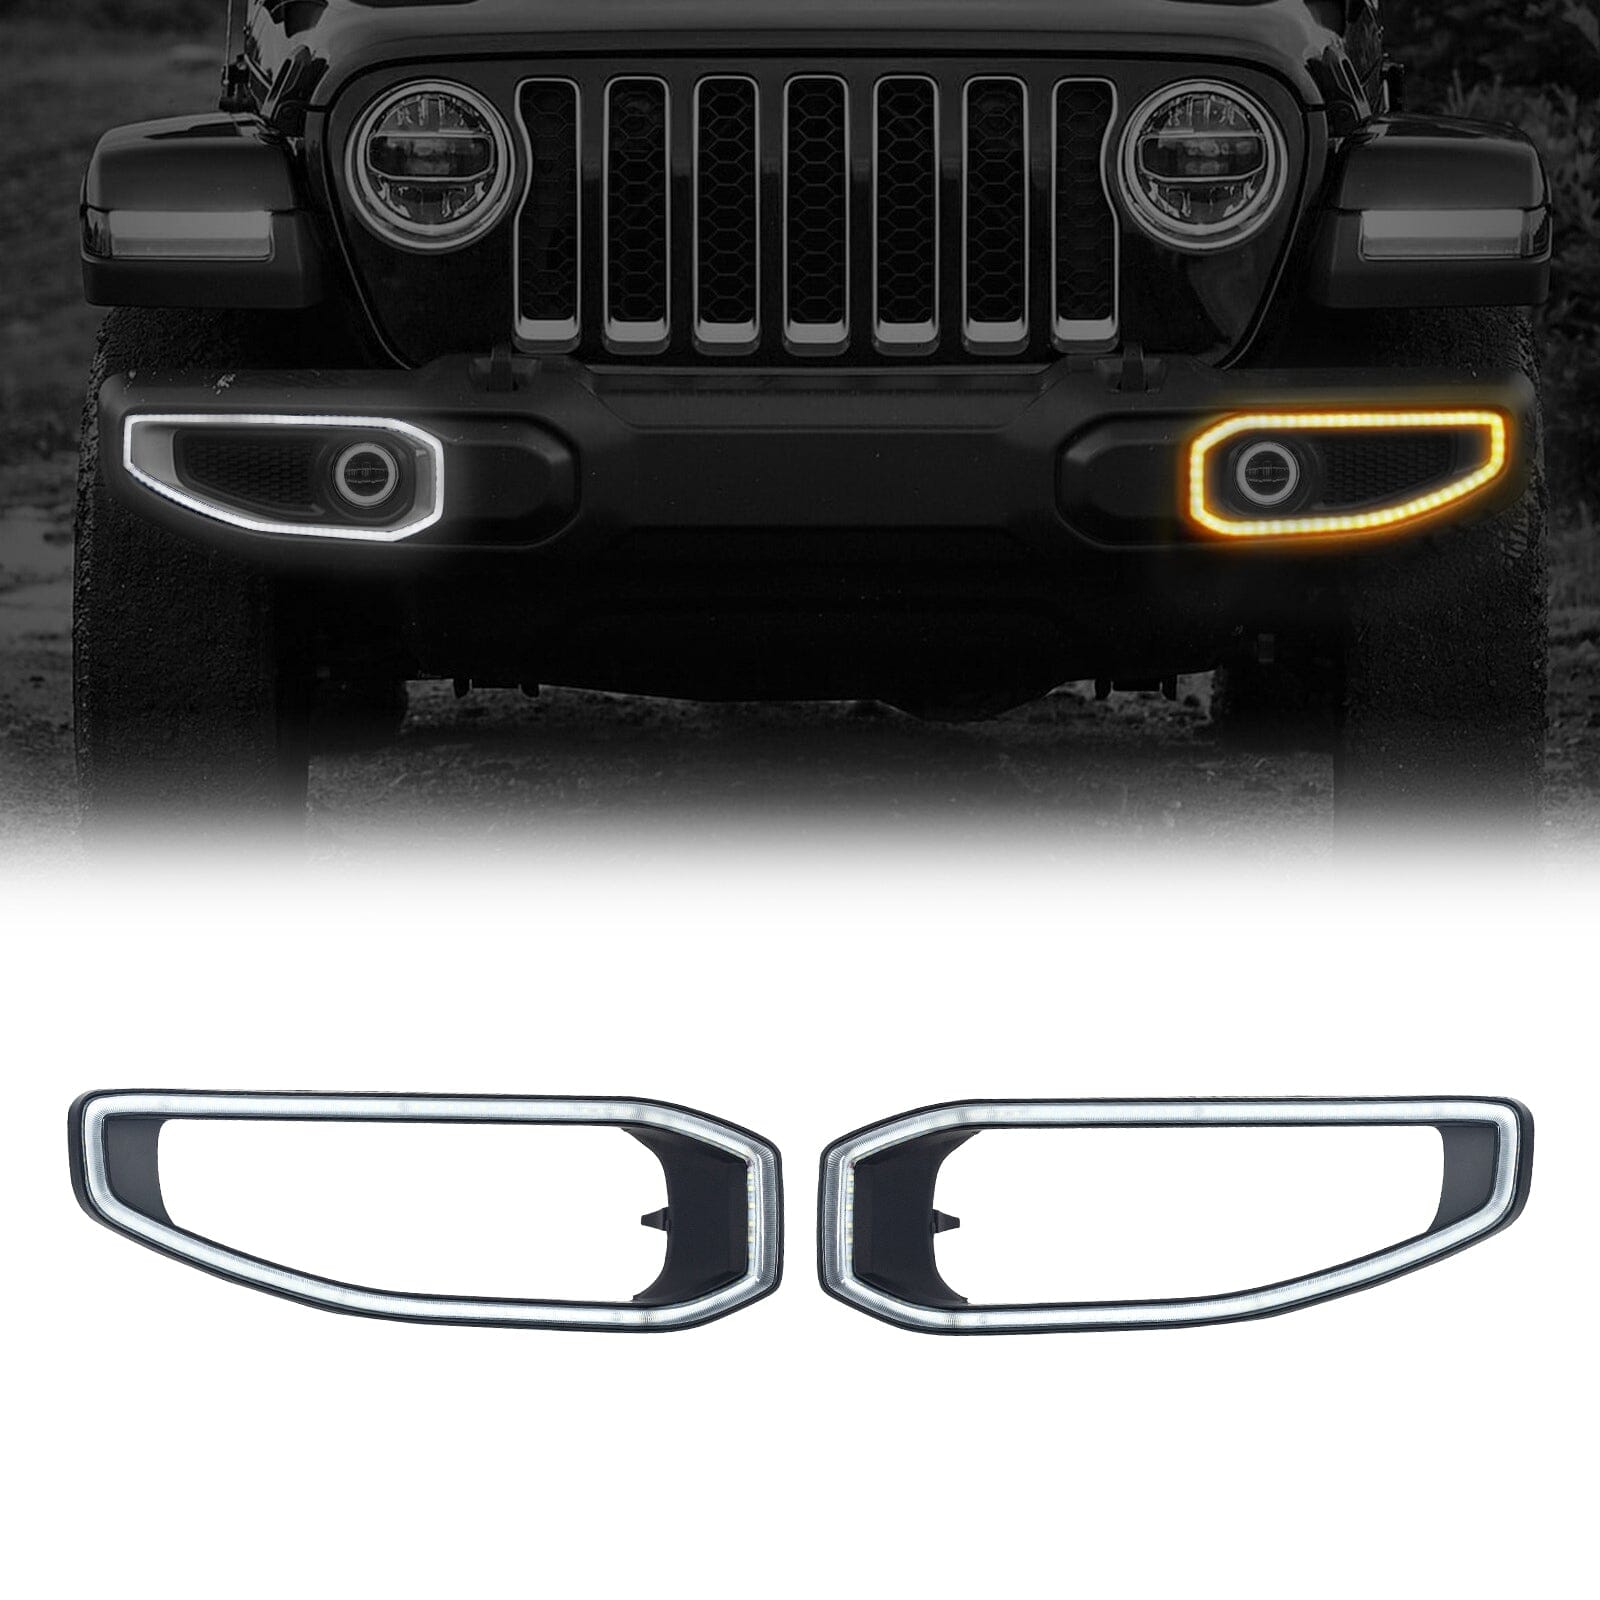
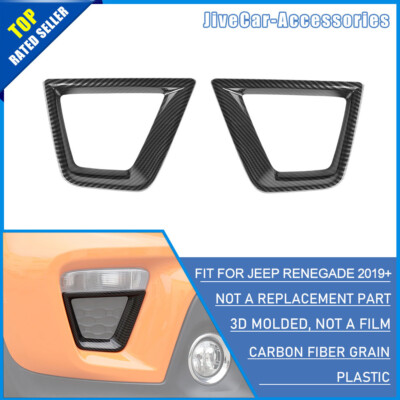
- Style: Available in chrome, matte black, or custom finishes, the trim gives your Jeep a distinctive, finished appearance.
- Resale Value: Small upgrades like trim can keep your Jeep looking new, which can help maintain or even improve resale value.
- Customization: It’s an easy way to match other accessories or your overall build theme.
Many owners miss the fact that proper trim can also seal the edge of the light, preventing water or dust from getting into the housing a detail that pays off in the long run.
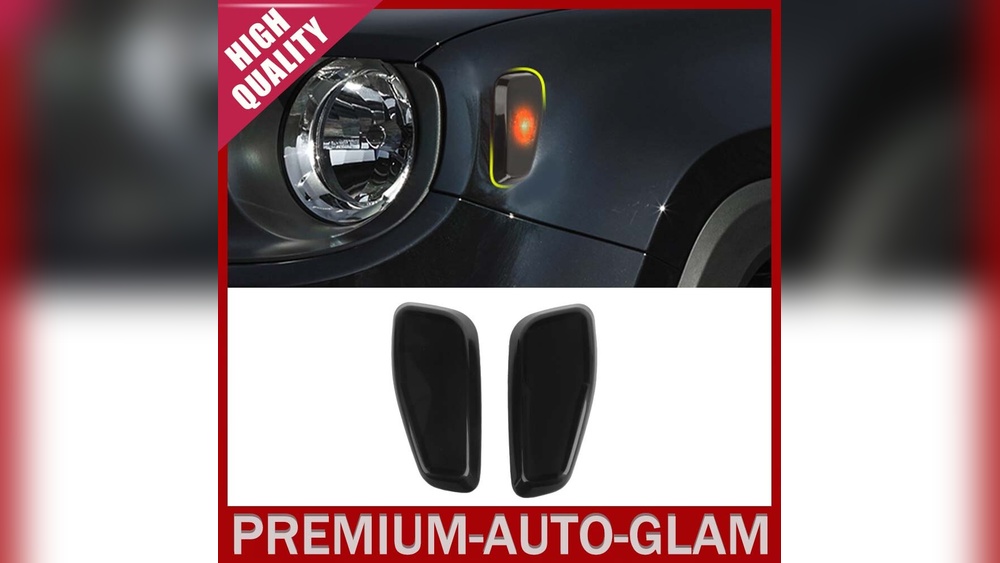
Choosing The Right Blinker Light Trim
Not all trims are created equal. Making the right choice is important for both fit and durability. Consider these factors:
Material
- ABS Plastic: Lightweight, affordable, resists fading.
- Stainless Steel: Strong, rust-resistant, adds a premium feel.
- Aluminum: Light but may dent more easily.
- Rubberized: Offers flexibility and extra impact resistance.
Finish
- Matte Black: Popular for off-road builds, hides scratches.
- Chrome: Classic, bright, but shows fingerprints easily.
- Paintable: Can match your Jeep’s body color for a seamless look.
Fitment
- Always check compatibility with your Jeep’s year and model. Trims for a Jeep Wrangler JL may not fit a JK or TJ.
- Some trims use 3M adhesive tape for easy installation, while others may require screws or clips.
Price And Warranty
- Prices range from $20 to $80 for a set, depending on material and brand.
- Look for products with at least a 1-year warranty for peace of mind.
Below is a quick comparison of popular trim materials:
| Material | Durability | Cost | Finish Options |
|---|---|---|---|
| ABS Plastic | Good | Low | Matte, Paintable |
| Stainless Steel | Excellent | High | Chrome, Polished |
| Aluminum | Moderate | Medium | Matte, Anodized |
| Rubberized | Good | Medium | Black Only |
Most Jeep owners choose ABS plastic for daily driving and stainless steel for show or extreme conditions.
Tools And Materials You’ll Need
Preparation is key for a smooth installation. Gather these items before you start:
- Blinker light trim kit (specific to your Jeep model)
- Isopropyl alcohol wipes or a clean cloth and mild detergent
- Plastic trim removal tool (optional, but prevents scratches)
- Masking tape (for alignment)
- Screwdriver (if your kit uses screws)
- 3M automotive tape (if not included in your kit)
- Gloves (to keep oils off surfaces)
If you’re installing on a cold day (below 60°F), a hairdryer can help the adhesive bond better.
Preparing Your Jeep For Installation
Proper prep leads to a longer-lasting, cleaner installation. Here’s what to do:
- Park on a flat surface and turn off the ignition. Open the hood for easier access if needed.
- Clean the blinker area thoroughly. Remove all dirt, wax, or grease with alcohol wipes or soap and water. Let it dry completely.
- Test fit the trim pieces without removing the adhesive backing or hardware. This helps you see how they align and ensures you have the correct parts.
- Mark alignment points with masking tape if you want perfect placement. This is especially helpful for first-timers.
Many people rush the cleaning step, but leftover wax or oil is the number one reason trim doesn’t stick well. Take your time here.
Step-by-step Installation Instructions
With everything ready, follow these steps to install your blinker light trim:
1. Remove Old Trim (if Applicable)
If your Jeep already has factory or aftermarket trim, carefully remove it. Use a plastic trim tool to gently pry it away.
Avoid metal tools they can scratch paint or crack the lens.
2. Prepare The Surface
Wipe down the area again with isopropyl alcohol. This removes invisible oils and ensures a strong bond.
3. Apply Adhesive (if Needed)
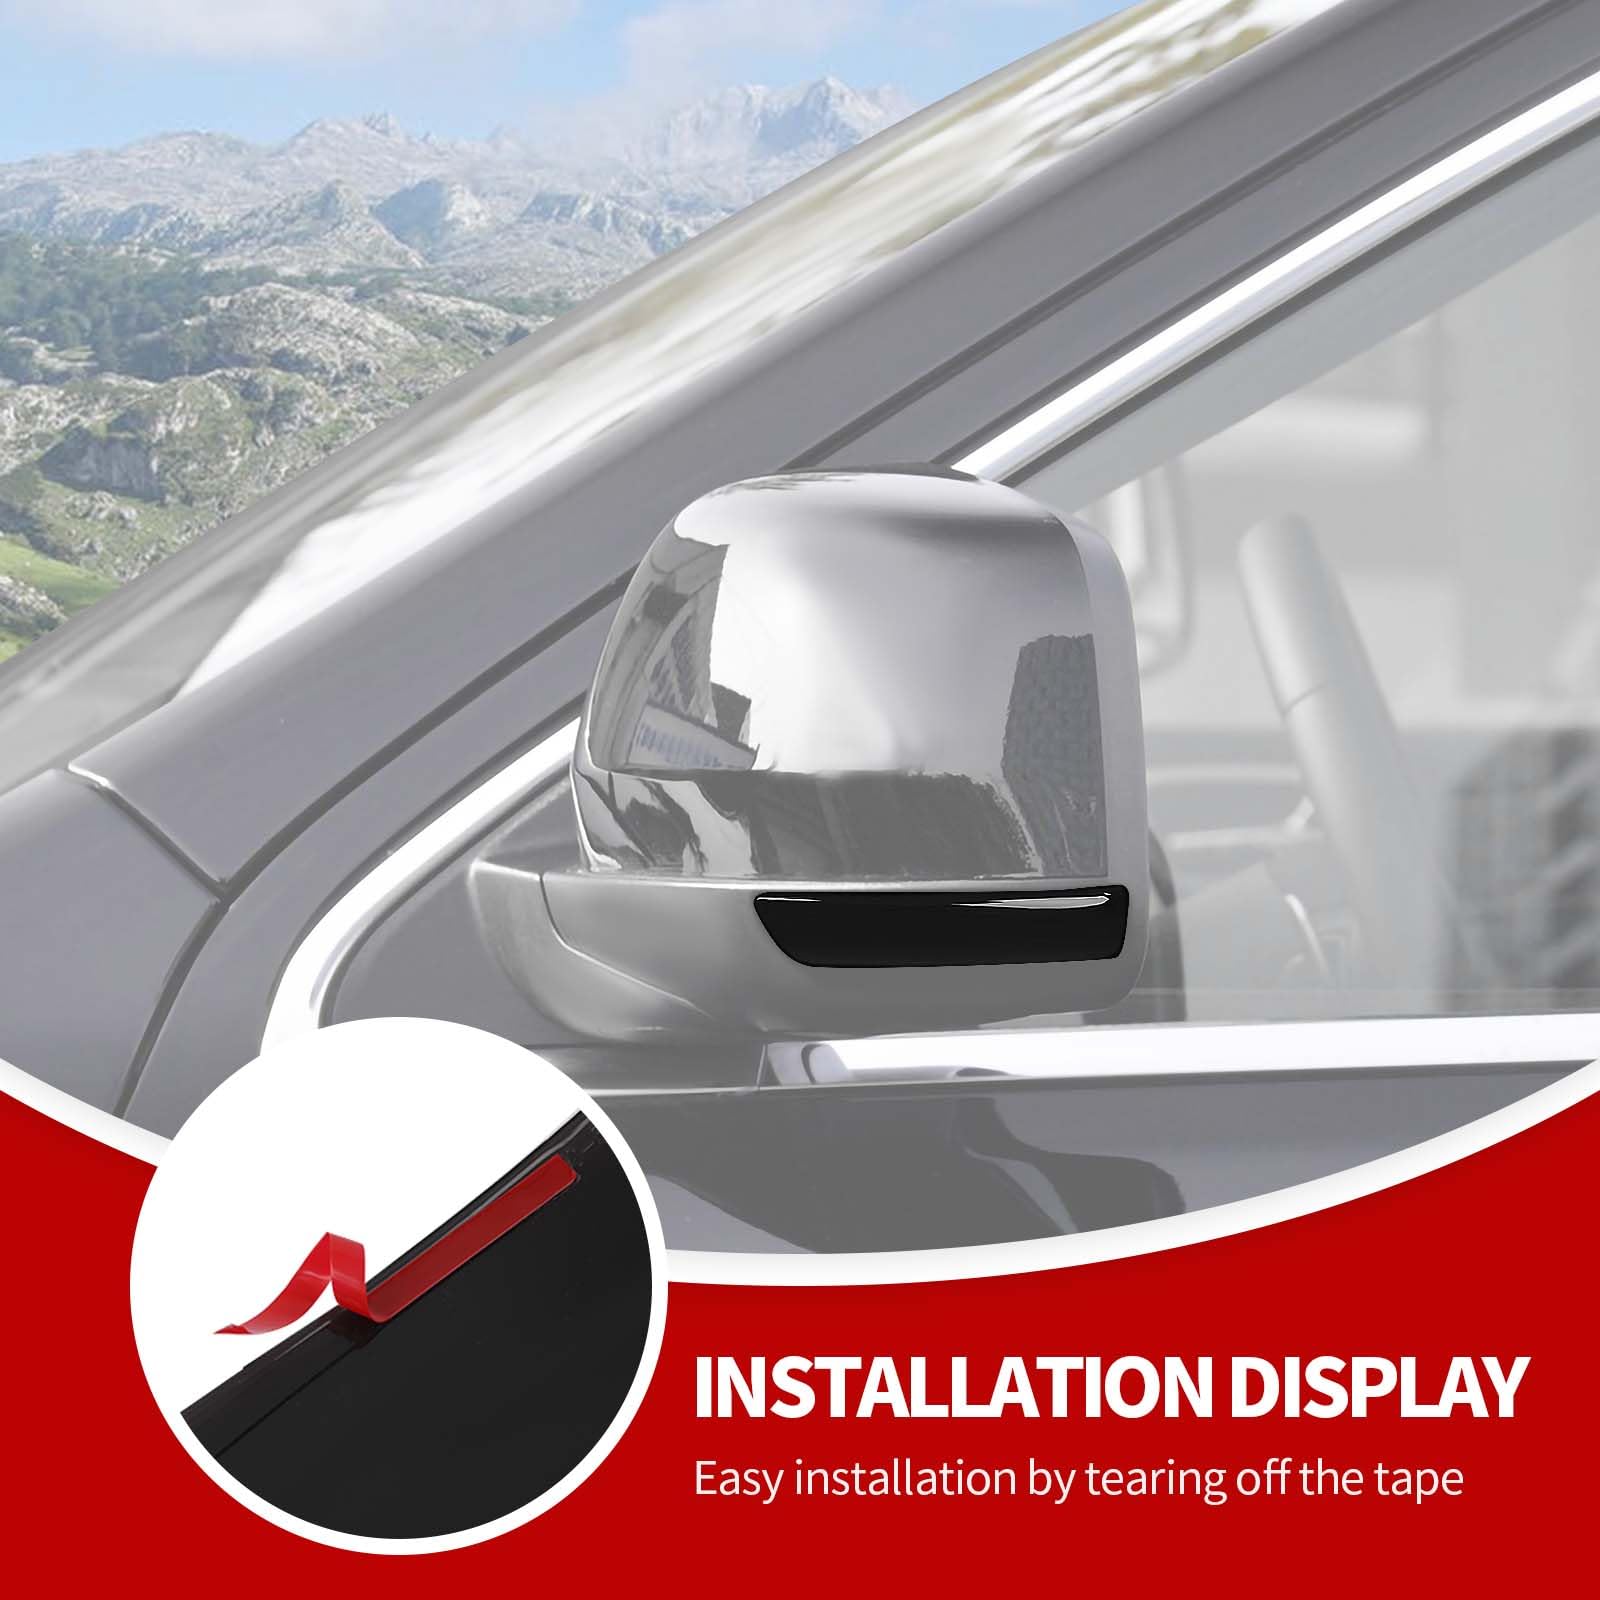
If your trim uses 3M tape and it’s not pre-installed, cut strips to fit the back of the trim. Press them firmly to ensure full contact.
4. Position The Trim
- Peel off a small section of the adhesive backing to create a “tab.”
- Line up the trim using your masking tape guides.
- Press the exposed area to stick the trim in place.
- Slowly pull the rest of the backing as you press the trim onto the surface.
This method helps you correct small misalignments before the whole piece is stuck.
5. Secure With Screws Or Clips (if Required)
Some heavy-duty trims come with screws or clips. Insert them according to the kit instructions, being careful not to overtighten this can crack the trim or light housing.
6. Final Press
Use your hands or a clean cloth to press the trim firmly all around the edge for about 30 seconds. If it’s cold, use a hairdryer to gently heat the area and improve adhesion.
7. Let The Adhesive Cure
Don’t wash your Jeep or expose it to heavy rain for at least 24 hours. This gives the adhesive time to fully bond.
Below is a quick look at install methods for different trim types:
| Trim Type | Installation Method | Tools Needed |
|---|---|---|
| ABS Plastic (Adhesive) | Peel and Stick | Alcohol wipes, Cloth |
| Stainless Steel (Screws) | Screw-On | Screwdriver |
| Rubberized (Clips) | Snap Fit | None |
Common Mistakes And How To Avoid Them
Even a simple mod can run into problems if you’re not careful. Here’s what to watch out for:
- Skipping the cleaning step: Adhesive won’t stick well to dirty or oily surfaces.
- Misalignment: Rushing the fit can leave the trim crooked. Always test fit and use guides.
- Overtightening screws: This can crack plastic trims or damage your blinker housing.
- Ignoring temperature: Adhesive works best between 65–80°F. If it’s cold, warm the area with a hairdryer first.
- Not letting adhesive cure: Washing the car too soon can cause the trim to peel off.
A common insight: Many owners forget that even “universal” trims can have small fitment differences. Always compare the trim to your blinker housing before you start installation.
Aftercare And Maintenance
Your new blinker light trim should last for years with basic care:
- Wash gently: Use a soft cloth and avoid harsh chemicals.
- Check for looseness: Inspect every few months, especially after off-roading.
- Tighten screws if needed: But never overtighten.
- Repair chips or scratches: Use touch-up paint for painted trims or polish for chrome.
If you see peeling or lifting edges, remove the trim, clean the area, and reapply with fresh adhesive. Catching this early prevents water from getting behind the trim and causing more damage.
How Blinker Light Trim Compares To Other Jeep Accessories
You might wonder how this upgrade stacks up against other popular Jeep accessories. Here’s a quick comparison:
| Accessory | Main Benefit | Install Difficulty | Average Cost |
|---|---|---|---|
| Blinker Light Trim | Protection & Style | Easy | $20–$80 |
| Headlight Guards | Impact Protection | Medium | $40–$120 |
| Fender Flares | Debris Shield | Hard | $100–$400 |
| Grille Inserts | Front-End Style | Easy | $30–$100 |
Blinker light trim offers one of the best balances of cost, ease, and visual impact for Jeep upgrades.
Troubleshooting Common Installation Issues
If you run into trouble, don’t panic. Here are fixes for common problems:
- Trim won’t stick: Clean the surface again, use new adhesive tape, and check the temperature.
- Trim is loose: Tighten screws gently or check that clips are fully seated.
- Gap between trim and blinker: The trim may be for a different model or warped. Try warming it with a hairdryer to reshape.
- Peeling after washing: Wait a full 24 hours before getting the area wet. If it still peels, replace the tape with high-quality 3M.
If you’re unsure about fitment or installation, check your Jeep’s user manual or forums like Wrangler Forum for advice specific to your model.
How Long Does It Take To Install Blinker Light Trim?
For most Jeep models, installation takes 20–40 minutes. If you’re new to mods, add extra time for cleaning and test fitting. Kits with screws may take a little longer than adhesive types.
Will Installing Trim Void My Jeep’s Warranty?
No, adding blinker light trim will not void your warranty. These are non-invasive, surface-level accessories. However, using improper tools or damaging the lens during install could affect coverage on that part.
Can I Paint The Trim To Match My Jeep’s Color?
Yes, many trims come paint-ready or can be lightly sanded, primed, and painted. Use automotive paint for best results. Always check the manufacturer’s instructions before painting.
What If The Trim Doesn’t Fit Perfectly?
If the trim doesn’t align or leaves gaps, double-check your Jeep’s year/model compatibility. Sometimes, slight heating with a hairdryer helps the trim mold for a better fit.
If it still doesn’t fit, contact the seller for an exchange.
Is Blinker Light Trim Just For Looks, Or Does It Really Protect?
While style is a big reason, the trim also protects your blinker lights from chips, scratches, and minor impacts. It can also help keep water and dust out of the light housing, which can extend the life of your lights.
Upgrading your Jeep with blinker light trim is a quick, affordable project that brings both style and substance. With the right prep and tools, you can finish this mod in under an hour and enjoy the improved look and protection for years to come.
Whether you’re new to DIY or a seasoned Jeep builder, this is one upgrade you’re likely to appreciate every time you hit the road.