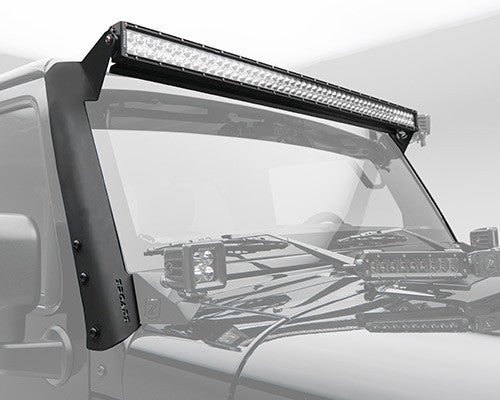
Installing a Lunen light bar on your Jeep Wrangler can transform your night driving experience. It brings extra visibility for off-roading, camping, or simply cruising after sunset. Many Jeep owners hesitate because they think it’s too technical or risky for their vehicle. But with the right guide and a bit of patience, you can install a Lunen light bar safely and effectively—even as a beginner.
Choosing The Right Lunen Light Bar
Before starting, make sure you have the correct light bar for your Wrangler. Lunen offers several sizes, brightness levels, and mounting styles. Measure the available space on your roof or bumper. Most Jeep Wranglers fit a 50-inch curved light bar on the roof, but double-check your model. Compare lumens, waterproof ratings, and beam patterns.
| Model | Size (inches) | Lumens | Waterproof Rating |
|---|---|---|---|
| Lunen Curved | 50 | 30,000 | IP68 |
| Lunen Straight | 40 | 24,000 | IP67 |
| Lunen Mini | 20 | 12,000 | IP67 |
A common mistake is ignoring the beam pattern. Spot beams are good for long-distance, while flood beams offer wider coverage. For off-roading, a combo (spot + flood) is best.
Gather Your Tools And Materials
You’ll need more than just the light bar. Here’s a quick checklist:
- Lunen light bar and mounting brackets
- Wiring harness (usually included)
- Socket wrench set
- Screwdrivers
- Drill (if mounting holes are needed)
- Electrical tape
- Zip ties
- Protective gloves
Some kits include a relay and fuse, which help prevent electrical issues. Make sure you have these; they’re important for safe wiring.
Step-by-step Installation Guide
1. Prepare Your Jeep
Park your Jeep on a flat surface. Disconnect the battery this prevents shocks or short circuits.
Clean the mounting area to remove dust or oil. If you’re roof-mounting, check for factory holes or use a measuring tape to mark new spots.
2. Attach Mounting Brackets
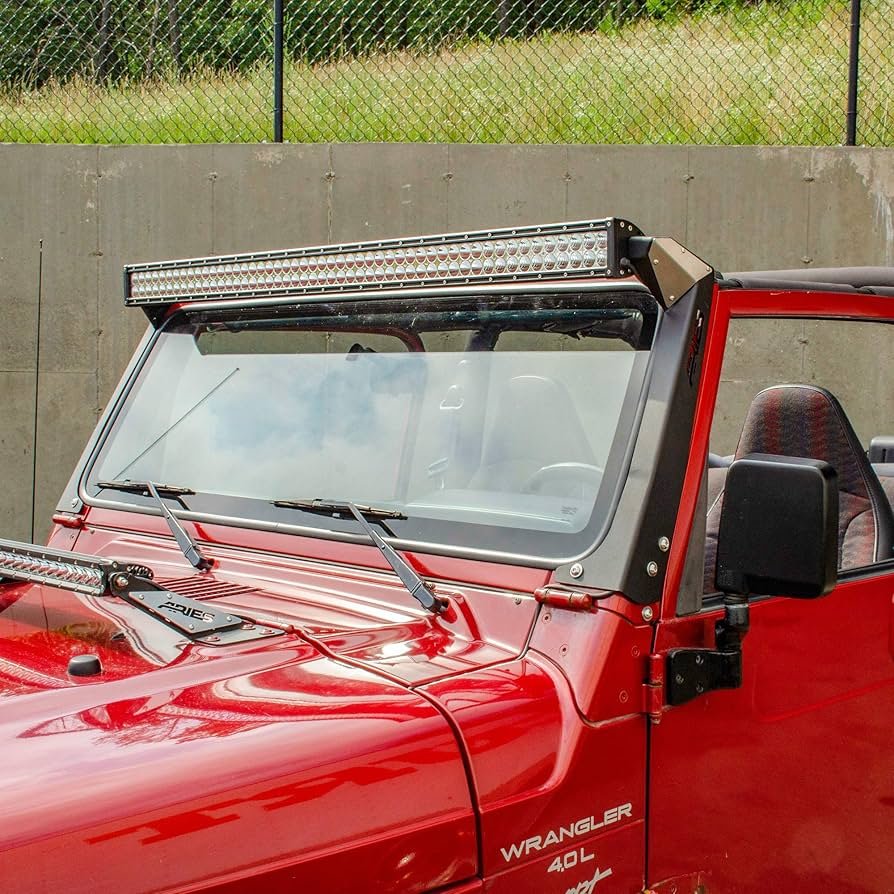
Secure the mounting brackets to your Jeep using bolts and a socket wrench. If your Wrangler doesn’t have pre-drilled holes, mark the spots and carefully drill. Mounting on the roof typically requires two brackets at either end. For bumper mounting, position brackets where they don’t block the license plate.
3. Install The Light Bar
Lift the light bar into place. Align with the brackets and tighten the bolts.
Don’t overtighten; this can crack the housing. Adjust the light bar angle for best beam coverage. Double-check both sides for stability.
4. Route The Wiring Harness
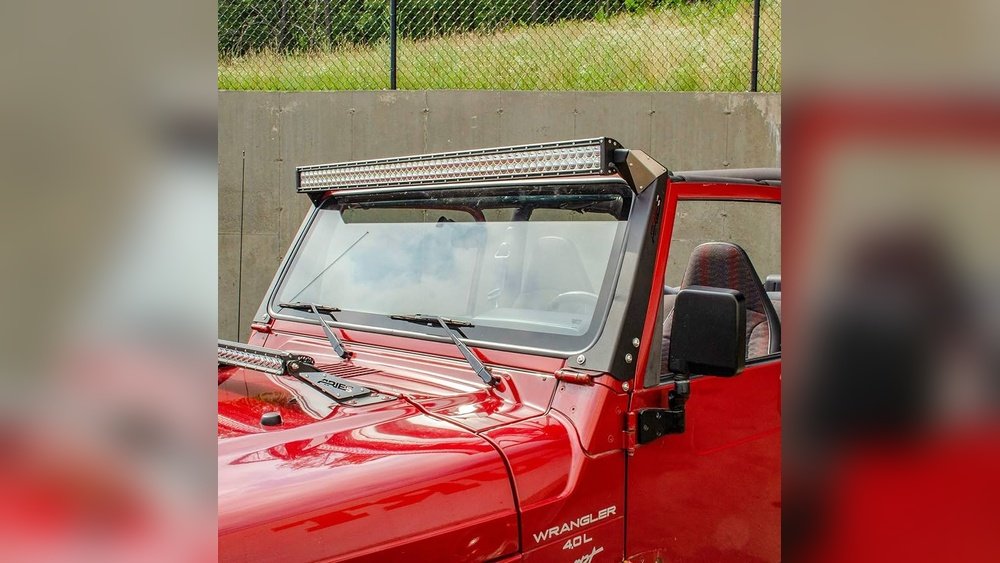
Run the wiring harness from the light bar to the engine bay. Use zip ties to secure wires away from moving parts and hot surfaces. For roof-mounted bars, route wires down the windshield pillar (inside or outside, depending on your preference).
5. Connect Power And Switch
Locate your Jeep’s battery and fuse box. Connect the positive wire to the battery’s positive terminal and the negative to the chassis or negative terminal.
If your kit includes a relay, mount it near the battery. Install the switch inside the cabin most people place it near the steering wheel.
Use electrical tape for all exposed connections. Insert a fuse as recommended (usually 30A). Double-check all connections before reconnecting the battery.
6. Test The Light Bar
Reconnect the battery. Flip the switch—your Lunen light bar should turn on. Check for flickering or dimness, which often means a loose connection. If the light doesn’t work, check the fuse and wiring. Adjust the light bar angle as needed.
Practical Tips For A Smooth Installation
- Avoid pinching wires under panels; this causes shorts.
- Use silicone sealant around drilled holes to prevent water leaks.
- Don’t use the light bar on public roads—it’s meant for off-road or low-visibility areas.
- Consider weatherproof connectors if you live in rainy or snowy regions.
- Take photos of each step. If you need help later, these are useful for troubleshooting.
Many beginners miss the importance of relay placement. Placing it too close to hot engine parts can cause failure. Mount it on the firewall or a cool, dry area.
Comparison: Lunen Vs Other Light Bars
To make sure you’re getting the best performance, here’s a quick comparison:
| Brand | Average Lifespan (hours) | Warranty (years) | Price (USD) |
|---|---|---|---|
| Lunen | 50,000 | 3 | 250 |
| Rigid | 40,000 | 2 | 350 |
| Nilight | 30,000 | 1 | 120 |
Lunen offers a strong mix of durability, brightness, and warranty for a reasonable price.
Common Installation Mistakes
Some errors can lead to costly repairs or electrical issues:
- Skipping battery disconnection: Causes shocks or damage.
- Using too small a fuse: Risks overheating and fire.
- Not sealing drilled holes: Leads to water damage.
- Forgetting to secure wires: Wires can get tangled or cut by moving parts.
Always double-check your work. Test the light bar before finishing.
Real-world Example
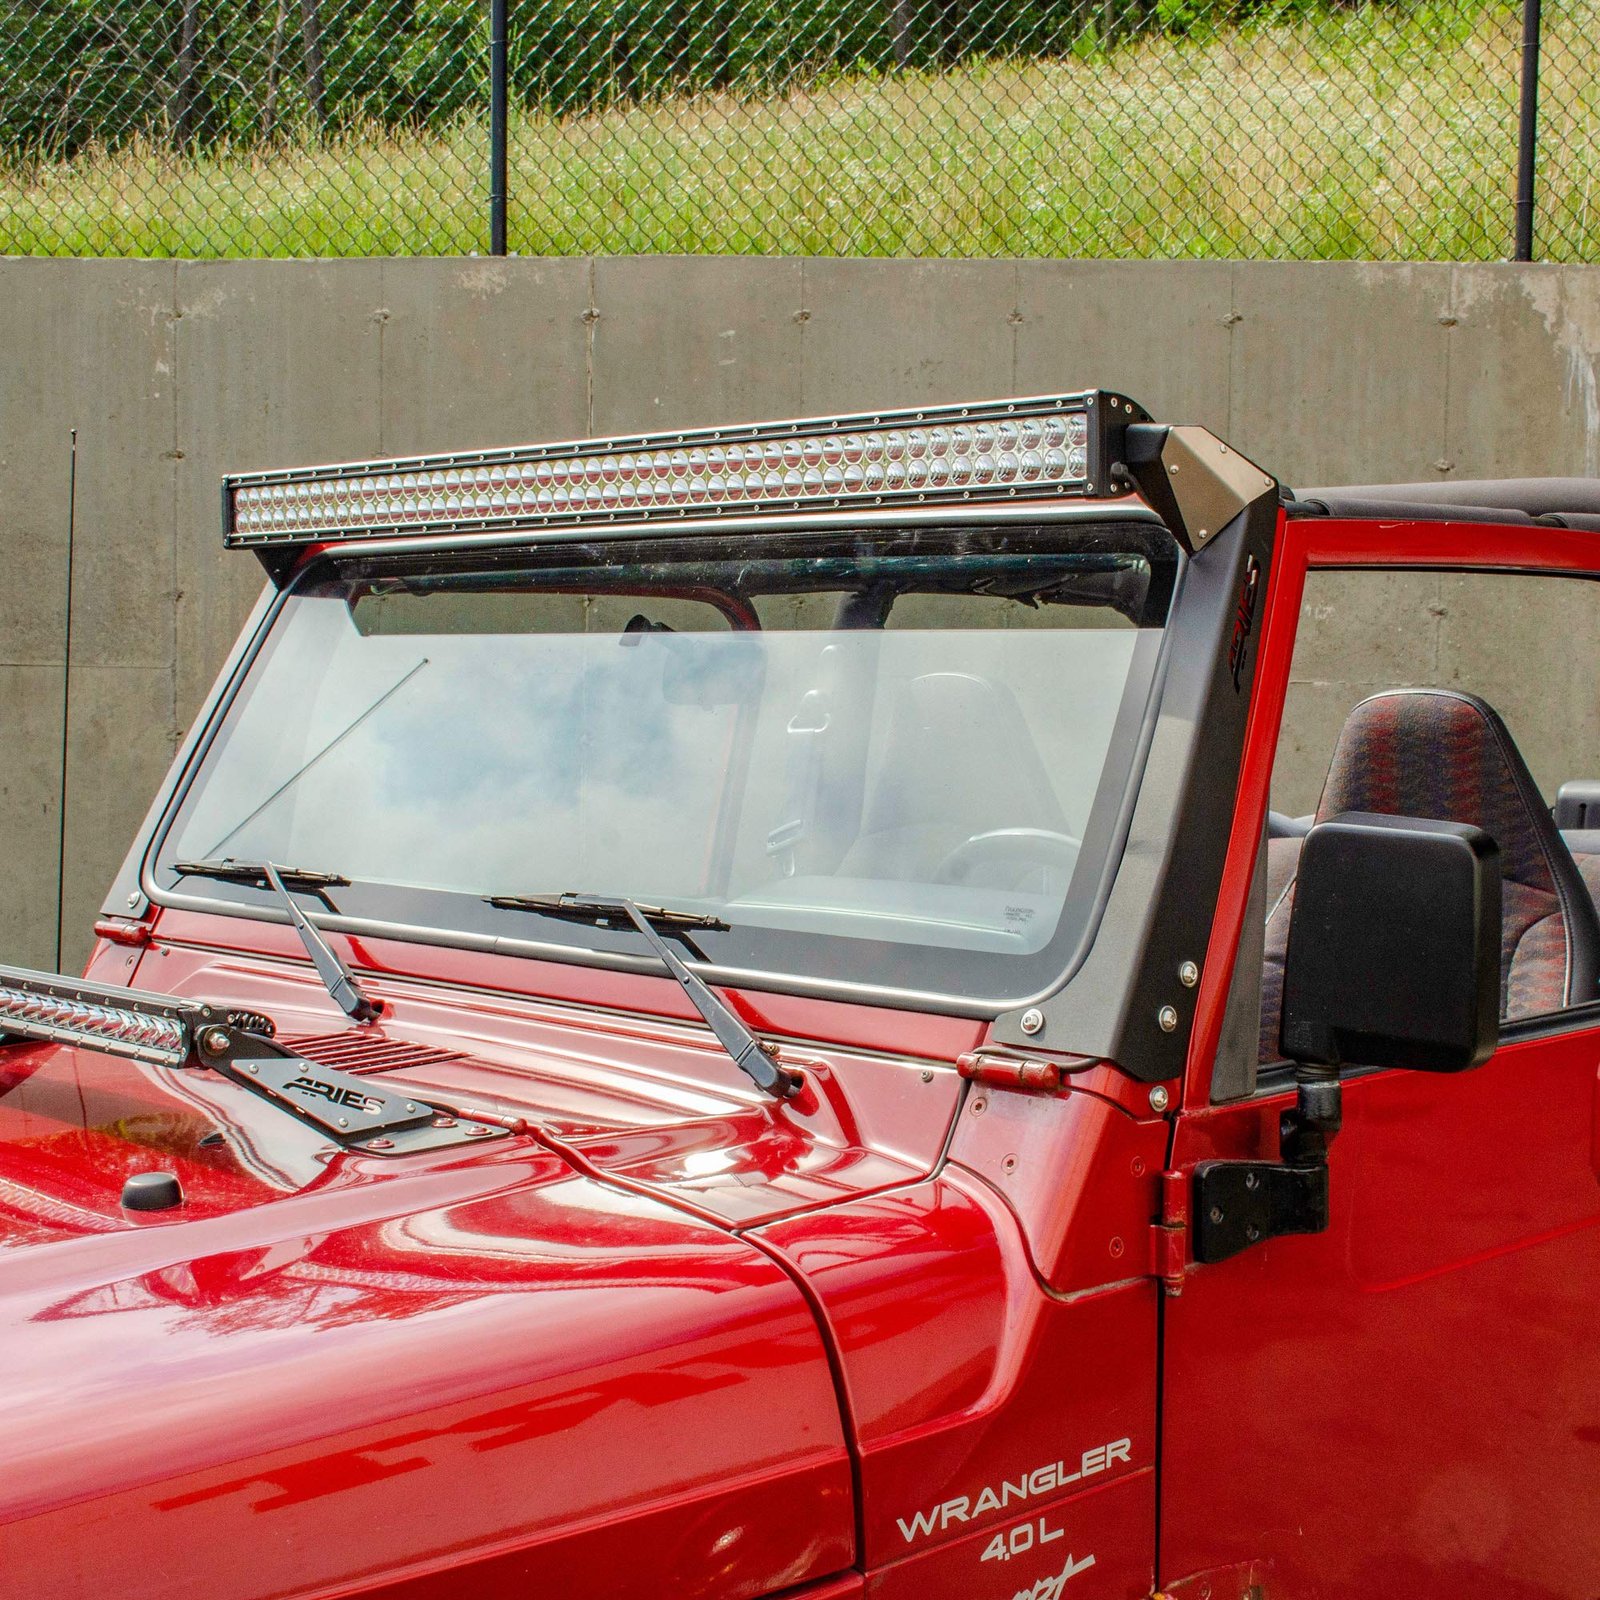
Jake, a Jeep Wrangler owner from Colorado, installed a Lunen 50-inch curved light bar on his 2017 Wrangler. He took two hours, used factory roof holes, and routed wires inside the pillar to avoid water exposure. After testing, he noticed his switch wasn’t working—he’d forgotten to connect the relay ground. Fixing this solved the issue. Jake’s tip: “Take your time and don’t rush the wiring. It’s worth it for a reliable setup.”
Frequently Asked Questions
How Long Does Installation Take?
Most people finish in 1-3 hours. If you’re new to DIY, set aside extra time for measuring and wiring.
Can I Install A Lunen Light Bar Without Drilling?
Some Jeep models have factory holes for mounting. If not, careful drilling is needed. Always use silicone to seal new holes.
Is The Lunen Light Bar Legal For Street Use?
No, it’s not legal to use high-powered light bars on public roads. They’re for off-road or emergency visibility only.
What Should I Do If The Light Bar Flickers?
Usually, flickering means a loose wire or weak connection. Check all connections, especially ground and fuse. Replace the fuse if it’s blown.
Where Can I Find Installation Manuals Or Support?
Lunen’s official site offers detailed guides and videos. For reference, visit Lunen Official Support.
Installing a Lunen light bar on your Jeep Wrangler is a rewarding project. It not only boosts your visibility but adds rugged style. By following these steps and tips, you’ll ensure a safe, effective installation that lasts for years. Take your time, use the right tools, and enjoy your upgraded Jeep—ready for any adventure, day or night.