If your 2013 Jeep Grand Cherokee tail light assembly is broken or not working, replacing it yourself can save money and time. This job is easier than many think no advanced tools or special skills required.
Still, there are a few details that can make the difference between a smooth installation and a frustrating one.
This guide covers everything you need, from tool selection to final checks, so you can confidently replace your tail light assembly at home.
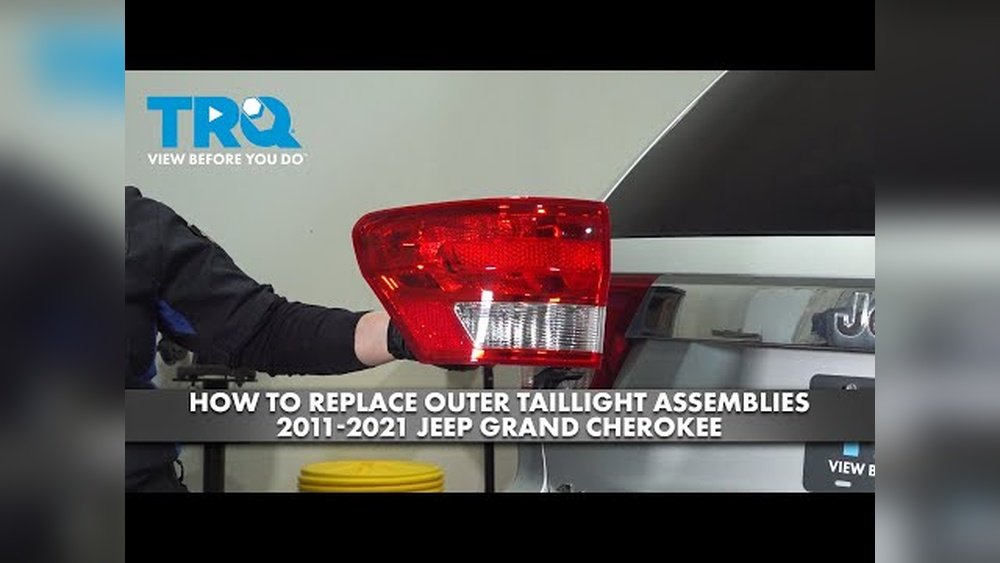
Tools And Materials You Need
Having the right tools ready will make the process much smoother. For a 2013 Jeep Grand Cherokee, you will need:
- New tail light assembly (driver or passenger side as needed)
- Phillips screwdriver
- Socket wrench (usually 10mm)
- Gloves (optional but keeps hands clean)
- Clean cloth (for wiping surfaces)
Buying a quality replacement part matters. Avoid the cheapest options, as poor fit or weak plastic can cause leaks or electrical problems later.
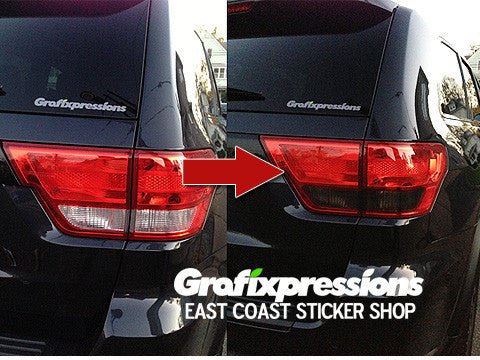
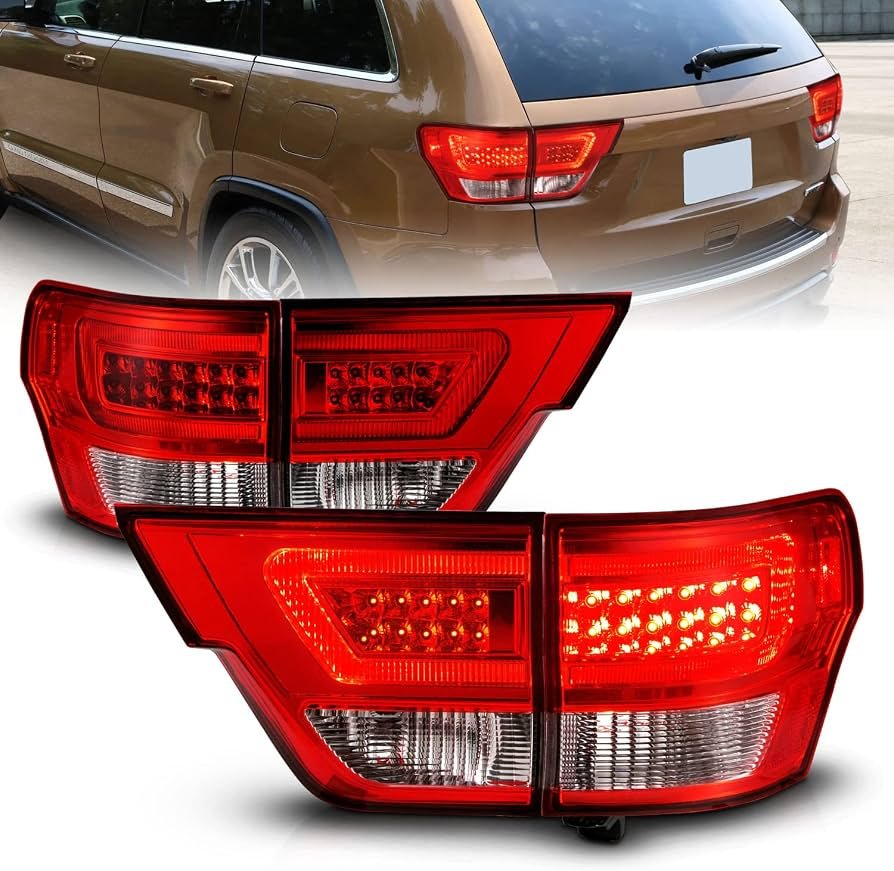
Always check that your new assembly matches your vehicle’s trim and year some Grand Cherokees have different tail light shapes or wiring.
Step-by-step Installation Process
Replacing the tail light on your 2013 Jeep Grand Cherokee is a straightforward process. Here’s how to do it safely and efficiently.
1. Open The Rear Hatch
Start by opening the rear hatch. This will give you access to the screws holding the tail light assembly.
2. Remove The Tail Light Screws
Locate the two screws inside the hatch area, next to the tail light. Use your Phillips screwdriver or socket wrench to carefully remove them. Place the screws in a safe spot—you’ll need them for reinstallation.
3. Detach The Tail Light Assembly
Gently pull the tail light straight out. Some resistance is normal, as there are plastic clips holding it.
Don’t twist or force; wiggling the assembly slightly can help release the clips without breaking them.
4. Disconnect The Wiring Harness
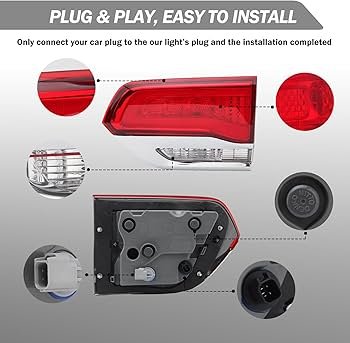
Once the assembly is loose, you’ll see the wiring harness attached at the back. Press the tab on the connector and pull it out.
Be gentle pulling on the wires can cause damage.
5. Install The New Tail Light
Align your new tail light assembly with the vehicle’s body. First, reconnect the wiring harness. You should hear a click when it’s secure.
6. Secure The Assembly
Push the new assembly into place. Make sure the plastic clips snap in fully.
Use your screws to fasten the assembly. Do not overtighten this can crack the new lens.
7. Test The Tail Light
Before closing the hatch, turn on your Jeep and check all light functions brake, reverse, and turn signals. This confirms the wiring is correct.
8. Final Checks
Wipe the lens with a clean cloth to remove fingerprints. Close the hatch and check the fit.
If you notice any gaps, remove and reinstall to ensure a tight seal.
Common Mistakes And How To Avoid Them
Many first-timers make the same errors. Here’s how to avoid them:
- Forcing the assembly: If it doesn’t come out, double-check for hidden screws. Forcing can break mounting clips.
- Mixing up wiring connectors: The 2013 Grand Cherokee usually has only one connector per side, but always verify before connecting.
- Buying the wrong part: Not all Grand Cherokee models use the same tail light. Always match your VIN or check with a dealership.
Comparison: Oem Vs Aftermarket Tail Light Assemblies
Choosing between original (OEM) and aftermarket parts is a common decision. Here’s a quick comparison:
| Feature | OEM | Aftermarket |
|---|---|---|
| Fit & Finish | Perfect match | May vary |
| Price | Higher | Lower |
| Warranty | Usually included | Depends on brand |
| Availability | Dealer only | Online, many stores |
Installation Time And Difficulty Level
Most people can install a new tail light in about 20–40 minutes. Here’s a look at the typical time investment:
| Step | Estimated Time | Difficulty |
|---|---|---|
| Remove old assembly | 10–15 min | Easy |
| Install new assembly | 10–15 min | Easy |
| Testing & checks | 5–10 min | Very Easy |
Signs Your Tail Light Assembly Needs Replacement
Sometimes, the need for replacement is obvious (like a cracked lens), but other signs are less clear:
- Moisture inside the lens: This often means a leak, which can damage wiring.
- Dim or flickering lights: Could be a bad connection inside the assembly.
- Physical damage: Even small cracks can let water in, causing bigger problems later.
If you see any of these signs, it’s time to replace the assembly.
Practical Tips For A Better Installation
- Take a photo before removing the wiring. This helps if you forget how it connects.
- Test the new assembly before screwing it in. Plug in the harness and check the lights—easier to fix now than after installation.
- Save your old tail light if only the lens is cracked but the electronics work. The bulbs or connectors can be used as spares.
Where To Find Quality Parts
OEM parts can be found at Jeep dealerships, while many reputable aftermarket brands are available online. Look for brands with good reviews and clear return policies. For more guidance, check RockAuto, which is well-known for reliable auto parts.
Frequently Asked Questions
How Do I Know If My 2013 Grand Cherokee Tail Light Assembly Is Bad?
If the lens is cracked, you see moisture inside, or the lights don’t work even after changing bulbs, the assembly may be faulty.
Do I Need To Disconnect The Battery Before Replacing The Tail Light?
It’s not required, but disconnecting the negative battery cable can protect you from accidental shorts, especially if you’re new to car repairs.
Can I Use Led Tail Lights Instead Of Standard Ones?
Yes, but make sure they are compatible with your Jeep’s wiring. Some LED assemblies require extra resistors to prevent error codes.
Will I Need To Reprogram My Jeep After Installation?
No programming is needed for a simple tail light assembly swap on the 2013 Grand Cherokee.
What If The New Assembly Doesn’t Fit?
Double-check that the part is for your model and year. If it’s correct but still doesn’t fit, compare the mounting points and connectors. Sometimes, aftermarket parts may need minor adjustments.
Replacing your 2013 Jeep Grand Cherokee tail light assembly is a practical DIY project. With the right tools and careful steps, you’ll improve your vehicle’s safety and appearance in less than an hour.


















