A loose or broken rear view mirror ball joint can quickly turn from a minor annoyance into a real safety issue. When the ball joint fails, your mirror may wobble, sag, or even fall off.
This makes it hard to see behind you, which is dangerous for driving. Luckily, with a few tools and careful steps, you can fix the ball joint yourself and restore your mirror’s stability.
Whether your car is old or new, this guide will help you tackle the repair with confidence.
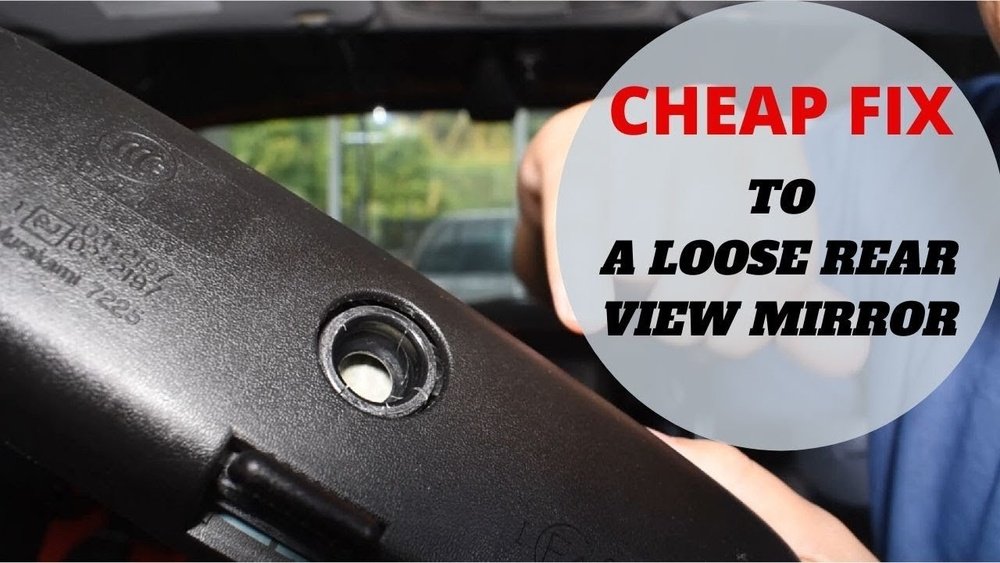
Understanding The Rear View Mirror Ball Joint
The ball joint in a rear view mirror lets the mirror swivel and stay in place. It’s a small but important part. If the joint wears out, you might notice:
- The mirror drooping or refusing to hold its position
- Clicking or grinding noises when adjusting
- Loose movement, especially after hitting bumps
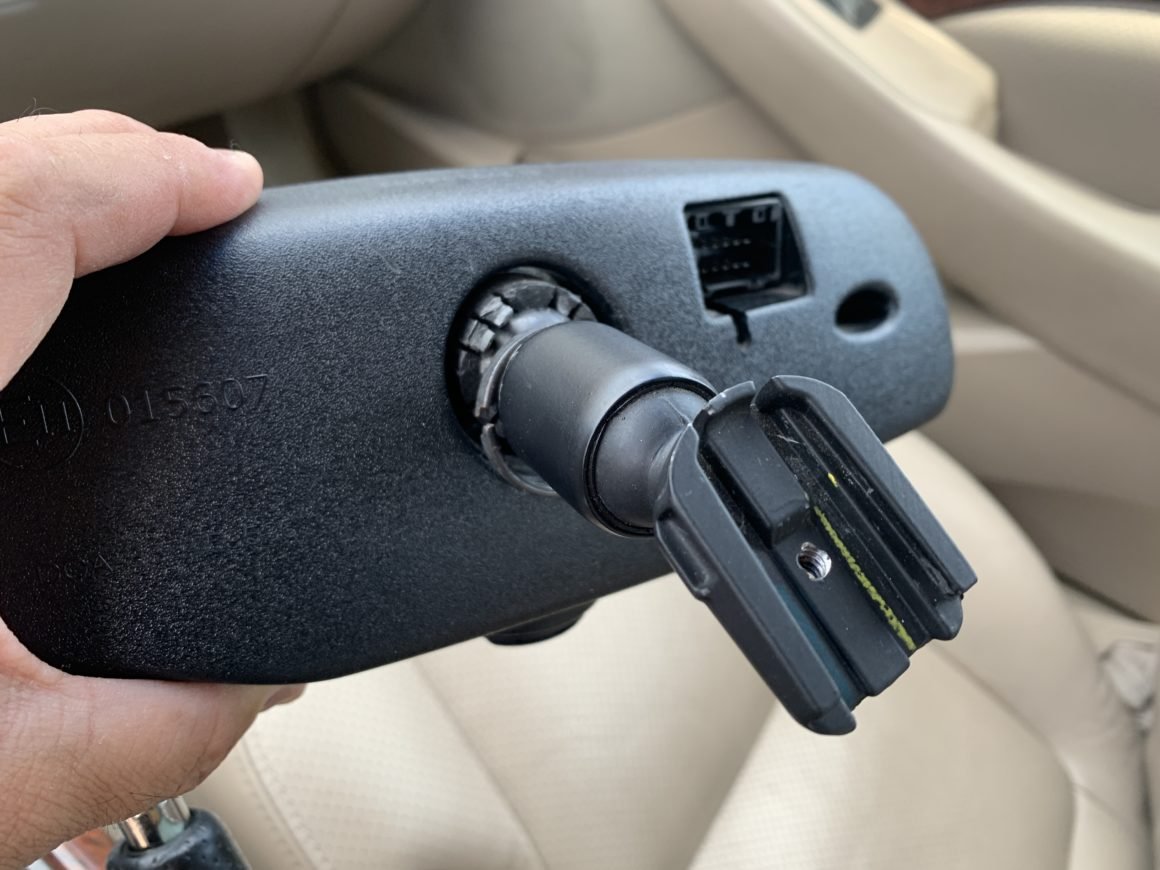
Most cars use a plastic or metal ball-and-socket mechanism. Knowing the type you have makes it easier to find the right replacement or repair method.
| Material | Durability | Common Problems |
|---|---|---|
| Plastic | Medium | Cracks, wear, loosening |
| Metal | High | Rust, stiffness |
Tools And Materials You Need
Before starting, gather these items:
- Screwdrivers (flat and Phillips)
- Socket wrench or adjustable wrench
- Super glue or epoxy (for plastic repairs)
- Replacement ball joint (if needed)
- Clean cloth
- Lubricant (silicone spray or light oil)
A basic tool kit is usually enough. For newer cars, check if your mirror is glued or clipped. Some models require special clips or adhesives.
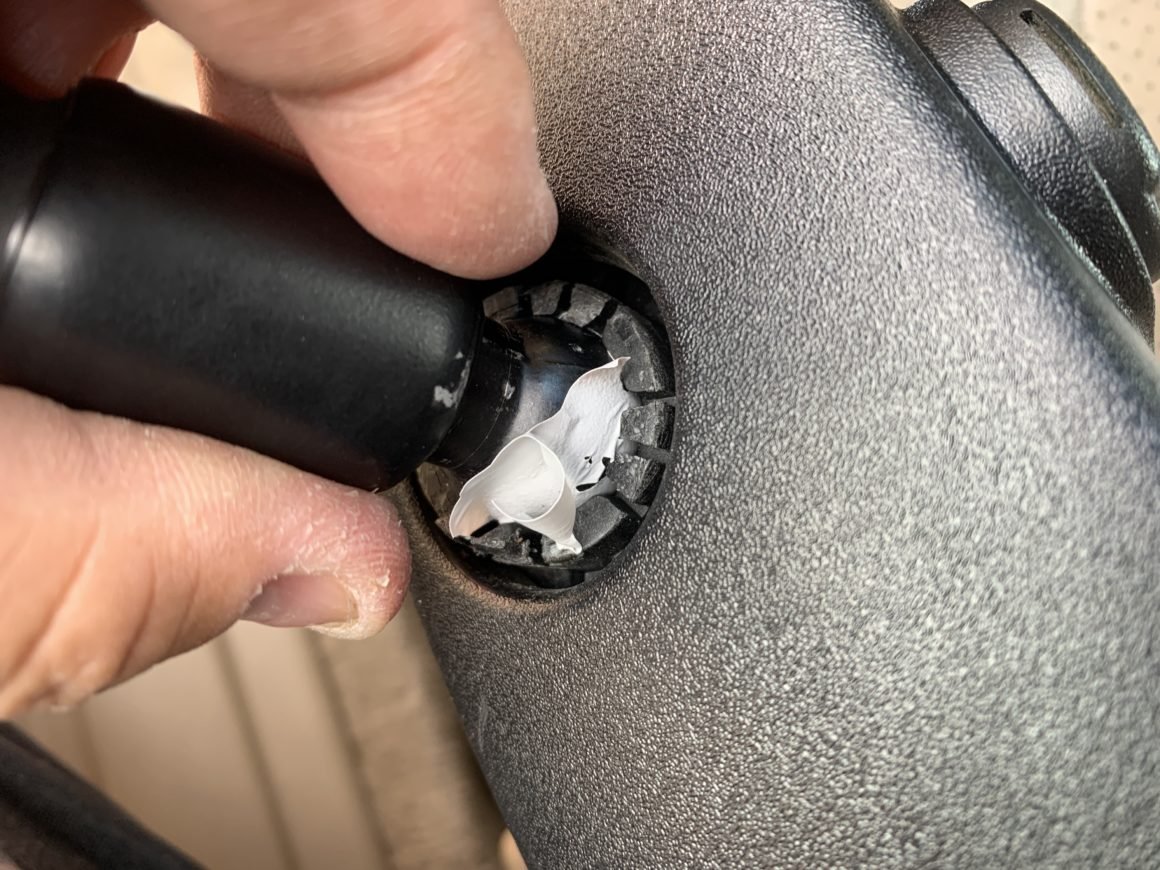
Step-by-step Guide To Fixing The Ball Joint
1. Remove The Mirror
Start by gently prying off the rear view mirror from its mount. For most cars, you can:
- Unscrew the mounting screws on the mirror base
- Slide the mirror upward to release it from the bracket
- Unclip any wires if your mirror has electronics
Take care not to damage the glass or wiring.
2. Inspect The Ball Joint
Look for obvious damage:
- Cracks, chips, or missing pieces
- Excess dirt or debris inside the socket
If the ball joint is only loose, cleaning and tightening may fix it. If it’s broken, you’ll need a replacement.
| Condition | Recommended Action |
|---|---|
| Loose but intact | Tighten, lubricate |
| Cracked or broken | Replace or repair |
| Dirty | Clean thoroughly |
3. Tighten Or Repair The Joint
If the ball joint is loose:
- Clean the socket and ball with a cloth.
- Apply a small amount of lubricant.
- Re-seat the ball in the socket and tighten screws.
For plastic joints, a dab of super glue can help. Hold the parts together for at least 1 minute so the glue sets.
For metal joints, try tightening the screws or bolts.
If the joint is cracked:
- Use epoxy for stronger repairs. Mix and apply as instructed.
- Clamp the joint until the epoxy cures (usually 10–15 minutes).
Pro tip: Don’t over-tighten. Too much force can break the joint.
4. Replace The Ball Joint
When repair isn’t possible, replace the joint:
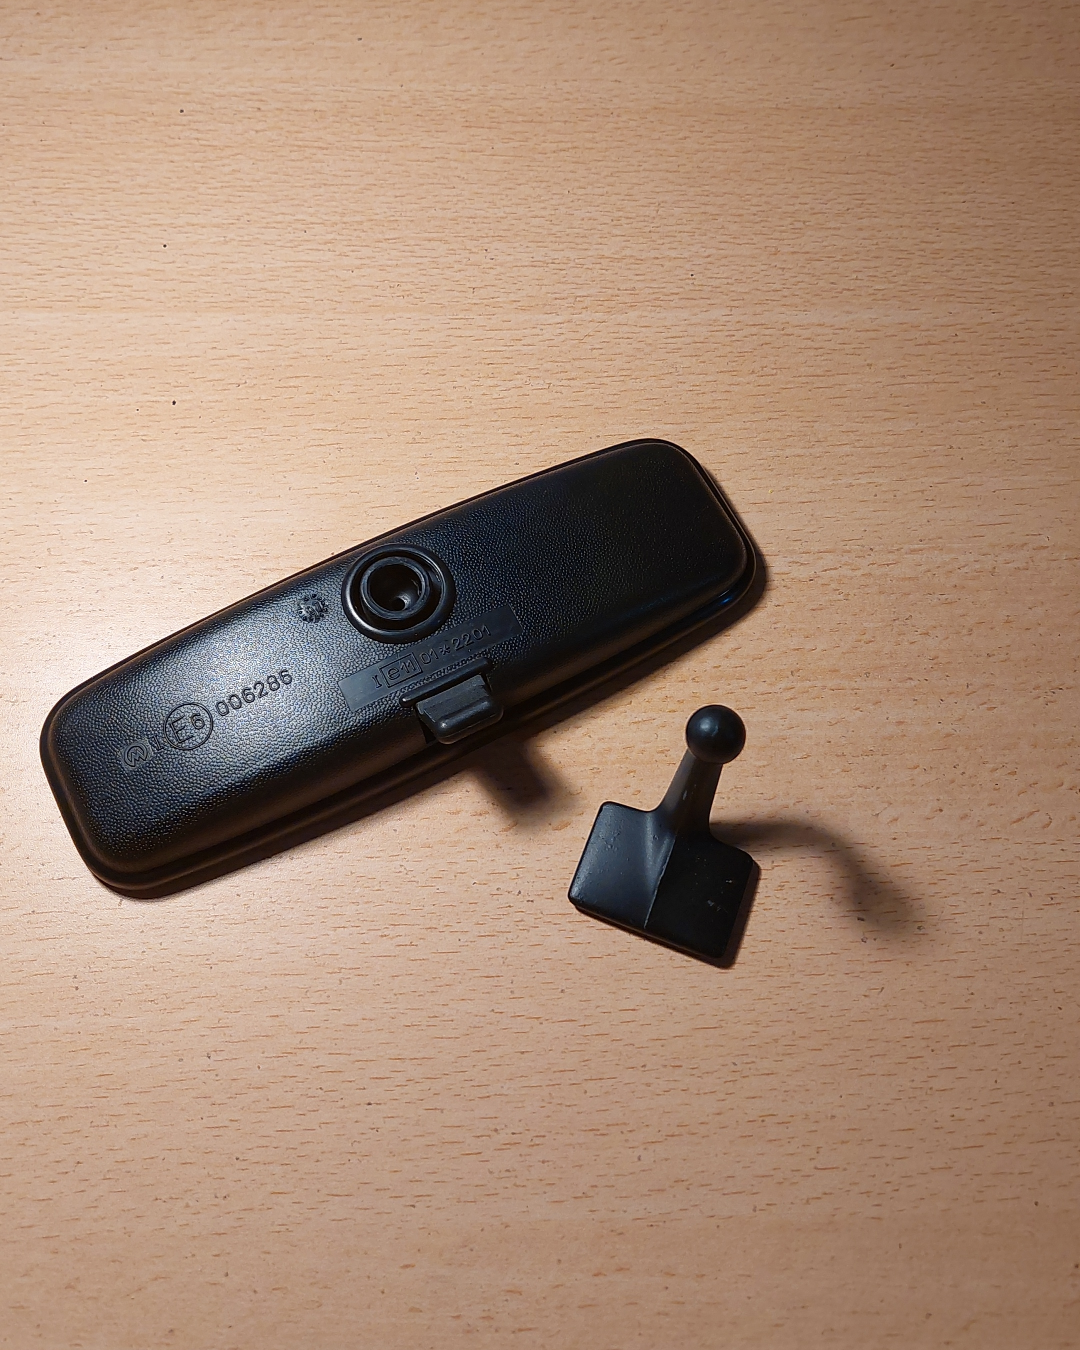
- Remove the broken ball joint. Most pop out with gentle pressure.
- Insert the new joint. Align it carefully.
- Secure with screws or clips, depending on your model.
Replacement kits are available online or at auto stores. Make sure the size matches your car’s mirror.
5. Reinstall The Mirror
Once the joint is fixed, reattach the mirror:
- Slide or screw it back onto its mount
- Reconnect any wires
- Test the movement and stability
The mirror should hold its position and move smoothly.
Practical Tips For A Strong Repair
- Avoid cheap glue: Some adhesives dry brittle and won’t last. Use epoxy for plastic parts.
- Don’t use WD-40: It can attract dust. Use silicone spray instead.
- Check for hidden clips: Some mirrors have small clips inside the socket. Missing these can cause loose joints.
- Replace if unsure: If the joint feels weak after repair, a full replacement is safer.
Many beginners forget to clean the socket or use too much glue, which makes the joint stiff or sticky. A clean and careful approach gives better results.
How Much Does It Cost?
Repair costs depend on your solution:
| Repair Type | Estimated Cost |
|---|---|
| DIY Tightening | $0–$10 |
| Glue/Epoxy Repair | $5–$15 |
| Replacement Ball Joint | $10–$30 |
| Professional Service | $50–$100 |
For most people, fixing the joint at home saves money and takes less than an hour.
When To Seek Professional Help
If your mirror has built-in electronics (like auto-dimming or cameras), you may need a specialist. Incorrect handling can damage wires or sensors. Also, if you feel uncomfortable with the repair, a mechanic can do it quickly.
For more details on automotive repairs, visit Wikipedia.
Frequently Asked Questions
How Do I Know If My Ball Joint Is Broken Or Just Loose?
If your mirror won’t hold its position or moves too easily, the joint may be loose. If you see cracks, missing pieces, or the ball has fallen out, it’s likely broken.
Can I Use Regular Glue To Fix The Ball Joint?
Regular glue is often too weak. Use epoxy or super glue made for plastic and metal. These hold better and last longer.
How Long Does The Repair Take?
Most repairs take 20–40 minutes. Replacement may take a bit longer if you need to remove wiring or search for the right part.
Will Fixing The Ball Joint Affect Mirror Electronics?
If you have wires for features like auto-dimming, disconnect them carefully. Repairing the ball joint itself won’t affect electronics if you handle them properly.
Is It Safe To Drive With A Loose Rear View Mirror?
No, it’s risky. A loose mirror reduces visibility and can fall off while driving.
Fix it as soon as possible for safety.
A solid rear view mirror is essential for safe driving. With the right tools and careful steps, you can repair or replace the ball joint yourself.
Take time to inspect, clean, and secure the parts. If needed, seek professional help.
Remember, a small repair can make a big difference in your daily drive.


















