A wet alternator can quickly turn a routine drive into a stressful situation. Water and moisture can damage internal components, causing electrical problems, poor battery charging, and even leaving your vehicle stranded. Whether you drove through deep water or experienced a coolant leak, acting fast is essential to protect your alternator and avoid costly repairs.
This guide explains how to diagnose, dry, and restore a wet alternator with confidence.
Recognizing A Wet Alternator
Early detection can save your alternator from permanent damage. Common signs include:
- Dimming headlights or flickering dashboard lights
- Battery warning light staying on after startup
- Strange noises (squealing, grinding) from the engine bay
- Burning smell, especially after water exposure
- Electrical accessories malfunctioning or acting erratically
If your vehicle shows these symptoms after contact with water, suspect a wet alternator. It’s important not to ignore these signs, as continued use can lead to complete alternator failure.
Immediate Steps After Getting Alternator Wet
Taking the right steps quickly can make a big difference.
- Turn off the engine: If safe, stop the vehicle. Running a wet alternator increases the risk of short circuits.
- Disconnect the battery: This prevents accidental electrical shorts.
- Inspect for standing water: Check the alternator and surrounding area. Remove any puddles or wet debris.
- Let the engine compartment air out: Open the hood to speed up drying.
Never try to start the engine repeatedly if you suspect the alternator is wet. This can cause more severe internal damage.
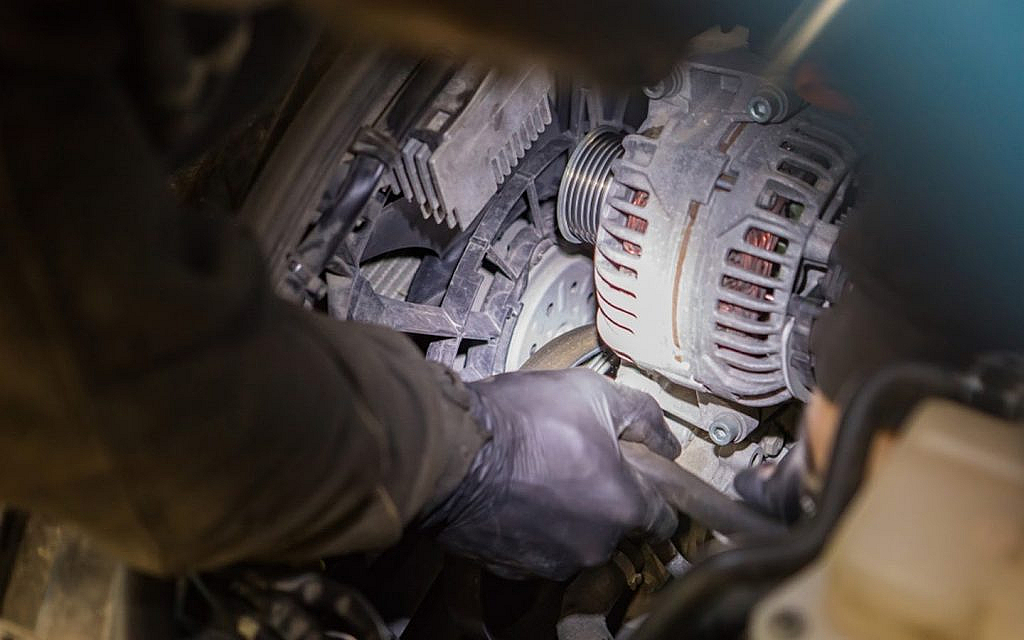
How To Dry And Fix A Wet Alternator
Once you’ve made the vehicle safe, follow these steps to dry and restore your alternator.
1. Remove Surface Moisture
Use a clean, dry cloth to wipe the alternator’s exterior. Remove any visible moisture, mud, or debris. A soft brush can help clear dirt from crevices.
2. Use Compressed Air
Blowing compressed air into the alternator helps remove hidden water drops. Hold the nozzle a few inches away to avoid damaging internal parts.
3. Apply Gentle Heat
A hair dryer or heat gun on a low setting can speed up the drying process. Keep the tool moving and never hold it too close—alternators have plastic and rubber parts that may melt.
4. Allow Natural Drying
If you have time, let the alternator air dry for several hours or overnight. Humidity and temperature affect drying time, so be patient.
5. Inspect Electrical Connections
Check that all wires and plugs are dry and corrosion-free. Clean contacts with electrical contact cleaner if needed.
6. Test Before Restarting
Reconnect the battery and start the engine. Check for normal operation—no warning lights, noises, or charging issues.
If problems continue, further inspection or professional help may be needed.
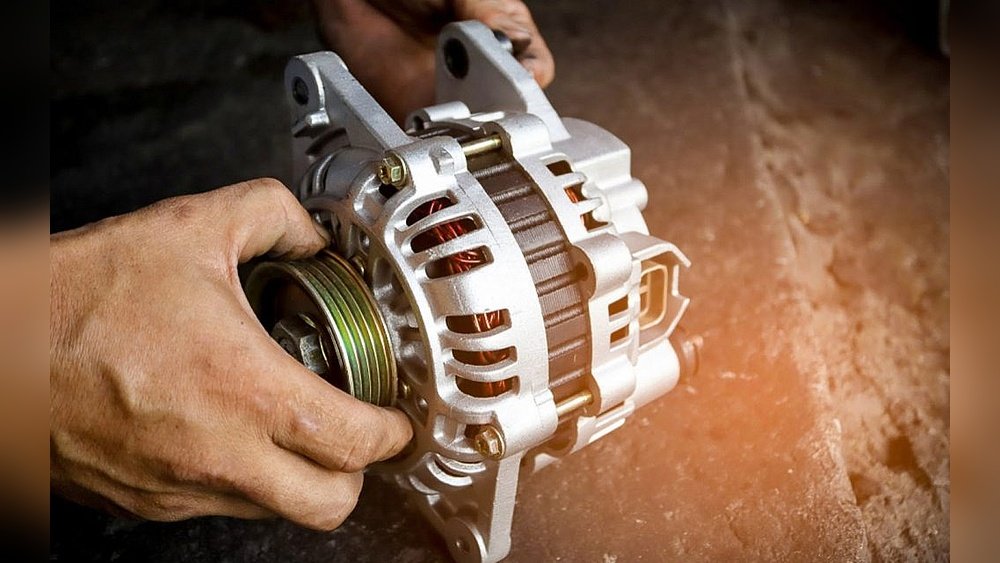
When To Consider Removal And Repair
Sometimes, surface drying isn’t enough. If your alternator is still not working, you may need to remove it for a more thorough fix.
Removal Process
- Disconnect the battery again for safety.
- Remove the drive belt.
- Unbolt and disconnect the alternator.
- Take it to a clean, dry workspace.
Internal Cleaning
Open the alternator casing. Look for water, corrosion, or burned parts. Dry internal components with compressed air or gentle heat. Replace any damaged bearings, brushes, or diodes.
Reinstall the alternator and test again. In many cases, internal cleaning restores normal function.
How Wet Conditions Affect Alternator Lifespan
Not all alternators react the same way to water. Here’s a comparison of alternator types and their resistance to moisture:
| Alternator Type | Water Resistance | Common Use |
|---|---|---|
| Standard (Open Frame) | Low | Most cars, trucks |
| Sealed/Marine | High | Boats, off-road vehicles |
| Heavy Duty | Medium | Trucks, construction |
Standard alternators are most at risk from water damage. Sealed types, used in marine or off-road vehicles, resist moisture better but are less common in everyday cars.
Preventing Alternator Water Damage
Prevention is always easier than repair. Simple steps can protect your alternator:
- Avoid deep water crossings, especially after heavy rain.
- Make sure engine splash shields are intact.
- Keep coolant and washer fluid systems leak-free.
- Clean engine bay regularly to prevent dirt buildup.
- Check alternator mounting and wiring during routine maintenance.
Here is a quick look at common causes of wet alternators:
| Cause | How It Happens | Prevention |
|---|---|---|
| Flooded roads | Driving through deep water | Avoid waterlogged areas |
| Coolant leaks | Leaky hoses or gaskets | Inspect regularly |
| Car washes | High-pressure water jets | Cover engine components |

Why Quick Action Matters
Alternators supply power to all electrical systems and keep the battery charged. Allowing moisture to linger can cause:
- Corrosion inside the alternator
- Short circuits that burn out internal parts
- Bearing failure from water intrusion
These problems can lead to complete alternator failure and expensive repairs. Acting fast and following proper steps helps avoid unnecessary costs.
When To Seek Professional Help
If your alternator:
- Continues to show warning lights after drying
- Makes grinding or squealing noises
- Fails to charge the battery
…it’s time to visit a mechanic. Internal damage, like fried diodes or corroded windings, often requires specialized tools and knowledge. Attempting complex repairs without experience can make things worse.
For more on alternator design and function, visit the Wikipedia Alternator page.
Frequently Asked Questions
What Happens If You Drive With A Wet Alternator?
Driving with a wet alternator risks short circuits and electrical failure. Water can corrode internal parts, leading to poor charging and possible breakdown.
How Long Does It Take For A Wet Alternator To Dry?
Drying time depends on temperature, humidity, and airflow. With good ventilation, a few hours may be enough. In cooler, damp conditions, it may take overnight or longer.
Can A Wet Alternator Damage The Battery?
Yes. A failing alternator may undercharge or overcharge the battery, reducing battery life and reliability.
Is It Safe To Use A Hair Dryer To Dry The Alternator?
Using a hair dryer on low heat is generally safe. Keep it moving and avoid direct contact with wires or plastic parts.
Should I Replace My Alternator After Water Exposure?
Replacement is not always necessary. Many alternators recover with proper drying. Replace only if you notice persistent electrical problems or visible internal damage.
Taking quick, careful steps after your alternator gets wet can save you time, money, and hassle. With the right approach, most alternators can be brought back to life without a trip to the repair shop.


