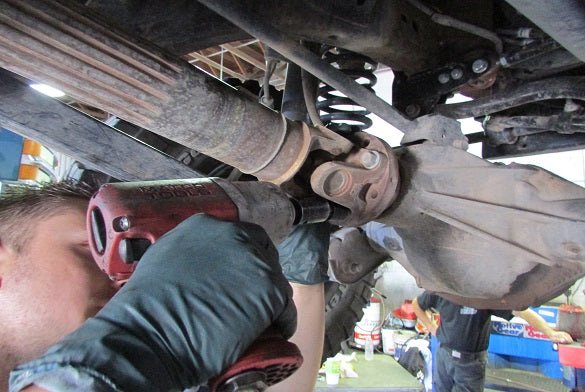
Removing the rear drive shaft from a Jeep Wrangler is a job many owners tackle themselves. It can save money and teach you more about your vehicle. But, if you’re new to working on cars, the process can seem tricky. This guide walks you through each step, explains what tools you’ll need, and gives practical tips for a smooth experience. By the end, you’ll know how to safely remove the rear drive shaft, spot possible problems, and avoid beginner mistakes.
What Is The Rear Drive Shaft And Why Remove It?
The rear drive shaft connects your Jeep’s transmission to the rear axle. It transfers power, allowing your wheels to move. Sometimes, you need to remove it if:
- You hear strange noises from underneath
- You spot leaking or broken universal joints
- You want to upgrade parts or do maintenance
Many Jeep owners remove the drive shaft to fix vibration problems or swap in new parts after off-road adventures.
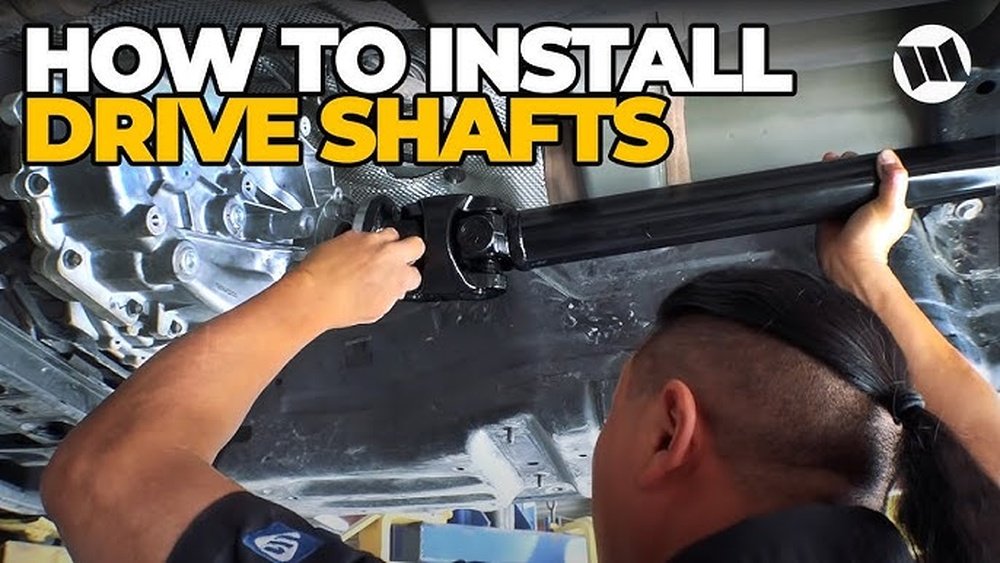
Common Reasons For Removal
- U-joint failure – U-joints wear out and cause shaking or clunking.
- Routine maintenance – Greasing the joints or replacing worn components.
- Upgrades – Installing a stronger drive shaft for off-roading.
- Transmission or differential repair – Accessing these parts often requires drive shaft removal.
Jeep Wrangler Models And Drive Shaft Differences
Jeep Wranglers come in several generations. The process is similar, but bolt sizes and shaft lengths differ. Here’s a comparison:
| Model | Rear Drive Shaft Length | Common U-Joint Size | Year Range |
|---|---|---|---|
| YJ | 18–25 inches | 1310 | 1987–1995 |
| TJ | 19–27 inches | 1310 | 1997–2006 |
| JK | 29–34 inches | 1350 | 2007–2018 |
| JL | 30–36 inches | 1350 | 2018–present |
Check your Jeep’s manual or measure your shaft to be sure. The removal steps are nearly identical for all models.
Tools And Safety Gear You’ll Need
Prepare your tools and workspace before starting. Having everything ready makes the job easier.
Essential Tools
- Socket set (metric and SAE)
- Wrenches (usually 8mm, 15mm, or 18mm depending on model)
- Breaker bar (for stubborn bolts)
- Needle nose pliers (for U-joint clips)
- Flathead screwdriver (to help pry clips)
- Hammer (for tapping out the shaft if stuck)
- Drip pan (to catch leaking fluid)
- Safety glasses
- Gloves
Optional Tools
- Penetrating oil – For rusty bolts
- Torque wrench – For reinstallation
- Marking pen – To mark shaft orientation
Safety Precautions
Always follow these safety rules:
- Park on a flat surface
- Use wheel chocks to prevent rolling
- Wear eye protection
- Never crawl under a car supported only by a jack; use jack stands
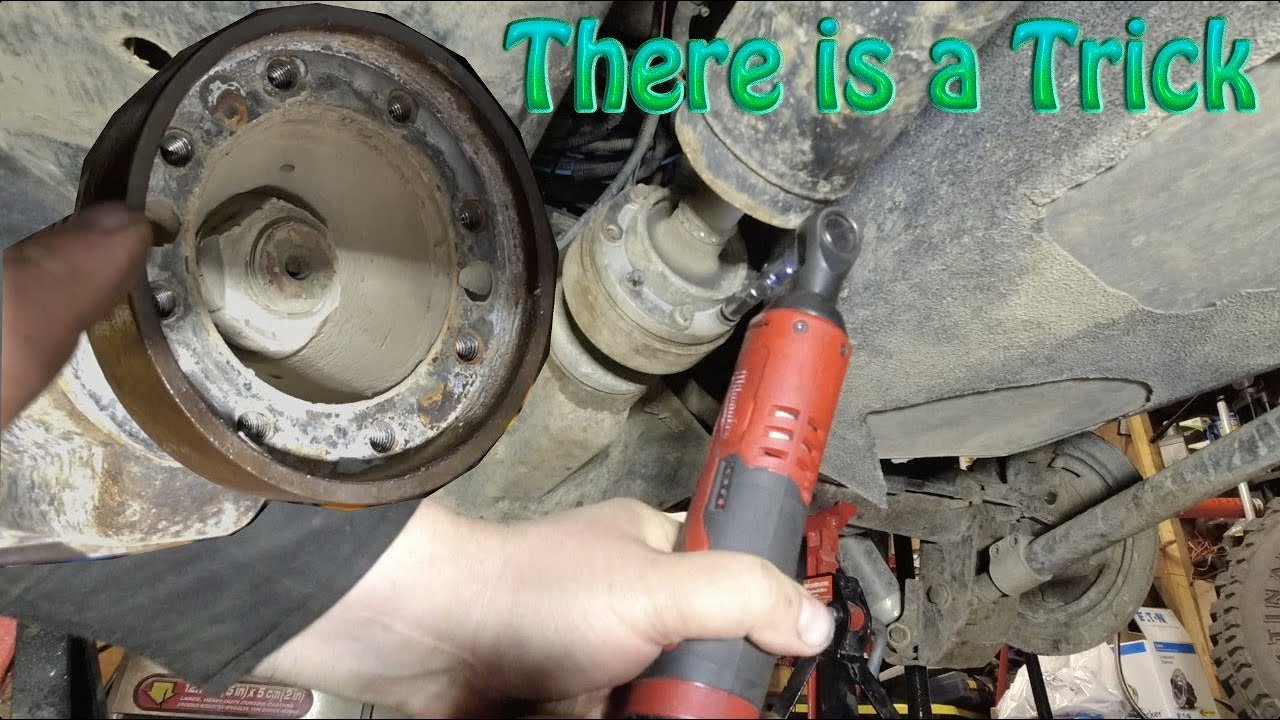
Step-by-step: Removing The Jeep Wrangler Rear Drive Shaft
Here’s a simple breakdown. Each step is explained for beginners.
1. Secure Your Jeep
Before starting, make sure your Jeep won’t move. Park on a level spot, set the parking brake, and place chocks behind the wheels.
If you need to lift the Jeep, use a jack and solid stands.
2. Locate The Rear Drive Shaft
The shaft runs from the transfer case at the front of the rear axle to the differential. You’ll see two sets of bolts: one at each end.
3. Mark The Shaft
Use a marking pen to mark the shaft and yoke. This helps you reinstall it in the same position, reducing vibration.
4. Remove The Rear Bolts
Most Jeep Wranglers use four bolts at the rear U-joint. Use the correct socket or wrench.
If bolts are tight, try a breaker bar and spray penetrating oil. Remove all four bolts and set them aside.
5. Remove The Front Bolts
The front end connects to the transfer case. Again, remove the bolts (usually four).
Some models use straps that hold the U-joint in place take these off carefully.
6. Free The Drive Shaft
Once all bolts are out, the shaft may still stick due to rust or dirt. Gently tap it with a hammer.
If it doesn’t move, wiggle it back and forth. When it comes loose, slide the shaft out.
Some fluid may leak from the transfer case use a drip pan.
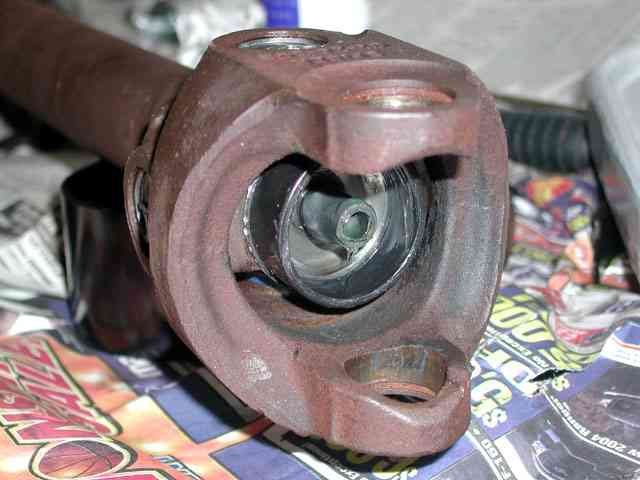
7. Inspect The Shaft And U-joints
Look for wear, rust, or damage. Check the U-joints for play or cracks. If you see problems, now is a good time to replace parts.
8. Store Or Replace The Shaft
If you’re not reinstalling right away, store the shaft somewhere safe. Cover the openings to keep dirt out.
9. Clean Up
Wipe up spilled fluid and clean your tools. Make sure you don’t leave any bolts or clips under the Jeep.
Practical Tips And Common Mistakes
Many Jeep owners struggle with a few common issues. Here’s how to avoid them.
Tips For Easy Removal
- Spray all bolts with penetrating oil an hour before starting.
- Use a breaker bar for stubborn bolts.
- Mark the shaft’s position before removal—this really helps prevent vibration.
- If the shaft won’t move, tap lightly with a hammer rather than hitting hard.
Mistakes To Avoid
- Losing bolts or clips – Always set parts in a safe spot.
- Not marking shaft orientation – Can cause vibration after reinstallation.
- Forgetting drip pan – Fluid leaks can make a mess.
- Working without proper safety gear – Eye injuries are common when removing clips.
- Ignoring U-joint inspection – Bad joints lead to bigger problems later.
When Should You Call A Mechanic?
Most people can remove the shaft themselves, but call a mechanic if:
- Bolts are badly rusted and won’t move
- The shaft is stuck and won’t budge after tapping
- You see cracked or broken yokes
- You’re not comfortable working under your Jeep
Data: Diy Vs. Mechanic Removal
Here’s a quick comparison of costs and time.
| Method | Average Cost | Time Needed | Success Rate |
|---|---|---|---|
| DIY | $0–$50 | 1–2 hours | 90% (with proper tools) |
| Mechanic | $150–$300 | 2–3 hours (including scheduling) | 100% |
DIY is cheaper and faster if you have the tools, but mechanics are best for stuck or damaged shafts.
Reinstalling The Rear Drive Shaft
If you plan to reinstall, follow these steps in reverse. Make sure you:
- Align the marks you made earlier
- Tighten bolts to manufacturer’s torque specs
- Check for leaks after driving
Torque Specifications
Every model has different bolt torque requirements. Always check your manual. Here’s a general range:
| Model | Rear U-Joint Bolt Torque | Front U-Joint Bolt Torque |
|---|---|---|
| YJ/TJ | 14–20 ft-lbs | 14–20 ft-lbs |
| JK/JL | 70–75 ft-lbs | 70–75 ft-lbs |
Over-tightening can strip threads; under-tightening can cause bolts to loosen.
Real-world Example: Removing A Jk Wrangler Shaft
Let’s look at an example. Jake owns a 2014 JK Wrangler.
He heard a “clunk” when shifting. After marking the shaft, he removed the rear bolts with an 18mm wrench.
The front bolts were tight, so he sprayed oil and used a breaker bar.
After loosening all bolts, he tapped the shaft gently. It slid out, and a small amount of fluid leaked.
He checked the U-joints and found one was worn. Jake replaced it, reinstalled the shaft, and the clunk disappeared.
Non-obvious Insights
- Marking the shaft orientation is often skipped. Not doing this can cause new vibrations, even if the shaft is fine.
- Watch for fluid leaks from the transfer case. If you see a lot of fluid, the seal may be worn—consider replacing it before reinstalling.
Frequently Asked Questions
How Long Does It Take To Remove A Jeep Wrangler’s Rear Drive Shaft?
Most people finish in 1 to 2 hours. If bolts are rusted, it may take longer. Having the right tools makes it much faster.
Will Fluid Leak When I Remove The Shaft?
Yes, some fluid may leak from the transfer case. Place a drip pan under the area before removal. If more than a cup leaks, check your transfer case seal.
What Size Bolts Are Used On Jeep Wrangler Drive Shafts?
Bolt sizes vary. Most use 8mm, 15mm, or 18mm bolts, depending on the model and year. Always check your Jeep’s manual for exact sizes.
Is It Necessary To Mark The Shaft Before Removal?
Yes, marking the shaft helps you reinstall in the same position, reducing vibration. Missing this step is a common beginner mistake.
Where Can I Find Official Torque Specs And Replacement Parts?
The best place is the Jeep owner’s manual or official repair guides. For more details, see the Jeep official website.
Removing the rear drive shaft on a Jeep Wrangler is a practical job, even for beginners. With the right tools, careful marking, and basic safety, you can finish the task and learn more about your vehicle.
Take your time, follow each step, and don’t hesitate to ask for help if you run into trouble.
In many cases, a successful DIY job not only saves money it builds confidence for your next project.