Changing the fuel tank on a Jeep XJ is a task many owners eventually face, especially as these classic SUVs age. Whether your tank is rusted, leaking, or you want a larger aftermarket option, swapping it out can restore confidence on the trail and road. This guide walks you through the process, tools, challenges, and tips to make your Jeep XJ fuel tank replacement safe and smooth—even if you’re not a pro mechanic.
Why Change The Fuel Tank?
A faulty fuel tank can cause fuel leaks, vapor smells, and even dangerous situations. Common reasons to replace it include:
- Rust and corrosion: Older XJs often develop rust, especially in snowy or humid regions.
- Leaks: Cracks or punctures from debris or accidents.
- Upgrades: Installing a larger or stronger tank for off-road use.
Replacing the tank protects your Jeep, keeps you safe, and can even improve fuel efficiency.
Tools And Supplies You’ll Need
Before starting, gather these essentials:
- Socket set (metric and SAE)
- Jack and sturdy jack stands
- Fuel line disconnect tool
- Pliers and screwdrivers
- Drain pan (for old fuel)
- Rubber hose caps (to plug lines)
- New fuel tank (OEM or aftermarket)
- Fuel pump O-ring/gasket (if not included)
- Safety glasses and gloves
If your Jeep is especially rusty, a penetrating oil like PB Blaster helps loosen bolts.
Preparation Steps
Preparation is half the work. Take these steps before removing the tank:
- Run the tank nearly empty. A lighter tank is much easier to handle.
- Disconnect the battery. This prevents electrical sparks.
- Lift the rear of the Jeep. Use the jack and support with jack stands.
- Clean the area. Spray off mud or debris around the tank and straps.
A well-prepared workspace reduces the chance of mistakes and injuries.
Removing The Old Fuel Tank
With safety gear on, follow these steps:
- Drain remaining fuel. Remove the filler cap, place the drain pan under the tank, and disconnect the fuel line to let any leftover gas out.
- Disconnect filler and vent hoses. Use pliers or a screwdriver to loosen hose clamps.
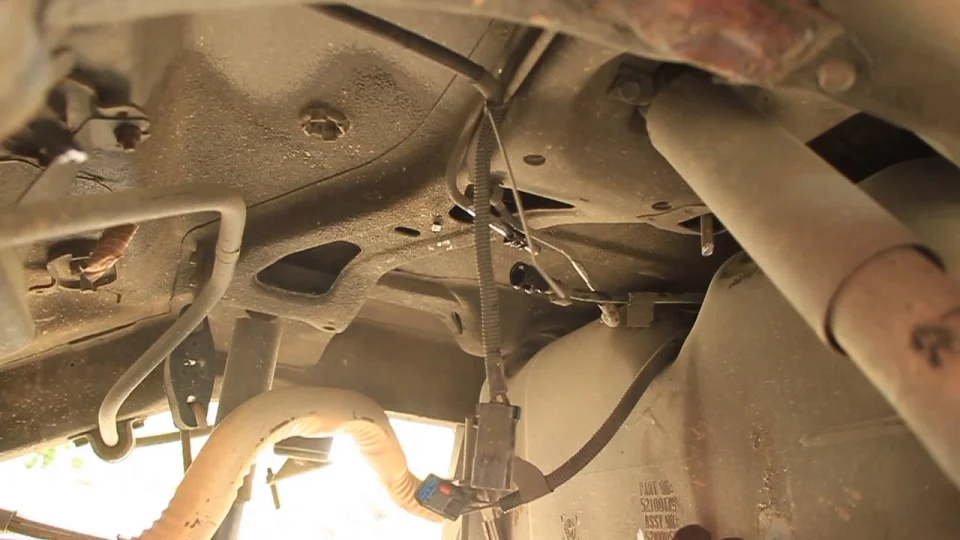
- Unplug the fuel pump wiring. The connector is on top of the tank.
- Remove fuel lines. Label them for easier reinstallation, and plug open lines with hose caps.
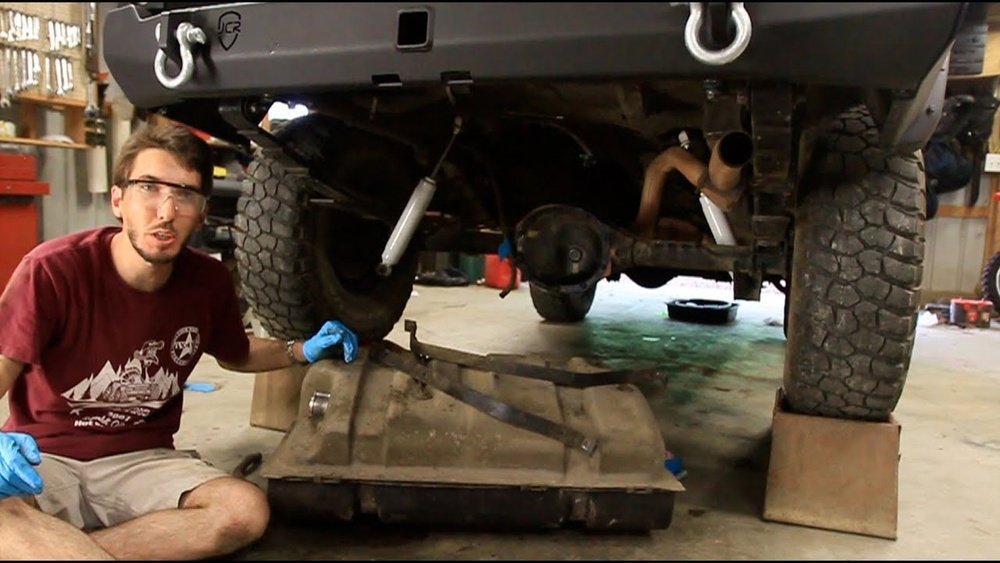
- Unbolt the tank straps. Support the tank with a jack as you remove the two main straps.
- Lower the tank gently. Slide it out from under the vehicle.
Non-obvious tip: The fuel sending unit can stick—wiggle the tank gently to avoid damaging it.
Installing The New Fuel Tank
Set your new or cleaned tank beside the old one and compare them. Check the following:
| Feature | Old Tank | New Tank |
|---|---|---|
| Size/shape | 21 gallons (stock) | 21 or 23 gallons (varies) |
| Filler neck position | Driver side | Driver side |
| Mounting points | Two straps | Two straps |
If you’re reusing the fuel pump and sending unit, install a new O-ring or gasket to prevent leaks. Lubricate the gasket with a little clean fuel before seating the pump.
To install:
- Slide the new tank into place. Use the jack to help lift.
- Reconnect the fuel pump wiring.
- Attach fuel lines. Double-check the labels to avoid mix-ups.
- Connect filler and vent hoses. Tighten hose clamps securely.
- Bolt up the tank straps. Ensure they’re tight but don’t overtighten.
- Lower the Jeep. Remove the jack stands.
- Reconnect the battery.
Practical insight: Always check for leaks before filling the tank completely.
First Start And Leak Check
After installation:
- Add a few gallons of gas.
- Turn the key to “On” (not start) to pressurize the lines. Listen for the fuel pump.
- Inspect all connections for drips or smells.
- If everything looks good, start the engine and let it idle. Watch for leaks under the Jeep.
If you spot a leak, stop and fix it before driving.
Common Problems And How To Avoid Them
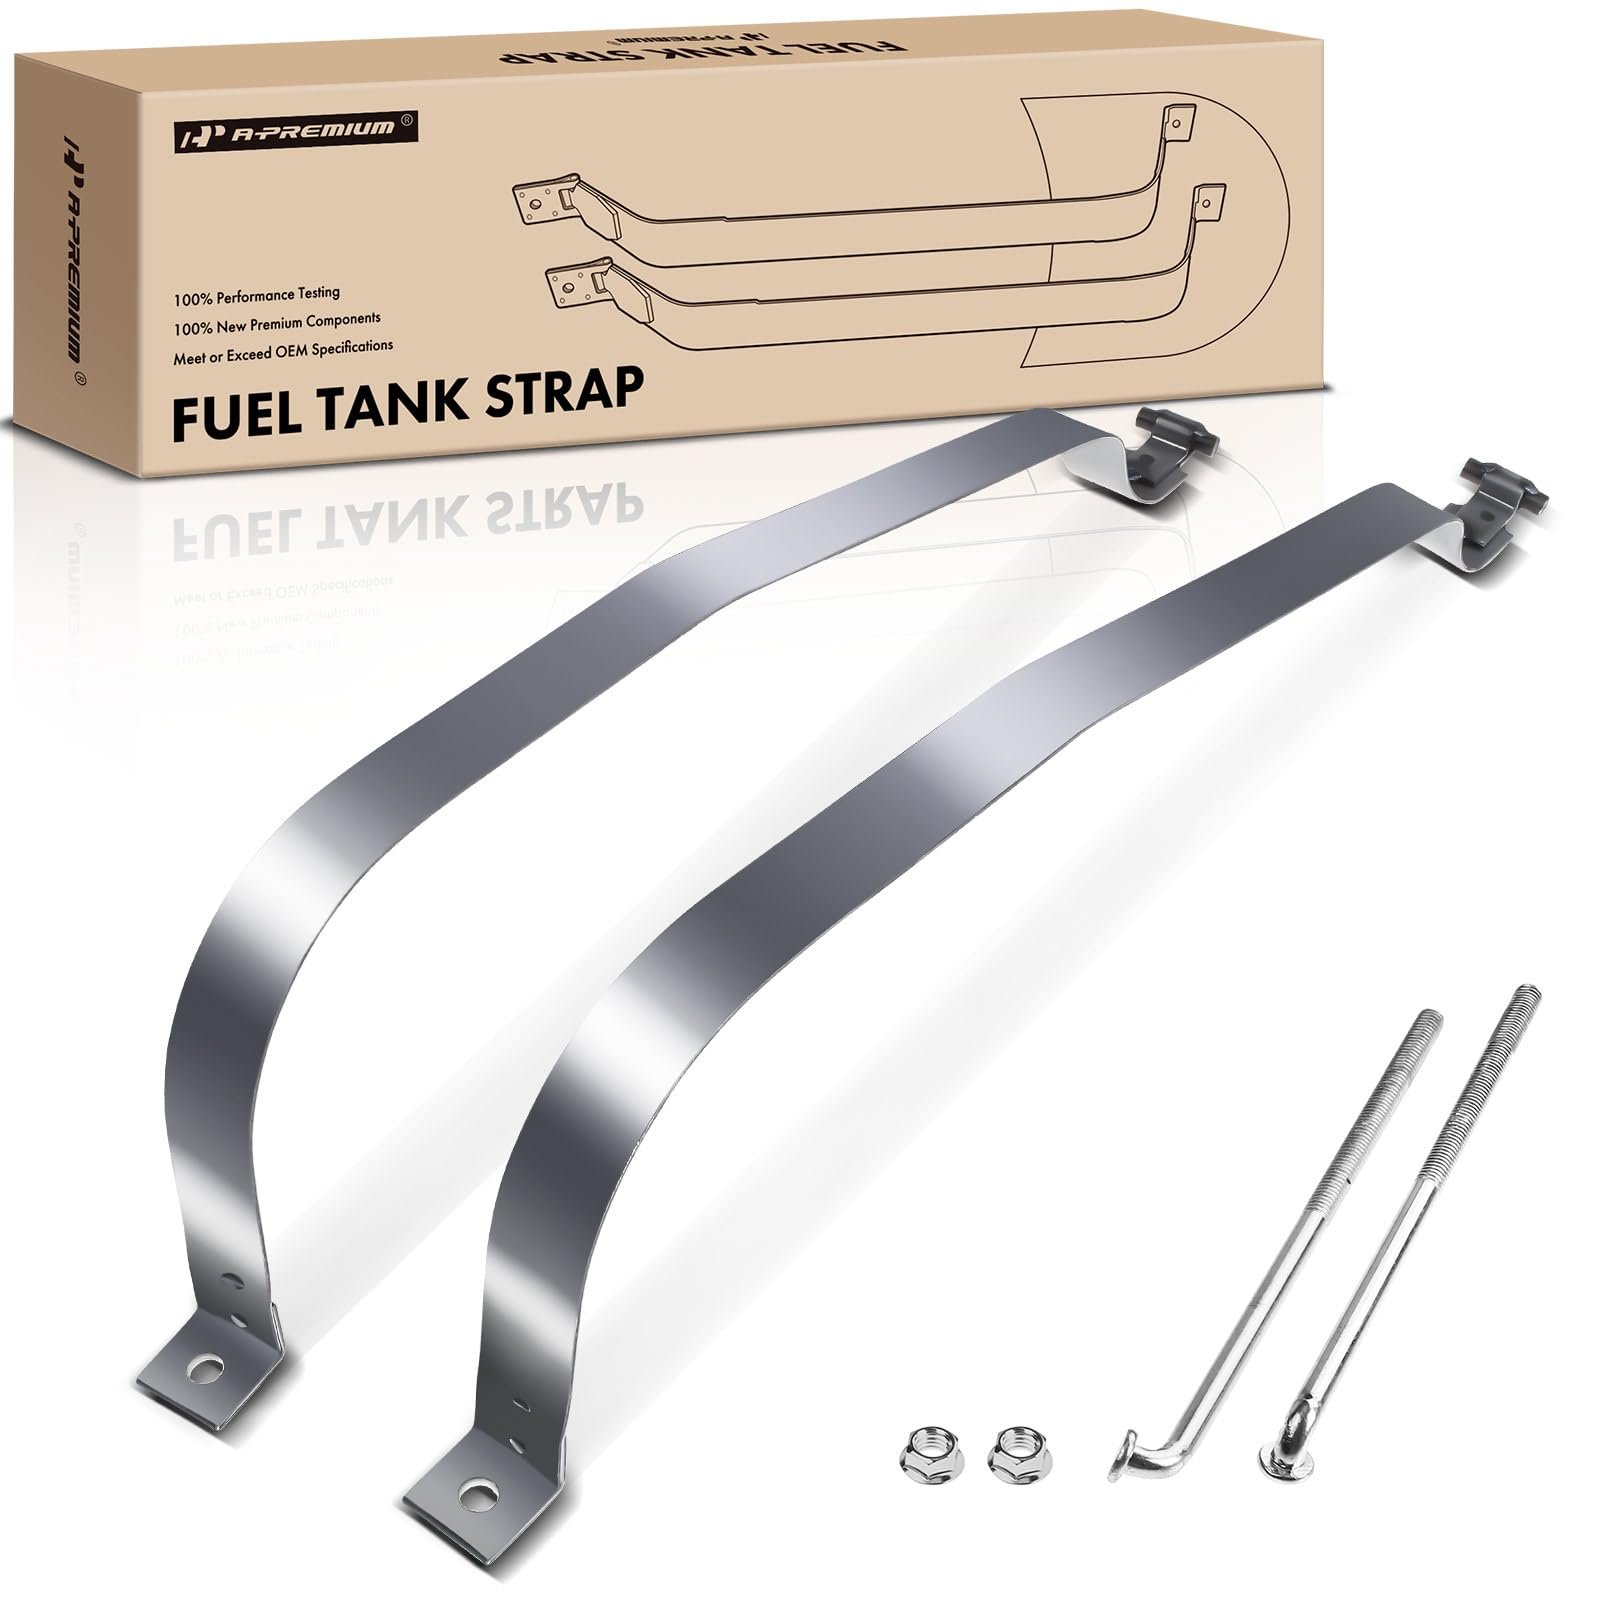
- Broken tank straps: Rusted straps can break during removal. Always inspect or replace them.
- Fuel line mix-up: Label every line and connector.
- Damaged fuel pump wires: Be gentle with old wiring. Use dielectric grease on connectors.
- Stripped bolts: Use proper tools and don’t force stuck hardware.
Here’s a quick comparison of OEM vs aftermarket fuel tanks:
| Type | Pros | Cons |
|---|---|---|
| OEM | Perfect fit, reliable quality | More expensive |
| Aftermarket | Cheaper, more size options | Fit can vary, quality differs |
Many experienced Jeep owners recommend OEM tanks for daily drivers and high-quality aftermarket for off-road rigs.
Safety Reminders
Never work with fuel in a closed space. Gasoline fumes are flammable and dangerous.
Always have a fire extinguisher nearby, and keep your workspace well-ventilated. Don’t smoke or use open flames during any part of the process.
Where To Find Quality Replacement Tanks
You can find replacement tanks at auto parts stores, Jeep specialty retailers, or online. For more details about Jeep XJ specifications and options, visit the official Jeep XJ Wikipedia page.
Frequently Asked Questions
How Long Does It Take To Change A Jeep Xj Fuel Tank?
Most people can finish the job in 2–4 hours if there are no stuck bolts or rust issues. Beginners should plan for extra time.
Do I Need To Replace The Fuel Pump When Changing The Tank?
Not always, but it’s a good idea if your fuel pump is old or the Jeep has high miles. Replacing both saves labor later.
Can I Do This Job Without A Lift?
Yes. Jack stands work fine, but a lift makes it much easier. Always make sure the Jeep is stable before working underneath.
What Size Is The Stock Jeep Xj Fuel Tank?
Most 1984–2001 Jeep XJs have a 20–21 gallon tank. Some late models or aftermarket tanks hold up to 23 gallons.
Are Aftermarket Tanks Safe?
Quality aftermarket tanks from reputable brands are safe. Always check reviews and be aware that fitment can vary between brands.
Changing the fuel tank on a Jeep XJ is a manageable project with the right tools, patience, and safety precautions. Taking your time and double-checking connections leads to reliable results so you can keep your Jeep on the road for years to come.


















