Changing the rear brake light on a 2006 Jeep Liberty is a simple task that can make a big difference in your safety. When your brake light burns out, other drivers may not see you stopping, which increases the risk of an accident. Fortunately, you don’t need special tools or advanced skills to fix it yourself. If you want to save time and money, follow this easy guide to get your rear brake light working again.
Tools And Materials Needed
Before you start, gather these items:
- Replacement bulb (check your owner’s manual or bulb to confirm the correct type, usually 3157 for the 2006 Jeep Liberty)
- Phillips screwdriver
- Clean gloves (optional, protects the bulb from oil on your skin)
- Flathead screwdriver (helpful but not always necessary)
Make sure your car is off and the keys are out of the ignition. This prevents any electrical issues or accidental shocks.
Step-by-step Guide To Changing The Rear Brake Light
1. Locate The Rear Brake Light
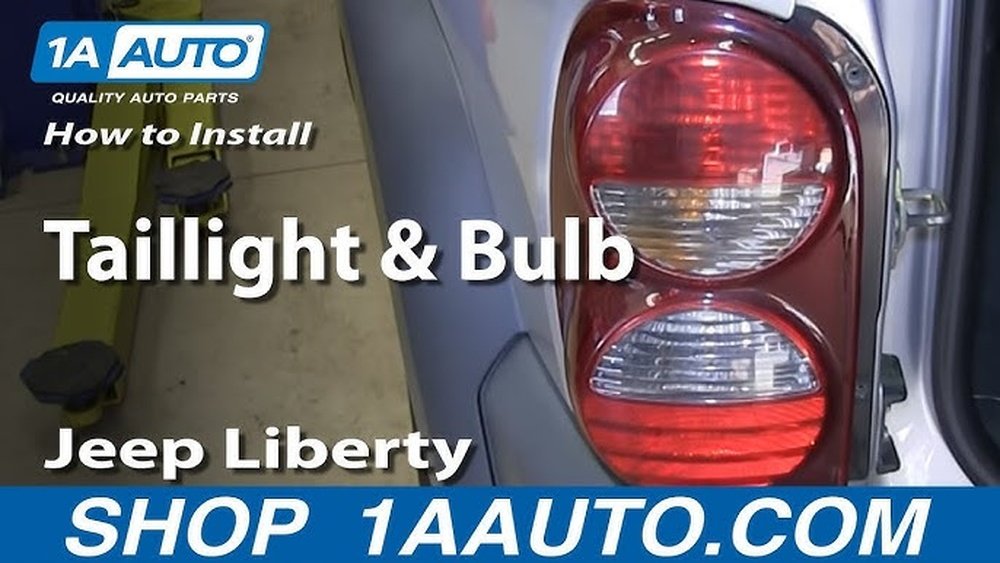
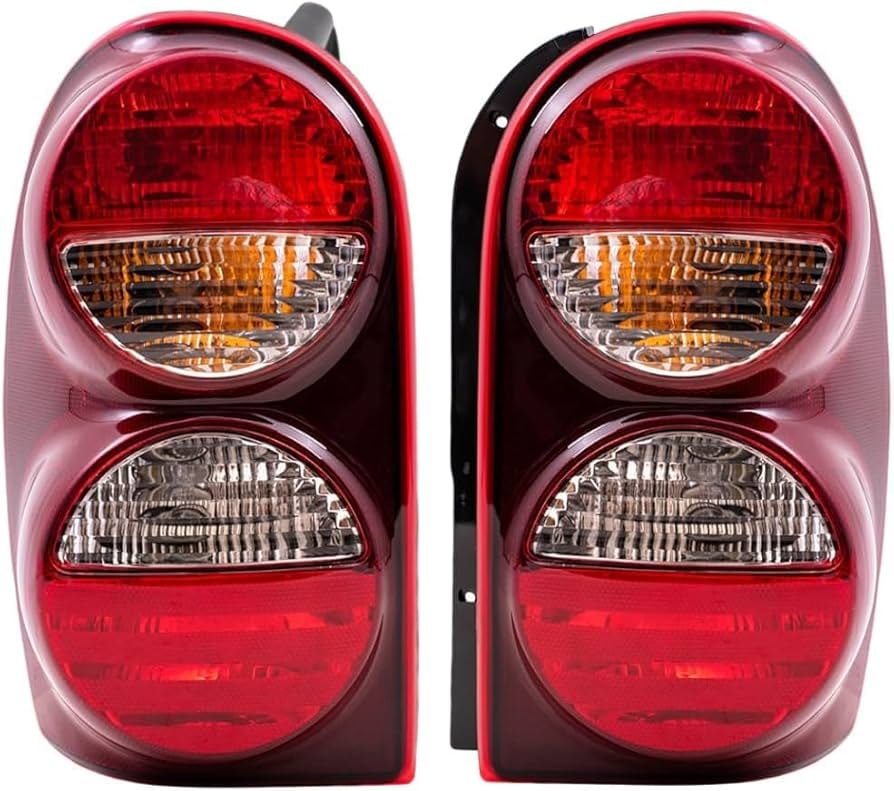
The brake lights are on both sides of the rear of your Jeep Liberty. Stand behind the vehicle and look at the red lens covers on each side. These hold the brake light bulbs.
2. Open The Rear Hatch
Gently open the rear hatch or tailgate. This gives you better access to the screws that hold the taillight assembly in place.
3. Remove The Taillight Assembly
Find the two Phillips screws on the inside edge of the taillight housing. Use your screwdriver to remove them. Set the screws aside so you don’t lose them.
Once the screws are out, carefully pull the taillight assembly away from the car. You may need to wiggle it gently, as there are clips holding it in place.
Don’t pull too hard there are still wires connected behind the assembly.
4. Disconnect The Bulb Socket
Behind the taillight, you’ll see three separate bulb sockets. The brake light is usually the middle one. Twist the socket counterclockwise and pull it out from the taillight housing.
5. Replace The Bulb
Remove the old bulb by pulling it straight out of the socket. Take your new bulb and push it firmly into the socket.
If you touch the glass with your fingers, wipe it off with a clean cloth. Oil from your skin can make the bulb burn out faster.
6. Test The New Bulb
Before you put everything back, test the new bulb. Ask a friend to press the brake pedal, or use a heavy object to hold it down.
If the new bulb lights up, you’re ready to finish. If not, check that the bulb is seated correctly and that you have the correct bulb type.
7. Reassemble The Taillight
Place the bulb socket back into the taillight housing and twist it clockwise to lock it in place. Align the taillight assembly with the body of the car and press it gently until the clips snap back in.
Replace the screws and tighten them with the screwdriver.
8. Close The Hatch
Once everything is secure, close the rear hatch or tailgate. Double-check that the taillight is flush with the body and doesn’t move.
Common Mistakes To Avoid
Many first-timers make these mistakes:
- Using the wrong bulb type: Always check your owner’s manual or the old bulb for the correct number.
- Touching the bulb glass with bare fingers: This can shorten bulb life.
- Forgetting to test the bulb: Before reassembly, always test to avoid doing the work twice.
- Over-tightening screws: This can crack the plastic housing.
- Forcing the taillight assembly: Be gentle to avoid breaking clips.
Rear Brake Light Bulb Comparison
If you’re not sure which bulb to buy, here’s a quick look at common bulb types for the 2006 Jeep Liberty:
| Bulb Type | Brightness (Lumens) | Average Lifespan | Cost per Bulb |
|---|---|---|---|
| 3157 Standard Halogen | 400 | 1,200 hours | $2–$4 |
| 3157 LED | 800 | 10,000 hours | $8–$15 |
LED bulbs are brighter and last longer but cost more. Halogen bulbs are cheaper and easier to find. Both work, so choose based on your budget and needs.
Time And Difficulty Level
Most people can finish this job in 10–20 minutes. The process is straightforward, and with the right tools, it’s a beginner-level repair. If you find the taillight housing difficult to remove, a little patience helps. Sometimes, dirt and age make the clips sticky.
When To Replace Both Brake Lights
Changing both rear brake lights at the same time isn’t required, but it can save time later. If one bulb has burned out, the other may soon follow. Many drivers choose to replace both together for peace of mind.
Cost Breakdown
Let’s look at the typical costs:
| Item | Price Range |
|---|---|
| Replacement Bulb (Halogen) | $2–$4 each |
| Replacement Bulb (LED) | $8–$15 each |
| Mechanic Labor | $20–$40 |
Doing it yourself saves the labor cost, which can add up over time.
Tips For An Easier Replacement
- Use gloves or a clean cloth to handle bulbs.
- Bring a flashlight if you’re working in low light.
- Keep screws and small parts in a cup or container.
- If the taillight is dirty, clean it before reassembly for better visibility.
Frequently Asked Questions
How Do I Know Which Rear Brake Light Bulb Is Out?
Ask a friend to stand behind your Jeep while you press the brake. If one side doesn’t light up, that bulb needs replacing.
Some modern vehicles may display a dashboard warning.
Can I Drive With One Rear Brake Light Out?
It’s not safe or legal. Driving with a bad brake light can result in a ticket and increases your accident risk.
What If The New Bulb Doesn’t Work?
Check the bulb type and make sure it’s installed correctly. If it still doesn’t work, check the fuse or wiring. For more help, see the Jeep Owner’s Manual.
How Often Should I Replace Rear Brake Lights?
Replace bulbs when they burn out. If you drive often at night or in bad weather, check them every few months.
Can I Upgrade To Led Brake Lights?
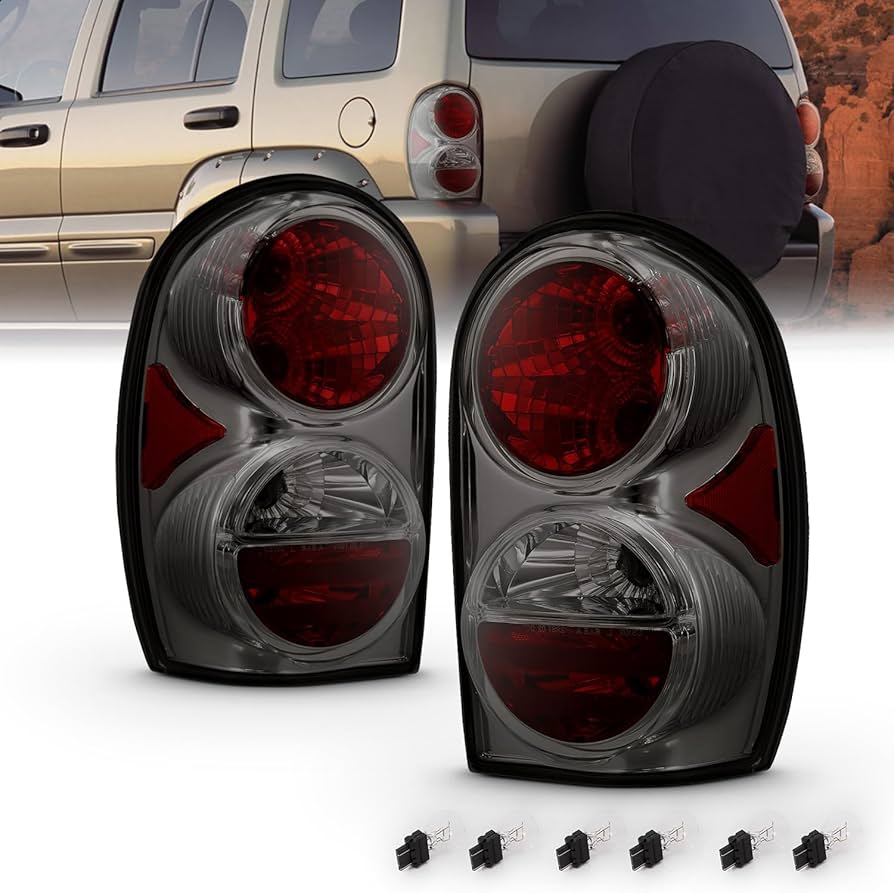
Yes, many LED bulbs fit the 2006 Jeep Liberty. They are brighter and last longer. Check compatibility before buying.
Changing the rear brake light on your 2006 Jeep Liberty is a quick, simple job that boosts your safety on the road. With a few tools and a new bulb, you can finish the job in minutes and avoid unnecessary tickets or accidents. If you keep these tips in mind, you’ll always stay visible and safe.


















