Changing the brake pads on your Jeep Renegade is a smart way to save money and keep your SUV running safely. Many owners do this themselves, even with basic tools and little mechanical experience.
If you’re willing to follow instructions and take your time, you can replace your own brake pads at home. This guide will show you how, step by step, while sharing practical tips for a smooth and safe process.
What You Need Before Starting
Having the right tools and parts is essential. Here’s what you’ll need:
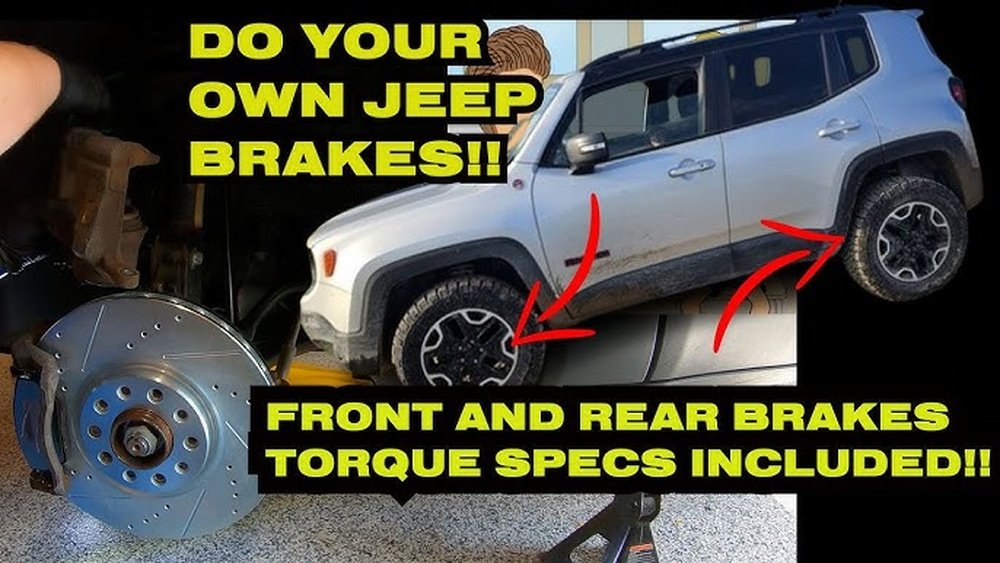
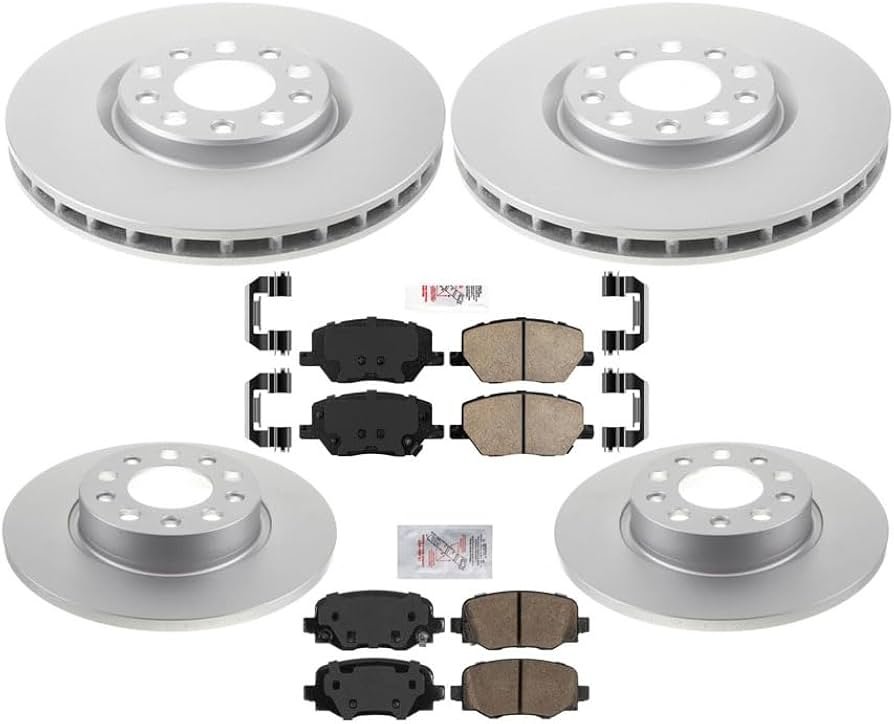
- New brake pads (front or rear, check your Jeep’s year/model)
- Jack and jack stands
- Lug wrench
- Socket set and ratchet
- C-clamp or brake caliper tool
- Flat-head screwdriver
- Brake cleaner spray
- Shop towels or rags
- Gloves and safety glasses
Most auto parts stores can help you pick the correct brake pads for your specific Jeep Renegade. Always double-check fitment before starting.
Preparing Your Jeep
Work on a flat, solid surface. Park the Renegade, set the parking brake, and turn off the engine.
Loosen the lug nuts on the wheel you’ll be working on, but don’t remove them yet. Place the jack under the recommended lift point and raise the vehicle.
Set the jack stand under the frame for safety. Now, remove the wheel.
Safety First
Never work under a car only supported by a jack. Always use jack stands.
Wear gloves and eye protection to avoid brake dust and debris.
Removing The Old Brake Pads
- Locate the brake caliper. It’s the metal part over the brake rotor.
- Use your socket set to remove the caliper bolts.
- Slide the caliper off the rotor. Support it with a hanger or rest it safely so it doesn’t pull on the brake hose.
- Remove the old brake pads. They slide or clip out. Note their position—install the new ones exactly the same way.
- Inspect the rotor for grooves, cracks, or a blue tint. If damaged, it may need resurfacing or replacement.
Typical Wear Comparison
Below is a comparison of new vs worn brake pads:
| Condition | Pad Thickness (mm) | Recommended Action |
|---|---|---|
| New | 10-12 | Install |
| Worn | 3 or less | Replace |
Installing The New Brake Pads
- Use the C-clamp or caliper tool to slowly press the caliper piston back into its housing. This step creates space for the new, thicker brake pads.
- Clean the caliper and hardware with brake cleaner. Wipe away dust and dirt.
- Position the new brake pads where the old ones were. Make sure they are snug and oriented the same way.
- Slide the caliper back over the rotor and pads.
- Reinstall and tighten the caliper bolts.
Quick Torque Guide
Over-tightening can strip bolts, while under-tightening can cause noise or failure. Here’s a general guide:
| Component | Tightening Torque (ft-lbs) |
|---|---|
| Caliper bolts | 25-35 |
| Lug nuts | 95-105 |
Check your owner’s manual for the exact numbers for your Jeep Renegade.
Reinstall The Wheel And Lower Your Jeep
Put the wheel back on and hand-tighten the lug nuts. Remove the jack stand, lower the Jeep, and tighten the lug nuts in a star pattern with your wrench. This ensures even pressure and prevents vibration.
Testing And Bedding The New Brake Pads
Once you finish both sides (always change pads in pairs), pump the brake pedal several times before driving. This resets the brake pistons. Test brakes at low speed first. Bedding your new pads helps them last longer:
- Drive to 35 mph, then brake firmly to 5 mph. Repeat 3–4 times.
- Avoid hard stops for the first 200 miles.
- Listen for squeaks, grinding, or pulling. If something feels wrong, re-check your work.
Common Mistakes To Avoid
- Forgetting to press the caliper piston: New pads won’t fit if you skip this.
- Letting the caliper hang by the hose: This can damage brake lines.
- Touching the friction surface: Oils from your fingers can cause squeaking or uneven braking.
- Not checking brake fluid: Topping up after the job is important.
Many first-timers miss cleaning the hardware or lubricating the slide pins. This step keeps your brakes quiet and smooth.
Also, if your rotors are deeply grooved or thinner than the minimum thickness (usually stamped on the rotor), replace them.
When To Replace Brake Pads
Most Jeep Renegade brake pads last 30,000 to 70,000 miles, but this varies. Listen for squeaking, grinding, or a warning light. Some Renegades have an electronic sensor that triggers a dashboard alert when pads wear thin.
Here’s a quick mileage guide:
| Driving Type | Typical Pad Life (miles) |
|---|---|
| City/stop-and-go | 30,000–40,000 |
| Highway/cruising | 60,000–70,000 |
If you tow, drive aggressively, or live in hilly areas, expect shorter pad life.

Final Tips For Success
Keep all tools organized and work on one wheel at a time, so you can use the other side as a reference if needed. Take photos during each step.
If you feel unsure at any point, consult your Jeep’s manual or ask for help.
Remember, brakes are your most important safety feature never rush or skip steps.
For more technical details and parts diagrams, the official Mopar site is a valuable resource.
Replacing your Jeep Renegade brake pads can be rewarding and saves on repair bills. With careful work and attention to detail, you’ll restore your stopping power and drive with confidence.
Frequently Asked Questions
How Do I Know If My Jeep Renegade Needs New Brake Pads?
Listen for squeaking or grinding sounds, watch for a warning light, or check if the brake pedal feels soft. Inspect pad thickness through the wheel—if less than 3 mm, replace soon.
Can I Change Brake Pads Without Special Tools?
You can do most of the work with basic hand tools, but a C-clamp or brake caliper tool is needed to retract the caliper piston.
Should I Replace Rotors With Brake Pads?
Not always. If rotors are smooth, within minimum thickness, and not warped, you can reuse them.
Deep grooves, cracks, or vibration under braking mean you should replace or resurface them.
How Long Does It Take To Change Brake Pads On A Jeep Renegade?
For beginners, 1–2 hours for the first time is normal. With experience, each wheel takes about 30–45 minutes.
Is Bedding New Brake Pads Necessary?
Yes. Bedding helps match the pad and rotor surfaces, reducing noise and improving braking.
Follow the steps after installing new pads for best results.