Changing a brake light on your 2010 Jeep Liberty might sound tricky, but it is something you can do yourself at home. A working brake light is important for your safety and to avoid getting pulled over by the police. If you notice one of your brake lights is out, fixing it quickly is a smart move. You don’t need to be a car expert, just a little patience and a few simple tools.
Why A Working Brake Light Matters
A burnt-out brake light makes it harder for drivers behind you to see when you’re slowing down or stopping. This increases the chance of a rear-end accident.
In many states, you can get a ticket for driving with a broken brake light.
Replacing the bulb yourself saves time and money versus going to a mechanic.
Tools And Supplies Needed
Before you start, gather these items:
- Replacement bulb: For the 2010 Jeep Liberty, the correct bulb is usually a 3157. Double-check your owner’s manual or ask at an auto parts store.
- Flathead screwdriver or Phillips screwdriver (depending on the screws)
- Gloves: Optional, but keeps oils from your skin off the bulb
- Clean rag
Step-by-step: Changing The Brake Light
Follow these clear steps to change the brake light on your 2010 Jeep Liberty.
1. Open The Liftgate
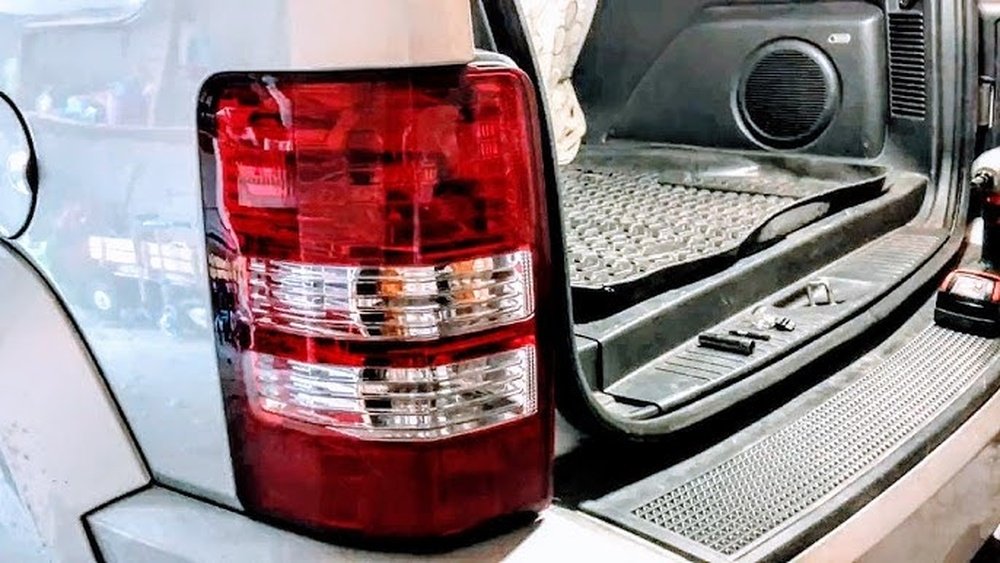
Start by opening the rear liftgate. This gives you access to the taillight assembly.
2. Locate And Remove The Screws
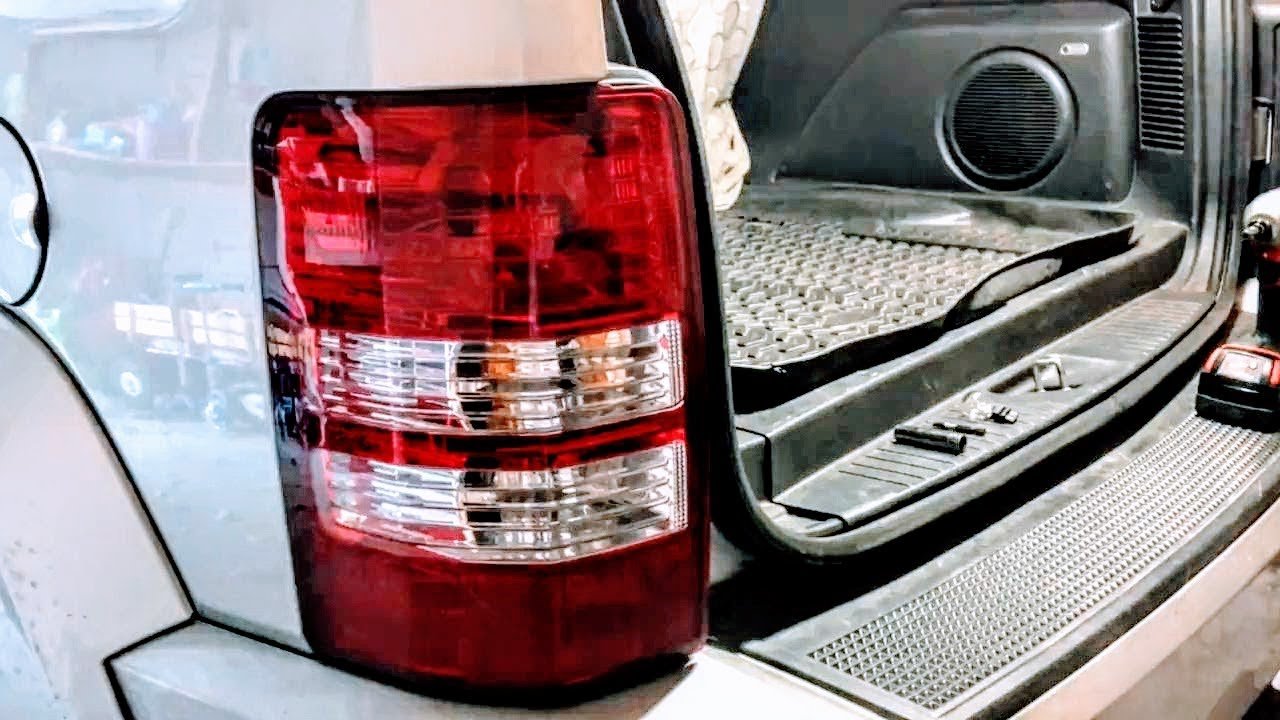
On the side of the taillight, you’ll see two screws holding the assembly to the vehicle. Use the correct screwdriver to remove both screws.
Put them in a safe place so you don’t lose them.
3. Remove The Taillight Assembly
Gently pull the taillight assembly straight back. It may feel stuck, but wiggle it carefully.
Don’t force it too hard there are clips that hold it in place.
4. Find The Brake Light Socket
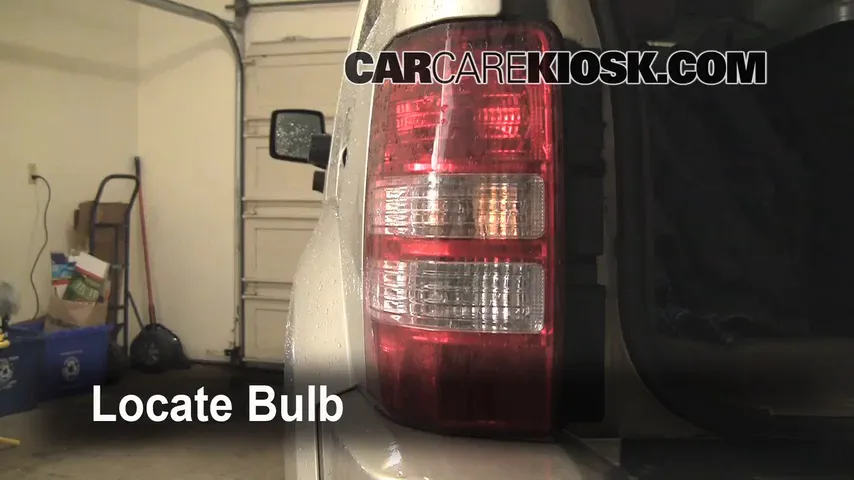
Look at the back of the taillight assembly. There are three bulb sockets: one for the brake light, one for the reverse light, and one for the turn signal. The brake light socket is usually in the middle.
5. Remove The Old Bulb
Turn the socket counterclockwise and pull it out. Remove the old bulb by pulling it straight out. If it’s stuck, wiggle it gently.
6. Install The New Bulb
Push the new 3157 bulb into the socket until it clicks in place. If you’re wearing gloves, this helps keep the bulb clean.
Oils from your fingers can make the bulb burn out faster.
7. Test The New Bulb
Before you put everything back, test the brake light. Ask someone to press the brake pedal while you check if the new bulb lights up.
If you are alone, you can use a heavy object to hold the pedal down or check the reflection in a window.
8. Reinstall Everything
Once you know the new bulb works, put the socket back in and turn it clockwise to lock it. Line up the taillight assembly and press it back into place. Reinstall the two screws and tighten them.
9. Close The Liftgate
Close the liftgate. Your brake light should now work like new.
Quick Reference: Bulb Type And Screwdriver Size
Here’s a handy chart for the most common parts and tools:
| Part | Specification | Notes |
|---|---|---|
| Brake light bulb | 3157 | Check owner’s manual to confirm |
| Screwdriver | Phillips or Flathead | Inspect screw head before starting |
| Gloves | Cotton or latex | Optional, for bulb protection |
Common Mistakes To Avoid
- Touching the bulb glass with bare hands. Oils can cause hot spots and shorten the bulb’s life.
- Forgetting to test the new bulb before reassembling everything. It’s frustrating to put it all back and then realize the light doesn’t work.
- Mixing up sockets. The brake, turn signal, and reverse bulbs look similar. Double-check you are replacing the right one.
- Forcing the taillight assembly. If it’s stuck, wiggle gently—don’t use too much force.
How Long Does It Take?
Most people can change a brake light on a 2010 Jeep Liberty in about 15–20 minutes. If it’s your first time, give yourself a little extra time. The process is simple once you’ve done it once.
Cost: Diy Vs. Mechanic
Doing it yourself usually costs $3–$8 for the bulb. At a mechanic, you might pay $20–$40 for parts and labor. That’s a big saving for a small job.
Here’s a quick comparison:
| Option | Parts Cost | Labor Cost | Total |
|---|---|---|---|
| DIY | $3–$8 | $0 | $3–$8 |
| Mechanic | $3–$8 | $15–$30 | $20–$40 |
Two Useful Tips Most People Miss
- Check both brake lights even if only one is out. They often burn out close together.
- Keep a spare bulb in your glove box. That way you’re ready next time, and you won’t have to rush to the store.
When To See A Mechanic
If you install a new bulb and the light still does not work, the problem could be a fuse, wiring issue, or a problem with the socket. If both brake lights are out, check your fuses first. For complex problems, it’s best to see a professional.
Where To Find More Help
Your Jeep’s owner’s manual has detailed diagrams. For more support, you can visit the official Jeep website.
Frequently Asked Questions
How Do I Know Which Bulb To Buy?
Check your owner’s manual or ask at the auto parts store. The 2010 Jeep Liberty usually uses a 3157 bulb for the brake light.
Can I Drive With One Brake Light Out?
It’s not safe or legal in most places. You could get a ticket and it’s harder for others to see when you stop.
What If The New Bulb Doesn’t Work?
Make sure the bulb is installed correctly. If it still doesn’t work, check the fuse or wiring.
Do I Need Special Tools?
No, just a screwdriver (usually Phillips or flathead). Gloves are optional, but helpful.
How Often Do Brake Light Bulbs Burn Out?
It depends on usage, but most last 2–5 years. If you drive a lot at night or in traffic, bulbs may burn out sooner.
Changing your 2010 Jeep Liberty brake light is a simple task that can save you money and keep you safe.
With the right bulb and a few minutes, you’ll be ready to hit the road again, knowing your car is safer for you and everyone else.


















