Changing the tail light on your 2015 Jeep Patriot is a simple task many drivers can do themselves. It saves money and time, and you don’t need special skills. If your tail light is broken or not working, it’s important to fix it quickly. A working tail light helps keep you safe and avoids tickets. This guide will show you step-by-step how to change the tail light, including what tools you need, common mistakes, and tips to make the process smooth.
Tools And Materials Needed
Before starting, gather these items:
- Replacement tail light bulb or assembly for a 2015 Jeep Patriot
- Screwdriver (Phillips or flathead, depending on your model)
- Socket wrench (usually 10mm)
- Gloves (optional, for safety)
- Clean cloth (to wipe surfaces)
A quality bulb lasts longer and gives brighter light. Always check your owner’s manual for the exact bulb type.

Step-by-step Guide: Changing The Tail Light
Follow these steps to replace your tail light easily and safely.
1. Open The Rear Hatch
Start by opening the rear hatch of your Jeep Patriot. This gives you access to the tail light assembly.
Make sure the vehicle is turned off and parked safely.
2. Locate The Tail Light Assembly
The tail light assembly is on the outer side of the rear. On the 2015 Jeep Patriot, you’ll see two screws holding it in place. These screws are visible once the hatch is open.
3. Remove The Screws
Use your screwdriver or socket wrench to remove the two screws. Keep them safe; you’ll need them when reattaching the assembly.
Sometimes, screws can be tight. If so, apply gentle force and try not to strip them.
4. Pull Out The Tail Light Assembly
Gently pull the tail light assembly away from the vehicle. It may feel stuck due to clips.
Wiggle it slowly to loosen. Don’t pull hard, as wires are connected inside.
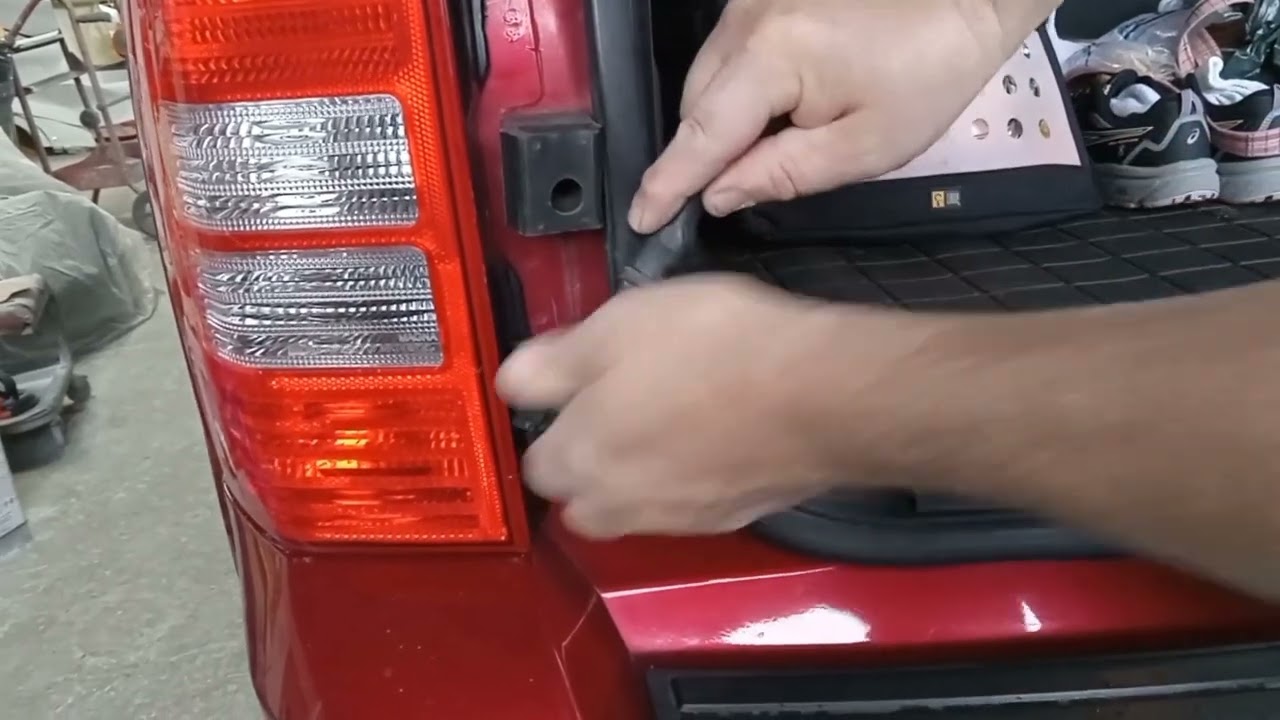
5. Disconnect The Wiring
You’ll see a wiring connector at the back. Press the release tab and pull the connector out.
This disconnects the tail light from the car’s electrical system.
6. Remove The Old Bulb
Twist the bulb socket counterclockwise to remove it from the assembly. Pull out the old bulb.
If you’re replacing the whole assembly, skip this step and move to installing the new part.
7. Install The New Bulb
Insert the new bulb into the socket. Make sure it fits snugly.
Twist the socket back into the assembly, locking it in place.
8. Reconnect The Wiring
Plug the wiring connector back into the tail light assembly. Listen for a click to confirm it’s secure.
9. Attach The Tail Light Assembly
Align the assembly with the vehicle. Push it in gently until the clips engage.
Secure it with the screws you removed earlier.
10. Test The Tail Light
Turn on your Jeep and check if the tail light works. Test both the brake and turn signals.
If the light doesn’t come on, recheck the bulb and wiring.
Common Mistakes And How To Avoid Them
Many beginners make small mistakes that can lead to frustration or damage. Here’s what to watch out for:
- Using the wrong bulb type: Always check your manual or the old bulb.
- Forgetting to reconnect wiring: The tail light won’t work if the wires aren’t attached.
- Over-tightening screws: This can crack the assembly or strip the threads.
- Touching the bulb glass: Oil from your skin can shorten bulb life; use gloves or a cloth.
Comparison: Oem Vs Aftermarket Tail Lights
Choosing between OEM (original equipment manufacturer) and aftermarket tail lights can be confusing. Here’s a simple comparison:
| Feature | OEM Tail Light | Aftermarket Tail Light |
|---|---|---|
| Fit | Perfect | Sometimes varies |
| Quality | High | Depends on brand |
| Price | More expensive | Usually cheaper |
| Warranty | Often included | May not be included |
Most drivers find that OEM parts are easier to install and last longer, but aftermarket options can save money.
Useful Tips For A Smooth Replacement
- Work in daylight or use a flashlight for better visibility.
- Check both tail lights: If one is out, the other may fail soon.
- Keep all screws and parts organized so nothing gets lost.
- If you’re not sure about the bulb type, take the old bulb to an auto store for matching.
Cost And Time Estimates
Changing a tail light on a 2015 Jeep Patriot usually costs between $10 and $40 for a bulb, and $50 to $120 for a full assembly. Most people finish the job in 20–30 minutes. Professional repair can cost more, often over $100 just for labor.
| Method | Estimated Cost | Time Needed |
|---|---|---|
| DIY | $10–$120 | 20–30 minutes |
| Professional | $100–$200 | 15–20 minutes |
DIY saves money, but a professional can finish faster and guarantees work.

Extra Advice Most Beginners Miss
- Check the fuse: If the new bulb doesn’t light up, the issue could be a blown fuse, not the bulb itself. The fuse box is under the hood; check your manual for the exact location.
- Inspect the socket: Sometimes, the socket is corroded or damaged. Clean it with a cloth or use electrical contact cleaner.
Frequently Asked Questions
How Do I Know Which Bulb To Buy For My 2015 Jeep Patriot?
Check your owner’s manual or look at the old bulb. Most tail lights use a 3157 bulb. If unsure, ask at an auto parts store.
Can I Change The Tail Light Without Removing The Assembly?
On most 2015 Jeep Patriot models, you need to remove the assembly to access the bulb. It’s a simple process and doesn’t take much time.
Is It Safe To Drive With A Broken Tail Light?
No, it’s unsafe and may get you a ticket. Tail lights are important for visibility and signaling. Always fix broken lights quickly.
How Long Does A Tail Light Bulb Last?
A typical bulb lasts 2–5 years, but it depends on usage. LED bulbs last longer. Replace bulbs at the first sign of dimming or failure.
Where Can I Find Official Instructions For Jeep Patriot Repairs?
For detailed instructions and specifications, visit the Jeep Official Owner’s Manual.
Changing your 2015 Jeep Patriot tail light is a simple task that improves safety and saves money. With these steps, tips, and comparisons, you’ll finish the job quickly and confidently.
Remember to double-check your work and use quality parts for the best results.