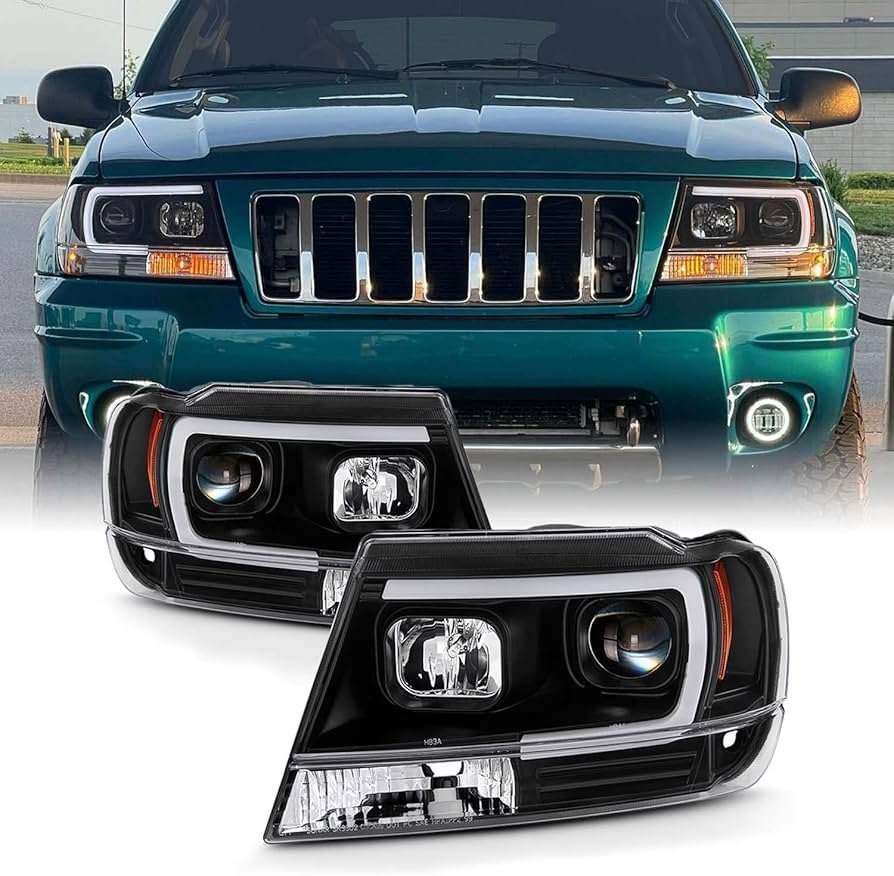
When driving at night, clear headlights are essential for safety. If the lights on your 2004 Jeep Grand Cherokee seem too dim, too high, or blinding other drivers, adjusting them can make a big difference. Many people think adjusting headlights is complicated, but with the right steps, you can do it yourself at home. This guide shows you how to adjust headlights on your Jeep, avoid common mistakes, and understand why proper alignment matters.
Why Headlight Alignment Matters
Misaligned headlights can cause problems for you and others on the road. Lights pointing too high may blind oncoming drivers. Lights aimed too low can make it hard to see at night. According to the National Highway Traffic Safety Administration (NHTSA), poorly aimed headlights are a leading cause of nighttime accidents.
Proper alignment helps you see road signs, obstacles, and pedestrians. It also reduces glare for other drivers. If you recently changed bulbs or had front-end work done, it’s wise to check your headlight aim.
Tools And Preparation
Before starting, gather a few simple tools:
- Phillips screwdriver (most Jeep models use this)
- Tape measure
- Masking tape
- Flat surface (like a driveway)
- Blank wall (garage door or building wall)
Fill your gas tank halfway, and remove heavy items from the vehicle. Make sure tire pressure is correct.
These steps keep your Jeep level, which is important for accurate alignment.
Step-by-step Headlight Adjustment
1. Park Your Jeep Correctly
Choose a flat surface facing a blank wall, at least 25 feet away. Park your Jeep perpendicular to the wall.
Measure the distance from the ground to the center of each headlight, then mark this height on the wall with masking tape.
2. Prepare The Headlights
Turn on the low beam headlights. Close the hood and make sure the vehicle is loaded as you’d normally drive it (with a driver or passenger if possible).
3. Find The Adjustment Screws
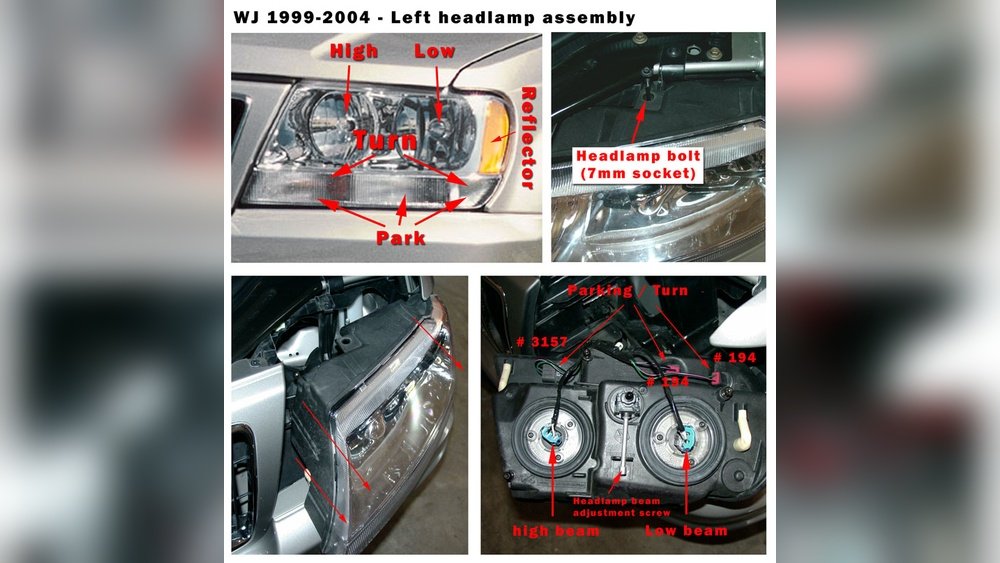
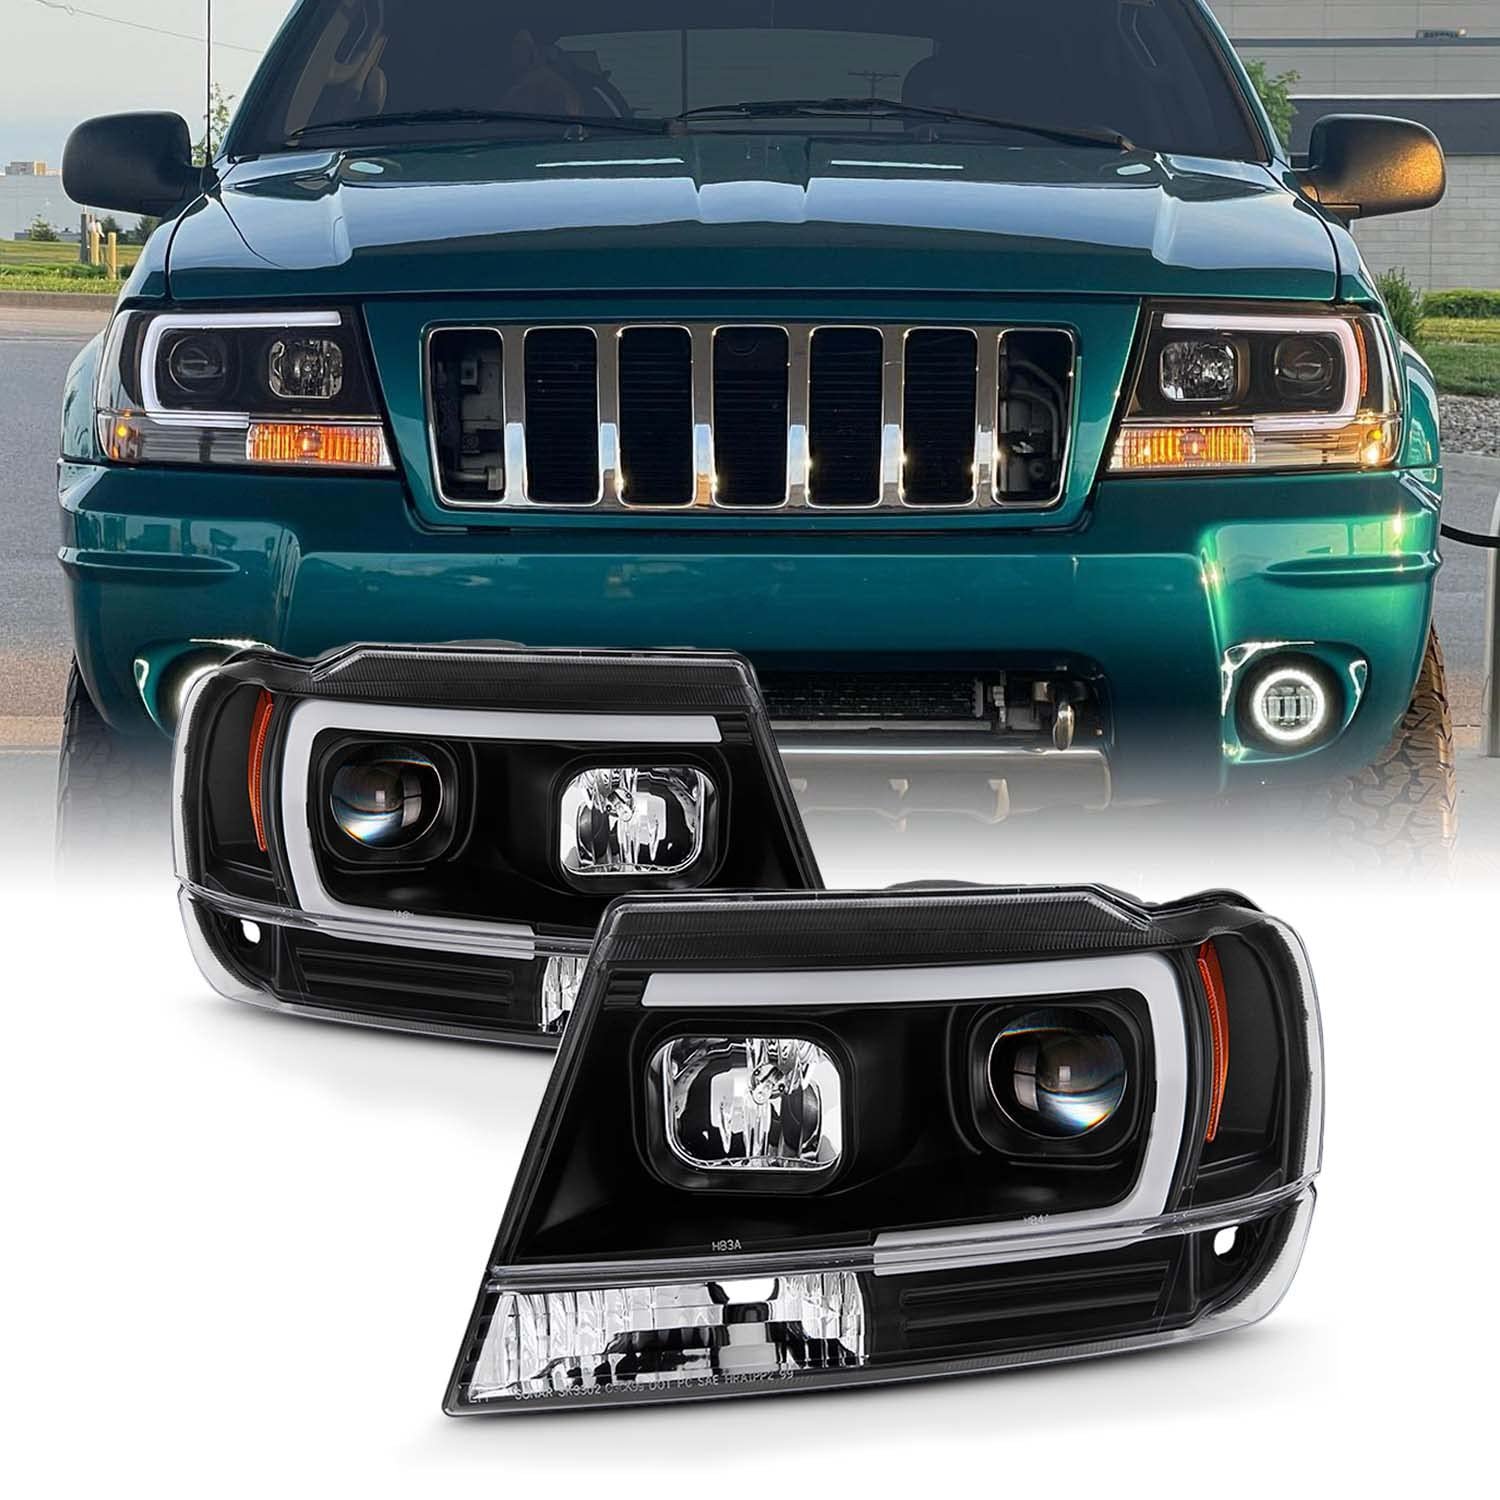
On the 2004 Jeep Grand Cherokee, you’ll find adjustment screws behind each headlight assembly. There are usually two: one for vertical (up and down) and one for horizontal (side to side) adjustment.
4. Adjust Vertical Aim
Using the Phillips screwdriver, turn the vertical adjustment screw. The brightest part of the beam should be at or just below the tape line you marked on the wall. If the beam is too high, lower it. If it’s too low, raise it gently.
5. Adjust Horizontal Aim
Next, use the horizontal adjustment screw. The center of the beam should be slightly to the right of the headlight center mark on the wall (for US roads). This helps you light up the roadside without blinding oncoming traffic.
6. Check Both Headlights
Repeat the adjustment for both headlights. Compare the beams to make sure they look even and balanced.
7. Test On The Road
Take your Jeep for a short drive in the dark. Check if you see the road clearly and if other drivers flash their lights at you (a sign of glare). Make small adjustments if needed.
Data And Comparison
To show the difference between proper and improper alignment, here’s a comparison:
| Alignment | Visibility | Glare for Others | Accident Risk |
|---|---|---|---|
| Proper | High | Low | Minimal |
| Too High | Medium | High | Increased |
| Too Low | Low | None | Increased |
Most drivers notice a big improvement in visibility after proper adjustment. For example, with correct aim, you can see road signs 20% farther compared to misaligned lights.
Common Mistakes To Avoid
Many beginners make these mistakes:
- Not using a flat surface: Uneven ground can cause incorrect alignment.
- Skipping tire pressure check: Low tires change the Jeep’s height.
- Adjusting with high beams: Always use low beams for alignment.
- Ignoring both headlights: Adjusting only one leads to uneven lighting.
- Over-tightening screws: This can damage the headlight assembly.
If you notice your headlights look different after hitting a pothole or after repairs, recheck the alignment.
Practical Tips For Better Results
- Use masking tape to create clear reference lines.
- Check headlights after changing bulbs or doing front-end work.
- Clean your headlights before adjusting; dirt can change the light pattern.
- If unsure, consult your owner’s manual for specific screw locations.
Here’s a quick overview comparing adjustment methods:
| Method | Tools Needed | Accuracy | Time Required |
|---|---|---|---|
| DIY (Wall Method) | Screwdriver, tape, tape measure | Good | 15–30 min |
| Professional Alignment | Special tools, machine | Excellent | 10–15 min |
Real-life Example
A Jeep owner noticed poor visibility after installing new bulbs. After following these steps, the beam pattern improved, and the driver felt safer at night.
It’s worth checking the alignment once a year or after any front-end work.
For official guidance, visit the NHTSA Headlights Page.
Frequently Asked Questions
How Often Should I Check Headlight Alignment?
Check headlight alignment at least once a year, or after changing bulbs, tires, or doing front-end repairs.
Can I Adjust Headlights Myself Or Do I Need A Mechanic?
Most people can adjust headlights themselves using simple tools. If you have trouble, a mechanic can help.
What Happens If Headlights Are Misaligned?
Misaligned headlights reduce visibility and can cause glare for other drivers, increasing accident risk.
Do I Need Special Equipment?
No special equipment is needed for the wall method. Just a screwdriver, tape, and a tape measure.
Is Professional Alignment Better?
Professional alignment uses special tools for precise results, but DIY adjustment is usually good enough for most drivers.
Making sure your 2004 Jeep Grand Cherokee headlights are properly adjusted keeps you safe and protects others on the road. With a little time and care, you can improve night driving and avoid common mistakes.
If you notice poor visibility or glare, follow these steps and check your alignment regularly.