Adding a subwoofer amplifier to your 2017 Jeep Cherokee can transform your music experience. Many car owners feel their factory sound system lacks deep bass.
Upgrading with a dedicated amp and subwoofer brings music to life, making every drive more enjoyable.
While the process may seem technical, most people with basic tools and patience can complete it in a few hours. This guide explains how to add a subwoofer amp to your Jeep Cherokee, what you need, and how to avoid common mistakes.
What You Need To Know Before Starting
Adding a subwoofer amp is not just about power it’s about matching the right components to your vehicle. The 2017 Jeep Cherokee has a unique wiring system and limited space, so planning is key.
- Select a compatible amplifier: Look for a compact, Class D amp for easy installation.
- Choose the right subwoofer: An 8″ or 10″ sub fits best in the Cherokee’s cargo area.
- Wiring kit: Get an amp wiring kit (8-gauge or thicker) with power, ground, remote, and RCA cables.
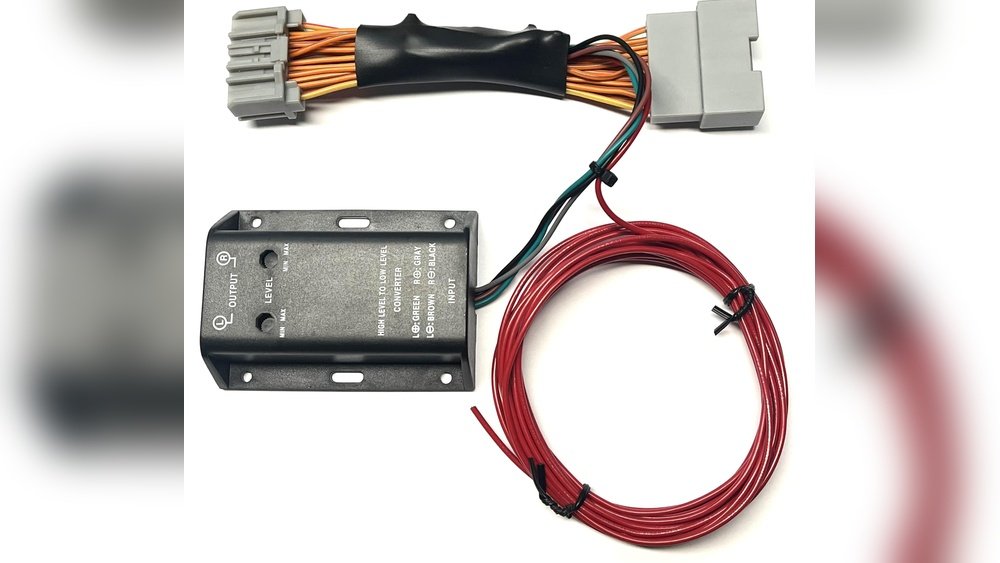
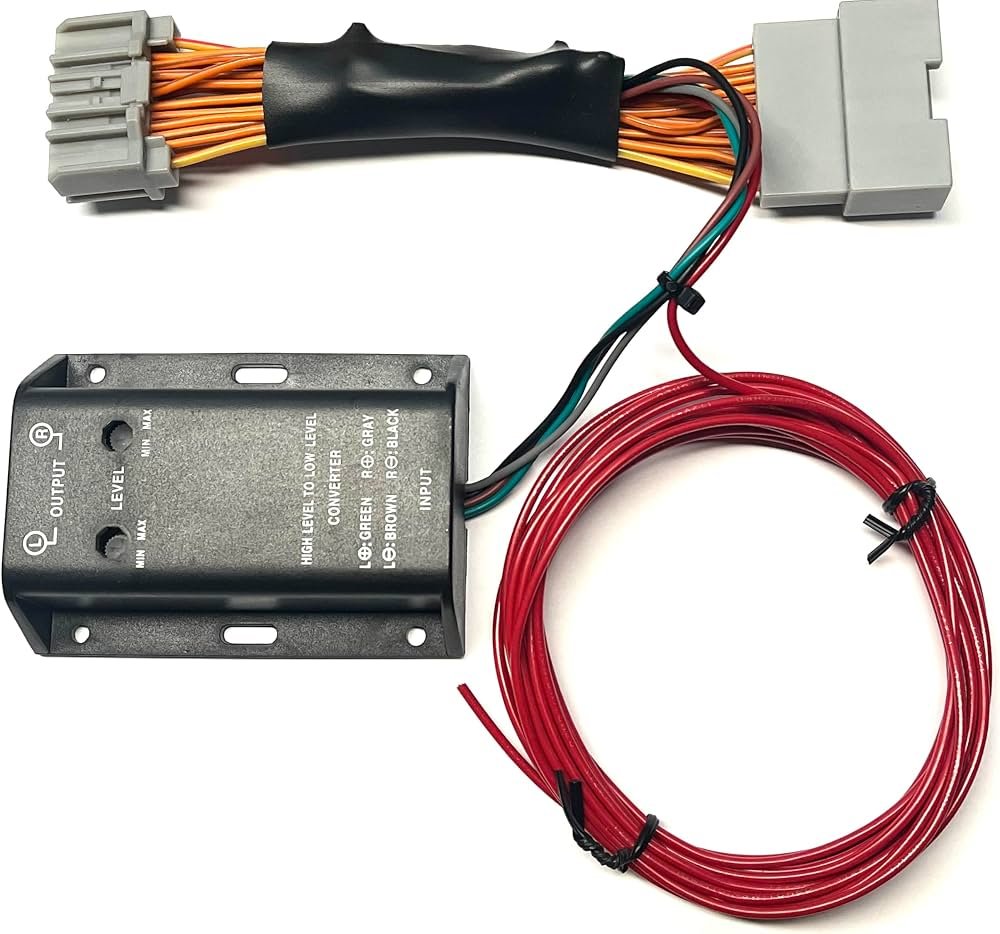
- Line Output Converter (LOC): Needed if you keep the factory stereo, as it doesn’t have RCA outputs.
- Fuse holder and fuse: Protects your vehicle from electrical shorts.
- Basic tools: Wire strippers, crimpers, socket set, screwdrivers, and panel removal tools.
Pro tip: Buy all parts before starting. Waiting for a missing item halfway through installation can be frustrating.
Step-by-step Installation Guide
1. Disconnect The Battery
Always start by removing the negative battery terminal. This protects you and your car’s electronics from accidental shorts.
2. Run Power Cable From Battery To Cargo Area
Route the power wire from the battery, through the firewall, under the door sills, and to the back of the vehicle.
- Use an existing rubber grommet in the firewall to avoid drilling.
- Secure the wire away from moving parts and sharp edges.
- Install the fuse holder within 18 inches of the battery.
3. Connect Ground Wire
The amp needs a solid ground connection. In the cargo area, find a bare metal bolt or drill a hole for a grounding point.
- Scrape off any paint for a direct metal-to-metal contact.
- Keep the ground wire as short as possible—less than 18 inches.
4. Tap Into Factory Speaker Wires
If you’re keeping the original stereo, use a Line Output Converter.
- Remove the rear trim panels to access the speaker wires.
- Identify the rear speaker wires (colors vary—check a wiring diagram).
- Connect the LOC to these wires, then run RCA cables to the amp.
Non-obvious insight: Connecting to rear speakers reduces the chance of noise or signal issues compared to the front speakers.
5. Install The Remote Turn-on Wire
The amp needs to know when to turn on. Tap the remote wire into a 12V accessory source, such as the rear cigarette lighter or ignition wire.
- Use a fuse tap for a clean install.
- Avoid using constant power sources; otherwise, the amp will drain your battery.
6. Connect The Amplifier
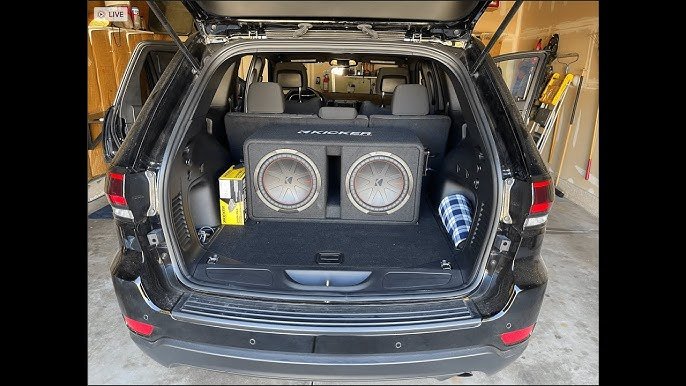
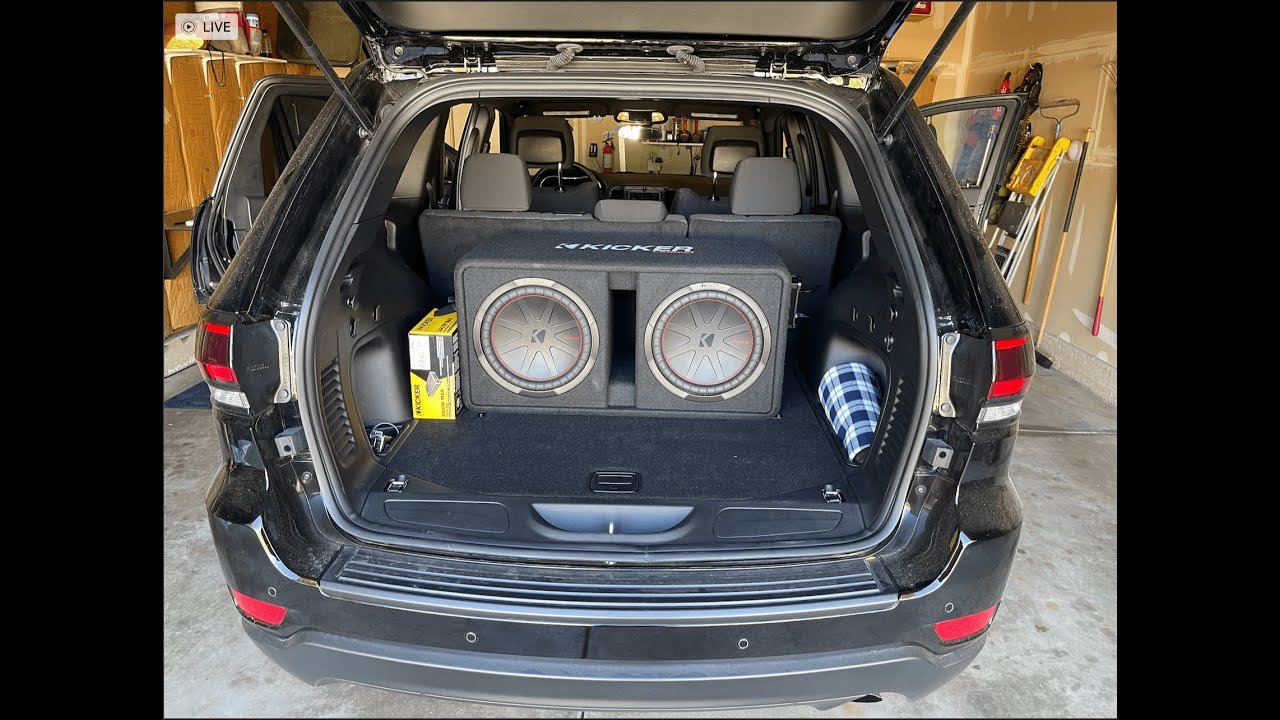
Mount the amp securely in the cargo area, using brackets or Velcro straps.
- Connect the power, ground, remote, and RCA cables to the amp.
- Attach the speaker wires from the amp to the subwoofer enclosure.
Pro tip: Use zip ties and wire loom for a neat, safe installation.
7. Final Wiring Checks
Before reconnecting the battery, double-check all connections.
- Ensure all wires are tight and insulated.
- Check that the fuse is installed properly.
8. Test The System
Reconnect the negative battery terminal. Turn on your stereo and play music.
- Set the amp gain low at first.
- Listen for distortion or rattling panels.
Non-obvious insight: Factory stereos may have built-in EQ or volume limits. If your bass sounds weak, try adjusting the LOC’s output or use a bass knob.
Comparison: Factory System Vs. Upgraded System
Here’s a quick comparison between the stock setup and an upgraded system with a subwoofer amp:
| Feature | Factory System | With Subwoofer Amp |
|---|---|---|
| Bass Response | Weak | Deep & Powerful |
| Max Volume | Moderate | Louder, Clearer |
| Customization | Limited | Adjustable |
Placement Options For Subwoofer And Amp
Choosing the right spot for your subwoofer and amp matters for both sound and safety.
| Location | Pros | Cons |
|---|---|---|
| Cargo Area | Easy access, best sound | Reduces trunk space |
| Under Seat | Space-saving, hidden | May limit sub size |
| Side Panel | Factory look | Harder to install |
Common Mistakes To Avoid
- Skipping the ground connection—causes noise or amp shutdown.
- Using undersized power wire—limits amp performance or overheats.
- Forgetting a fuse—serious fire risk.
- Placing the amp where it can overheat—always allow airflow.
- Not tuning the amp—leads to distortion or poor sound.
Final Checks And Tuning
Once everything is connected, spend time adjusting the amp.
- Start with the gain low and increase slowly.
- Set the low-pass filter to around 80 Hz for clean bass.
- Use bass boost sparingly to avoid distortion.
Example: If you hear rattling, check for loose panels or items in the cargo area. Sometimes, adding sound-deadening material helps improve bass.
Frequently Asked Questions
How Much Does It Cost To Add A Subwoofer Amp To A 2017 Jeep Cherokee?
The total cost can range from $250 to $700, depending on the quality of parts and if you install them yourself. Professional installation adds about $150–$300.
Do I Need To Upgrade My Alternator Or Battery?
For most single subwoofer setups under 500 watts RMS, the factory electrical system is enough. High-powered systems may need upgrades.
Will Adding A Subwoofer Void My Warranty?
Adding a sub and amp usually does not void your warranty if installed carefully and you don’t cut factory wires. Always check your warranty terms.
Can I Keep My Factory Head Unit?
Yes, using a Line Output Converter lets you keep your original stereo and still add a subwoofer amp.
Where Can I Find Wiring Diagrams For My Jeep?
Factory service manuals or forums like Jeep Cherokee Club are good sources for accurate wiring info.
Adding a subwoofer amp to your 2017 Jeep Cherokee is a smart upgrade for better sound. With the right tools and a careful approach, you can enjoy deeper bass and a richer music experience.
Remember to plan ahead, work safely, and tune your system for the best results.


















