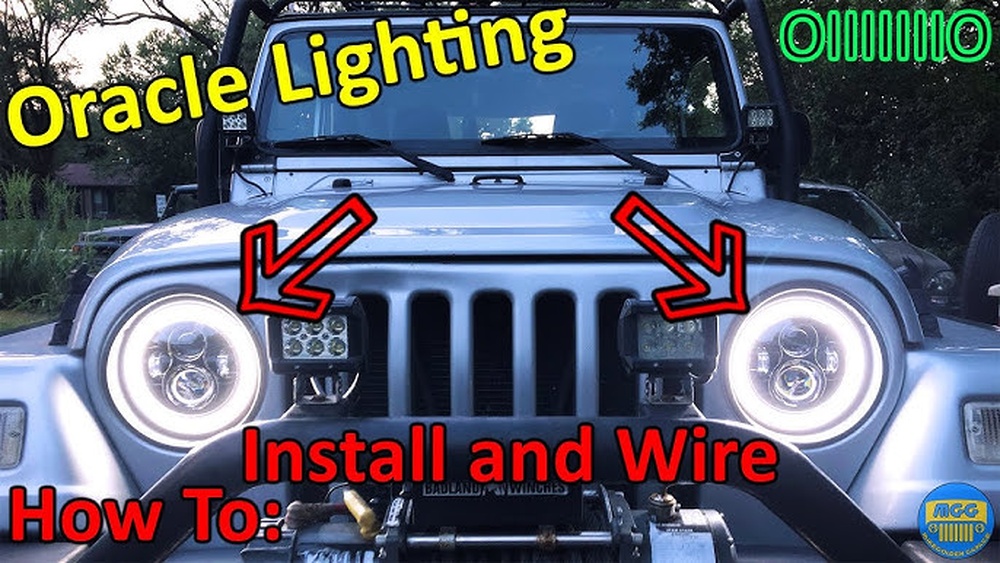
If you own a Jeep Wrangler JK, you know how important visibility and style are on the road. The side marker light is a small but essential part. It helps other drivers see your Jeep from the side, especially at night or in bad weather. Over time, these lights can burn out or get damaged. Replacing them is a simple task for most owners, but it’s easy to miss a few key steps that make the job go smoothly. This guide will show you, step by step, how to replace the side marker light on your Jeep Wrangler JK. Even if you’re new to car repairs, you can do this with basic tools and a little patience.
Why Side Marker Lights Matter
The side marker lights on your Wrangler JK are more than just a legal requirement. They play a big role in road safety. These small lights, set near your front and rear wheel wells, help other drivers spot your Jeep from the side. In the U.S., every vehicle must have working side marker lights to pass inspections and avoid tickets. But there’s more: a working side marker helps prevent side collisions, especially when changing lanes at night.
Replacing a broken or burned-out light is not just about the law or looks—it’s about keeping you and your passengers safe.
Understanding Your Jeep Wrangler Jk Side Marker Lights
Before you start, it’s important to know which lights you’re dealing with. The Jeep Wrangler JK (model years 2007–2018) uses amber side marker lights in the front fenders and red ones in the rear. The most common reason to replace them is a burned-out bulb, but sometimes the whole housing needs to be changed if it’s cracked or faded.
There are two main types of side marker lights:
- Bulb-based: Uses a replaceable bulb inside a plastic housing.
- LED units: Some newer models or aftermarket upgrades use LED side markers, which last longer and are brighter.
Knowing your Jeep’s exact year and model helps you choose the right replacement part.
Tools And Materials You’ll Need
Gather your supplies before starting. You do not need special skills or expensive equipment. Most people already have these tools at home.
- Replacement side marker light or bulb
- Flathead screwdriver
- Phillips screwdriver
- Socket wrench set (usually 7mm or 8mm)
- Clean gloves
- Small towel or rag
- Optional: Trim removal tool (for easier access)
- Optional: Dielectric grease (to protect the bulb socket from moisture)
If you’re not sure which bulb to buy, check your owner’s manual or ask a parts store for your Jeep’s year and trim.
Step-by-step: Replacing The Side Marker Light
This step-by-step guide is for the front side marker light on the Jeep Wrangler JK. Rear side marker replacement is similar, but usually even easier since there is more access.
1. Make Sure The Engine Is Off
Turn off your Jeep and remove the keys. For extra safety, disconnect the negative battery terminal. This isn’t required, but it prevents any chance of short circuits.
2. Locate The Side Marker Light
Look at the front fender flare—this is the plastic part above the wheel. The side marker light is on the side, near the front.
3. Remove The Fender Liner Screws
To reach the back of the light, you need access behind the fender. Use the socket wrench or Phillips screwdriver to remove the screws or plastic clips holding the inner fender liner. You do not need to take the whole liner out—just loosen it enough to reach your hand inside.
4. Disconnect The Wiring Harness
Reach behind the side marker light. You’ll feel a small plastic wiring connector. Press the tab and gently pull it out. Some connectors might be tight, so wiggle gently. Avoid pulling on the wires.
5. Remove The Side Marker Light
There are usually two screws holding the side marker light to the fender flare. Remove them with your screwdriver. Carefully pull the light unit out from the outside.
Pro tip: If the light feels stuck, double-check for any hidden clips or screws. Forcing it can crack the plastic.
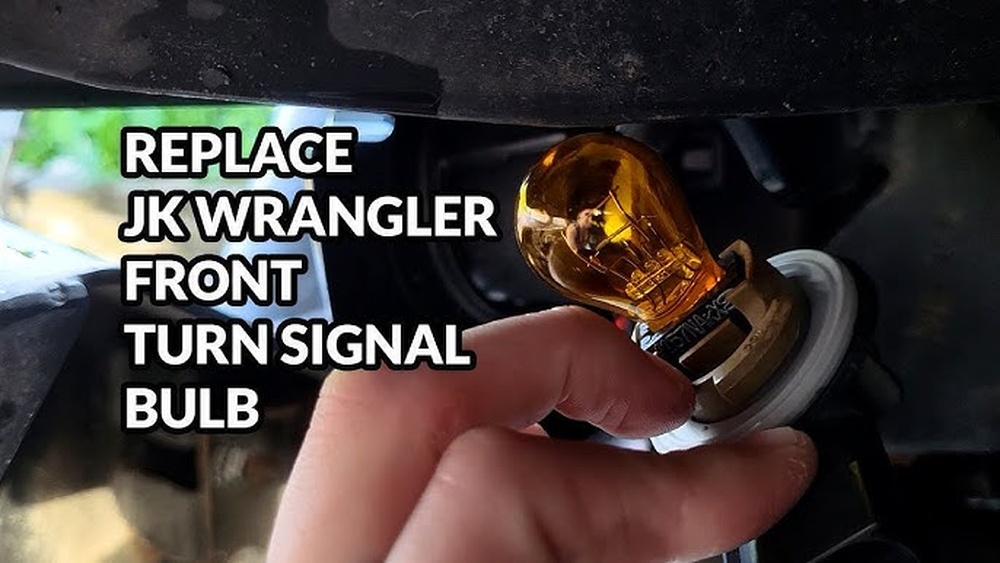
6. Replace The Bulb (if Needed)
If only the bulb is burned out:
- Twist the bulb socket counterclockwise and pull it out of the housing.
- Pull the old bulb straight out.
- Push the new bulb in and twist the socket back into the housing.
If you’re replacing the whole side marker assembly, skip to the next step.
7. Install The New Side Marker Light
Align the new light housing with the holes in the fender flare. Insert the screws and tighten them. Do not overtighten—plastic can crack easily.
Reconnect the wiring harness until it clicks. If you’re using a new bulb, avoid touching it with your bare fingers, as oil from your skin can reduce its lifespan.
8. Reattach The Fender Liner
Put the fender liner back in place and secure it with the screws or clips you removed earlier.
9. Test The New Light
Turn on your Jeep’s lights. Make sure the new side marker turns on and matches the others in brightness and color.
Quick tip: If the light doesn’t work, double-check the wiring connector and bulb orientation.

Common Mistakes And How To Avoid Them
Many first-time DIYers make small errors that can turn a 20-minute job into an hour. Here’s how to avoid the most common problems:
- Forgetting to test the new light before reassembling everything. Always check before putting the fender liner back.
- Using the wrong bulb type. Jeep JKs use specific bulbs (often 194 or 168 type). Double-check compatibility.
- Breaking plastic clips. These can be brittle after years of sun. Use gentle, even pressure and a trim tool if you have one.
- Not cleaning the socket. Dirt or corrosion can cause poor connections. Wipe with a clean rag and add a bit of dielectric grease if possible.
Upgrading To Led Side Marker Lights
If you want brighter, longer-lasting lights, consider upgrading to LED side marker lights. LED units use less power and are more visible in fog or rain. Some aftermarket kits are plug-and-play, while others require minor wiring changes.
Here’s a quick comparison between traditional and LED side marker lights:
| Feature | Traditional Bulb | LED Side Marker |
|---|---|---|
| Lifespan | ~1,000 hours | ~50,000 hours |
| Brightness | Standard | Much brighter |
| Power Use | Higher | Lower |
| Cost | Lower | Higher |
| Installation | Very easy | Easy to moderate |
If you choose LEDs, check if you need a “CAN-bus” compatible unit. Some cheap LEDs can cause a dashboard warning light or blink too quickly.

How Much Does It Cost To Replace?
Replacing a side marker light on your Jeep Wrangler JK is one of the cheapest fixes you can do yourself. Here’s a breakdown of typical costs:
| Part/Service | DIY Cost (USD) | Shop/Labor Cost (USD) |
|---|---|---|
| Bulb Only | $2–$8 | $15–$30 |
| Complete Assembly (OEM) | $20–$45 | $50–$90 |
| LED Upgrade (Pair) | $30–$70 | $70–$120 |
Most owners spend less than $30 if they do it themselves.
Choosing The Right Replacement Part
Not all side marker lights are created equal. Here’s what to look for:
- Compatibility: Make sure the part fits your model year (2007–2018) and fender style.
- Quality: OEM parts will last longer and fit better, but some aftermarket brands are just as good.
- Warranty: Some LED upgrades offer long warranties—worth the extra cost if you plan to keep your Jeep.
If you’re unsure, bring the old light to the parts store for a direct comparison.
Real-world Tips From Jeep Owners
Experienced Jeep owners often share these lesser-known tips:
- Keep a spare bulb in your glove box. Side markers can fail at the worst time—like during a road trip.
- Check all your marker lights at once. If one is out, others may soon follow.
- Use gloves when handling new bulbs. This prevents oil transfer and extends bulb life.
- Seal the socket with dielectric grease in wet climates to avoid corrosion.
One more insight: Many drivers replace both side marker lights at the same time, even if only one is out. This keeps brightness and color even on both sides.
Safety And Legal Considerations
In most states, it is illegal to drive without working side marker lights. During inspections, a burned-out marker can cause your Jeep to fail. Police can also ticket you for this simple fix.
Some aftermarket LED units are not DOT-approved. Always check if the product is street legal in your state before installing.
For more details about vehicle lighting laws, visit the National Highway Traffic Safety Administration.

Troubleshooting: If The New Light Doesn’t Work
Sometimes, you install a new bulb or light and it still doesn’t turn on. Here’s what to check:
- Bulb orientation: Some bulbs only work one way. Flip it and try again.
- Socket corrosion: Clean the contacts with a small brush or spray electrical cleaner.
- Fuse: Check your Jeep’s fuse box for a blown fuse related to marker lights.
- Wiring: Look for broken or pinched wires behind the fender liner.
If the problem remains, consult a mechanic or Jeep forum for more help.
Frequently Asked Questions
How Long Does It Take To Replace A Side Marker Light On A Jeep Wrangler Jk?
Most people can finish the job in 15–30 minutes. If it’s your first time or the screws are rusty, it may take a little longer.
Can I Replace Side Marker Lights Without Removing The Fender Flare?
Usually, you do not need to remove the whole fender flare. Loosening the inner liner or reaching behind it is enough for most replacements.
What Bulb Size Does A Jeep Wrangler Jk Use For Side Markers?
Most JKs use a 194 or 168 bulb for side marker lights. Always check your owner’s manual or compare with the old bulb to be sure.
Will Aftermarket Led Side Markers Cause Error Codes?
Some cheaper LEDs can cause fast blinking or dash errors because of their low power draw. Look for “CAN-bus compatible” LEDs to avoid this problem.
Is It Safe To Drive If Only One Side Marker Is Out?
It’s safer to fix it right away. Driving with a burned-out side marker is illegal in many places, and it makes your Jeep less visible from the side.
Replacing the side marker light on your Jeep Wrangler JK is a simple way to keep your Jeep safe and legal. With the right tools, a little care, and these tips, you can finish the job quickly and confidently. Whether you’re fixing a burned-out bulb or upgrading to LEDs, you’ll notice better visibility and a fresher look for your Wrangler.