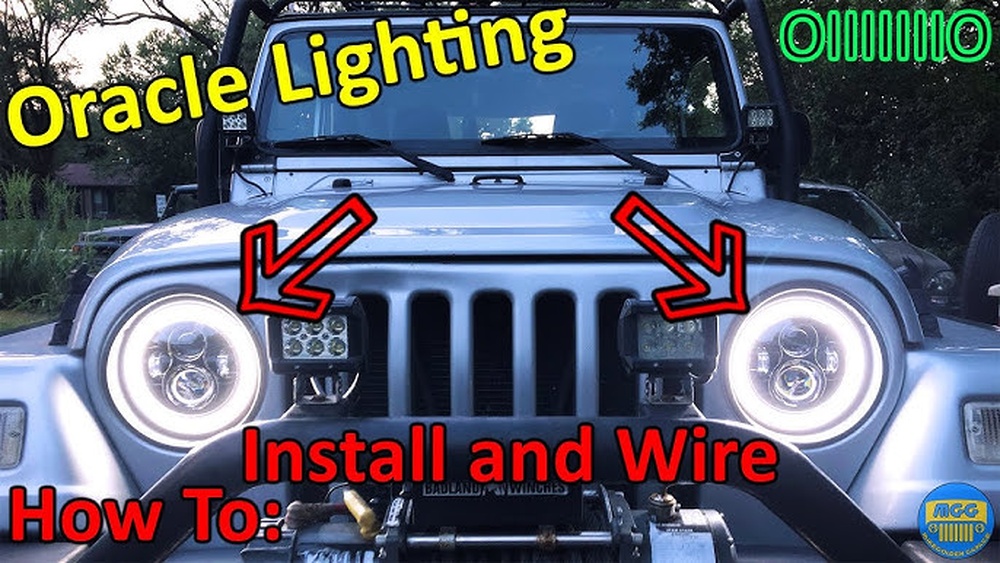
Adding offroad lights to your Jeep can transform nighttime driving and trail exploring. Good lighting helps you see obstacles, animals, and the path ahead clearly. But wiring offroad lights is not as simple as connecting a few wires. Doing it wrong can blow fuses, drain your battery, or even start a fire. This guide will show you how to wire offroad lights on a Jeep safely and effectively, even if you’re not an expert. You’ll learn what you need, step-by-step instructions, and essential safety tips that many beginners miss.
Why Proper Wiring Matters
Many Jeep owners get excited about adding new lights but overlook proper wiring. Bad wiring can cause flickering, burnt switches, or total failure. Worse, it can damage your Jeep’s electrical system. Taking the time to wire your lights correctly will save you money, headaches, and even protect your vehicle. Plus, a clean setup looks better and is easier to troubleshoot.
What You Need Before Starting
Before you begin, gather all the tools and parts. Having everything ready makes the process smoother and safer.
Basic tools and materials:
- Offroad light kit (with mounting hardware)
- Wiring harness (often included with lights)
- 12V relay (usually 40A)
- Inline fuse (rated for your lights, typically 15–40A)
- Switch (waterproof is best for offroad)
- Electrical tape
- Heat-shrink tubing
- Crimp connectors and ring terminals
- Wire stripper and crimper
- Socket set and screwdrivers
- Zip ties
- Multimeter (for testing)
Additional recommended items:
- Loom tubing (for wire protection)
- Soldering iron and solder (for strong connections)
- Circuit tester
Choosing the right wire size:
The wire gauge must handle the total current of your lights. Use this table to choose:
| Amps (Total Load) | Recommended Wire Gauge | Max Wire Run (ft) |
|---|---|---|
| Up to 10A | 16 AWG | 10 |
| 10–20A | 14 AWG | 10 |
| 20–40A | 12 AWG | 10 |
If unsure, always go for a thicker wire.

Planning Your Wiring Layout
Before cutting or connecting anything, plan where you’ll run the wires. This step is often skipped, but it prevents messy installs and future problems.
- Mounting location: Decide where your lights will go—on the bumper, roof, or windshield pillar.
- Power source: Most offroad lights should connect directly to the Jeep’s battery for best performance.
- Switch placement: Pick a spot inside the cabin that’s easy to reach but doesn’t get in the way.
- Wire routing: Use factory grommets when passing wires through the firewall. Avoid hot engine parts and moving components.
- Protection: Run wires inside loom tubing or along existing harnesses to avoid chafing and water damage.
Many beginners underestimate how much vibration and water a Jeep faces offroad. Protecting your wires from these elements will extend the life of your setup.
Step-by-step: How To Wire Offroad Lights On A Jeep
The following steps will guide you through a reliable and professional wiring job.
1. Mount The Offroad Lights
Install the lights on your chosen location using the hardware provided. Make sure they are secure and aimed correctly. Don’t fully tighten them yet—you may want to adjust the beam after testing.
2. Connect The Wiring Harness
Most quality light kits come with a pre-made wiring harness. If yours doesn’t, you’ll need to make one. For most setups, the harness will have:
- Two wires for each light (positive and ground)
- Relay and fuse holder
- Switch wires
Mount the relay close to the battery, and the fuse holder within 6 inches of the battery terminal.
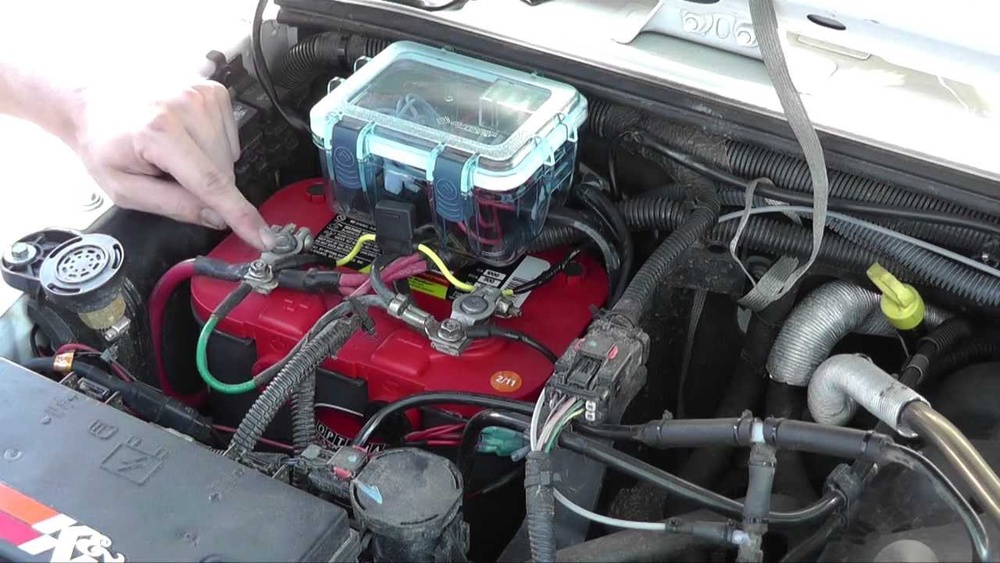
3. Wire The Power Source
- Disconnect the Jeep’s negative battery terminal before working.
- Connect the harness’s main positive wire (with fuse) to the battery positive post.
- Connect the main ground wire to the battery negative, or a solid chassis ground.
This direct connection ensures your lights get full voltage and reduces the risk of overloading factory circuits.
4. Route Wires To The Lights
Run the wires from the relay to each light. Use zip ties and loom tubing to secure and protect them. Keep wires away from sharp edges, exhaust, and moving parts like the steering shaft.
If you need to pass wires through the firewall (for the switch), use a factory grommet. If you make a new hole, add a rubber grommet to prevent cuts.
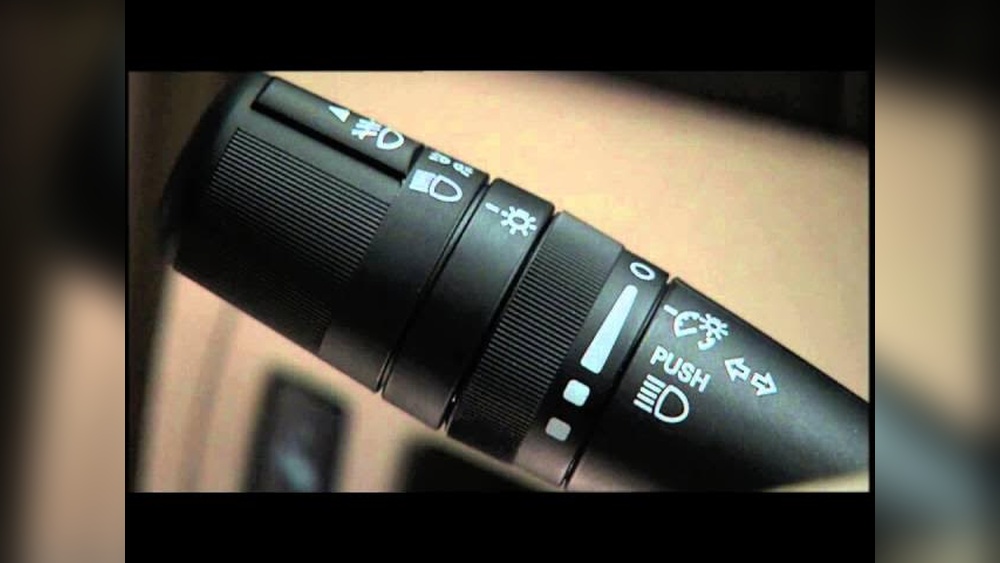
5. Connect The Switch
Route the switch wires into the cabin. Most harnesses have a long enough lead for this. Mount the switch in your chosen location.
For waterproofing, use heat-shrink tubing or a sealed switch if your Jeep is exposed to water or mud.
6. Make The Light Connections
Attach the positive and ground wires to each light using ring terminals. Tighten all connections firmly. Use dielectric grease on terminals to prevent corrosion.
If you want to use multiple lights, you can connect them in parallel (all positives together, all grounds together). Ensure your relay and fuse can handle the total amperage.
7. Test Your Work
Reconnect the battery. Turn on the switch and check each light. If any light doesn’t work:
- Check all connections
- Inspect the fuse
- Use a multimeter to verify voltage at each point
Once you confirm everything works, adjust the lights for the best beam pattern and tighten all hardware.
8. Finalize And Protect
Bundle and secure all wires with zip ties. Cover exposed wire ends with electrical tape or heat-shrink. Hide wires neatly out of sight. Double-check that nothing is near hot engine parts or moving components.
Many first-timers forget to secure wires well, which leads to fraying or damage after a few months of offroading.

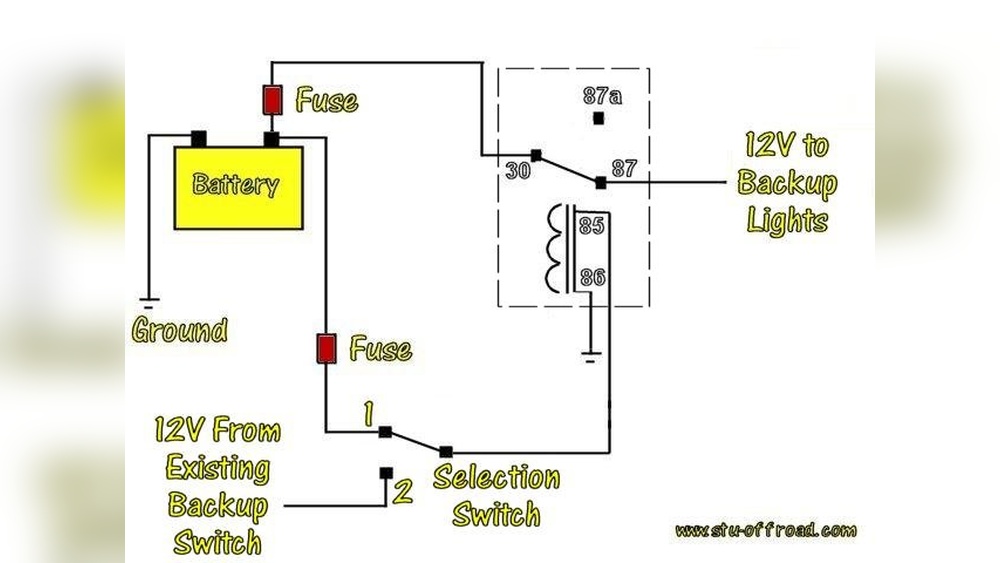
Key Wiring Diagrams
Understanding a wiring diagram makes troubleshooting much easier. Here’s a simple example for a single relay setup:
| Component | Connection |
|---|---|
| Battery Positive | To relay terminal 30 (with inline fuse) |
| Relay Terminal 85 | To ground (chassis or battery negative) |
| Relay Terminal 86 | To switch output (inside cabin) |
| Relay Terminal 87 | To light positive terminals |
| Light Grounds | To chassis or battery negative |
Many kits include a printed diagram. If not, check the manufacturer’s website or a reliable source like AmericanMuscle for extra help.
Common Mistakes And How To Avoid Them
Wiring offroad lights is straightforward if you avoid these beginner errors:
- Skipping the relay: Directly wiring lights to the switch can overload it. Always use a relay for lights over 30W.
- No fuse: Without a fuse, a short circuit can melt wires or start a fire.
- Bad grounds: Weak ground connections cause dim or flickering lights. Always ground to bare metal.
- Small wire size: Thin wires overheat and can fail. Use the correct gauge for your total light load.
- Messy routing: Exposed or loose wires are easily damaged. Secure and protect all wiring.
- Ignoring weatherproofing: Offroad conditions are tough. Use sealed connectors and heat-shrink where possible.
Real-world Example: Dual Light Bar And Pod Setup
Suppose you want a 50-inch light bar on your roof and two small pods on your bumper. Here’s how you’d wire them:
- Use a 40A relay and 12 AWG wire for the bar, as it draws 20A at full brightness.
- The pods draw 3A each. They can share a separate 15A fuse and 16 AWG wire.
- Each light group gets its own switch for control.
- Run both relays near the battery, with short fused leads.
- Route wires along the windshield frame for the roof bar, using loom tubing for UV and water protection.
- Bundle all grounds to a single chassis point, cleaned of paint for a good connection.
This setup gives you flexibility, keeps the wiring safe, and makes adding more lights easy later.
Comparing Factory Vs. Aftermarket Wiring
Some Jeep models come with factory auxiliary switches. These can handle light wiring, but most are limited to 15–30A per circuit.
| Wiring Type | Max Amps | Weatherproof | DIY Complexity |
|---|---|---|---|
| Factory Aux Switch | 15–30 | Good | Easy |
| Aftermarket Harness | Up to 40 | Varies | Medium |
| Custom DIY | 40+ | Up to you | Advanced |
If you plan to run many high-power lights, a custom harness is usually better.

Essential Safety Tips
- Always disconnect the battery before working on wiring.
- Use fuses sized for your total load, not just the wire.
- Check for pinched or exposed wires after installation.
- Never run wires under carpets or near sharp seat brackets.
- Test all switches and lights before heading offroad.
- Carry spare fuses and a basic tool kit on trail runs.
Frequently Asked Questions
How Many Offroad Lights Can I Wire To One Switch?
You can connect multiple lights to one switch if the total current is below the relay and wire rating. For example, if your relay is 40A and each light draws 5A, you can run up to 8 lights. Always calculate the total load first.
Do I Need To Use A Relay For Led Lights?
Yes, if your LED lights draw more than 30 watts or 2. 5 amps, a relay protects the switch and wiring. Even with low-power LEDs, relays improve reliability and safety.
Can I Use Factory Wires Instead Of Running New Wires?
It’s not recommended. Factory wires are often thin and not designed for high-power accessories. Running new wires directly from the battery with the correct gauge is much safer.
What If My Lights Flicker When Driving?
Flickering usually means a bad ground, loose connection, or a weak battery. Check all grounds first, then inspect connectors and battery voltage.
Are There Legal Rules About Offroad Lights?
Yes, many states require offroad lights to be covered when driving on public roads. Check local laws before installing and using extra lighting.
Adding offroad lights to your Jeep is a satisfying project that boosts both safety and style. By following these steps and using the right materials, you’ll have a setup that works reliably for years, no matter where the trail leads. If you want extra technical details or different wiring diagrams, sites like Wikipedia offer a good overview. Take your time, double-check your connections, and enjoy your brighter adventures.