Installing rock lights on your Jeep is more than just a style upgrade. It helps you see obstacles when off-roading at night, adds safety, and creates a cool look for evening meets. Many Jeep owners want to do this themselves but worry about wiring or damaging their vehicle. The good news: with the right tools and clear steps, you can install rock lights like a pro. This guide walks you through everything you need to know, from planning the setup to wiring tips, common mistakes, and practical advice. Whether you drive a Jeep Wrangler, Gladiator, or Cherokee, you’ll find answers and confidence here.
Why Rock Lights Matter For Jeeps
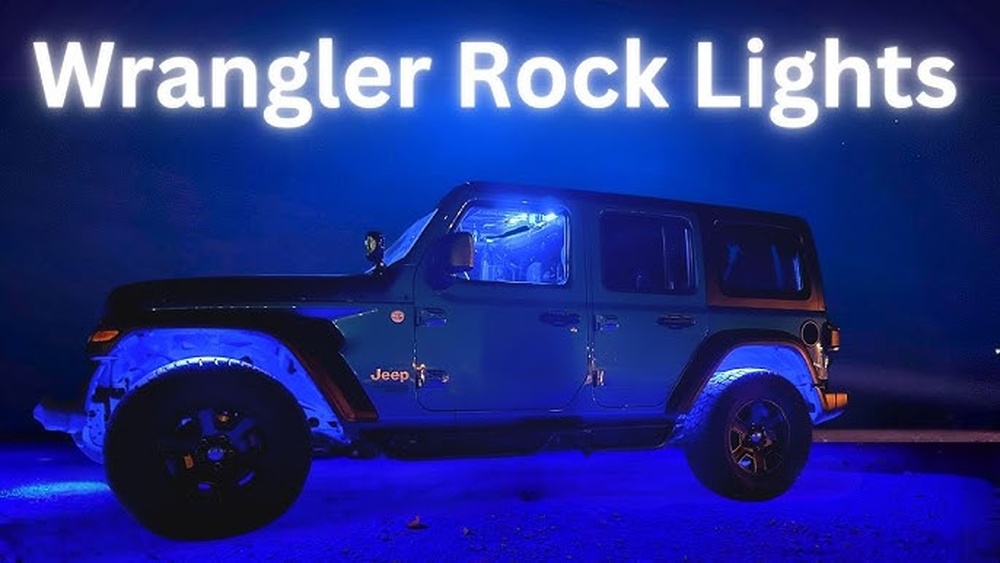
Rock lights are small LEDs mounted under your Jeep. They shine light on the ground and wheels, making it easier to spot rocks, mud, and uneven terrain. This is especially helpful for:
- Night-time off-roading: See obstacles before you hit them.
- Vehicle maintenance: Check suspension and tires without a flashlight.
- Safety: Avoid sharp rocks, deep holes, and animals.
- Style: Show off your Jeep with colorful LED setups.
Studies show that LED rock lights increase visibility by up to 30% compared to traditional halogen bulbs. Many Jeep clubs recommend them for safety and fun.
Choosing The Right Rock Lights
Not all rock lights are the same. Here’s how to pick the best set for your Jeep:
| Feature | LED Rock Lights | Halogen Rock Lights |
|---|---|---|
| Brightness | High (up to 800 lumens) | Medium (up to 400 lumens) |
| Color Options | RGB, White, Blue, Red | White/Yellow only |
| Lifespan | 50,000 hours | 2,000 hours |
| Energy Use | Low | Medium |
| Waterproof | IP68 rated | Usually not rated |
LED rock lights are the most popular choice. Look for kits with:
- IP68 waterproof rating
- Heavy-duty aluminum housing
- Easy mounting brackets
- Wireless or Bluetooth control
Avoid buying cheap kits from unknown brands. They often have poor sealing and weak wiring.
Planning Your Installation
Before drilling or wiring, plan your setup. This saves time and avoids mistakes.
- Count the lights needed: Most Jeeps use 4-8 lights. One per wheel is standard. Some add extras for the bumper or underbody.
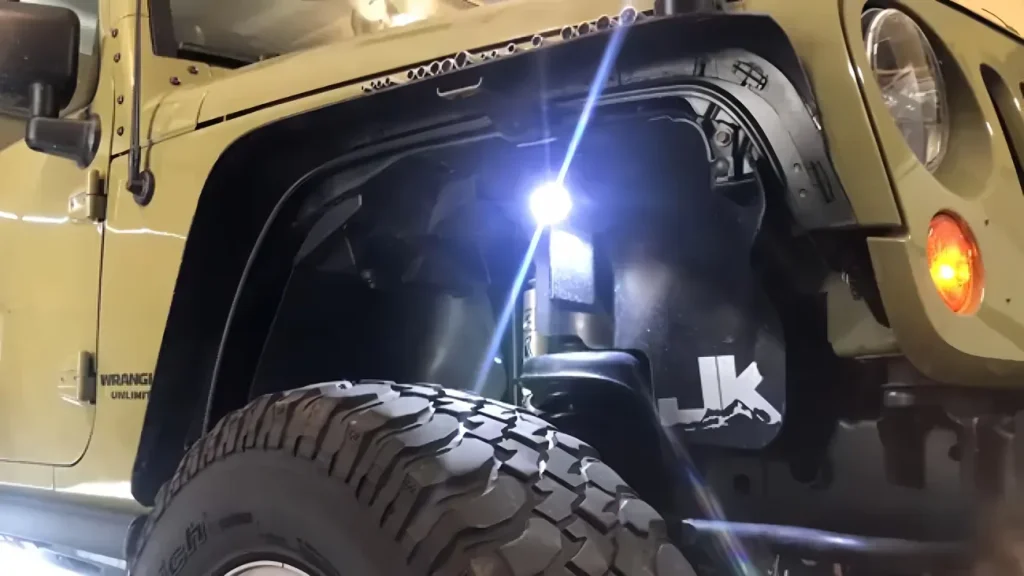
- Choose locations: Aim for spots that light up tires and the ground. Popular places are behind each wheel, under the doors, and in the front/rear bumpers.
- Check wire routes: Look for safe paths along the frame. Avoid hot areas like the exhaust.
- Decide control method: Some kits use a switch, others offer remote or Bluetooth apps.
Example: For a Jeep Wrangler, 8 lights give full coverage. Four behind the wheels, two under the doors, and two in the bumpers.
Tools And Materials Needed
Get everything ready before you start. Here’s a typical list:
- Rock light kit (with lights, wiring, and controller)
- Electric drill with metal bits
- Screwdrivers (Phillips and flat)
- Wire stripper and crimper
- Zip ties and cable clamps
- Heat shrink tubing or electrical tape
- Silicone sealant
- Fuse tap or add-a-circuit kit
- Multimeter (for checking voltage)
- Safety glasses and gloves
Make sure your kit includes mounting hardware. If not, buy stainless steel screws to avoid rust.
Step-by-step Installation Guide
This section gives clear steps for installing rock lights on your Jeep. Follow each stage carefully.
Step 1: Test All Lights
Plug each light into the controller and battery before mounting. This ensures none are defective.
- Connect wires as shown in the kit instructions.
- Check for brightness and color.
- If any light is dim or flickers, replace it before installing.
Step 2: Mark Mounting Points
Use masking tape or a marker to mark where each light will go. Make sure:
- The surface is flat and clean.
- Lights don’t point directly at the wheels (for best spread).
- Wires can reach safely to the controller.
Pro tip: Use a cardboard template to line up holes evenly.
Step 3: Drill Mounting Holes
Put on safety glasses. Use a drill bit that matches the mounting screws.
- Drill slowly to avoid damaging the frame.
- For plastic parts, use a smaller bit and go gently.
- After drilling, check for sharp edges. Sand if needed.
Step 4: Attach Lights
Screw each light into place. If your kit uses adhesive pads, clean the surface with alcohol first.
- Tighten screws but avoid over-tightening (to prevent cracks).
- Seal around the edges with silicone for waterproofing.
- Double-check alignment.
Step 5: Route Wires
Run wires along the frame or chassis. Secure with zip ties every 6 inches.
- Avoid moving parts and hot spots.
- Leave a little slack for suspension movement.
- Use cable clamps for extra security.
Hidden insight: Many beginners run wires too tightly. Leave room for flex or you risk wire breakage on rough terrain.
Step 6: Connect To Power
You have two main options: direct battery connection or fuse box tap.
| Connection Method | Pros | Cons |
|---|---|---|
| Battery | Simple, always available | Lights can drain battery if left on |
| Fuse Box | Turns on with ignition | Requires add-a-circuit kit |
Most kits recommend using the fuse box for safety. Use a fuse tap rated for the total amperage of your lights.
- Strip wire ends and crimp connectors.
- Insert into fuse tap slot.
- Test with multimeter for power.
Step 7: Install Switch Or Controller
Mount the switch in an easy-to-reach spot (dashboard or center console). For Bluetooth kits, follow app setup instructions.
- Drill a small hole for the switch if needed.
- Label the switch so you don’t confuse it with others.
- Bluetooth controllers often go under the hood.
Step 8: Test The System
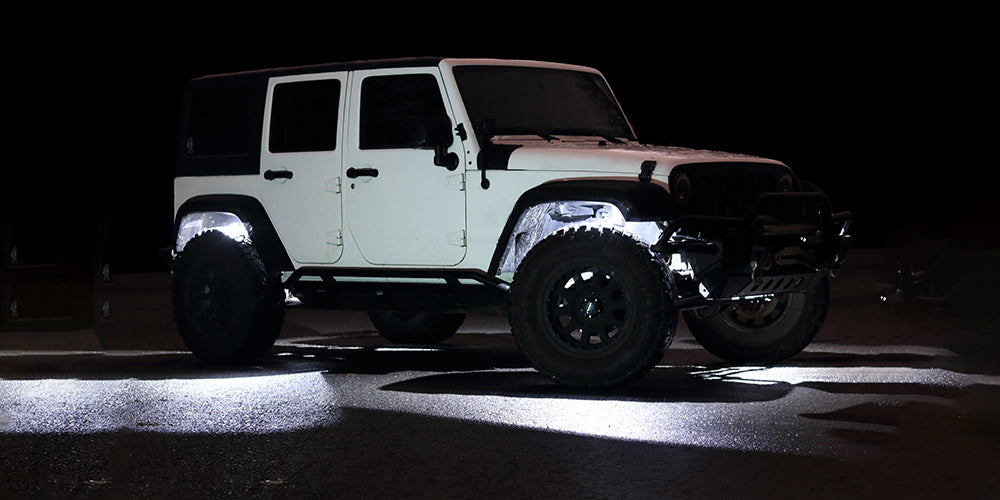
Turn on the switch or app. Walk around your Jeep and check:
- All lights work at full brightness.
- No wires are hanging or exposed.
- No water leaks around lights.
If any light fails, check connections, fuses, and controller settings.
Common Mistakes And How To Avoid Them
Many Jeep owners make simple errors that cause problems later. Here’s how to avoid them:
- Poor waterproofing: Always use silicone sealant and heat shrink tubing. Water ruins LEDs fast.
- Weak mounting: Lights can fall off after a few months. Use proper screws and check tightness.
- Bad wire routing: Wires rubbing against moving parts will break. Route along the frame and secure well.
- Wrong fuse rating: Use a fuse that matches your total amperage. Too small will blow often, too large can cause fire.
- Skipping the test step: Always test lights before and after installation.
Non-obvious tip: Don’t mix wire sizes. Use the same gauge for all connections, or you’ll get voltage drops and dim lights.
Practical Tips For Jeep Rock Light Installation
- Choose bright LEDs: 800 lumens per light is ideal for off-roading.
- Install extra lights: Two in the center underbody help spot deep holes.
- Keep wires out of water: Run wires above the lowest chassis point to avoid puddles.
- Use a relay: For kits with more than 8 lights, a relay prevents overheating.
- Label everything: Mark wires and switches for easy troubleshooting.
Example: In a muddy area, extra underbody lights helped a Jeep owner see and avoid a deep rut that could have damaged the suspension.
Cost And Time Estimates
Most Jeep owners can install rock lights in 2-4 hours. Here’s a breakdown:
| Item | Cost (USD) | Time (Hours) |
|---|---|---|
| Rock light kit (LED, 8 lights) | $70-$200 | – |
| Tools (if not owned) | $30-$60 | – |
| Installation labor (DIY) | Free | 2-4 |
| Professional installation | $150-$300 | 1-2 |
DIY saves money and lets you customize placement. Professional installation is faster but less personal.

Real-world Example: Jeep Wrangler Install
A Jeep Wrangler owner installed a set of 8 RGB rock lights for night trail rides. They followed these steps:
- Used IP68-rated lights with Bluetooth control.
- Mounted four lights behind the wheels, two under the doors, two in bumpers.
- Routed wires along the frame, avoiding the exhaust.
- Connected to the fuse box with a 15A add-a-circuit kit.
- Installed the Bluetooth controller under the hood.
- Tested and sealed every light.
Result: Full ground coverage, no water leaks, and easy color changes via smartphone.
Safety And Legal Considerations
Rock lights are legal in most US states, but rules may vary:
- On-road use: Some states ban colored lights on public roads.
- Off-road only: White or amber are safest for legal use.
- Check local laws: Some areas restrict brightness or color.
Always turn off colored rock lights when driving on highways to avoid tickets.
Maintenance And Troubleshooting
After installation, check your lights monthly:
- Look for loose screws, damaged wires, or water leaks.
- Clean lens covers with a soft cloth.
- Replace any faulty lights quickly.
If a light stops working:
- Check fuse first.
- Inspect wiring for damage.
- Test with multimeter.
- Replace controller if needed.
Hidden insight: Sometimes, corrosion at connectors causes flickering. Use dielectric grease for extra protection.
Frequently Asked Questions
How Many Rock Lights Do I Need For My Jeep?
Most Jeeps use 4 to 8 rock lights. Four is the minimum (one per wheel), but eight gives better coverage. Add more if you want to light up the center underbody or bumpers.
Are Rock Lights Waterproof?
Quality rock lights are IP68-rated and fully waterproof. Always check the rating before buying. Cheap kits may leak and fail after a few months.
Can I Control Rock Lights With My Phone?
Many modern kits offer Bluetooth control via smartphone apps. You can change colors, brightness, and patterns. Make sure your kit includes a Bluetooth controller.
Will Rock Lights Drain My Jeep’s Battery?
If wired directly to the battery and left on, rock lights can drain your battery. Use a fuse box tap or relay so lights turn off with the ignition. LED lights use less power than halogen.
Is It Hard To Install Rock Lights Myself?
With basic tools and careful planning, DIY installation is straightforward. The hardest part is routing wires safely. Take your time, follow instructions, and test often.
Installing rock lights on your Jeep is a rewarding project. It boosts safety, style, and off-road performance. With the right kit, clear steps, and good planning, you’ll enjoy better visibility and a unique look. Always check local laws, use quality parts, and don’t rush the wiring. For more details on Jeep upgrades, visit Jeep Official Site. Your Jeep will be ready for night adventures, and you’ll know you did the job right.


