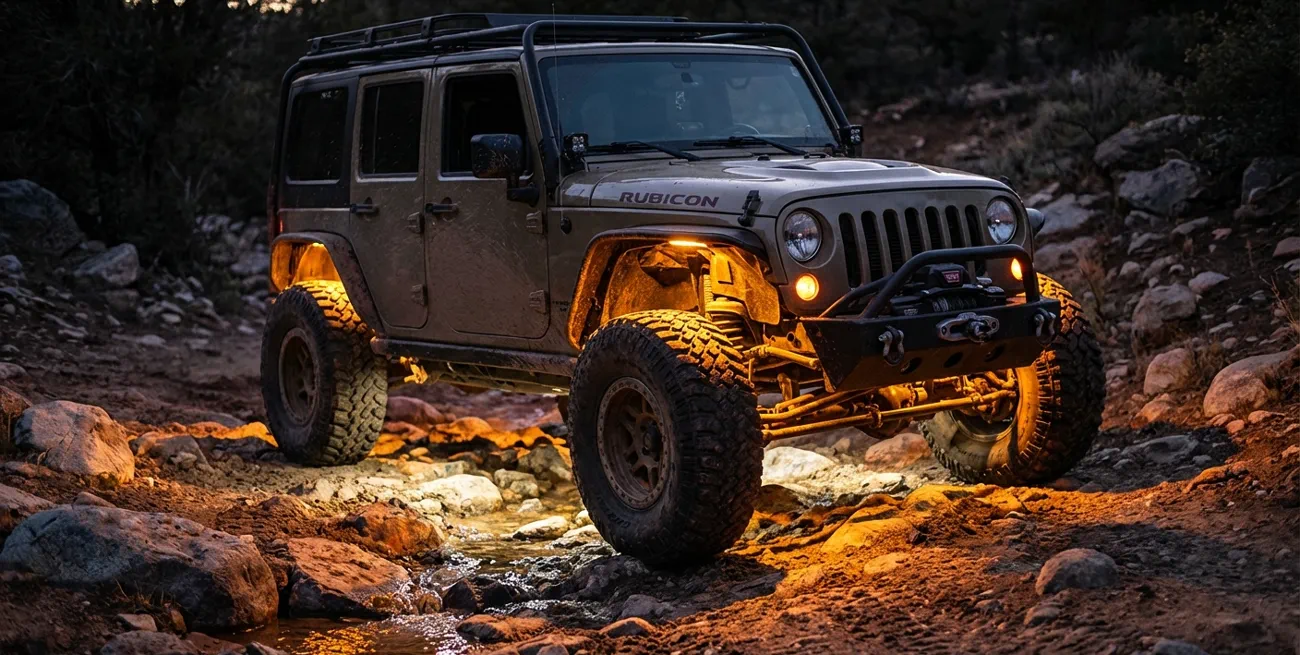
Every Jeep Wrangler owner knows the thrill of hitting the trail at night. But when rocks and obstacles hide in the shadows, you need more than just headlights. Rock lights not only make your Jeep look impressive—they also help you see the ground, avoid hazards, and enjoy safer off-roading after dark. Installing rock lights might seem challenging, but with the right steps and a bit of patience, almost anyone can do it. This guide walks you through everything you need to know to install rock lights on a Jeep Wrangler, from choosing the right kit to wiring and mounting for the best results.
Why Add Rock Lights To Your Jeep Wrangler?
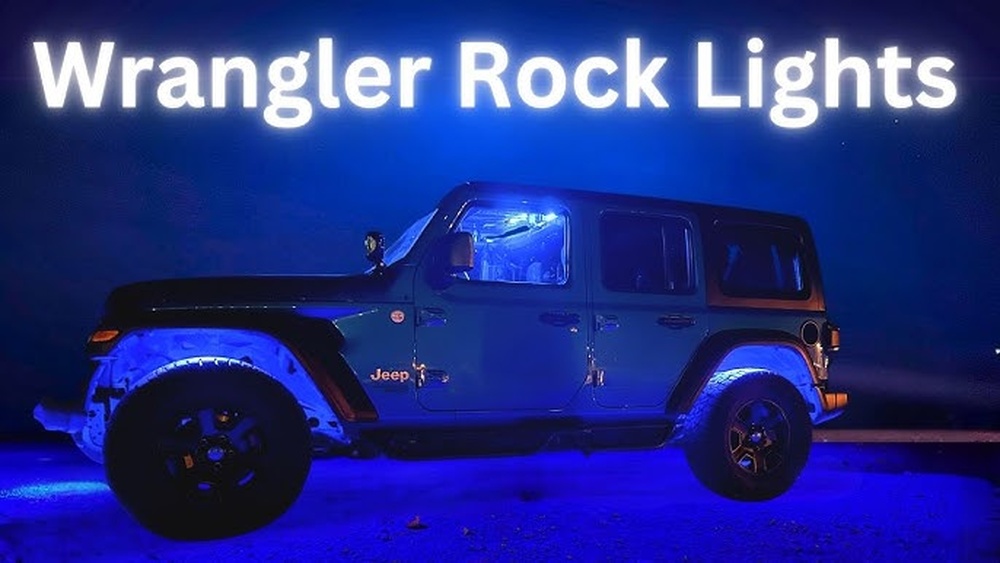
Rock lights do more than just add style to your vehicle. These small, powerful LEDs are mounted under your Jeep and shine directly onto the ground. Here’s why rock lights are a smart upgrade:
- Increased visibility: They help you spot rocks, holes, and branches under your Jeep when off-roading at night.
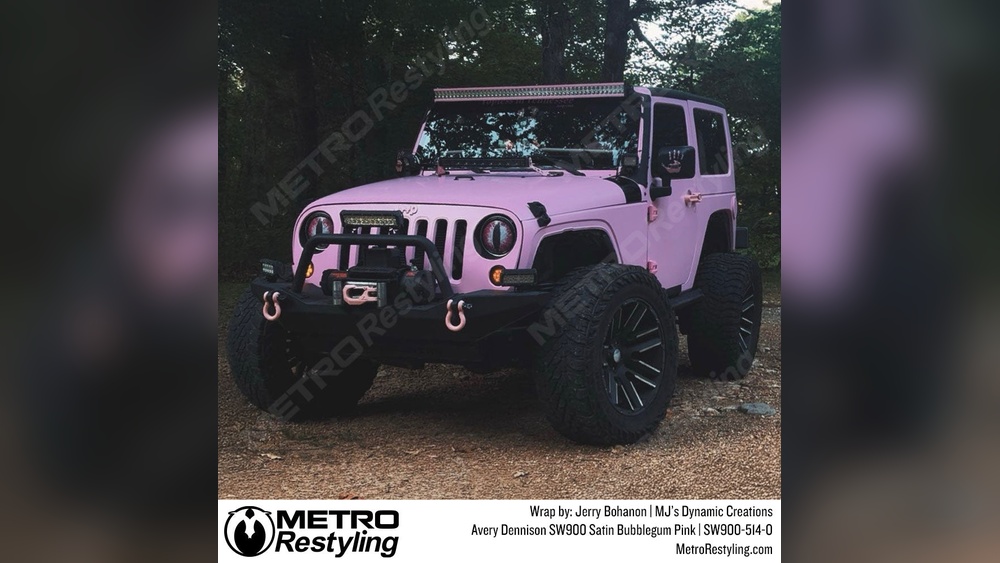
- Cool appearance: Many kits offer color-changing options, giving your Jeep a unique look.
- Safety: By illuminating the ground, you reduce your risk of damaging your suspension or getting stuck.
- Event-ready: Rock lights attract attention at Jeep meets and outdoor events.
What You Need Before You Start
Preparation is key for a smooth installation. Here’s what you should have on hand:
- Rock light kit: Choose a kit with at least 4 to 8 lights, enough for each wheel well. Some kits offer more for extra coverage.
- Wiring harness: Most quality kits include this, but confirm before starting.
- Switch: For turning the lights on and off from inside your Jeep.
- Drill and drill bits: For mounting lights.
- Screwdriver set
- Wire strippers and crimpers
- Electrical tape and zip ties
- Heat shrink tubing: To protect wire connections from moisture.
- Fuses: For safety, usually 10A or as specified by your kit.
- Protective gloves and safety glasses
Pro tip: Don’t rush to install with only the tools in the kit. Investing in quality wire connectors and waterproofing materials will help your setup last longer, especially if you drive through mud, water, or snow.

Choosing The Right Rock Light Kit
Not all rock light kits are the same. Here’s a quick comparison of three popular options for Jeep Wranglers:
| Feature | Basic Kit | Mid-Range Kit | Premium Kit |
|---|---|---|---|
| Number of LEDs | 4 | 8 | 8-12 |
| Color Options | Single color | RGB (multi-color) | RGBW + app control |
| Waterproof Rating | IP65 | IP68 | IP69K |
| App Control | No | Optional | Yes |
| Price | $40–$60 | $90–$150 | $200–$350 |
Key points to consider:
- Brightness: Choose at least 500 lumens per pod for off-road use.
- Durability: Look for waterproof and dustproof ratings (IP67 or higher).
- Wiring length: Measure your Jeep to ensure wires can reach all corners.
- Control options: Decide if you want to control your lights with a switch, remote, or smartphone app.
Beginner’s insight: Many buyers overlook wire length. On a Wrangler, especially four-door models, short wires mean you’ll have to add extensions, which is extra work.
Planning Your Installation
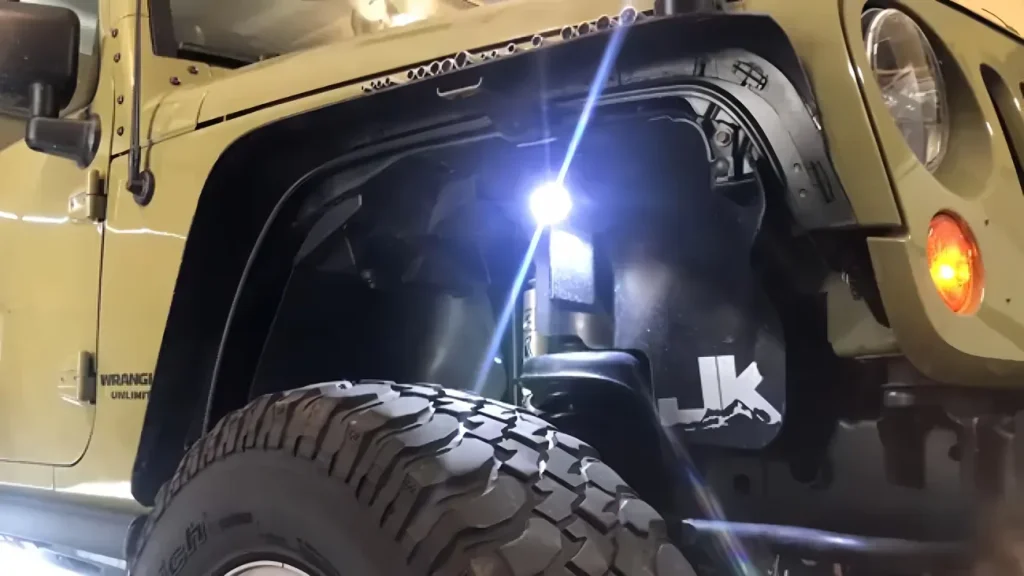
Installing rock lights is easier if you plan first. Decide where you want each light. Most owners put one above each tire (in the wheel well), and sometimes add extras in the middle or rear for full coverage.
Before drilling or running any wires, test-fit each light and mark the spots with masking tape. Crawl under your Jeep and check for:
- Existing holes: Use factory holes when possible to avoid drilling into metal.
- Clearance: Make sure tires don’t hit wires or lights when steering or flexing.
- Heat sources: Avoid mounting near the exhaust or hot engine parts.
Mapping your wire routes now saves headaches later. Plan to keep wires away from moving parts and sharp edges.
Step-by-step Rock Light Installation
Follow these steps to install rock lights safely and neatly on your Jeep Wrangler.
1. Disconnect The Battery
Always start by disconnecting the negative battery terminal. This prevents shocks and protects your Jeep’s electronics.
2. Mount The Rock Lights
- Hold each light pod in your chosen spot.
- Mark the holes with a pencil or marker.
- Drill pilot holes if needed (use proper eye protection).
- Attach the pods with screws from the kit.
Tip: Use rubber washers to reduce vibration and keep water out.
3. Route The Wires
Carefully run the wires from each pod toward the engine bay. Here’s how to do it safely:
- Follow the Jeep’s frame rails or existing wiring paths.
- Secure wires with zip ties every 12–18 inches.
- Avoid stretching wires—leave a little slack for suspension movement.
- Pass wires through factory grommets if possible to enter the engine bay.
4. Connect To The Wiring Harness
Most kits come with a wiring harness. Connect each pod’s wire to the harness, using waterproof connectors or heat shrink tubing.
- Match wire colors as labeled.
- Twist and solder connections for best durability, then seal with heat shrink.
- Bundle and secure wires with zip ties.
5. Install The Switch
Mount your on-off switch inside the cabin, usually on the dashboard or near the driver’s knee. Run the switch wire through the firewall using an existing grommet if possible.
- Drill a small hole if needed, but seal with silicone after.
- Connect the switch to the positive (red) wire from the harness.
6. Add A Fuse
Always use an inline fuse on the main power wire, as close to the battery as possible. This protects your Jeep in case of a short or overload.
7. Connect To The Battery
- Attach the positive (red) wire to the positive battery terminal.
- Connect the negative (black) wire to the negative battery terminal or a solid ground point on the Jeep’s frame.
8. Test The System
Before you finish, turn on the switch and check each light. If any don’t work, check your connections and make sure the fuse is installed correctly.
9. Tidy Up
- Use electrical tape and zip ties to organize all wires.
- Seal any holes with silicone to keep out water.
- Double-check that wires are not touching hot or moving parts.
Expert tip: After installation, flex your Jeep’s suspension to make sure wires don’t stretch or pinch. Many beginners miss this and later find broken wires after off-roading.
Common Mistakes To Avoid
Even experienced Jeep owners sometimes make errors with rock light installations. Here are the top mistakes and how to avoid them:
- Skipping waterproofing: Always use heat shrink or waterproof connectors. Water causes shorts and corrosion.
- Mounting too close to tires: Lights or wires can be ripped off by mud or rocks if they’re too close to moving parts.
- Not using a fuse: A fuse can save your wiring and even prevent a fire in case of a short circuit.
- Rushing wire routing: Sloppy wiring looks bad and can lead to failures. Take your time to route and secure everything.
- Ignoring wire slack: Suspension travel can stretch wires if you don’t leave a little extra length.
Cost, Time, And Difficulty
Here’s a quick overview so you know what to expect before starting:
| Aspect | DIY | Professional Install |
|---|---|---|
| Cost | $60–$350 (kit only) | $200–$600 (kit + labor) |
| Time | 2–4 hours | 1–2 hours |
| Difficulty Level | Moderate | Easy (for you) |
Most DIYers can finish in one afternoon. If you’re not comfortable with wiring or drilling, a shop can do the job quickly—but at a higher price.
Maintenance And Troubleshooting
Rock lights are tough, but regular checks keep them working for years:
- Wash off mud and salt: After off-roading, clean the lights to prevent corrosion.
- Check wires: Look for cracks or loose connections, especially after big trips.
- Replace blown fuses: If your lights stop working, check the fuse first—it’s often the quickest fix.
- Update app software: If your kit uses an app, check for updates to prevent glitches.
Beginner’s insight: Many users forget that small pebbles or sticks can break a wire. Inspect after every off-road session, not just once a year.
Advanced Tips For A Pro-level Install
Want your rock lights to last longer and work better? Try these advanced tips:
- Use split loom tubing: Cover wires for extra protection against rocks and weather.
- Add a relay: A relay helps manage power safely, especially for high-output kits.
- Custom mounting brackets: Metal brackets can protect pods from big hits compared to plastic mounts.
- Integrate with other lights: Some owners wire rock lights to come on with dome or courtesy lights for added convenience.
If you like to tinker, you can even add a second switch to control different sections separately (front and rear). This gives you more flexibility for lighting just the area you need.
How Rock Lights Improve Off-roading Experience
Rock lights aren’t just for show—they can make your night trail rides safer and more enjoyable. Here’s how:
- Clear obstacle detection: Rocks, logs, and holes are easier to spot, reducing the risk of damage.
- Easier spotting: Your friends or spotter can guide you more easily when they can see your Jeep’s wheels.
- Emergency repairs: If you break something on the trail, rock lights let you see under your Jeep without a flashlight.
Fun fact: Some off-road events require rock lights for night runs, especially in rocky areas. Having a quality setup can let you join more adventures.
Legal And Safety Considerations
Most states allow rock lights for off-road use, but there are rules for using them on public roads. Here’s what to remember:
- Colors: Stick to white or amber for street use. Red and blue lights are usually restricted to emergency vehicles.
- Switch off on-road: Turn off your rock lights when driving on public roads to avoid tickets.
- Mount securely: Loose or dangling wires can be a hazard. Always check your work after installation.
For more on lighting laws, check your state’s DMV or visit the Automotive Lighting Wikipedia page.
Frequently Asked Questions
How Many Rock Lights Do I Need For A Jeep Wrangler?
Most Jeep Wranglers use at least four rock lights—one for each wheel well. For better ground coverage, many owners add two or four more, placing them in the middle of the frame or at the rear. The number depends on how much light you want and your budget.
Can I Install Rock Lights Without Drilling Holes?
Sometimes you can mount rock lights using factory holes or strong double-sided tape. However, for the most secure and long-lasting results, drilling is recommended. Double-sided tape might not hold up to mud, water, or vibration.
Will Rock Lights Drain My Battery?
Rock lights use very little power—usually about 10–20 watts per pod. If you use LED pods and remember to turn them off when not needed, your battery will be fine. If you leave them on for hours with the engine off, the battery may eventually drain.
Are Rock Lights Waterproof?
Quality rock lights come with an IP67 or higher waterproof rating. This means they can handle rain, mud, and occasional splashes. Always check your kit’s specs and use waterproof connectors for wiring.
Is It Legal To Use Colored Rock Lights On Public Roads?
In most places, colored rock lights (blue, red, or green) are not legal for use on public streets. They are fine for off-road trails or car shows. Always turn off rock lights when driving on public roads, unless your state laws allow them.
Jeep Wranglers are made to be customized, and installing rock lights is one of the most rewarding upgrades for night driving and off-roading. With careful planning and attention to detail, you can do it yourself—even if you’re new to wiring and vehicle mods.
Take your time, follow the steps, and soon you’ll light up the trail and stand out wherever your Jeep takes you.