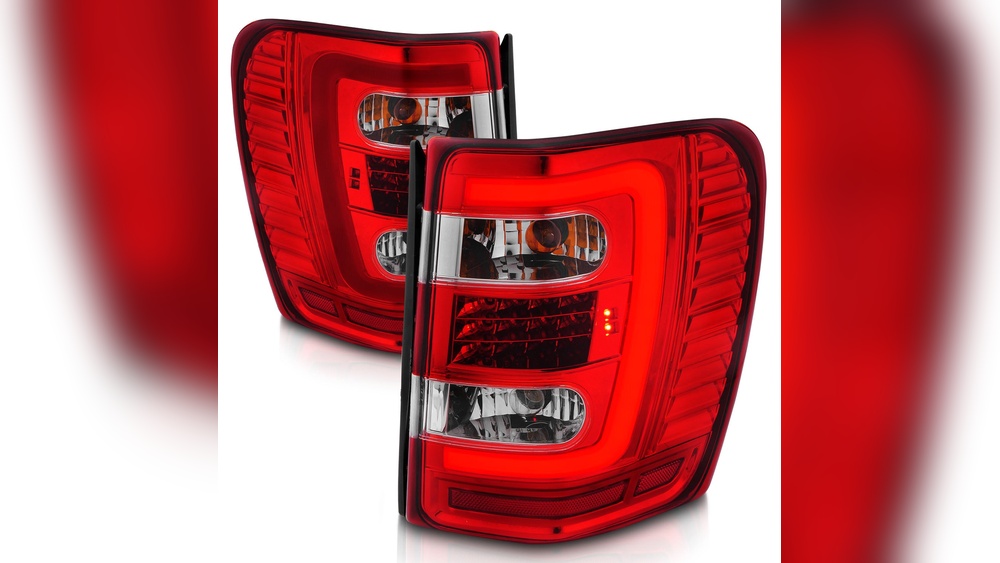
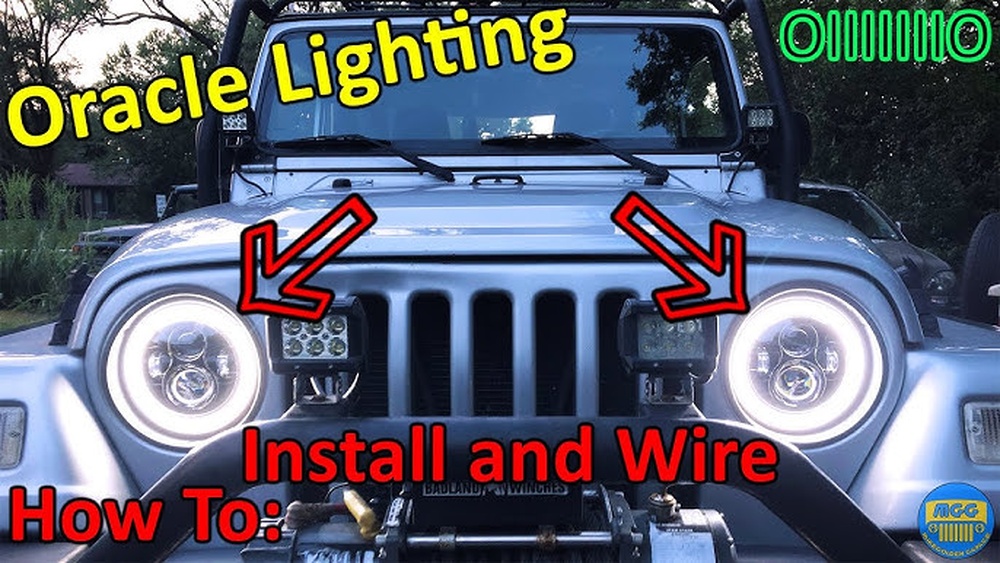
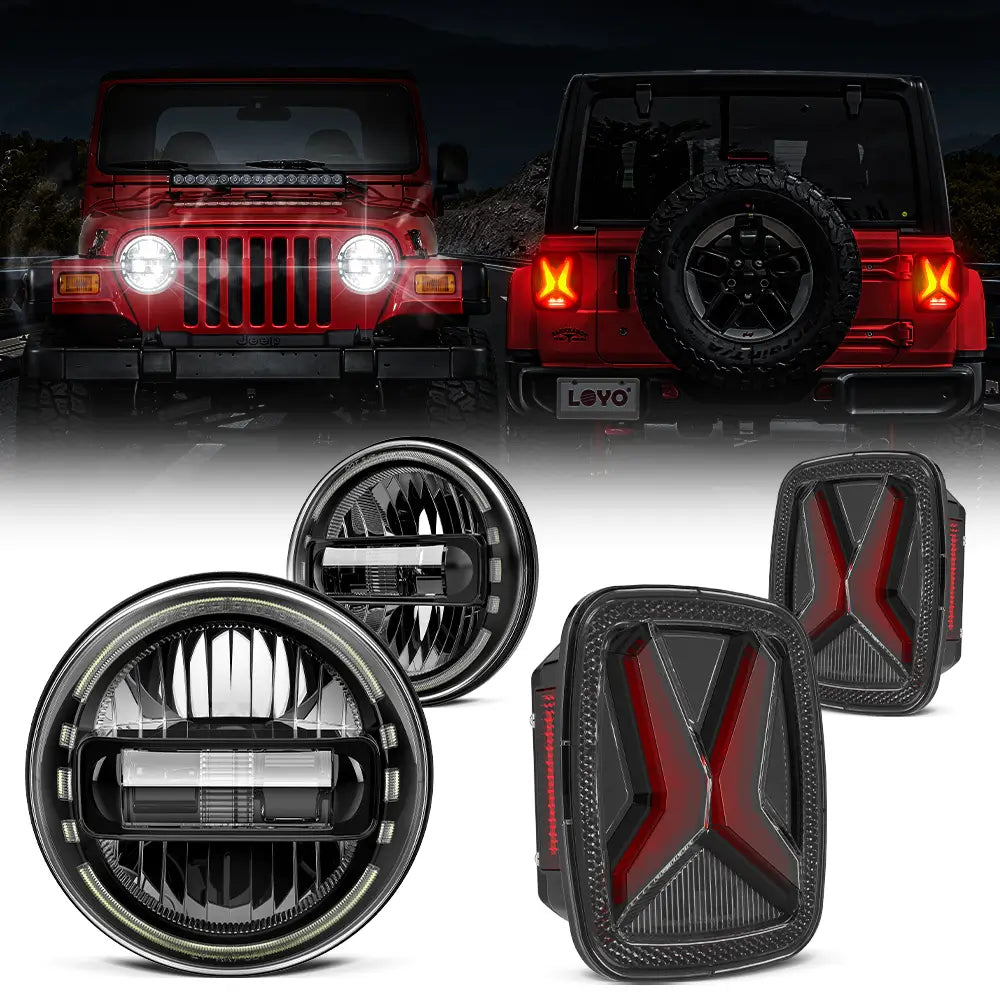
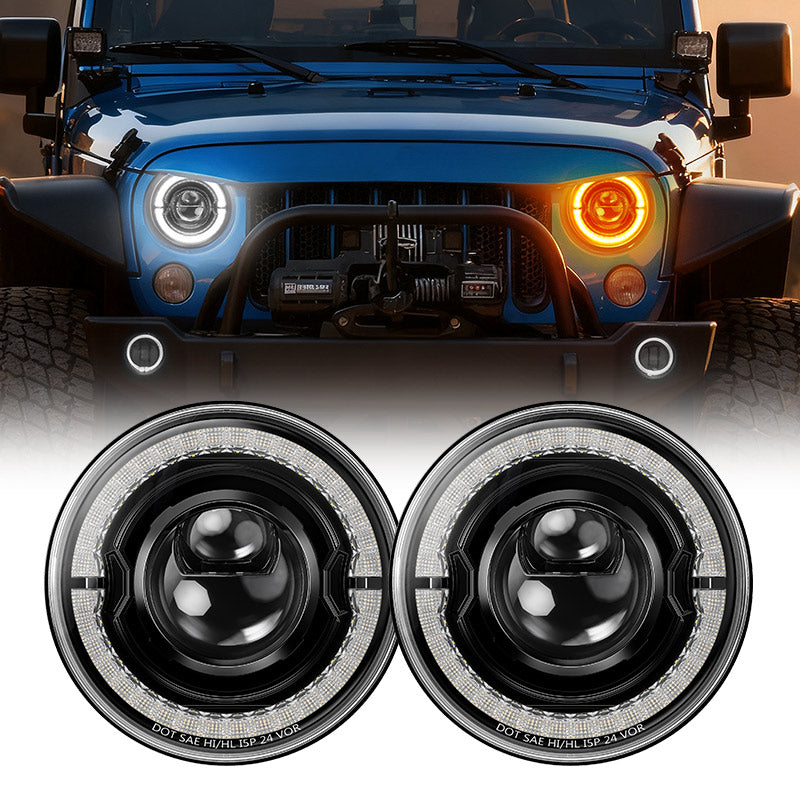
If you own a Jeep Wrangler TJ, you probably love the way it looks and performs. But, like many Jeep owners, you might want to add a personal touch and upgrade your headlights for better visibility and style. Halo lights, also called angel eyes, are a popular choice. They give your Jeep a modern, aggressive look and can improve nighttime driving. Installing halo lights can seem challenging if you have never done it before, but with the right steps, tools, and tips, you can complete this project at home. This guide walks you through the entire process, from choosing the right halo lights to wiring them correctly and ensuring they’re safe and legal.
Why Install Halo Lights On A Jeep Wrangler Tj?
Halo lights are more than just an aesthetic upgrade. They can improve your driving experience in several ways:
- Better Visibility: Halos often use LED technology, which is brighter and uses less power than traditional bulbs.
- Style Upgrade: The ring of light around your headlamp gives your Jeep a custom, aggressive look.
- Daytime Running Lights: Many halo kits can function as DRLs, making your Jeep more visible to other drivers.
- Customization: Some kits offer color-changing options for unique personalization.
A common beginner mistake is focusing only on looks. Remember, the primary function of headlights is safety. Always check if the halo kit you choose is DOT-approved and legal in your area.
Choosing The Right Halo Lights
Before you start, you need to pick the right halo lights for your Wrangler TJ (model years 1997–2006). Here are important factors to consider:
Compatibility And Size
The TJ uses 7-inch round headlights. Double-check the kit’s size and mounting system to ensure a good fit. Some kits are direct replacements, while others require extra mounting brackets.
Types Of Halo Lights
There are three main types:
- CCFL (Cold Cathode Fluorescent Lamp): Soft, uniform glow. Less bright, less common.
- LED Halos: Bright, energy-efficient, long-lasting. Most popular and recommended.
- Plasma Halos: Brighter and smoother than CCFL, but less common.
Color Options
White and amber are legal in most US states for forward-facing lights. Color-changing (RGB) kits are popular but may not be street-legal everywhere. Check local laws before buying.
Quality And Warranty
Look for IP67 waterproof ratings, aluminum housing, and a warranty of at least one year. Read reviews and avoid ultra-cheap kits, as they often fail quickly.
Price Comparison
Here’s a quick look at typical price ranges:
| Type | Average Price (per pair) | Expected Lifespan |
|---|---|---|
| CCFL | $60–$120 | Up to 30,000 hours |
| LED | $80–$200 | 50,000+ hours |
| Plasma | $120–$250 | Up to 60,000 hours |
Some Jeep forums and The Retrofit Source offer detailed reviews and user experiences.
Tools And Materials You’ll Need
Gather these before you start:
- Halo headlight kit (with wiring)
- Screwdrivers (Phillips and flathead)
- Torx drivers (T15 and T20)
- Wire strippers and crimpers
- Electrical tape or heat-shrink tubing
- Multimeter (for testing voltage and continuity)
- Zip ties or wire looms (for clean wiring)
- Gloves and safety glasses
- Optional: Soldering iron (for best connections)
A surprising tip: Many halo light failures happen due to poor wiring connections. Taking time for solid, protected splices can prevent future headaches.
Removing Your Old Headlights
Start with your Jeep parked on a flat surface, engine off, and the keys removed. Disconnect the battery’s negative terminal for safety.
- Remove the Front Grille: On TJs, there are usually six push pins or screws along the top of the grille. Pop these out with a flathead screwdriver.
- Unscrew the Headlight Bezels: These are the metal rings holding the headlight in place. Use a Phillips screwdriver.
- Disconnect the Headlight Harness: Gently pull the headlight forward and unplug the wiring harness from the back.
- Remove the Headlight: Set aside all screws and bezels carefully. You’ll reuse them.
A common mistake: Forgetting to label or organize screws. Place them in a small container to avoid losing them.
Installing The Halo Lights
Your new halo headlight may be a full replacement or a kit that adds a ring to your current housing. Most modern kits replace the entire headlight for a cleaner, more reliable installation.
Mounting The Halo Headlight
- Test Fit: Place the new halo headlight into the opening to ensure it fits without force.
- Secure the Headlight: Use the original bezel and screws. Do not overtighten, as this can crack the new housing.
- Connect the Main Headlight Plug: The main plug should match your original harness. Plug it in and check for a snug fit.
Wiring The Halo Ring
Most halo rings have a separate power wire (usually red or yellow) and a ground (black or white). Decide if you want the halos to work as daytime running lights, parking lights, or with your turn signals.
Wiring Options
- Daytime Running Lights (DRL): Tap the power wire into an ignition source so the halos come on with the engine.
- Parking Light: Connect to the parking light circuit for halos to turn on with your headlights.
- Turn Signal Integration: Some kits allow the halo to flash amber with the turn signal. This requires more advanced wiring.
Splicing The Wires
- Use a multimeter to identify the correct wires.
- Strip about 1/2 inch of insulation from the Jeep’s wiring and the halo wire.
- Twist the wires together, crimp, and cover with heat-shrink or electrical tape.
- For the ground, find a solid metal bolt near the headlight area and attach the ground wire securely.
One overlooked detail: Don’t run halo wires through sharp metal edges. Always use wire loom or a rubber grommet to avoid shorts.
Testing The Lights
Before reassembling everything, reconnect your battery and test:
- Low beams, high beams, and halos all work as expected.
- No flickering or dimming.
- Halos turn on/off with the intended switch or ignition.
If something doesn’t work, check your wiring connections and grounds. Do not skip testing—fixing mistakes is harder after reassembly.
Reinstalling The Grille And Finishing Up
Once testing is complete:
- Place the grille back in position, aligning all clips and holes.
- Press or screw the grille fasteners back in.
- Use zip ties to secure any loose wiring.
- Reconnect the negative battery terminal.
- Clean the headlight lens with a microfiber cloth.
One non-obvious tip: Take a few photos of your wiring before closing up. If you ever need to troubleshoot, you’ll know exactly what you did.
Troubleshooting Common Problems
If you run into issues, these are the most frequent problems and fixes:
| Problem | Possible Cause | Solution |
|---|---|---|
| Halos don’t turn on | Loose or incorrect wire connection | Check all splices and grounds, retest |
| Flickering lights | Poor ground or low voltage | Clean ground point and check battery voltage |
| Headlights not fitting | Wrong size or damaged mounting ring | Double-check headlight diameter, adjust bezel |
| Condensation inside lens | Poor seal or cracked housing | Replace or reseal headlight housing |
Legal And Safety Considerations
Before hitting the road, make sure your new lights are legal and safe:
- Color: Only white or amber halos are legal for use on public roads in most states.
- Brightness: Blinding other drivers can lead to tickets and accidents. Aim headlights properly.
- DOT Approval: Some kits are for off-road use only. Check for DOT or SAE markings.
If you’re unsure, check your state’s Department of Motor Vehicles website or consult a local inspection station.
Maintenance And Care Tips
Halo lights are mostly maintenance-free, but a few habits will keep them working well:
- Clean regularly with a soft, damp cloth to remove dust and bugs.
- Inspect wiring every few months, especially after off-road trips.
- Check for moisture inside the lens after heavy rain or car washes.
- Re-tighten screws if you notice any rattling sounds.
A lot of Jeep owners forget to check their light aim after installation. Misaligned headlights can reduce visibility and annoy other drivers. Take time to adjust them for a safe beam pattern.
Upgrading Further: Smart Features And App Control
Some advanced halo kits offer smartphone control, allowing you to change colors, patterns, or brightness through an app. These features are fun but add wiring complexity. Always follow the manufacturer’s instructions closely, and keep the control box in a dry, secure location under the hood.
If you decide to upgrade to an RGB kit later, make sure your wiring is accessible and labeled. This will make swapping controllers or adding features much easier.

Cost And Time Estimates
Installing halo lights is a moderate DIY project. Here’s what to expect:
| Step | Time Needed | Estimated Cost |
|---|---|---|
| Remove old lights | 20–30 minutes | — |
| Install and wire halos | 1–2 hours | $80–$250 (kit) |
| Test and finish | 15–30 minutes | — |
Most people complete the entire job in about 2–3 hours if they have all the tools ready.
Frequently Asked Questions
How Hard Is It To Install Halo Lights On A Jeep Wrangler Tj?
For most people with basic tools and wiring experience, it’s a moderate job. Expect to spend 2–3 hours. If you are new to wiring, take your time and double-check connections.
Can I Install Halo Lights Without Cutting Wires?
Some kits offer plug-and-play wiring, but most halo rings need to be spliced into an existing power source. Using T-taps or add-a-fuse kits can help avoid permanent wire cuts.
Will Halo Lights Drain My Battery?
High-quality LED halos use very little power. However, if wired directly to the battery and left on, they can eventually drain it. It’s best to connect halos to switched power so they turn off with the ignition.
Are Colored Halo Lights Legal?
Only white and amber are legal as forward-facing lights in most US states. Red, blue, and other colors are usually illegal on public roads and are for show or off-road use only.
What Should I Do If My Halos Stop Working?
Check all wiring connections and grounds first. If everything looks good, test the voltage at the halo leads. If still not working, contact the manufacturer for warranty support.
Upgrading your Jeep Wrangler TJ with halo lights is a great way to boost both style and safety. A careful installation, attention to detail, and regular checks will ensure your lights stay reliable and head-turning for years to come.