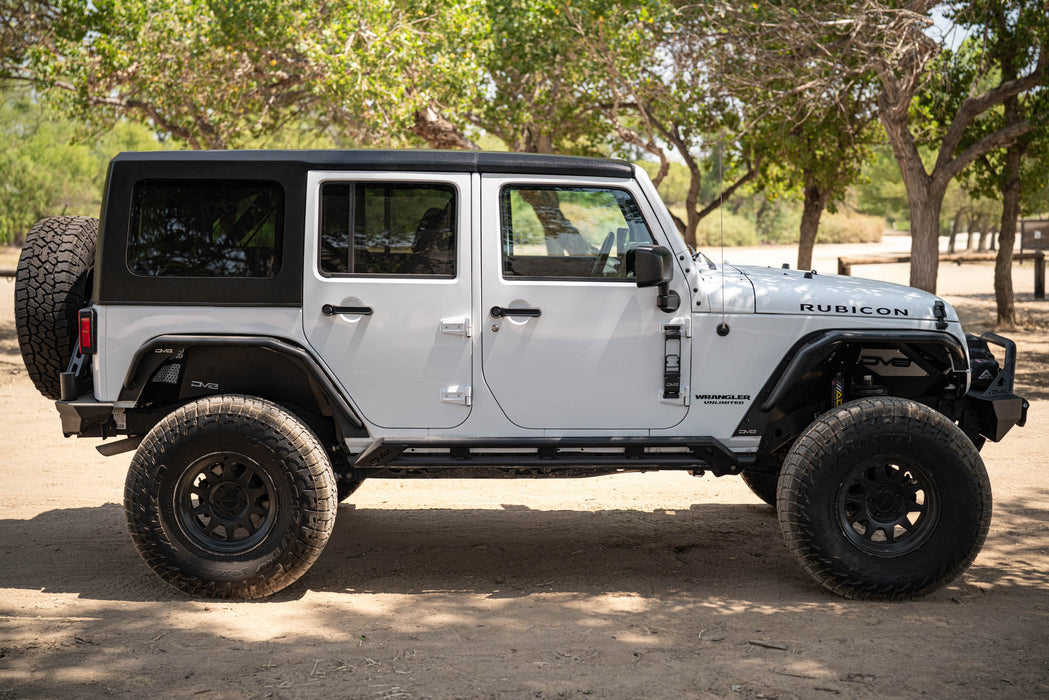
Getting your Jeep hard top back on after months of open-air driving is both exciting and a bit challenging. The hard top is heavy, awkward, and sometimes stubborn. Yet, with the right steps and a few tips, you can do it safely and avoid common mistakes. This guide walks you through the process, explains what matters, and helps you avoid beginner errors. Whether you own a Jeep Wrangler, Gladiator, or another model, these directions will make your hard top reinstallation much smoother.
Preparing Your Jeep And Hard Top
Before lifting the hard top, check your Jeep’s condition. Make sure the surface is clean and dry. This helps avoid scratches and lets seals fit better. Inspect the hard top for cracks, broken seals, or loose bolts. A quick look saves trouble later.
If you have a hoist system, use it. Most Jeep owners prefer a manual lift, but hoists make it safer and easier for one person. If you’re lifting by hand, grab a friend. The hard top weighs around 100 lbs and is awkward to handle alone.
Recommended Tools
- Soft microfiber cloths
- Torx bit set (usually T40 or T50)
- Safety gloves
- Step stool or ladder
- Hoist system (optional)
Safety Tips
- Always lift with two people if possible.
- Use gloves to avoid pinched fingers.
- Keep pets and children away during installation.
Step-by-step: Putting The Hard Top Back On
Follow these steps to reinstall your Jeep hard top without damage or leaks.
1. Position The Hard Top
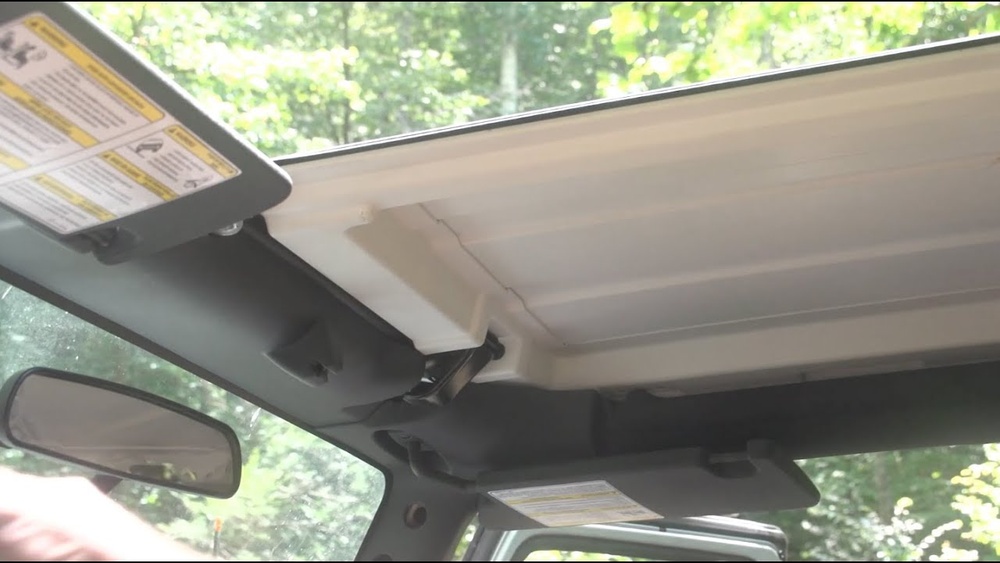
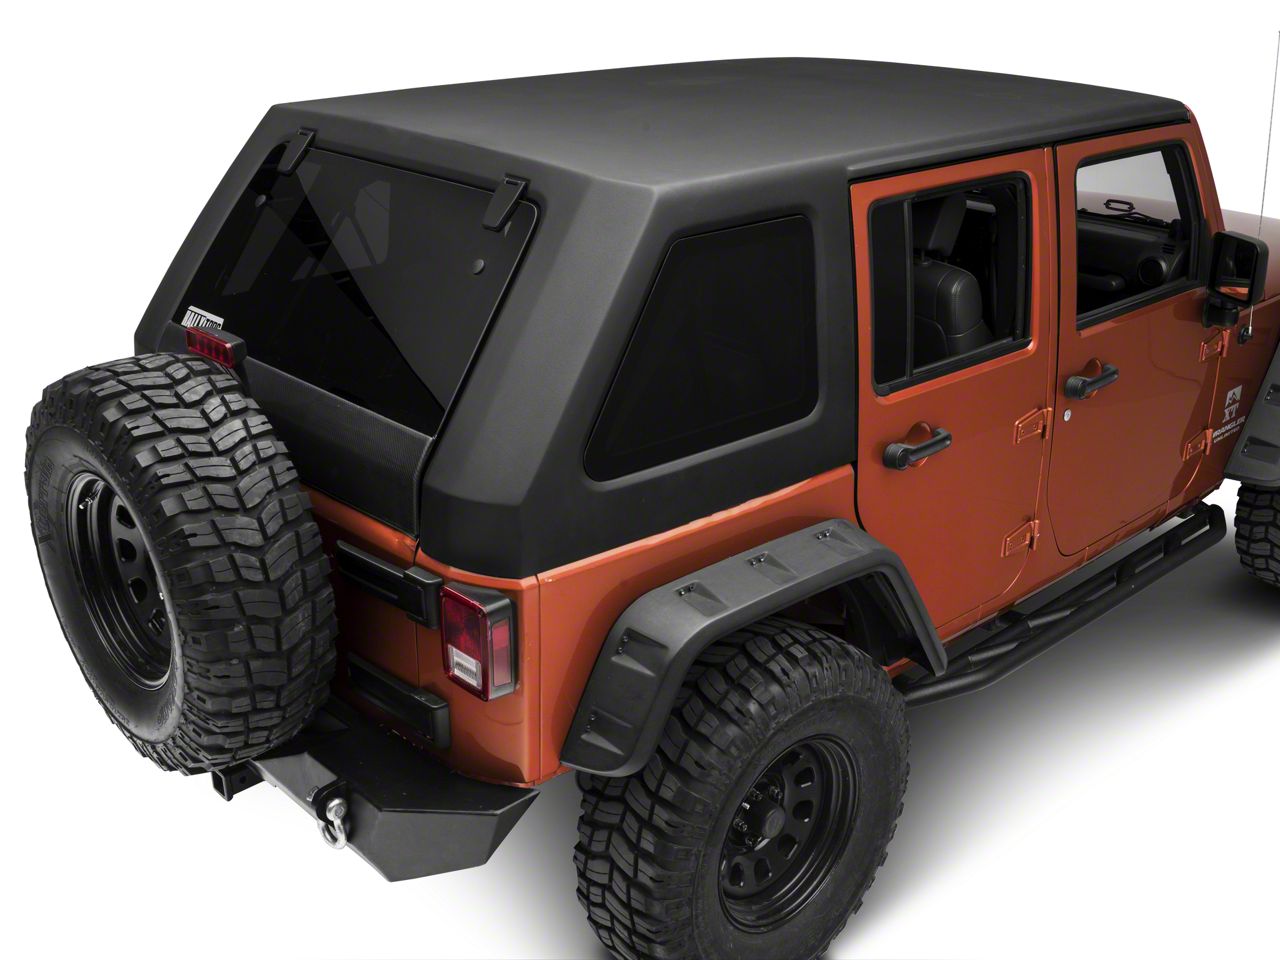
Carefully lift the hard top and align it with your Jeep’s body. Place the rear edge on first, then lower the front. Make sure the weather seals line up with the body.
2. Secure Front Latches
Inside your Jeep, locate the front latches near the windshield. Clamp them down tightly. This ensures the roof stays in place during the rest of the steps.
3. Install Torx Bolts
Jeep hard tops usually need 6–8 Torx bolts. Refer to your model’s manual for exact locations. Start with the bolts near the windshield, then move to the sides and rear.
| Jeep Model | Bolt Size | Number of Bolts |
|---|---|---|
| Wrangler JK | T40 | 8 |
| Wrangler JL | T50 | 6 |
| Gladiator | T50 | 8 |
Tighten bolts snugly, but do not over-torque. Over-tightening can crack the hard top or strip threads.
4. Connect Electrical And Washer Lines
Some hard tops have electrical connectors for the rear defrost or washer fluid. Locate the plugs near the rear passenger side. Plug them in firmly.
5. Test Fit And Seals
After securing everything, inspect all seals. Run your hand along the edges. If you feel gaps, adjust the hard top position and retighten bolts.
6. Check For Leaks
Spray water along the seals, especially the corners and roof edges. Watch for drips inside. A tight seal prevents leaks and wind noise.
| Seal Location | Common Leak Issues | Fix |
|---|---|---|
| Front corners | Misaligned latches | Re-clamp latches |
| Rear edge | Loose bolts | Tighten bolts |
| Side seals | Worn rubber | Replace seal |
Common Mistakes And How To Avoid Them
Many Jeep owners make mistakes when reinstalling the hard top. Here are the most frequent and how to avoid them:
- Skipping bolt locations: Always follow your model’s bolt pattern. Missing a bolt leads to leaks and rattling.
- Not checking seals: Even small gaps allow water and wind inside.
- Forgetting electrical connectors: If your rear window doesn’t defrost, check the plug.
- Over-tightening bolts: This can crack fiberglass and damage threads.
- Lifting alone: Always get help or use a hoist. Injuries are common when lifting alone.
Practical Tips For A Smooth Installation
Some tricks make the process easier and safer:
- Mark bolt locations with colored tape for faster installation.
- Clean seals with a damp microfiber cloth before placing the top.
- Keep spare Torx bolts in your glove box.
- Use a flashlight to check bolt holes in low light.
- If you live in a rainy area, add silicone spray to seals for extra protection.
One non-obvious insight: Don’t forget to recalibrate your Jeep’s sensors if your model has advanced electronics. Some newer Jeeps require a reset after reconnecting electrical lines.
Another tip: Store your hard top bolts in a labeled bag while the top is off. This avoids losing them and speeds up reinstalling.

Comparing Hard Top Vs. Soft Top Reinstallation
Many Jeep owners wonder how hard top installation compares to soft top reinstallation. Here’s a quick summary:
| Feature | Hard Top | Soft Top |
|---|---|---|
| Weight | Heavy (100 lbs+) | Light (50 lbs) |
| Number of People Needed | 2–3 | 1–2 |
| Installation Time | 30–60 min | 20–40 min |
| Tools Required | Torx bits, gloves | None/minimal |
| Weather Protection | Excellent | Good |
After Installation: Final Checks
Once your hard top is on, do a few quick checks:
- Drive slowly and listen for rattles.
- Check the rear window defroster.
- Inspect interior for water after first rain.
If you notice issues, review the steps above. Small adjustments often fix most problems.
If you want more details, Jeep’s official guide is helpful: Jeep Owner Manuals.
Frequently Asked Questions
How Heavy Is A Jeep Hard Top?
Most Jeep hard tops weigh around 100–140 lbs. The weight depends on the model and year.
Can I Install The Hard Top Alone?
It’s possible, but not recommended. The hard top is bulky, and you can injure yourself or damage the top. Always use a friend or a hoist.
What Tools Do I Need To Reinstall The Hard Top?
You need a Torx bit set (usually T40 or T50), safety gloves, and possibly a step stool. Some models require additional bits.
How Do I Prevent Leaks After Installation?
Check all weather seals. Clean and inspect them before installing. Tighten bolts evenly and test for leaks with water spray.
Will I Need To Recalibrate Electronics?
If your hard top has electrical connections for defrost or washer fluid, some newer Jeeps may need a sensor reset after reconnecting.
Putting your Jeep hard top back on is a task that gets easier each time. With proper tools, help, and attention to seals, you’ll be ready for any weather. Enjoy the peace and quiet of a snug hard top—and the satisfaction of doing it right.