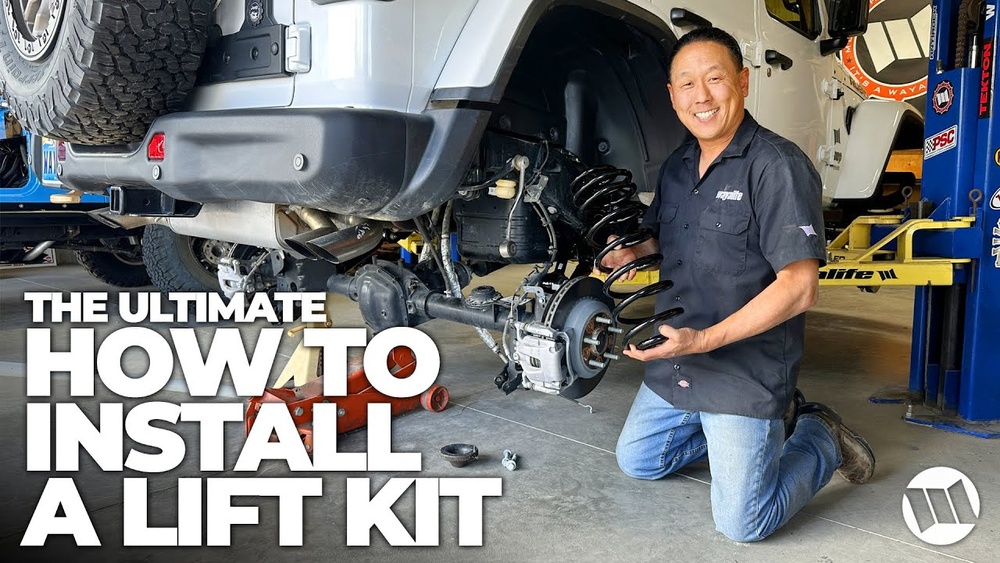
Installing a lift kit on a Jeep Wrangler can change both its appearance and off-road performance. Many Jeep owners dream of bigger tires and extra ground clearance, but worry about the process. The truth is, with the right tools and guidance, you can install a lift kit at home. This guide walks you through each step, highlights key choices, and warns against common mistakes, so you can enjoy your upgraded ride with confidence.
What Is A Lift Kit And Why Install One?
A lift kit raises your Jeep Wrangler’s suspension or body. This lets you fit larger tires, adds ground clearance, and creates a more aggressive look. Most lift kits add between 2 and 4 inches of height. Some people choose 1-inch or 1.5-inch kits for a subtle improvement, while others go above 4 inches for serious off-road use.
Bigger lifts bring challenges. They can change the way your Jeep handles and may require other changes, like longer brake lines or driveshafts. Always plan for these extras before starting.
Choosing The Right Lift Kit
Not all lift kits are the same. The best choice depends on how you use your Jeep. Here’s a quick comparison of common types:
| Lift Kit Type | Height Gain | Best For | Cost Range |
|---|---|---|---|
| Body Lift | 1–3 inches | Looks, light off-roading | $100–$400 |
| Suspension Lift | 2–6 inches | Off-roading, tire upgrades | $500–$3,000+ |
| Spacer (Budget Boost) | 1–2.5 inches | Entry-level lift | $100–$600 |
A suspension lift is the most popular for Jeep Wranglers. It raises the frame and gives real off-road benefits.

Tools And Parts Needed
Before starting, gather these items:
- Floor jack and jack stands
- Wrenches and socket set (metric and SAE)
- Torque wrench
- Pry bar
- Spring compressors (for some kits)
- Wheel chocks
- Penetrating oil (for rusted bolts)
- Safety glasses and gloves
You’ll also need your new lift kit. Double-check the parts list to make sure nothing is missing.
Step-by-step Lift Kit Installation
1. Prepare Your Jeep
Park on a level surface and set the parking brake. Loosen the lug nuts on all four wheels, but do not remove them yet. Use the jack to lift the Jeep, then support it with jack stands under the frame.
Remove the wheels.
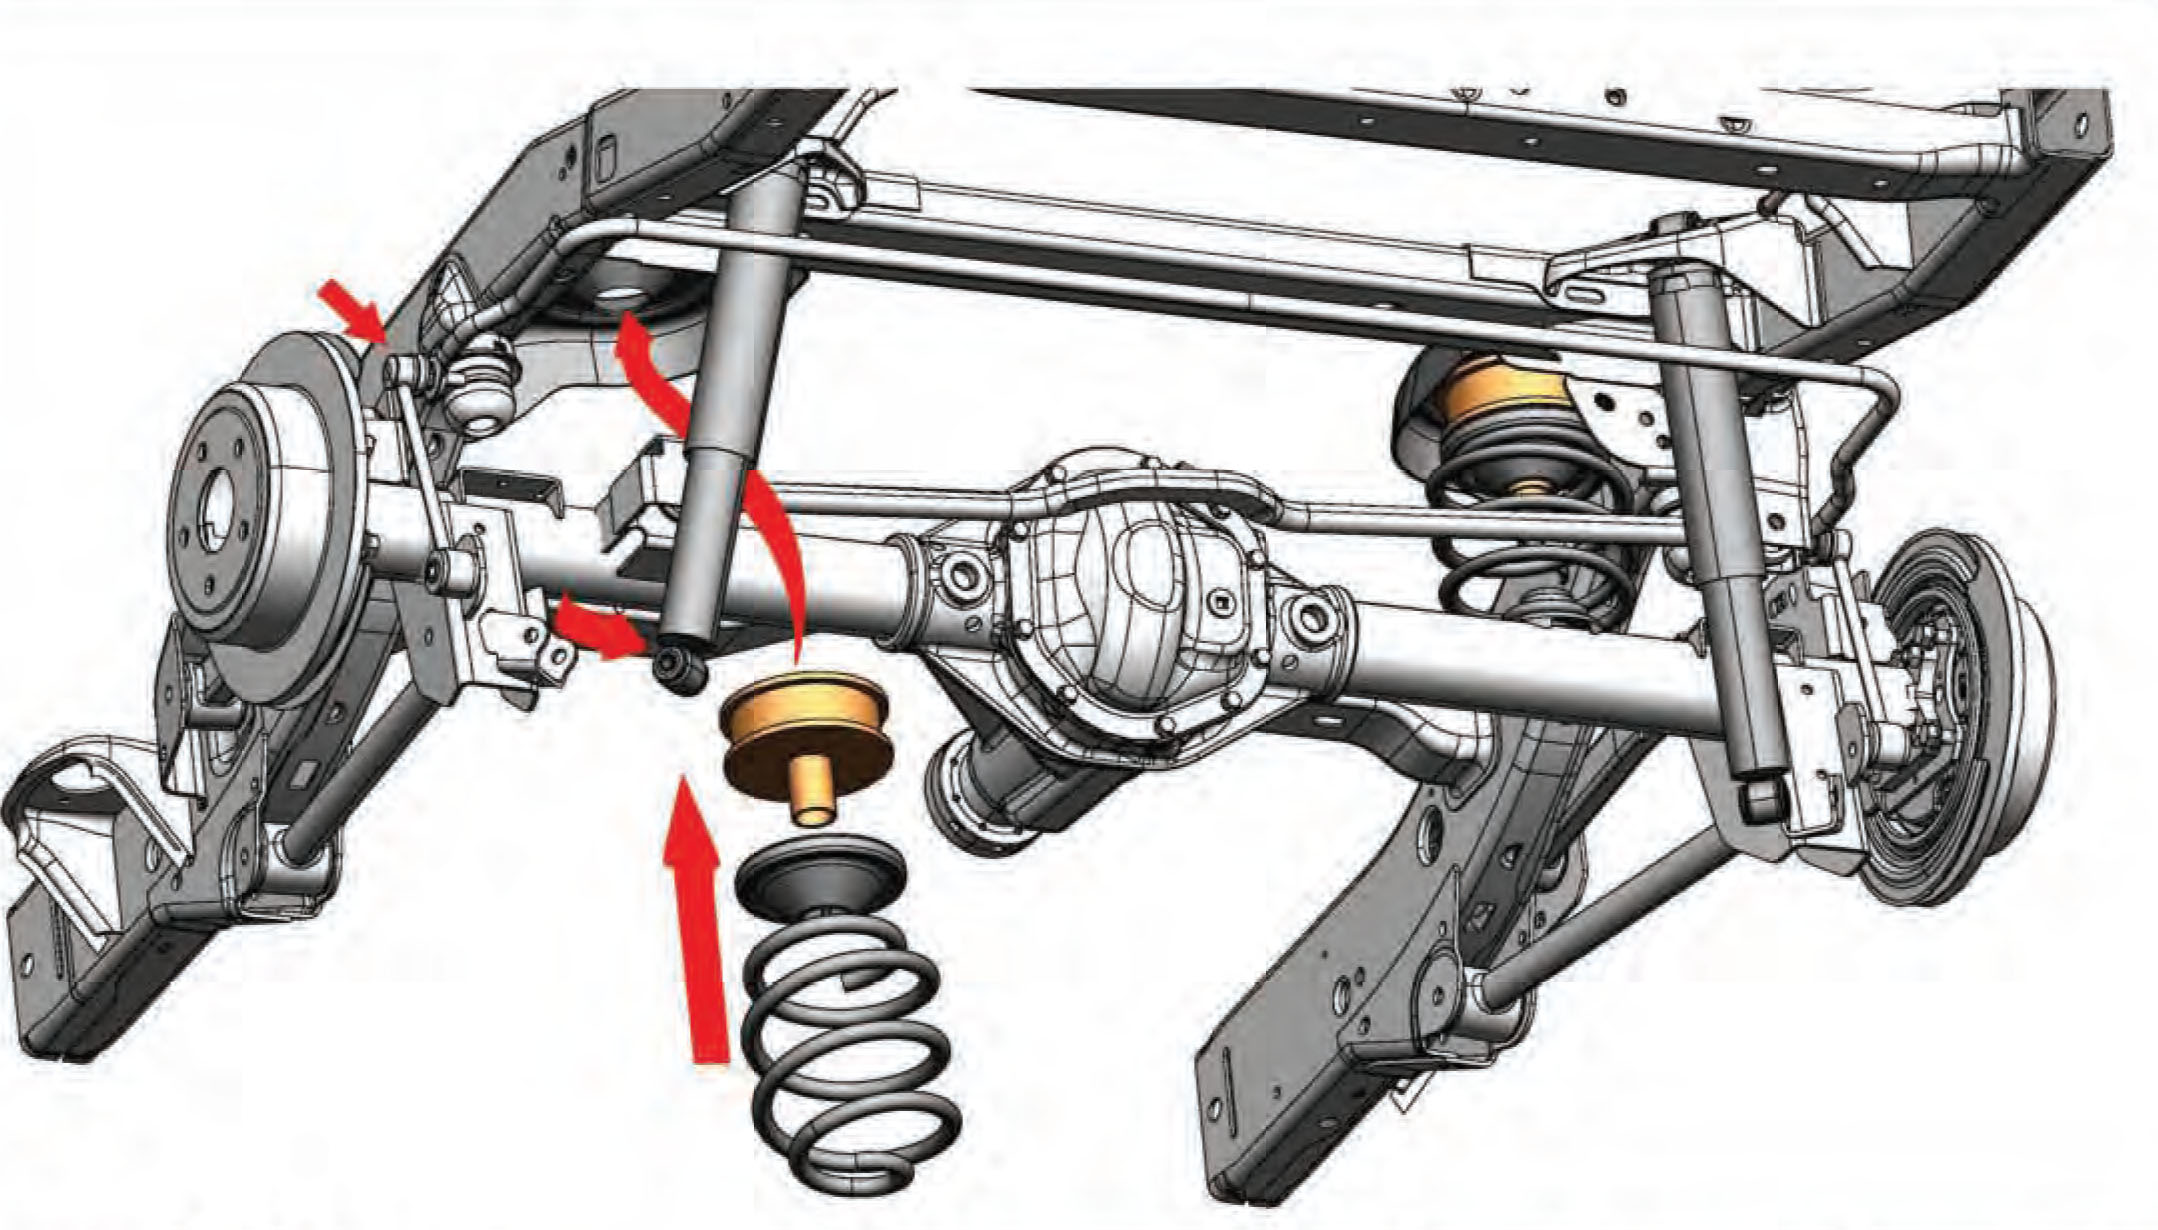
2. Remove Old Suspension Components
Spray bolts and nuts with penetrating oil—many get rusted over time. Remove the shocks, sway bar links, and springs as your kit requires. Take care with coil springs; use a spring compressor if needed.
3. Install New Lift Kit Parts
Follow the instructions for your specific kit. Usually, you’ll:
- Install new or extended coil springs or spacers
- Attach longer shocks or shock extensions
- Replace sway bar links if included
- Add bump stop extensions
If your kit comes with new control arms or track bars, install them now. Keep all hardware finger-tight until both sides are complete.
4. Reconnect And Tighten Everything
After installing the new parts, tighten all bolts to the manufacturer’s torque specs. This step is critical for safety. Reinstall the wheels and lower your Jeep to the ground.
5. Check And Adjust
With the Jeep on the ground, bounce it a few times to settle the suspension. Re-check all bolts for tightness. Adjust the track bar to center the axle if your kit includes an adjustable one. Some kits require an alignment—never skip this.
6. Test Drive And Inspect
Take a slow test drive, listening for odd noises or vibrations. Stop and check all bolts again after a short drive. It’s common for some parts to need retightening after the first 50–100 miles.

Common Mistakes To Avoid
Many beginners miss these important details:
- Skipping alignment: Lifting your Jeep changes the angles of the wheels. Get a professional alignment as soon as possible.
- Not checking brake lines: Make sure brake lines are long enough after the lift. Overstretching can cause failure.
- Ignoring torque specs: Hand-tight is not enough. Use a torque wrench for all bolts.
- Missing extra parts: Some lifts require longer driveshafts, drop brackets, or track bars. Plan for these before starting.
Real-world Example: 2.5-inch Lift On A Wrangler Jl
Let’s say you choose a 2.5-inch suspension lift for your Jeep Wrangler JL. Here’s what to expect:
- Time required: 5–8 hours for a first-timer
- Difficulty: Moderate (basic mechanical skills needed)
- Tools needed: Standard garage tools plus a spring compressor
- Cost: $500–$1,500 for kit, more if you need new wheels or tires
Most owners report a much smoother ride and better off-road capability. However, gas mileage may decrease, and the Jeep sits higher, so step-in height increases.
What To Do After Installation
Once your lift kit is installed:
- Schedule a wheel alignment
- Check all bolts and hardware after the first 100 miles
- Monitor for new noises or handling changes
- Consider recalibrating your speedometer if you add larger tires
Also, make sure your insurance company knows about the modification. Some policies require notification of suspension changes.
Cost Comparison: Diy Vs. Shop Installation
If you’re deciding between doing it yourself or hiring a shop, consider the costs:
| Method | Average Cost | Pros | Cons |
|---|---|---|---|
| DIY | $500–$1,500 (kit only) | Save money, learn your Jeep | Time-consuming, risk of mistakes |
| Shop | $1,200–$3,500 (kit + labor) | Professional results, warranty | Higher cost, less hands-on |
Safety Tips And Final Thoughts
Lifting a Jeep changes how it handles and can affect stability. Always drive carefully, especially at first. Test your Jeep on easy trails before trying challenging routes. Remember, a lift is only the start—upgraded tires, gears, and brakes may be needed for serious off-roading.
For more detailed technical information, see the official Jeep Accessories page.
Frequently Asked Questions
How Much Does It Cost To Install A Lift Kit On A Jeep Wrangler?
The price depends on the kit and who does the work. A basic kit can cost $500–$1,500 for DIY. Professional installation can bring the total to $1,200–$3,500.
Will Installing A Lift Kit Void My Warranty?
Most minor lifts (2. 5 inches or less) do not void the entire warranty. However, related parts (like the suspension) might not be covered if damaged. Check with your dealer first.
Do I Need Bigger Tires With A Lift Kit?
No, but most owners add larger tires for better looks and performance. A 2. 5-inch lift usually fits up to 35-inch tires without issues.
How Long Does It Take To Install A Lift Kit?
A first-time installer should plan for 6–10 hours. Experienced mechanics can finish in 3–5 hours.
Is A Wheel Alignment Required After Installing A Lift?
Yes. Lifting changes your Jeep’s suspension geometry. A professional alignment is necessary for safety and even tire wear.