Mounting wheel lights is one of the most exciting ways to upgrade your vehicle’s look and visibility. Whether you drive a car, truck, or motorcycle, wheel lights can make your ride stand out and improve safety at night. Many people think installing them is complicated, but with the right guidance, you can easily do it yourself. Let’s explore how to mount wheel lights step-by-step, including tips, safety advice, and common mistakes to avoid.
Understanding Wheel Lights
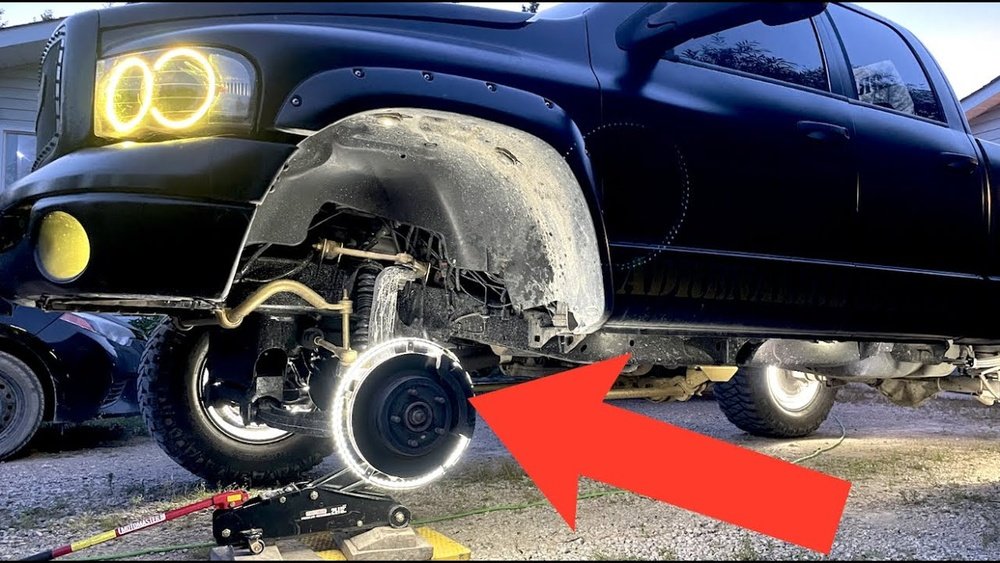
Wheel lights are LED strips or rings that attach to the wheels or brake rotors. They glow in various colors and patterns, making your vehicle more visible in low light. Some models even sync with music or change colors with speed.
According to industry data, LED wheel lights can be seen from over 100 feet away, helping drivers spot your vehicle earlier.
There are two main types:
- Rim-mounted LED strips: These attach directly to the rim.
- Rotor-mounted LED rings: These mount to the brake rotor area.
Choosing the right type depends on your wheel design and how much brightness you want.
Tools And Materials Needed
Before starting, gather these items:
- Wheel lights kit (LED strips or rings)
- Drill (with bits for metal/plastic)
- Screwdriver
- Wire connectors
- Zip ties
- Electrical tape
- Jack and jack stands
- Gloves
- Cleaning supplies
Check your kit for any extra mounting brackets or instructions. Most kits come with detailed guides, but some leave out key steps—always double-check.

Step-by-step Installation Guide
Mounting wheel lights takes about 1–2 hours for a full set. Here’s a clear step-by-step process:
1. Prepare Your Vehicle
- Park on a flat surface.
- Turn off the engine and use the jack to lift the wheel you’ll work on first.
- Secure with jack stands for safety.
2. Clean The Wheel Area
- Wipe down the wheel and brake rotor.
- Remove any dirt or grease; LED strips won’t stick to dirty surfaces.
3. Test The Lights
- Connect the wheel lights to a power source (usually the car battery) to check they work.
- Test all colors and patterns.
4. Mount The Lights
- Place the LED strip or ring along the rim or rotor.
- If using strips, stick them with adhesive backing; rings require screws or brackets.
- Drill small holes if needed, but avoid damaging the wheel.
5. Secure The Wiring
- Route wires safely away from moving parts.
- Use zip ties and electrical tape to keep cables tidy.
- Connect wires to the control box or battery, following the kit instructions.
6. Check For Clearance
- Spin the wheel by hand to ensure nothing rubs or catches.
- Make sure the lights and wires don’t interfere with brakes or suspension.
7. Finalize Connections
- Attach the control box in a dry, accessible location.
- Connect power and ground wires securely.
8. Test Everything
- Lower the vehicle and turn on the lights.
- Try different settings to confirm all wheels work properly.
Comparing Wheel Light Types
Choosing between rim-mounted and rotor-mounted lights can be confusing. Here’s a quick comparison:
| Type | Brightness | Installation Difficulty | Durability |
|---|---|---|---|
| Rim-mounted LED strips | Moderate | Easy | Lower |
| Rotor-mounted LED rings | High | Medium | Higher |
Rotor-mounted rings are more durable and visible, but they may need more tools and care during installation.
Cost And Value
Wheel light kits range from $50 to $250, depending on quality and features. Here’s a look at what you get:
| Price Range | Features | Typical Lifespan |
|---|---|---|
| $50–$100 | Basic colors, simple control | 1–2 years |
| $100–$250 | Multiple colors, remote control, music sync | 3–5 years |
LEDs are energy efficient and last longer than older halogen wheel lights.
Safety And Legal Considerations
Always check your local laws before using wheel lights. Some states in the US ban certain colors (like red or blue) because they look like emergency vehicles. According to the National Highway Traffic Safety Administration, improper lighting can lead to fines or failed inspections. Stick with approved colors—usually white, amber, or green.

Common Mistakes And Expert Tips
Many beginners miss these important points:
- Not securing wires tightly—loose wires can snag or break.
- Using cheap adhesives—strips may fall off during rain or washing.
- Ignoring wheel clearance—lights can get damaged if they rub against suspension.
To avoid problems:
- Use strong adhesive tape or bolts for mounting.
- Double-check wire routing; keep away from hot parts.
- Test before and after installation.
Experienced installers recommend using extra zip ties and waterproof connectors for long-lasting results.
Maintenance And Troubleshooting
Wheel lights need regular checks:
- Inspect for loose connections every month.
- Clean lights with a soft cloth; avoid harsh chemicals.
- Replace damaged strips immediately.
If lights flicker or stop working, check battery connections and look for pinched wires.

Frequently Asked Questions
How Long Do Wheel Lights Last?
Quality wheel lights can last 3–5 years with proper care. Cheaper kits may need replacing sooner.
Are Wheel Lights Legal Everywhere?
No. Some states ban red and blue wheel lights. Always check local rules before installing.
Can I Install Wheel Lights Myself?
Yes. Most kits are DIY-friendly if you follow instructions and use basic tools.
Do Wheel Lights Drain My Battery?
LED wheel lights use very little power, but leaving them on for hours without the engine running can drain the battery.
Will Wheel Lights Fit Any Vehicle?
Most kits fit standard cars, trucks, and motorcycles. If you have custom wheels, check the kit’s size and compatibility.
Adding wheel lights is a fun project that boosts both style and safety. With careful installation and regular checks, you can enjoy bright, reliable lighting for years. For more information on automotive lighting laws and safety, visit NHTSA. Always follow instructions, take your time, and remember—proper mounting ensures your lights stay secure and shine brightly every night.


