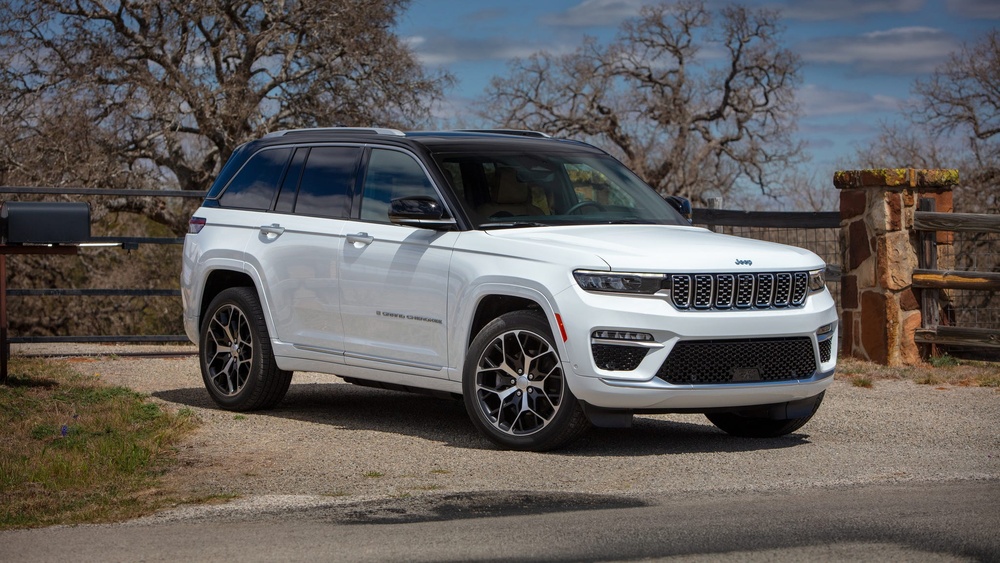
The Jeep Grand Cherokee is known for its power, comfort, and advanced features. One standout feature is its infotainment system, which controls music, navigation, and even climate settings.
But what happens when the radio screen stops working? Many owners face blank screens, touch issues, or complete system failures.
Knowing how to replace the radio screen can save you money and restore your driving experience.

When Should You Replace The Radio Screen?
The radio screen is more than just a display. It controls many functions. If it fails, it can impact your daily drive. Common signs you need a replacement include:
- Unresponsive touch screen: Pressing buttons does nothing.
- Blank or flickering display: The screen won’t show any image or keeps going dark.
- Distorted images: Graphics are unclear or lines appear.
- System reboots: The radio restarts on its own.
Sometimes, a software update fixes simple glitches. But if problems continue, hardware replacement is the best option.
Choosing The Right Replacement Screen
There are different screens for various Grand Cherokee models and years. Picking the right one is important. Here are key factors to compare:
| Model Year | Screen Size | System Type | Common Part Number |
|---|---|---|---|
| 2014-2016 | 8.4-inch | Uconnect 8.4 | LA084X01(SL)(01) |
| 2017-2020 | 8.4-inch | Uconnect 4C NAV | LA084X01(SL)(01)-C |
| 2026+ | 10.1-inch | Uconnect 5 | Customized |
Always match your vehicle’s year and system. The wrong part may not fit or function. If unsure, check your owner’s manual or look behind the dashboard for the part number.

Tools And Preparation
Replacing a Jeep Grand Cherokee radio screen is not very difficult, but you need the right tools and patience. Prepare:
- Plastic trim removal tools
- Screwdrivers (Phillips and flathead)
- Gloves
- Clean microfiber cloth
- The new replacement screen
Before starting, disconnect the car battery. This prevents electrical shorts and keeps you safe.
Step-by-step Replacement Guide
Follow these steps to replace the radio screen:
- Remove dashboard trim: Use the plastic trim tool to gently pry off the frame around the radio. Go slowly to avoid breaking clips.
- Unscrew the radio unit: Remove screws holding the radio in place. Keep them safe for reinstallation.
- Disconnect wiring: Gently pull the radio out and unplug the connectors. Take a photo for reference.
- Replace the screen: Lay the radio on a clean surface. Depending on the unit, unscrew or unclip the old screen. Attach the new one carefully.
- Reconnect and test: Plug in all connectors, reattach the radio, and temporarily connect the battery to test the screen. If it works, proceed.
- Reinstall everything: Secure the radio, snap the trim back, and fully reconnect the battery.
Most owners can finish this process in about 45–90 minutes. It’s a good idea to have a friend help steady the unit.

New Vs. Used Vs. Aftermarket Screens
You can choose between OEM (original), used, or aftermarket screens. Here’s a quick comparison:
| Type | Cost | Warranty | Reliability |
|---|---|---|---|
| OEM New | High | Yes (1 year+) | Very reliable |
| Used | Low | No/Short | Varies |
| Aftermarket | Medium | Yes (varies) | Good, but may lack features |
OEM screens cost more but guarantee compatibility. Used screens are cheaper but may have hidden problems. Aftermarket options sometimes offer better graphics or extra features, but may not work perfectly with factory controls.
Common Mistakes And How To Avoid Them
- Forgetting to disconnect the battery: This can cause fuses to blow or even damage the new screen.
- Using metal tools: Metal can scratch plastic trim or cause electrical shorts. Always use plastic tools.
- Not labeling connectors: Modern radios have several similar-looking plugs. Take clear photos or use labels.
- Skipping a test before reassembly: Always check the new screen works before putting the dashboard back together.
A non-obvious tip: Some issues are caused by a failed digitizer (touch layer), not the LCD. You can replace just the digitizer if the image is clear but touch isn’t working. This often costs less and is easier to swap.
Dealer Service Vs. Diy
You may wonder if a dealer should handle the replacement. Here’s what to consider:
| Option | Cost | Time | Warranty |
|---|---|---|---|
| Dealer | $600–$1,200 | 1–2 days | Yes |
| DIY | $150–$500 | 1–2 hours | No/part only |
Doing it yourself saves money and time. But if your Jeep is under warranty, or if you’re unsure, dealer service may give peace of mind.
Tips For A Smooth Replacement
- Buy from a trusted seller. Check reviews and return policies.
- Update your radio software after installing a new screen. This avoids glitches.
- Clean the screen with a microfiber cloth only. Avoid harsh chemicals.
A practical insight: If your radio has navigation, you may need to re-enter your settings or activate maps again after replacement.
If you want more details on Jeep infotainment systems, visit the official Jeep Uconnect page.
Replacing a Jeep Grand Cherokee radio screen can restore full use of your vehicle’s features. With the right part and tools, it’s a manageable job for most owners. Take your time, double-check steps, and enjoy your upgraded drive.

Frequently Asked Questions
<!– wp:rank-math/faq-block {"questions":[{"id":"faq-question-11f35fcbd860","title":"How Do I Know If My Radio Screen Is Faulty Or If It’s Just A Software Problem?","content":"If your screen is completely blank, shows lines, or the touch does not respond at all, it’s usually a hardware problem. If it freezes on one screen or restarts randomly, try a software update first.
“,”visible”:true},{“id”:”faq-question-6312f4aaf7d5″,”title”:”Can I Replace The Screen Myself If I Have No Experience?”,”content”:”Yes, if you follow the steps carefully. Many owners do it themselves with basic tools. Watch a few video guides online for extra help.
“,”visible”:true},{“id”:”faq-question-c74e1d88d5ff”,”title”:”Will I Lose My Radio Settings Or Navigation Data?”,”content”:”Most settings are saved in the radio memory, not the screen. However, you might need to reset your clock or re-enter some preferences.
“,”visible”:true},{“id”:”faq-question-2357ee6a788d”,”title”:”Where Can I Buy A Replacement Screen?”,”content”:”You can find screens from Jeep dealers, trusted online auto parts stores, and specialized electronics shops. Look for sellers with good reviews and clear return policies.
“,”visible”:true},{“id”:”faq-question-8d5d633f38e0″,”title”:”Does Replacing The Screen Affect My Car’s Warranty?”,”content”:”If your Jeep is still under warranty, dealer service is safest. DIY replacement may void certain parts of your warranty, especially if damage occurs during installation. Always check your warranty terms first.
“,”visible”:true}]} –>How Do I Know If My Radio Screen Is Faulty Or If It’s Just A Software Problem?
If your screen is completely blank, shows lines, or the touch does not respond at all, it’s usually a hardware problem. If it freezes on one screen or restarts randomly, try a software update first.
Can I Replace The Screen Myself If I Have No Experience?
Yes, if you follow the steps carefully. Many owners do it themselves with basic tools. Watch a few video guides online for extra help.
Most settings are saved in the radio memory, not the screen. However, you might need to reset your clock or re-enter some preferences.
Where Can I Buy A Replacement Screen?
You can find screens from Jeep dealers, trusted online auto parts stores, and specialized electronics shops. Look for sellers with good reviews and clear return policies.
Does Replacing The Screen Affect My Car’s Warranty?
If your Jeep is still under warranty, dealer service is safest. DIY replacement may void certain parts of your warranty, especially if damage occurs during installation. Always check your warranty terms first.