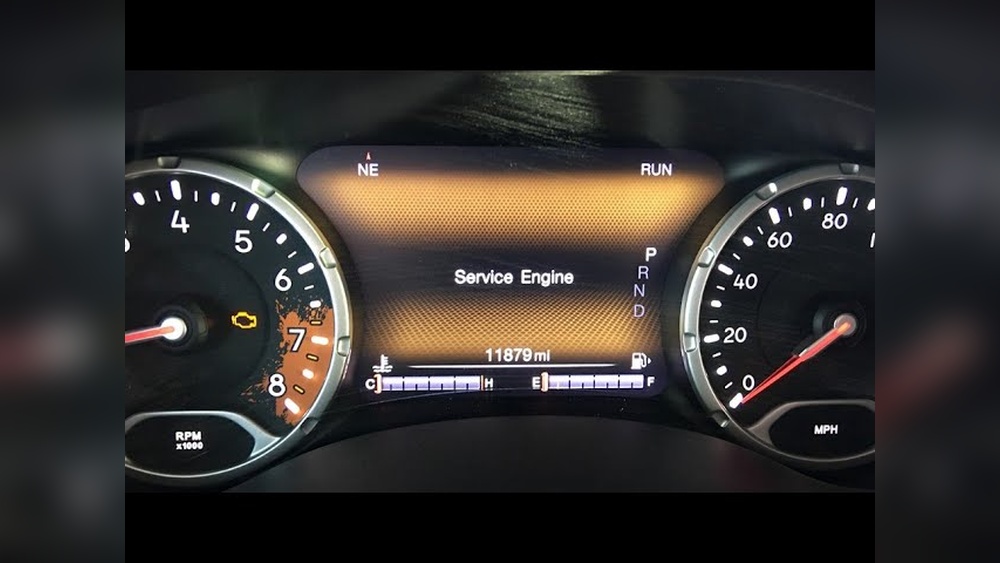
When the dashboard lights on your 2006 Jeep Liberty go dark, it’s more than just an inconvenience. These lights are your car’s primary way of telling you what’s happening.
They warn you about low fuel, engine trouble, braking system issues, and much more.
Without them, you’re driving blind to potential problems, which can lead to costly repairs or even unsafe driving situations.
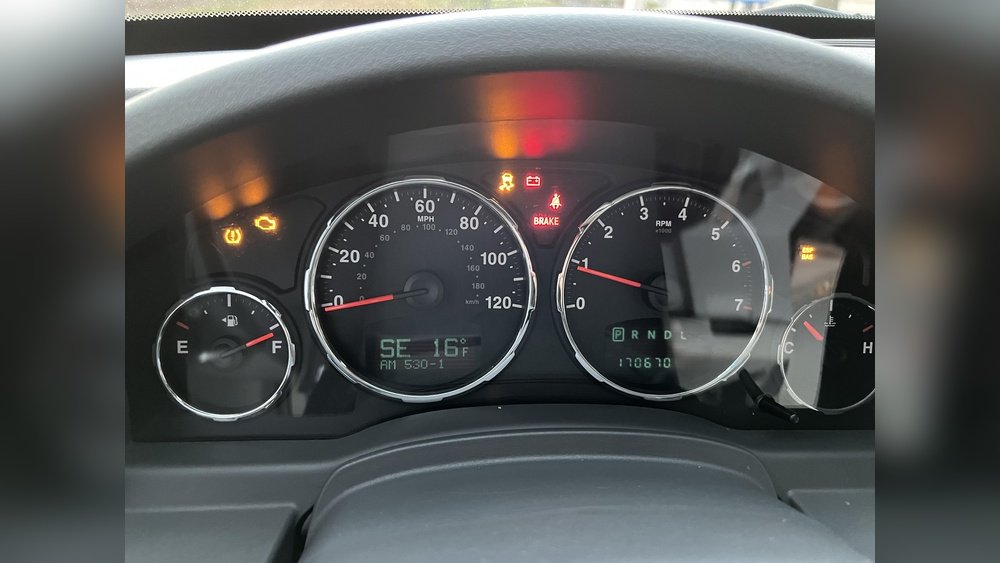
The 2006 Jeep Liberty, like many vehicles, relies on a complex electrical system to power these crucial indicators. When they suddenly fail, it can be a puzzling issue for drivers.
The reasons can range from simple fixes like a blown fuse to more complex problems involving wiring or the instrument cluster itself.
Understanding these potential causes is the first step to getting your dashboard lights back online and ensuring your Jeep is safe and reliable. This guide will walk you through the common culprits behind a 2006 Jeep Liberty’s no-dash-lights problem, offering practical advice to help you diagnose and resolve the issue.
Common Causes For No Dash Lights On A 2006 Jeep Liberty
Several issues can lead to the dashboard lights on your 2006 Jeep Liberty failing to illuminate. These range from simple electrical problems to more significant component failures.
Identifying the exact cause is key to fixing the problem efficiently.
1. Blown Fuse
A blown fuse is arguably the most common reason for a sudden loss of dashboard lights. Fuses are designed to protect your vehicle’s electrical system from power surges.
When too much current flows through a circuit, the fuse "blows," breaking the circuit and preventing damage.
The dashboard lights, along with other components, are connected to specific fuses. If the fuse for the instrument panel or illumination circuit fails, the lights will not turn on.
There are typically two main fuses to check for dashboard illumination: the I/P (Instrument Panel) Fuse and the ILLUM (Illumination) Fuse. These are usually located in the fuse box under the dashboard on the driver’s side. Some models might also have a fuse in the engine compartment fuse box.
To check a fuse, you’ll need to locate the fuse box, identify the relevant fuses using your owner’s manual or the diagram on the fuse box cover, and then carefully pull them out. Most fuses have a small metal filament inside. If this filament is broken or looks burnt, the fuse is blown and needs to be replaced. Always replace a blown fuse with a new one of the exact same amperage rating. Using a fuse with a higher rating can cause electrical damage. If the new fuse blows immediately, it indicates a short circuit or a more serious electrical problem that needs further investigation.
2. Faulty Dimmer Switch
The dimmer switch controls the brightness of your dashboard lights. On many vehicles, including the 2006 Jeep Liberty, this switch is often integrated with the headlight switch or located on the steering column. If this switch malfunctions or becomes loose, it can cause the dash lights to turn off completely, even if the fuse is fine and the bulbs are working.
Sometimes, the dimmer switch can get stuck in the "off" or lowest position. You might notice that the lights flicker or dim intermittently before failing altogether.
The switch itself can wear out over time, or the electrical connections leading to it can become corroded or loose.
To test the dimmer switch, try cycling through its various positions. If you have a headlight switch with a dimmer function, try rotating it to its brightest setting.
If the lights come on when you move the switch to a specific position, it strongly suggests a faulty dimmer switch.
In some cases, cleaning the contacts of the switch or tightening the connections might resolve the issue. However, if the switch is internally damaged, it will likely need to be replaced.
This is a relatively straightforward DIY repair for many, but if you’re not comfortable with automotive electrical systems, a mechanic can handle it quickly.
3. Bad Ground Connection
A ground connection is essential for any electrical circuit. It provides a return path for the electricity back to the battery. If the ground connection for the instrument cluster or the illumination circuit is loose, corroded, or broken, the dashboard lights will not receive the necessary power to operate.
Ground points are typically metal studs or bolts that connect wiring harnesses to the vehicle’s chassis. On the 2006 Jeep Liberty, there might be several ground points related to the dashboard.
These are often located behind the dashboard panels or in the general vicinity of the instrument cluster.
Diagnosing a bad ground can be challenging. You would need to visually inspect the wiring harnesses connected to the instrument cluster and trace them back to potential ground points.
Look for any signs of corrosion (a white or greenish powdery substance), frayed wires, or loose connections.
Sometimes, a simple tightening of a ground bolt can fix the problem. In other cases, the wiring might need to be repaired or replaced.
If you suspect a grounding issue, it's often best to consult a professional mechanic who has the tools and knowledge to accurately diagnose and repair these connections without causing further damage.
4. Faulty Instrument Cluster
The instrument cluster is the entire unit that houses your speedometer, tachometer, fuel gauge, and all the warning lights. If the internal circuitry of the instrument cluster fails, it can cause all the dash lights to go out. This is a more complex and often more expensive issue than a blown fuse or a bad dimmer switch.
The instrument cluster contains circuit boards, bulbs, and a processor that controls all the gauges and lights. Over time, these components can fail due to age, vibration, or electrical issues.
Sometimes, a specific component within the cluster, like a voltage regulator or a particular circuit trace, can fail, leading to a complete blackout.
Symptoms of a faulty instrument cluster might include flickering lights, intermittent gauge operation, or a total failure of all lights and gauges. Diagnosing this issue often requires specialized diagnostic tools to communicate with the cluster and test its various functions.
Repairing a faulty instrument cluster can involve replacing the entire unit, which can be costly, or sometimes, specialized repair shops can fix the internal components. Given the complexity, if you suspect the instrument cluster is the problem, it’s highly recommended to have it inspected by a qualified mechanic or an automotive electronics specialist.
5. Wiring Harness Issues
The wiring harness is a bundle of wires that connect all the electrical components in your vehicle. If there is a break, short circuit, or damaged wire within the harness that supplies power to the instrument cluster or the illumination circuit, your dash lights will not work.
Wiring issues can occur for various reasons:
- Abrasion: Wires can rub against metal parts of the car body, causing the insulation to wear away and leading to shorts or open circuits.
- Corrosion: Moisture can enter connectors and cause corrosion, leading to poor conductivity or complete failure.
- Damage: Rodents can chew on wires, or damage can occur during other repairs.
- Loose Connectors: Connectors that plug into the instrument cluster or other components can become loose over time.
Troubleshooting wiring harness issues can be very time-consuming. It often involves using a multimeter to test for continuity and voltage at different points in the circuit. This requires a good understanding of automotive electrical diagrams. If you find a damaged wire, it may need to be repaired by splicing in a new section of wire or replacing a portion of the harness. If a connector is corroded, it may need to be cleaned or replaced. Due to the complexity and potential for further damage, wiring problems are often best left to experienced automotive technicians.
6. Problems With The Tipm (totally Integrated Power Module)
The TIPM, often referred to as the fuse box or power distribution center, is the central hub for your Jeep Liberty’s electrical system. It controls many functions, including power distribution to various circuits, such as the instrument panel lights. In 2006 Jeep Liberty models, the TIPM is a sophisticated module that manages a wide array of electrical operations. If the TIPM itself experiences an internal failure, it can lead to a variety of electrical problems, including the loss of dashboard lights.
These modules are essentially small computers that receive inputs from various sensors and switches and then direct power to the appropriate components. A failure within the TIPM could be due to faulty internal relays, a corrupted software issue, or a physical defect.
Symptoms of a failing TIPM can be diverse and sometimes intermittent, affecting multiple systems simultaneously.
Diagnosing a TIPM issue requires specialized diagnostic equipment that can communicate with the module and check its internal status. It can also involve testing the power and ground inputs to the TIPM and the outputs to the affected circuits.
Because the TIPM controls so many vital functions, a failure here can be serious and often requires replacement of the module.
This is not a simple DIY repair; it typically needs to be performed by a dealership or a specialized mechanic who can properly diagnose, program, and install a new TIPM.
Diagnosing The No Dash Lights Issue
When your 2006 Jeep Liberty’s dash lights go out, a systematic approach to diagnosis is crucial. Rushing into repairs without proper identification can lead to wasted time and money.
Here’s a step-by-step guide to help you pinpoint the problem.
Initial Checks: What To Do First
Before diving deep into complex diagnostics, start with the simplest and most common potential causes.
- Check Headlight Switch and Dimmer: Ensure your headlight switch is in the correct position and try adjusting the dimmer control. Sometimes, the switch can be accidentally turned down to the lowest setting, making it appear as though the lights are out. Cycle through all the positions, including turning the headlights on and off.
- Check Fuses: Locate your fuse boxes (usually one inside the cabin, under the dash, and one in the engine bay). Consult your owner’s manual or the fuse box cover diagram to identify the fuses related to the instrument panel lights, illumination, or dash lights. Visually inspect these fuses for a broken filament. If a fuse is blown, replace it with a new one of the exact same amperage.
- Observe Other Electrical Issues: Are other electrical components also not working? For example, are your interior dome lights, radio, or power windows affected? If multiple systems are failing, it might point to a more significant issue like a problem with the TIPM or a main power feed. If only the dash lights are out, it narrows down the possibilities.
Using A Multimeter For Deeper Diagnosis
If the initial checks don’t reveal the problem, a multimeter can be an invaluable tool for electrical diagnosis. You’ll need to understand basic electrical principles and how to use the multimeter safely.
- Checking Fuses (Continuity Test): Even if a fuse looks intact, it’s wise to test it. Remove the fuse and set your multimeter to the continuity setting (often indicated by a beep symbol). Touch the multimeter probes to each of the fuse’s metal terminals. If the fuse is good, the multimeter will beep or show a very low resistance reading. If it doesn’t beep, the fuse is blown, even if it looks okay.
- Checking for Power at the Instrument Cluster: This is more advanced and requires accessing the back of the instrument cluster. With the ignition on, you can test specific pins on the cluster’s connector to see if power is reaching it. You’ll need a wiring diagram for your 2006 Jeep Liberty to identify which pins should have voltage.
- Checking Ground Connections: You can use the multimeter in resistance mode to check the integrity of ground connections. Find a known good ground point (like a clean metal bolt on the chassis) and test the resistance between it and the ground wire/terminal for the instrument cluster. A good ground should show very low resistance (close to 0 ohms). High resistance indicates a poor or broken ground connection.
When To Call A Professional
While some electrical issues are manageable for DIYers, others require specialized knowledge and tools.
- Intermittent Problems: If the dash lights flicker on and off or only work sometimes, these issues can be very difficult to diagnose and may require professional troubleshooting.
- Suspected TIPM Failure: As mentioned earlier, TIPM issues are complex and often require specific programming and tools.
- Extensive Wiring Damage: If you suspect significant damage to the wiring harness, it’s best left to professionals who can repair or replace sections safely and effectively.
- Instrument Cluster Failure: While some cluster issues can be repaired by specialists, diagnosing and replacing the entire unit is often best handled by a mechanic.
If you’re not confident in your diagnostic abilities, especially when dealing with electrical systems, it’s always safer and more efficient to consult a qualified mechanic. They have the experience and equipment to accurately identify the root cause and perform the necessary repairs.
Replacing Common Faulty Components
Once you’ve diagnosed the problem, you might be able to tackle some repairs yourself. Here’s a look at how to replace some of the more common parts that cause no dash lights.
Replacing A Blown Fuse
This is the simplest repair.
- Locate the Correct Fuse: Use your owner’s manual or the fuse box diagram to find the fuse for the instrument panel or illumination circuit.
- Remove the Old Fuse: Use a fuse puller (often found in the fuse box) or a pair of needle-nose pliers to gently pull the blown fuse straight out.
- Insert the New Fuse: Make sure the new fuse has the exact same amperage rating as the old one. You can find this number printed on the fuse itself. Push the new fuse firmly into the slot until it’s fully seated.
- Test: Turn on your ignition to see if the dash lights are now working.
Pro Tip: If the new fuse blows immediately, do not replace it again. This indicates a short circuit elsewhere in the wiring, and you need to stop and diagnose that issue before it causes more damage.
Replacing The Dimmer Switch
Replacing the dimmer switch can vary in difficulty depending on its location.
- Access the Switch: This often involves removing trim panels around the steering column or the headlight switch assembly. Be careful not to break any plastic clips. You might need a set of trim removal tools.
- Disconnect the Old Switch: Once accessible, you’ll usually find a wiring connector plugged into the back of the switch. Press the release tab on the connector and pull it away from the switch.
- Install the New Switch: Plug the wiring connector into the new dimmer switch.
- Reassemble: Replace any trim panels you removed.
- Test: Turn on your ignition and headlights to test the new switch and the dash lights.
Replacing An Instrument Cluster (advanced)
Replacing the entire instrument cluster is a more involved process and is often best left to professionals. However, if you are experienced with automotive repairs, here’s a general overview:
- Disconnect Battery: Always disconnect the negative battery terminal before working on electrical components to prevent short circuits.
- Remove Dashboard Trim: You’ll need to carefully remove surrounding trim pieces to gain access to the instrument cluster. This often involves removing screws hidden