Illuminate Your Adventures: The Ultimate Guide To Jeep Wrangler Roof Lights
The Jeep Wrangler is more than just a vehicle; it's a symbol of freedom, adventure, and the open road. For many owners, the journey doesn't end when the sun goes down.
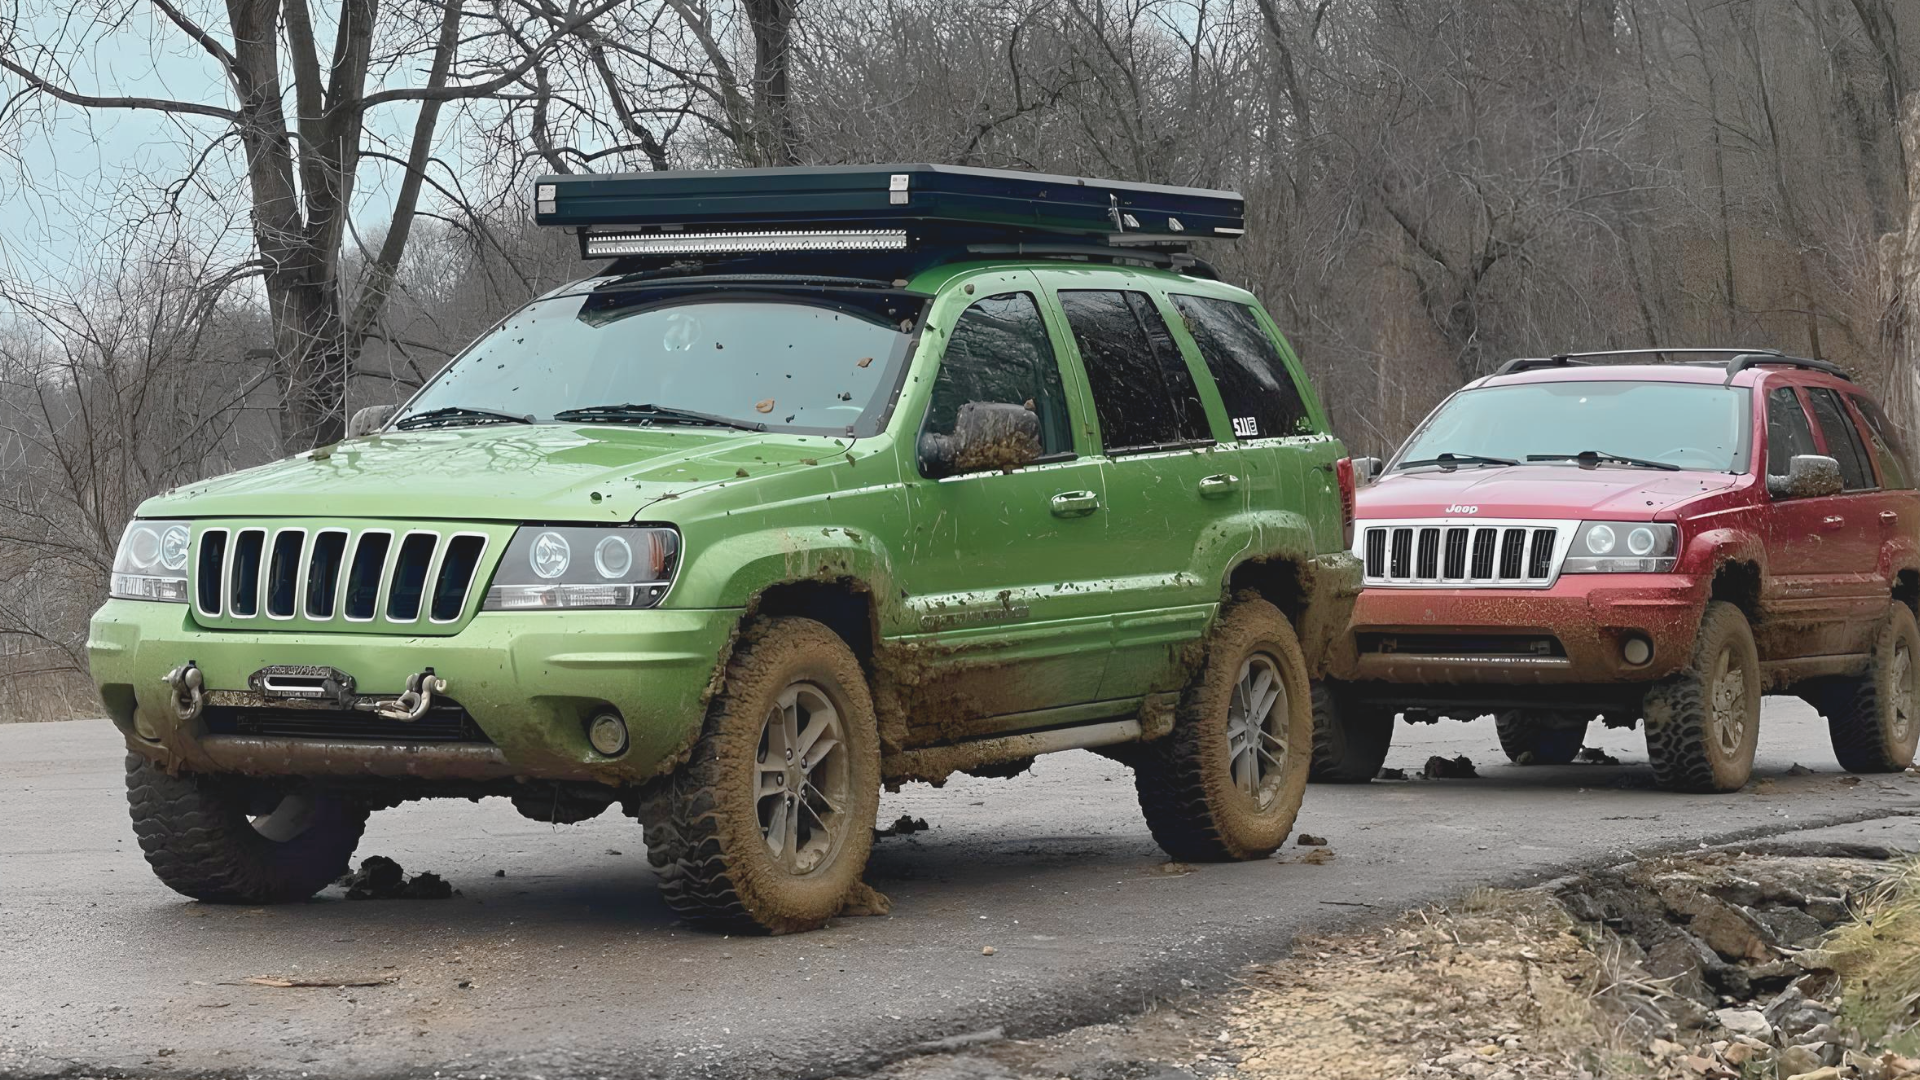
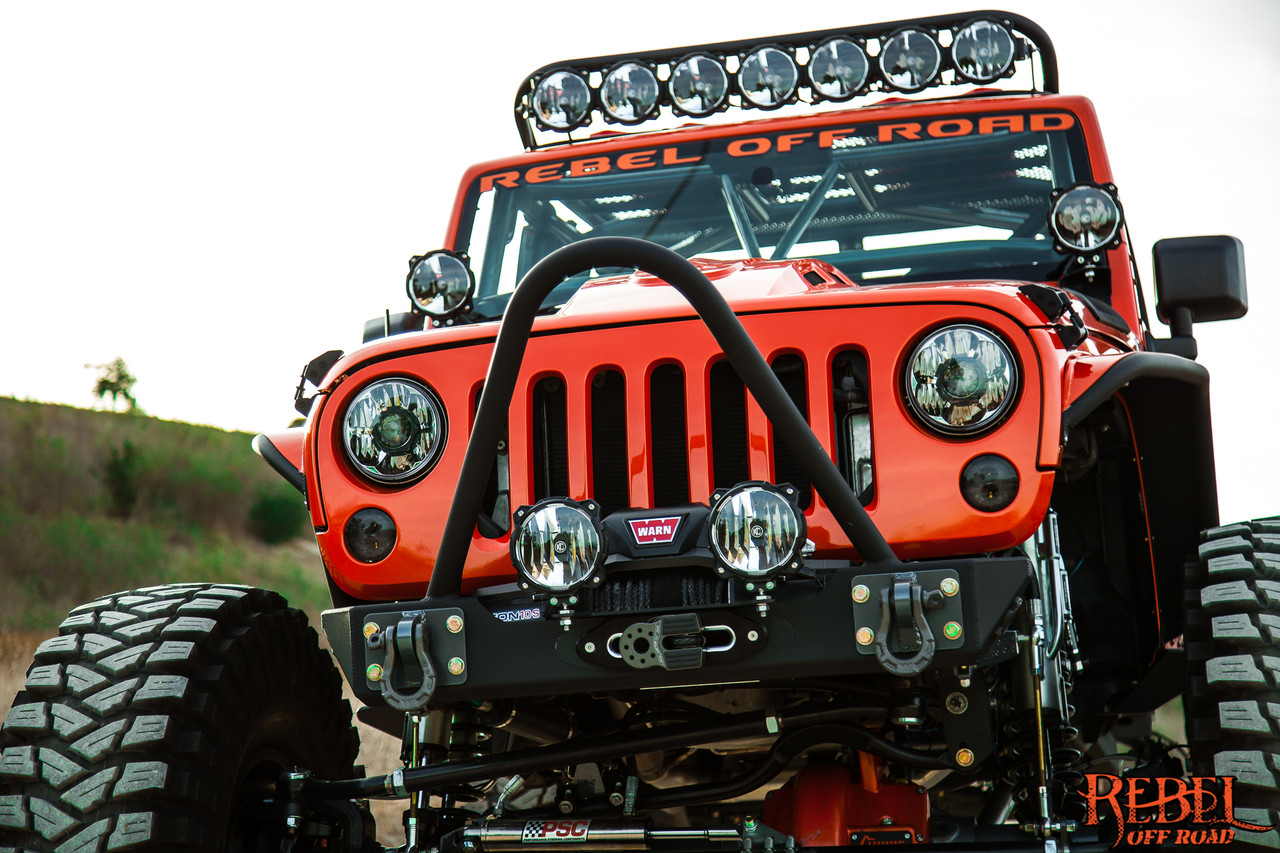
Whether you're navigating rugged trails after dark, setting up camp in a remote location, or simply want to enhance your Jeep's commanding presence, roof lights are an essential upgrade. They offer superior illumination, improve visibility, and add a distinct, rugged aesthetic to your Wrangler.
Choosing the right roof lights can seem daunting with the sheer variety of options available. From LED light bars to individual pods, each type offers different benefits and applications.
This guide will walk you through everything you need to know, from understanding the different types of roof lights and their features to making an informed decision that fits your needs and budget.
We’ll cover beam patterns, brightness, durability, and legal considerations, ensuring you can light up your path with confidence and style. Get ready to transform your Jeep Wrangler into an even more capable machine, ready for any adventure, day or night.
Understanding Jeep Wrangler Roof Light Types
When you start looking for roof lights for your Jeep Wrangler, you’ll quickly notice there are several main categories. Each type is designed for specific purposes and offers a unique combination of light spread, intensity, and mounting options.
Led Light Bars
LED light bars are arguably the most popular choice for Jeep Wrangler roof lighting. They are long, slender fixtures packed with multiple LED bulbs, offering a wide and powerful beam.
- Flood vs. Spot vs. Combo: Light bars come with different beam patterns. Flood lights spread light widely over a broad area, ideal for illuminating your immediate surroundings and campsites. Spot lights focus their beam into a narrow, long-distance cone, perfect for spotting obstacles far ahead on the trail. Combo bars feature a mix of flood and spot LEDs, providing both wide-area illumination and long-range visibility, making them the most versatile option for general off-roading.
- Size and Wattage: Light bars vary greatly in length, from 6 inches to 50 inches or more. Longer bars generally offer more LEDs and higher wattage, translating to greater brightness and range. Wattage is a key indicator of power consumption and light output, often measured in watts per LED or total system wattage.
- Mounting: Most light bars are designed to mount on the roof rack or directly to the Wrangler’s hardtop using specialized brackets. These brackets are crucial for secure mounting and proper aiming of the light.
Pod Lights (cube Lights)
Pod lights, often referred to as cube lights, are smaller, individual lighting units. They are incredibly versatile and can be mounted in various locations, including the roof.
- Versatility: Their compact size allows for flexible placement. You can mount a pair of pods on the roof corners, or even integrate them into custom bumper or fender flare setups.
- Beam Patterns: Like light bars, pod lights are available in flood, spot, and sometimes hybrid beam patterns. A common setup for roof mounting is to use two spot pods on the sides for wider peripheral vision or two flood pods for closer illumination.
- Installation: Pod lights are generally easier to install than larger light bars, often requiring simpler mounting brackets.
Driving Light Kits
These are typically kits that include one or more larger, round or rectangular lights designed for long-distance illumination.
- Purpose: Primarily used to supplement headlights on highways or high-speed off-road driving. They provide a focused beam that cuts through darkness effectively.
- Appearance: They give a classic off-road look, reminiscent of older rally cars or expedition vehicles.
- Mounting: Usually mounted on the windshield header, front bumper, or roof rack.
Considerations For Roof Mounting
Mounting lights on the roof of your Jeep Wrangler offers several advantages:
- Unobstructed View: Lights mounted high are less likely to be blocked by the vehicle’s body or other accessories.
- Wide Coverage: They provide excellent coverage for both forward vision and peripheral lighting.
- Aesthetic: They contribute to the rugged, purposeful look of a modified Jeep.
However, roof mounting also presents challenges:
- Wind Noise: Light bars and large pods can create significant wind noise at speed. Aerodynamically designed bars can help mitigate this.
- Wiring Complexity: Running wires from the roof down into the cabin and to the battery requires careful planning and execution to ensure a clean and waterproof installation.
- Weight and Vibration: Ensure your mounting system is robust enough to handle the weight and constant vibration from off-roading.
Key Features To Consider When Buying
Beyond the basic types, several technical features will determine how well a set of roof lights performs for your Jeep Wrangler. Understanding these will help you choose the best option for your specific needs.
Brightness And Lumens
Brightness is the most crucial factor. It’s typically measured in lumens, which indicate the total amount of visible light emitted by the source.
- Higher Lumens = Brighter Light: A higher lumen count means a brighter light, allowing you to see further and more clearly. For roof lights, you’ll generally want lights with thousands, or even tens of thousands, of lumens, depending on the size and number of lights.
- Beam Distance: While lumens measure total output, beam distance (often measured in meters or feet) tells you how far that light travels effectively. This is particularly important for spot beams used for high-speed driving.
- Color Temperature (Kelvin): Measured in Kelvin (K), this describes the “color” of the light.
- Cool white (6000K-6500K): This is the most common for LED off-road lights. It mimics daylight, providing excellent contrast and detail recognition.
- Warm white (3000K-4000K): Less common for primary driving lights, but can be useful for flood lights where a softer, less glaring light is desired, especially in fog or snow.
Led Technology And Chipsets
The quality of the LED chips used significantly impacts performance, efficiency, and lifespan.
- Brand Names: Reputable brands like Cree, Osram, or Philips are known for producing high-quality, efficient, and durable LEDs that offer superior brightness and longevity compared to generic, unbranded chips.
- Efficiency: Higher efficiency means more lumens per watt, translating to less power draw for the same amount of light.
- Lifespan: Quality LEDs are rated for tens of thousands of hours of use, far exceeding traditional halogen or HID bulbs.
Durability And Construction
Off-roading is tough on equipment. Your roof lights need to withstand the elements and the rigors of the trail.
- Housing Material: Look for lights with robust die-cast aluminum housings. This material is strong, lightweight, and excellent at dissipating heat generated by the LEDs. Heat management is critical for LED lifespan and performance.
- Lens Material: Polycarbonate lenses are preferred over glass. They are highly impact-resistant, virtually shatterproof, and offer good optical clarity. Glass can crack or shatter from impacts or temperature changes.
- IP Rating: This is a crucial indicator of protection against dust and water.
- IP67: Protects against dust ingress and immersion in water up to 1 meter for 30 minutes. This is a good minimum standard for off-road lights.
- IP68: Offers even greater protection, often against prolonged immersion and higher pressure.
- Look for ratings like IP67 or IP68 on both the lights and any connectors.
Power Draw And Wiring
Understanding the power requirements of your lights is essential to avoid overloading your Jeep’s electrical system.
- Amperage Draw: Lights draw a certain amount of amperage (amps). This is calculated by dividing the wattage by the system voltage (12V for most vehicles). For example, a 180W light bar might draw 15 amps (180W / 12V = 15A).
- Wiring Harness: Many high-quality light bars and kits come with a pre-wired harness that includes a relay, fuse, and switch. This simplifies installation and ensures the lights are properly protected and powered.
- Relay: A relay acts as an electronic switch. It uses a low-current signal from your dash switch to control a high-current circuit for the lights, protecting your vehicle’s wiring and switch from damage.
- Fuse: A fuse is a safety device that protects the circuit from overcurrent. It will blow and break the circuit if too much amperage flows, preventing damage to the lights or your Jeep’s electrical system.
Mounting Systems And Brackets
The mounting hardware is as important as the lights themselves.
- Custom Brackets: Many manufacturers offer Jeep-specific brackets designed to fit the Wrangler’s roof, windshield header, or A-pillars. These ensure a secure fit and proper alignment.
- Adjustability: Brackets that allow for angle adjustment are beneficial for fine-tuning the beam direction.
- Material and Finish: Look for brackets made from durable materials like powder-coated steel or aluminum to resist corrosion.
Popular Roof Light Configurations For Jeep Wranglers
The best setup for your Jeep Wrangler depends on your primary use. Here are a few common and effective configurations:
The All-around Led Light Bar
This is the go-to for many off-road enthusiasts. A single, moderately sized combo beam LED light bar mounted centrally on the roof offers a great balance of wide illumination and forward reach.
- Size: A 20-inch to 30-inch light bar is a popular choice for the JL or JK Wrangler, fitting well between the windshield pillars without being overly obtrusive.
- Beam Pattern: A combo beam provides the best of both worlds. The flood elements light up the sides of the trail and your immediate surroundings, while the spot elements pierce the darkness ahead.
- Pros: Simple, effective, provides excellent overall visibility, and offers a classic aggressive look.
- Cons: Can produce noticeable wind noise, and the central placement might create a “wall of light” effect directly in front of the Jeep, which can sometimes reduce visibility of close-up obstacles in very dark conditions.
Dual Pod Lights For Enhanced Peripheral Vision
For those who prioritize seeing what’s happening off to the sides of the trail, a setup with two LED pod lights mounted on the roof corners can be highly effective.
- Placement: Mounted on the front corners of the hardtop, often using brackets that attach to the windshield hinge area or the roof rack.
- Beam Pattern: Typically, wide flood beam pods are used in this configuration. Each pod illuminates a significant area to the side of the Jeep.
- Pros: Excellent for spotting wildlife, trail markers, or hazards off to the side. Less likely to cause a direct “wall of light” effect. Can be less noisy than a long light bar.
- Cons: Forward illumination might be less intense than a dedicated light bar. Requires two separate lights and potentially more complex wiring.
The Expedition Setup: Light Bar And Pods
For the ultimate in off-road illumination, some Jeep owners opt for a combination of a roof-mounted light bar and additional pod lights.
- Configuration: A central LED light bar (often a combo beam) for primary forward and wide illumination, supplemented by a pair of flood beam pod lights mounted on the roof corners or windshield pillars for extreme peripheral vision.
- Purpose: This setup is for serious night wheelers who need maximum visibility in all directions. It’s ideal for navigating challenging, technical terrain in complete darkness.
- Pros: Unparalleled visibility, covering nearly 360 degrees around the vehicle. Maximum light output for the darkest conditions.
- Cons: Most expensive option. Can be very noisy. Requires significant wiring effort and a robust electrical system. Potential for light pollution that can affect night vision adaptation.
Windshield Header Mounted Lights
While not strictly “roof” lights, many Jeep owners mount auxiliary lights on the windshield header (the bar above the windshield). These are often smaller light bars or pairs of pod lights.
- Benefits: They offer excellent forward throw and can be easier to wire than roof-mounted lights. They also tend to create less wind noise.
- Considerations: They can sometimes create glare on the hood or windshield, especially in wet conditions. Ensure they don’t obstruct your view of the trail.

Installation And Wiring Best Practices
Proper installation is crucial for the performance, longevity, and safety of your Jeep Wrangler’s roof lights. A poorly done installation can lead to electrical issues, water leaks, or lights failing prematurely.
Step-by-step Installation Guide (general Overview)
- Plan Your Layout: Decide where you want to mount your lights and how they will be positioned. Consider beam patterns and desired coverage.
- Mount the Brackets: Securely attach the mounting brackets to your Jeep’s roof, roof rack, or windshield header. Use the manufacturer’s instructions and ensure all bolts are tightened properly. For hardtop installations, consider using rubber washers or sealant to prevent water leaks.
- Mount the Lights: Attach the light bar or pods to the brackets. Ensure they are firmly secured.
- Run the Wiring: This is often the most challenging part.
- Through the Firewall: Most wiring harnesses need to pass from the engine bay into the cabin. Many Wranglers have a rubber grommet in the firewall designed for this purpose. Carefully drill or cut a small opening in the grommet (or use a dedicated firewall pass-through kit) to route the wires. Be meticulous to ensure a watertight seal.
- Cabin Routing: Once inside, route the wires neatly along existing harnesses or under trim panels to avoid dangling wires. Use zip ties or automotive-grade wire loom for a clean and protected installation.
- Connect to Power: The positive wire from the harness typically connects to a 12V power source (often the battery positive terminal, via a fuse and relay) and the negative wire to a ground point on the vehicle’s chassis.
- Install the Switch: Mount the control switch for your lights in a convenient location inside the cabin, such as on the dashboard or an auxiliary switch panel.
- Connect the Relay and Fuse: The wiring harness will include a relay and an inline fuse. Connect these according to the manufacturer’s instructions. The relay is typically powered by the battery (with a fuse) and controlled by the switch. The lights connect directly to the relay’s high-current terminals.
- Test the Lights: Turn on your Jeep and test the lights. Check that they