The Jeep Wrangler is an icon. For decades, it has been the go-to vehicle for off-roading adventures, weekend getaways, and everyday driving for those who crave a bit more ruggedness.
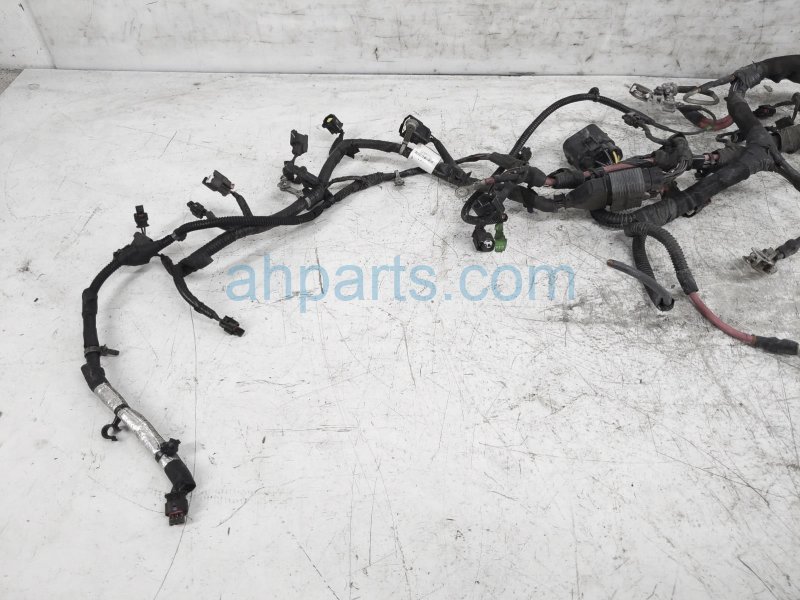
Underneath its classic exterior, however, lies a complex network of electrical components, and at the heart of this system is the wiring harness. This intricate web of wires, connectors, and conduits is responsible for transmitting power and signals throughout your Jeep, from the headlights to the engine control unit.
Over time, especially in a vehicle designed for harsh environments, the wiring harness can degrade, corrode, or suffer damage. This can lead to a frustrating array of electrical issues, from flickering dashboard lights to complete system failures.
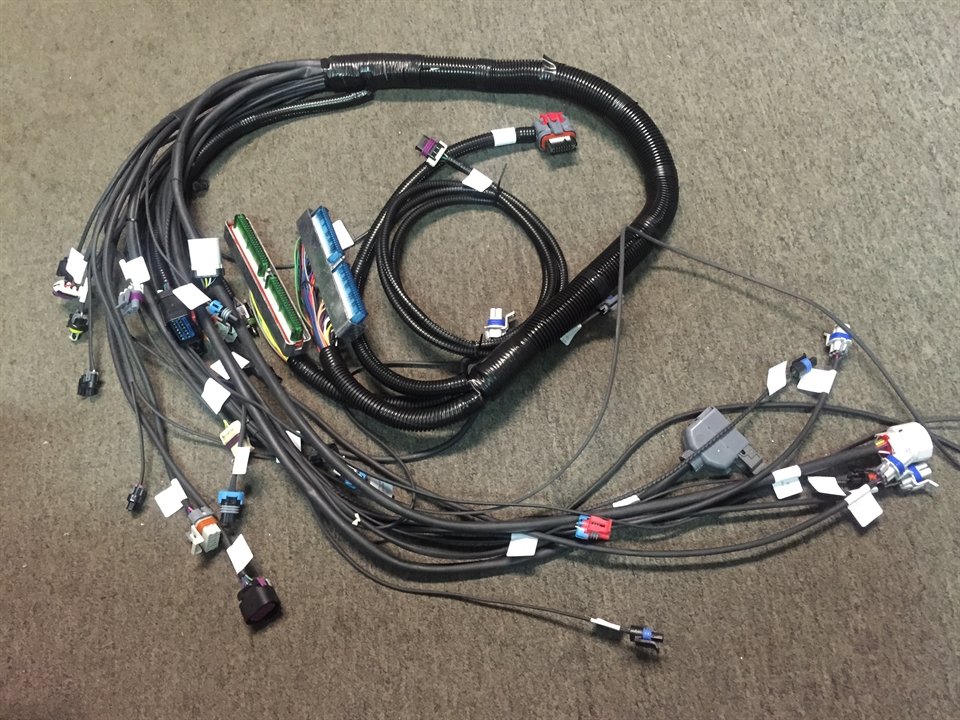
Replacing a Jeep Wrangler wiring harness might seem like a daunting task, but understanding the process, the common problems, and the benefits can make it much more manageable.
This guide will walk you through everything you need to know to tackle a Jeep Wrangler wiring harness replacement, ensuring your beloved Jeep stays powered up and ready for any adventure.
Why Your Jeep Wrangler Might Need A New Wiring Harness
A wiring harness is essentially the nervous system of your vehicle. It carries electrical signals and power to every component. When this system is compromised, the effects can be widespread and difficult to diagnose. Several factors can lead to the need for a replacement.
One of the most common culprits is age and wear. Jeep Wranglers are often used in demanding conditions. Exposure to water, mud, salt, extreme temperatures, and constant vibration can cause insulation to crack, wires to fray, and connectors to corrode. This is particularly true for older models where materials might not have been as robust as they are today. A harness that has been subjected to off-roading abuse, for instance, is more likely to develop issues.
Physical damage is another significant factor. While driving off-road, branches, rocks, or even debris kicked up by other vehicles can snag and tear at exposed wiring. Accidental damage during other maintenance or repairs can also occur. A technician might inadvertently pinch a wire, cut into insulation, or improperly reconnect a plug, leading to future problems.
Corrosion is a silent killer of electrical systems. Moisture, especially in coastal areas or regions where roads are treated with salt during winter, can seep into connectors and splice points. This leads to a buildup of corrosion, which increases resistance and impedes the flow of electricity. In severe cases, corrosion can completely break the connection or even cause short circuits.
Finally, faulty repairs or modifications can also necessitate a harness replacement. If previous electrical work was done incorrectly, using the wrong gauge wire, poor soldering techniques, or inadequate insulation, it can create weak points in the system. Similarly, adding aftermarket accessories without proper integration can overload or damage the existing harness.
Common Signs Of A Failing Wiring Harness
Diagnosing electrical problems in any vehicle can be tricky, but a failing wiring harness often presents with a specific set of symptoms. Recognizing these signs early can save you from more extensive damage and costly repairs down the line.
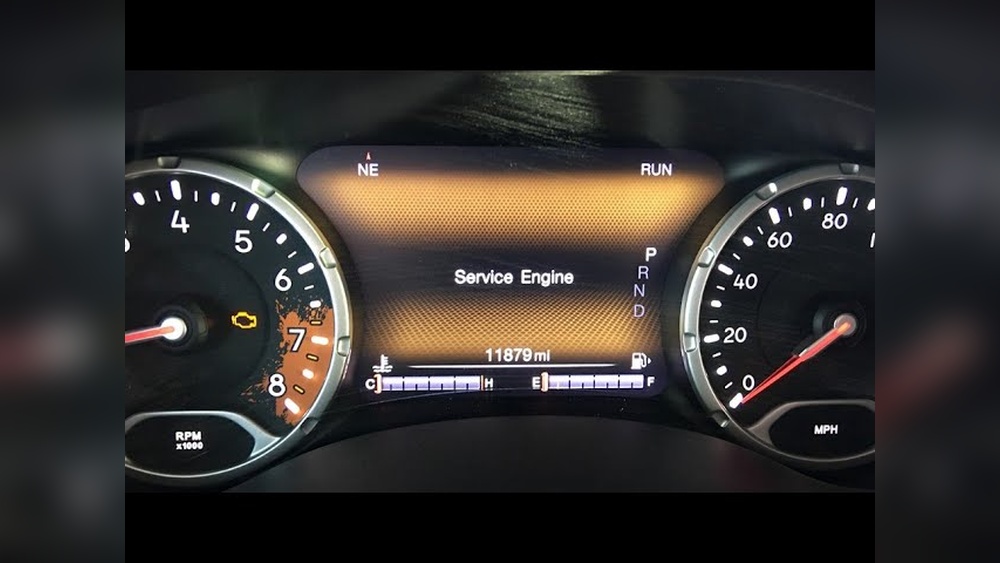
One of the most noticeable indicators is intermittent electrical issues. This means that a component might work sometimes and not others. For example, your headlights might flicker, your power windows might work only occasionally, or your dashboard warning lights might come on and off randomly. These are classic signs that a connection is loose, corroded, or a wire is breaking internally.
Complete failure of electrical components is another strong indicator. If a specific system, like your entire lighting system, your gauges, or your fuel pump, suddenly stops working, the wiring harness is a prime suspect. This is especially true if multiple unrelated components start failing around the same time.
Strange noises from the dashboard or under the hood can also be a sign. Sometimes, a failing harness can cause arcing or short circuits, which might produce popping sounds or even a burning smell. A burning smell is a serious warning sign and should be investigated immediately, as it could indicate a wire overheating and potentially starting a fire.
Trouble starting the engine or the engine running poorly can also be linked to the wiring harness. The harness carries vital signals to the engine control module (ECM), fuel injectors, and ignition system. A damaged harness can disrupt these signals, leading to misfires, stalling, or a no-start condition.
Finally, blown fuses that repeatedly blow without an obvious cause point to a short circuit within the wiring harness. While a fuse is designed to protect the system, a recurring blown fuse indicates an underlying problem that needs to be addressed.
Understanding Different Jeep Wrangler Wiring Harnesses
Jeep Wranglers, depending on their generation and specific model, utilize several distinct wiring harnesses. Knowing which one you need is crucial for a successful replacement.
The engine wiring harness, also known as the engine control harness or ECM harness, is responsible for all the electrical connections related to the engine. This includes sensors (like the oxygen sensor, crankshaft position sensor, and throttle position sensor), fuel injectors, ignition coils, and the ECM itself. Issues here can directly impact engine performance, fuel efficiency, and emissions.
The chassis wiring harness is a broader category that covers most of the vehicle’s electrical systems outside the engine bay. This includes headlights, taillights, turn signals, brake lights, power windows, power locks, interior lights, and the instrument cluster. This harness often runs throughout the firewall, under the dashboard, and along the frame rails.
Some Wranglers may also have a dashboard wiring harness that specifically manages the components within the dashboard, such as the instrument cluster, radio, climate controls, and various switches.
For models equipped with trailer towing packages, there will be a separate trailer wiring harness that connects the vehicle’s lighting and braking systems to the trailer’s electrical system.
It’s also important to consider that aftermarket modifications can introduce custom wiring. If you have added auxiliary lights, a winch, a stereo system, or other accessories, these may have their own wiring that is separate from, or integrated into, the factory harness. When replacing a harness, you need to account for any aftermarket wiring that might be attached or routed through the same areas.
The Replacement Process: A Step-by-step Guide
Replacing a Jeep Wrangler wiring harness is a moderately complex DIY project. It requires patience, organization, and a good understanding of your vehicle's electrical system.
While professional installation is an option, many owners choose to tackle this themselves to save on labor costs.
Step 1: Preparation and Safety
Before you begin, ensure you have the correct replacement wiring harness for your specific Jeep Wrangler year, model, and trim level. Generic harnesses are rarely a direct fit. Disconnect the negative battery terminal to prevent short circuits and electrical shocks. Wear safety glasses and gloves.
Step 2: Documentation and Organization
This is perhaps the most critical step. Before removing anything, take detailed photos of the existing harness, paying close attention to how wires are routed, where connectors plug in, and how they are secured. Label wires and connectors with masking tape and a marker as you disconnect them. A factory service manual or a good quality repair manual for your specific Wrangler model is invaluable here.
Step 3: Accessing the Harness
Depending on which harness you are replacing, you will need to remove various components to gain access. This might include disconnecting the battery, removing the dashboard panels, taking out the seats, dropping the fuel tank, or even removing body panels.
Work methodically and keep track of all removed fasteners, storing them in labeled containers.
Step 4: Disconnecting the Old Harness
Carefully disconnect each plug and connector from its respective component. Some connectors have locking tabs that need to be pressed or lifted.
Be gentle; forcing a connector can break it. Trace the harness and disconnect any mounting points or zip ties securing it to the chassis or body.
Step 5: Routing the New Harness
Lay out the new harness and compare it to the old one, ensuring it matches in length and connector locations. Begin routing the new harness, following the path of the old one as closely as possible. Use the factory mounting points and any included clips or fasteners to secure the new harness. Avoid routes where the harness could be pinched, chafed, or exposed to excessive heat or moving parts.
Step 6: Connecting the New Harness
Once the new harness is routed and secured, begin plugging in the connectors. Refer to your photos and labels to ensure each connector goes to the correct component. Listen for the characteristic ‘click’ of the locking tab engaging.
Step 7: Reassembly and Testing
Reinstall all the components you removed in reverse order. Double-check all connections and ensure no wires are left loose or pinched. Reconnect the negative battery terminal. Turn the ignition key to the ‘ON’ position without starting the engine and check if all dashboard lights illuminate as expected. Then, start the engine and test all electrical functions: lights, wipers, horn, windows, locks, radio, etc.
Pro Tip: If you encounter a connector that is difficult to remove or appears corroded, a small amount of electrical contact cleaner can help. Apply it sparingly and allow it to work for a few minutes before attempting to disconnect.
Tools And Materials You’ll Need
Having the right tools and materials on hand can make the wiring harness replacement process much smoother and more efficient. Attempting the job without the proper equipment can lead to frustration and potential damage.
Essential Tools:
- Socket Set and Wrenches: For removing various components, brackets, and fasteners.
- Screwdriver Set: Including Phillips head and flathead screwdrivers in various sizes.
- Pliers: Needle-nose pliers are particularly useful for manipulating connectors and wires.
- Wire Strippers and Crimpers: For any necessary modifications or repairs, though ideally, a direct replacement harness requires minimal wire manipulation.
- Multimeter: Essential for testing continuity, voltage, and resistance if you need to diagnose issues before replacement or verify connections afterward.
- Trim Removal Tools: Plastic trim removal tools are crucial for safely removing interior panels without scratching or breaking them.
- Electrical Tape: High-quality electrical tape for securing wires and insulating connections if needed.
- Zip Ties: For securing the new harness in place, ideally using factory mounting points.
- Flashlight or Headlamp: Essential for working in dimly lit areas under the dashboard or engine bay.
- Safety Glasses and Gloves: For personal protection.
Essential Materials:
- Correct Replacement Wiring Harness: This is paramount. Ensure it is specific to your Jeep Wrangler’s year, model, and any specific options (like ABS, cruise control, etc. ).
- Electrical Contact Cleaner: For cleaning corroded connectors.
- Dielectric Grease: Applied to connectors after mating to prevent moisture and corrosion.
- Masking Tape and Marker: For labeling wires and connectors during disassembly.
- Shop Rags or Paper Towels: For cleaning up spills and protecting surfaces.
- Container System: Small bins, baggies, or magnetic trays to keep track of removed screws and small parts.
Optional but Recommended:
- Factory Service Manual (FSM) or Repair Manual: Provides detailed diagrams, procedures, and specifications for your specific Jeep model.
- Digital Camera or Smartphone: For taking detailed photos of the existing setup.
Common Pitfalls And How To Avoid Them
Even with careful planning, DIY automotive repairs can sometimes lead to unexpected problems. Being aware of common pitfalls when replacing a Jeep Wrangler wiring harness can help you sidestep them.
One of the most frequent mistakes is using the wrong replacement harness. Vehicles, especially over multiple model years, can have subtle differences in their wiring. A harness for a 2005 Wrangler might not be identical to one for a 2010 model, even if they look similar. Always verify the part number and compatibility with your Jeep’s VIN if possible.
Poor labeling and documentation during disassembly is another major source of frustration. Without clear labels and photos, reassembling the electrical system correctly becomes a guessing game. This can lead to components not working, warning lights staying on, or even causing damage to electrical modules. Take your time with this step; it’s better to over-document than under-document.
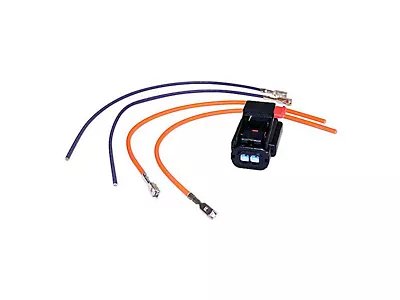
Forcing connectors is a common error that can lead to broken plastic tabs, damaged pins, or even cracked housings. Most automotive connectors are designed to only fit one way and have a locking mechanism. If a connector isn’t going in easily, stop and double-check that you have the correct connector for the correct port and that it’s oriented properly.
Improper routing of the new harness can create future problems. If the harness is left to rub against sharp edges, moving parts (like the driveshaft or suspension components), or is exposed to excessive heat, it can quickly become damaged again. Always secure the harness properly and ensure it follows the original path, avoiding any potential snagging or abrasion points.
Not reconnecting grounds properly is a subtle but critical mistake. The wiring harness relies on good ground connections to complete electrical circuits. If ground points are corroded, loose, or forgotten during reassembly, many electrical components may not function correctly, or at all. Ensure all ground straps and wires are clean, secure, and properly attached.
Skipping the post-replacement testing can lead to discovering issues only after everything has been put back together, requiring further disassembly. Always perform thorough testing of all electrical systems before considering the job complete.
Warning: If you are not comfortable working with vehicle electrical systems, or if you encounter a problem you cannot identify, it is always best to consult a qualified mechanic. Incorrect electrical work can be dangerous and costly to repair.
When To Call A Professional
While many Jeep Wrangler owners enjoy the challenge and cost savings of DIY repairs, there are situations where calling a professional mechanic is the wisest course of action. The complexity of modern vehicle wiring, combined with the potential for serious electrical issues, means that sometimes, expert help is needed.
One primary reason to seek professional assistance is lack of experience or confidence. If you’ve never worked on automotive electrical systems before, or if the task feels overwhelming, attempting a complex job like a wiring harness replacement could lead to mistakes that are more costly than professional labor. A professional mechanic has the training, experience, and specialized tools to perform the job correctly the first time.
Complex electrical diagnostics can also be a signal to call in the pros. If you’re not entirely sure that the wiring harness is the root cause of your problems, or if the symptoms are intermittent and hard to pin down, a mechanic can use advanced diagnostic equipment to accurately identify the issue. Sometimes, the problem might lie with a faulty module, sensor, or a different component altogether.
Time constraints are another factor. If you need your Jeep back on the road quickly and don’t have the time to dedicate to a potentially lengthy repair process, professional installation is the faster route. Mechanics can often source parts and complete the job much faster than a DIYer.
Specialized Tools and Equipment may be required for certain diagnostics or repairs that go beyond basic hand tools. Professional shops have access to factory-specific diagnostic software, advanced multimeters, oscilloscopes, and other specialized equipment