Jeep Wrangler Seat Cover Installation Made Easy: A Step-by-step Guide
Your Jeep Wrangler is more than just a vehicle; it's a statement. It’s built for adventure, for trails, for open roads where the sky is the limit.
But with great adventure comes great wear and tear. Mud, sand, spills, and the relentless sun can take a toll on your original seats.
That’s where Jeep Wrangler seat covers come in. They protect your investment, enhance your interior’s look, and can even add comfort.
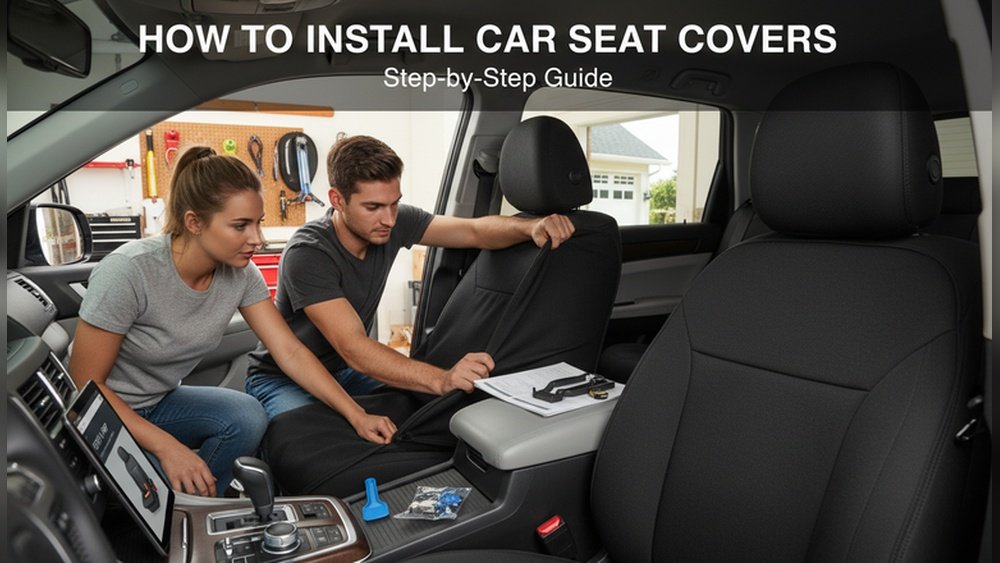
However, the thought of installing them might seem daunting. Many owners worry about a sloppy fit or a complicated process.
This guide is here to change that. We'll break down the installation of Jeep Wrangler seat covers into simple, manageable steps, ensuring a professional look without the professional price tag.
Whether you own a JK, JL, TJ, or an older model, the principles of installing seat covers are largely the same. We’ll cover everything from preparing your seats to the final adjustments, ensuring you achieve a snug, factory-like fit.
This guide is designed for everyone, from the seasoned off-roader to the weekend warrior, making the process clear and straightforward.
Understanding Your Jeep Wrangler Seat Covers
Before you even think about pulling out tools, it’s crucial to understand the type of seat covers you have and what makes a quality cover. The market offers a variety of materials, each with its own pros and cons.
Knowing these differences will not only help you choose the right covers but also inform the installation process.
Material Matters: Choosing The Right Fabric
The material of your seat covers plays a significant role in their durability, comfort, and ease of installation.
- Neoprene: This is a popular choice for Jeep owners. It’s known for its water resistance, excellent grip, and comfort. Neoprene covers are often form-fitting and can be a bit stretchy, which aids in installation. They are great for protecting against spills and moisture, making them ideal for off-road enthusiasts.
- Ballistic Nylon/Cordura: These are heavy-duty, rugged fabrics. They offer superior protection against tears, abrasions, and UV damage. Ballistic nylon covers are incredibly durable but can be stiffer, sometimes requiring more effort to get a perfectly snug fit.
- Leather/Faux Leather: These offer a premium look and feel. Leather is breathable and develops a patina over time. Faux leather (vinyl) is more budget-friendly and easier to clean. Both can be less forgiving during installation due to their less elastic nature.
- Tweed/Polyester Blends: These offer a good balance of comfort, durability, and affordability. They are breathable and can provide a softer feel than some of the more industrial materials. Installation is generally straightforward.
Fitment: Custom Vs. Universal
For Jeep Wranglers, custom-fit seat covers are almost always the way to go. These are designed specifically for your Jeep model and year, accounting for the unique shape of your seats, including any side airbags or specific seat adjustments. Universal covers, while cheaper, rarely fit a Wrangler’s sculpted seats well and can look baggy or shift during use, compromising both aesthetics and safety. Always ensure you purchase covers specifically designed for your Wrangler generation (JK, JL, TJ, YJ, etc.).
Key Features To Look For
Beyond material and fit, consider these features:
- Headrest Covers: Most good seat covers include separate covers for your headrests.
- Armrest Covers: If your Wrangler has a center console armrest, check if a cover is included.
- Seat Airbag Compatibility: If your seats have side airbags, ensure your seat covers are designed to deploy safely with them. Look for covers with specific airbag-compatible stitching.
- Easy Cleaning: Consider how easy the material is to clean. Some can be wiped down, while others may require removal for washing.
Preparing For Installation: Setting Yourself Up For Success
Proper preparation is key to a smooth installation. Rushing this stage can lead to frustration and a less-than-perfect finish.
This phase involves gathering your tools, cleaning your seats, and understanding the specific design of your seat covers.
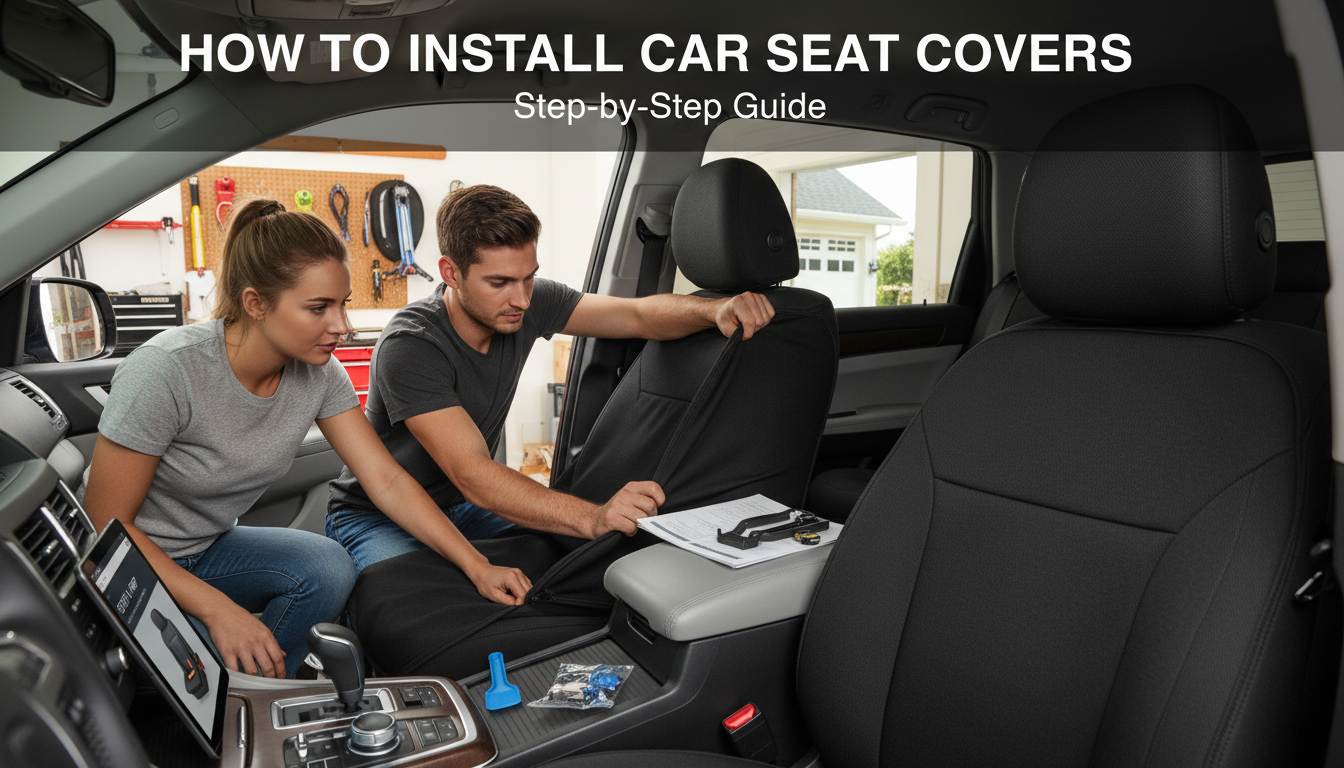
Gather Your Tools And Supplies
You won’t need a complex toolbox for this job. Most seat cover installations require very few tools.
- Screwdriver Set (Phillips and Flathead): You might need these to remove certain trim pieces or access bolts.
- Pliers (Needle-nose can be helpful): Useful for tucking fabric or manipulating straps.
- Trim Removal Tools: Plastic trim removal tools are excellent for prying off plastic panels without scratching your interior.
- Socket Set/Wrench: For removing seat bolts if necessary (though often not required).
- Vacuum Cleaner: Essential for cleaning your seats and the surrounding area.
- Mild Cleaning Solution and Cloths: To clean your original seats before installation.
- A Helper (Optional but Recommended): Having a second person can make holding fabric and pulling covers taut much easier, especially for the rear seats.
Clean Your Jeep Seats Thoroughly
This is a critical step that many people overlook. Installing new seat covers over dirty seats is like putting a new coat of paint over a dirty wall, it won’t look as good and can trap odors and grime.
- Vacuum: Start by thoroughly vacuuming your seats. Get into all the crevices, seams, and under the seats. Remove any loose dirt, crumbs, or debris.
- Spot Clean: Address any stains. Use a mild upholstery cleaner or a mixture of water and a small amount of gentle detergent. Test the cleaner on an inconspicuous area first. Blot the stains rather than rubbing aggressively, which can spread the stain or damage the fabric.
- Deep Clean (If Necessary): For heavily soiled seats, consider a more thorough cleaning. You can use a dedicated automotive upholstery cleaner or even rent a small carpet/upholstery cleaner. Ensure the seats are completely dry before proceeding. Moisture trapped under new seat covers can lead to mold or mildew.
- Wipe Down: Use a damp cloth to wipe down all surfaces, including plastic trim around the seats. A clean slate makes for a much better final product.
Familiarize Yourself With Your Seat Covers
Before you start pulling and stretching, lay out your new seat covers. Identify which cover belongs to which seat (driver's side, passenger's side, front, rear).
Note the differences in shape, the placement of openings for headrests, seat belts, and any console or armrest covers.
Most high-quality covers are labeled or color-coded to help with this. Understanding how the covers are designed to attach, typically with straps, buckles, Velcro, or a combination, will save you time and confusion during installation.
Step-by-step Installation Guide
Now, let’s get to the core of the process. We’ll break this down by seat type, starting with the front seats, which are generally more straightforward.
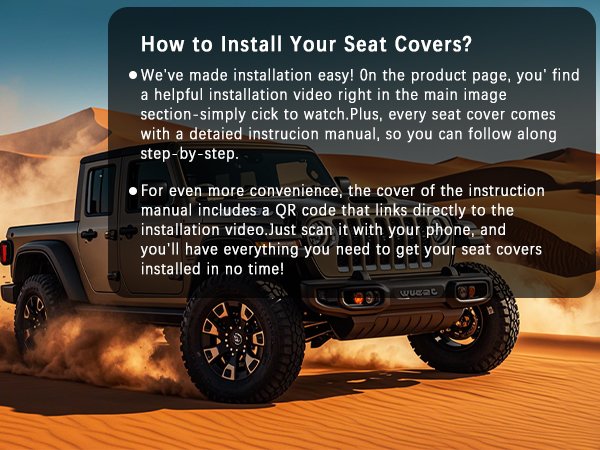
Front Seat Installation
Most Jeep Wranglers have two distinct front seats. The installation process for both is usually identical, with minor differences for driver versus passenger side controls.
Step 1: Remove Headrests
This is almost always the first physical step. Locate the small release buttons or levers on the seat headrest posts.
Press these while simultaneously pulling the headrest straight up and out of its mounts. If the headrest is stuck, a gentle wiggle might help.
Set the headrests aside.
Step 2: Install The Seat Bottom Cover
This can sometimes be the trickiest part.
- Orient the Cover: Identify the correct seat bottom cover for the side you are working on. Look for any cutouts for seat adjustment levers or seat belt anchors.
- Slide Over: Carefully slide the cover over the seat bottom cushion. Start from the front and work your way back. Try to keep the fabric centered and aligned with the seat.
- Pull Taut: Once the cover is mostly in place, begin to pull it snugly towards the back and sides of the seat. The goal is a wrinkle-free fit.
- Secure Underneath: Most seat covers have straps, buckles, or Velcro tabs that run underneath the seat. Reach underneath and locate the attachment points. These often hook onto seat springs, rails, or other sturdy components. Pull the straps firmly and fasten them. This step is crucial for a tight fit. Don’t be afraid to pull hard on the straps, this is what prevents the cover from shifting.
- Tuck and Smooth: Once secured, go around the edges of the seat bottom and tuck any excess fabric into the seams. Smooth out any remaining wrinkles.
Step 3: Install The Seat Back Cover
This is often easier than the seat bottom.
- Orient the Cover: Identify the correct seat back cover. Look for openings for the seat belt buckle receiver and any side pockets.
- Slide Over: Carefully slide the cover down over the seat back. Start from the top and work your way down. Ensure it aligns with the sides and doesn’t twist.
- Seat Belt Access: Pay attention to the seat belt openings. You may need to carefully guide the cover around the buckle mechanism. Some covers have integrated flaps or Velcro closures for this.
- Secure the Back: Most seat back covers secure at the rear. This usually involves straps that go around the base of the seat back, connecting to buckles or Velcro on the front side of the cover. Pull these straps tight to cinch the cover down.
- Headrest Post Access: Ensure the cover is properly aligned around the headrest posts. Some covers have Velcro openings or elastic bands for a snug fit here.
- Smooth and Adjust: Smooth out any wrinkles on the seat back and ensure all seams are aligned.
Step 4: Install The Headrest Covers
- Slide On: Take the corresponding headrest cover and slide it over the headrest.
- Secure: Many headrest covers have Velcro or elastic closures at the bottom to keep them in place. Ensure they are snug and don’t slide down.
Step 5: Final Adjustments And Checks
- Test Adjustments: Sit in the seat and operate all adjustment levers (forward/back, recline). Ensure the cover doesn’t impede their movement.
- Check for Snugness: Feel around the edges of the seat. The cover should be taut and show no signs of sagging.
- Airbag Check: If your seats have side airbags, ensure the cover is not bunched up near the airbag seam. The stitching should be intact and allow for deployment.
Repeat these steps for the other front seat.
Rear Seat Installation
Rear seat installation can vary significantly depending on whether you have a standard bench, 60/40 split, or folding seats. The principles remain the same: cover, secure, and adjust.
For Standard Bench Rear Seats
- Remove Headrests: If your rear seats have headrests, remove them following the same procedure as the front.
- Install Seat Bottom Cover: This is often the most challenging part of rear seat installation.
- Orient: Identify the rear seat bottom cover.
- Slide Over: Carefully feed the cover over the seat cushion. For bench seats, you’ll typically slide it over the entire cushion.
- Secure Underneath: This is critical. Most bench seat covers have straps that need to be fed through the gap between the seat back and bottom, then secured underneath. Sometimes, you might need to unbolt the seat bottom slightly to get better access for securing straps to the frame. Pull these straps very tight.
- Tuck and Smooth: Tuck the fabric around the edges and smooth out wrinkles.
- Install Seat Back Cover(s):
- Orient: If you have a solid bench back, it’s similar to the front. If it’s a 60/40 split, you’ll have separate covers for each section.
- Slide Over: Slide the cover(s) down over the seat back(s). Ensure seat belt slots align correctly.
- Secure: Straps usually attach at the bottom rear of the seat back, similar to the front. Cinch them tight.
- Headrests: Install headrest covers if applicable.
- Check Functionality: Ensure seat belts are accessible and function correctly. Test any folding mechanisms.
For 60/40 Split Rear Seats
The process is similar to a standard bench, but you’ll work with two separate seat bottom covers and two separate seat back covers.
- Headrests: Remove all rear headrests.
- Seat Bottoms: Install the two individual seat bottom covers, securing them tightly underneath. Pay attention to which side is the 60% and which is the 40%.
- Seat Backs: Install the two individual seat back covers. Ensure the seat belt buckles and slots are correctly positioned for each section. Secure the covers using the provided straps.
- Headrest Covers: Install the headrest covers.
- Functionality Test: Ensure both sections of the seat fold and lock as intended. Check that all seat belts are easily accessible.
Non-obvious Tips For A Professional Fit
- Use Heat (Carefully): For stubborn wrinkles or to help neoprene covers stretch slightly, a hairdryer on a low-heat setting can sometimes help. Warning: Use extreme caution and keep the dryer moving to avoid melting or damaging the fabric. This is best used for minor adjustments after the cover is mostly secured.
- Leverage Seat Bolts: If your seats are difficult to secure underneath, sometimes loosening the main seat mounting bolts slightly can give you just enough wiggle room to get straps in place. Remember to re-tighten these bolts securely afterwards. This is an advanced tip and requires caution.
- Zip Ties (Use Sparingly): In some very specific instances, if a strap isn’t quite reaching or holding firmly, a heavy-duty zip tie can be used to secure it to a sturdy metal frame component. This should be a last resort, as it makes removal more difficult.
- Patience with Velcro: If your covers use Velcro, ensure the surfaces are clean and making firm contact. Sometimes, you might need to reposition the Velcro strips for the best hold.
Maintaining Your New Seat Covers
Once your seat covers are installed, a little care will keep them looking great and protect your original seats for years to come.
Cleaning And Care
- Regular Vacuuming: Just like your original seats, vacuuming regularly will prevent dirt and debris from becoming embedded in the fabric.
- Spot Cleaning: Address spills immediately. For most materials like neoprene or polyester, a damp cloth and mild soap are sufficient. For tougher stains, consult the manufacturer’s cleaning instructions.
- Washing (If Removable): If your covers are designed to be removed and washed, follow the manufacturer’s guidelines.