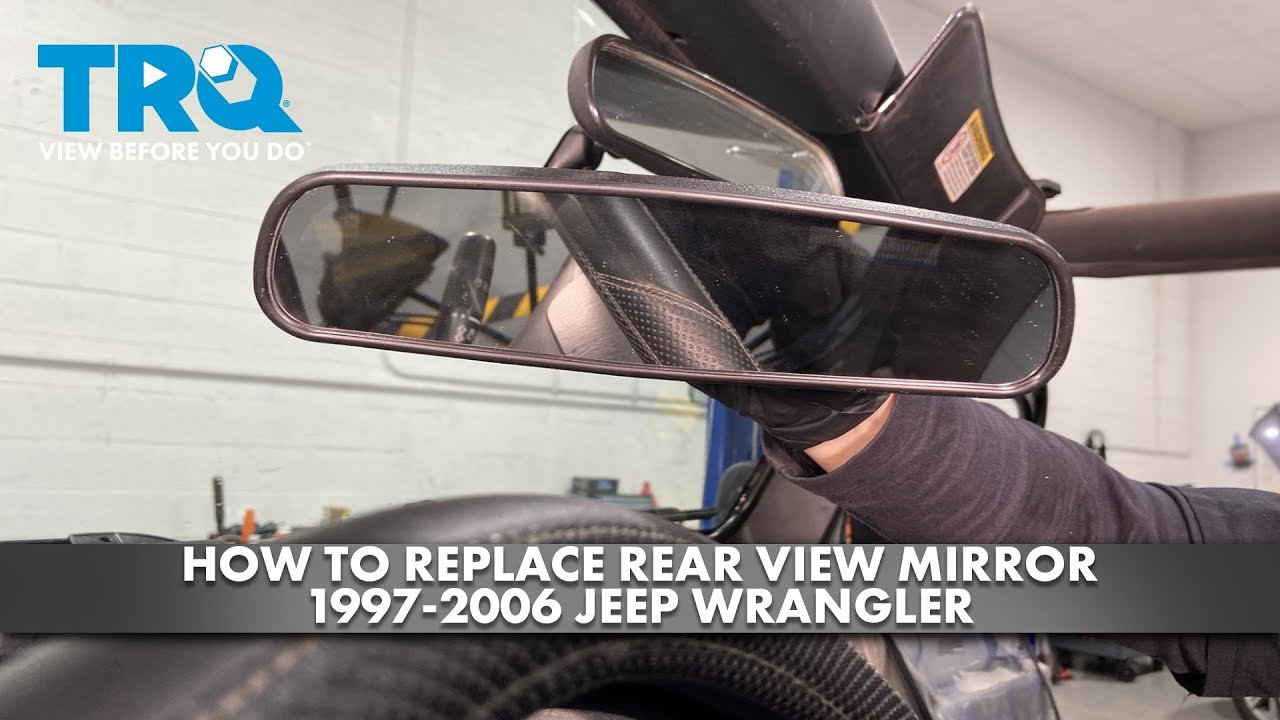
Replacing the rear view mirror on your Jeep Wrangler may seem simple, but it’s a task that demands attention to detail. Whether your mirror is cracked, loose, or just outdated, swapping it out can restore safety and improve your driving experience.
This guide walks you through every step, explains what tools you need, and highlights common mistakes. By the end, you’ll know exactly how to tackle Jeep Wrangler rear view mirror replacement—even if you’ve never worked on cars before.
Why Replace Your Jeep Wrangler Rear View Mirror?
Your rear view mirror is a key safety feature. It helps you spot vehicles behind you, check blind spots, and reverse safely. If the mirror is damaged or loose, it can compromise your ability to drive safely. Here are some reasons drivers replace their mirrors:
- Cracks or chips: These distort your view and can distract you while driving.
- Loose or falling off: A mirror that won’t stay in place is annoying and unsafe.
- Upgrading: Newer mirrors may offer better visibility or features like auto-dimming.
- State inspection failure: Some states require a fully functional mirror for inspection.
A small investment in a new mirror can prevent accidents and ensure your Wrangler stays road-legal.
Types Of Jeep Wrangler Rear View Mirrors
Choosing the right mirror is important. There are several options available, each with its own advantages.
| Mirror Type | Features | Average Price (USD) |
|---|---|---|
| Standard Manual | Basic adjustment, no electronics | $20–$50 |
| Auto-Dimming | Reduces glare, sensor-based | $80–$200 |
| Integrated Compass/Temp | Displays direction, temperature | $100–$250 |
| Aftermarket Wide-Angle | Improved field of view | $30–$70 |
Auto-dimming mirrors are popular for night driving, while wide-angle options help reduce blind spots. Most Jeep Wrangler owners choose manual mirrors for simplicity and cost, but upgrading is easy if you prefer extra features.
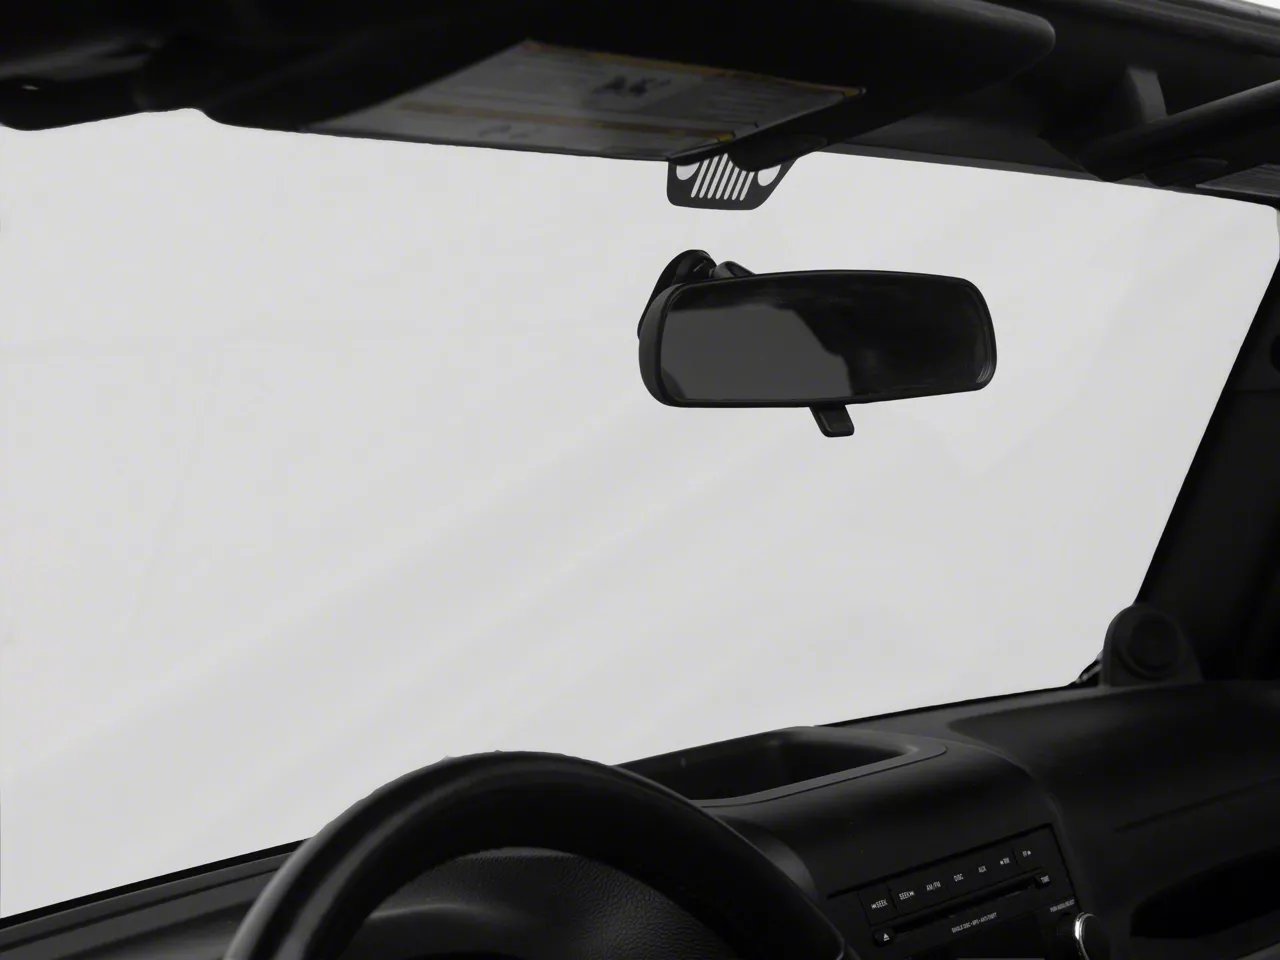
Tools And Materials Needed
Before you begin, gather these tools and materials. Having everything ready saves time and prevents frustration.
- Replacement rear view mirror (make sure it fits your Wrangler model)
- Torx screwdriver or Phillips screwdriver (depends on mirror type)
- Glass cleaner
- Rubbing alcohol
- Adhesive kit (for glue-on mirrors)
- Trim removal tool (optional, for easier access)
- Gloves (to protect hands)
- Microfiber cloth
One insight many beginners miss: Jeep mirrors can attach in different ways—either by screw, clip, or adhesive. Always check your Wrangler’s year and model before buying a new mirror or tools.
Step-by-step Guide To Removing The Old Mirror
The removal process depends on the mounting style. Here’s a detailed approach for each type:
Screw-mounted Mirrors
- Locate the screws: Most Jeep Wranglers have the mirror attached with screws at the base or behind a trim cover.
- Remove the cover: If there’s a plastic cover, gently pry it off with a trim tool.
- Unscrew the mirror: Use the Torx or Phillips screwdriver to loosen the screws.
- Lift the mirror off: Carefully pull the mirror away from the windshield or mount.
Adhesive-mounted Mirrors
- Loosen the mirror: Gently wiggle the mirror to break the bond.
- Remove adhesive residue: Use rubbing alcohol and a cloth to clean the glass. Be careful not to scratch the windshield.
Clip-mounted Mirrors
- Press the release tab: Some mirrors have a tab or spring that holds them in place. Push gently to release.
- Slide the mirror off: Pull the mirror away from its mount.
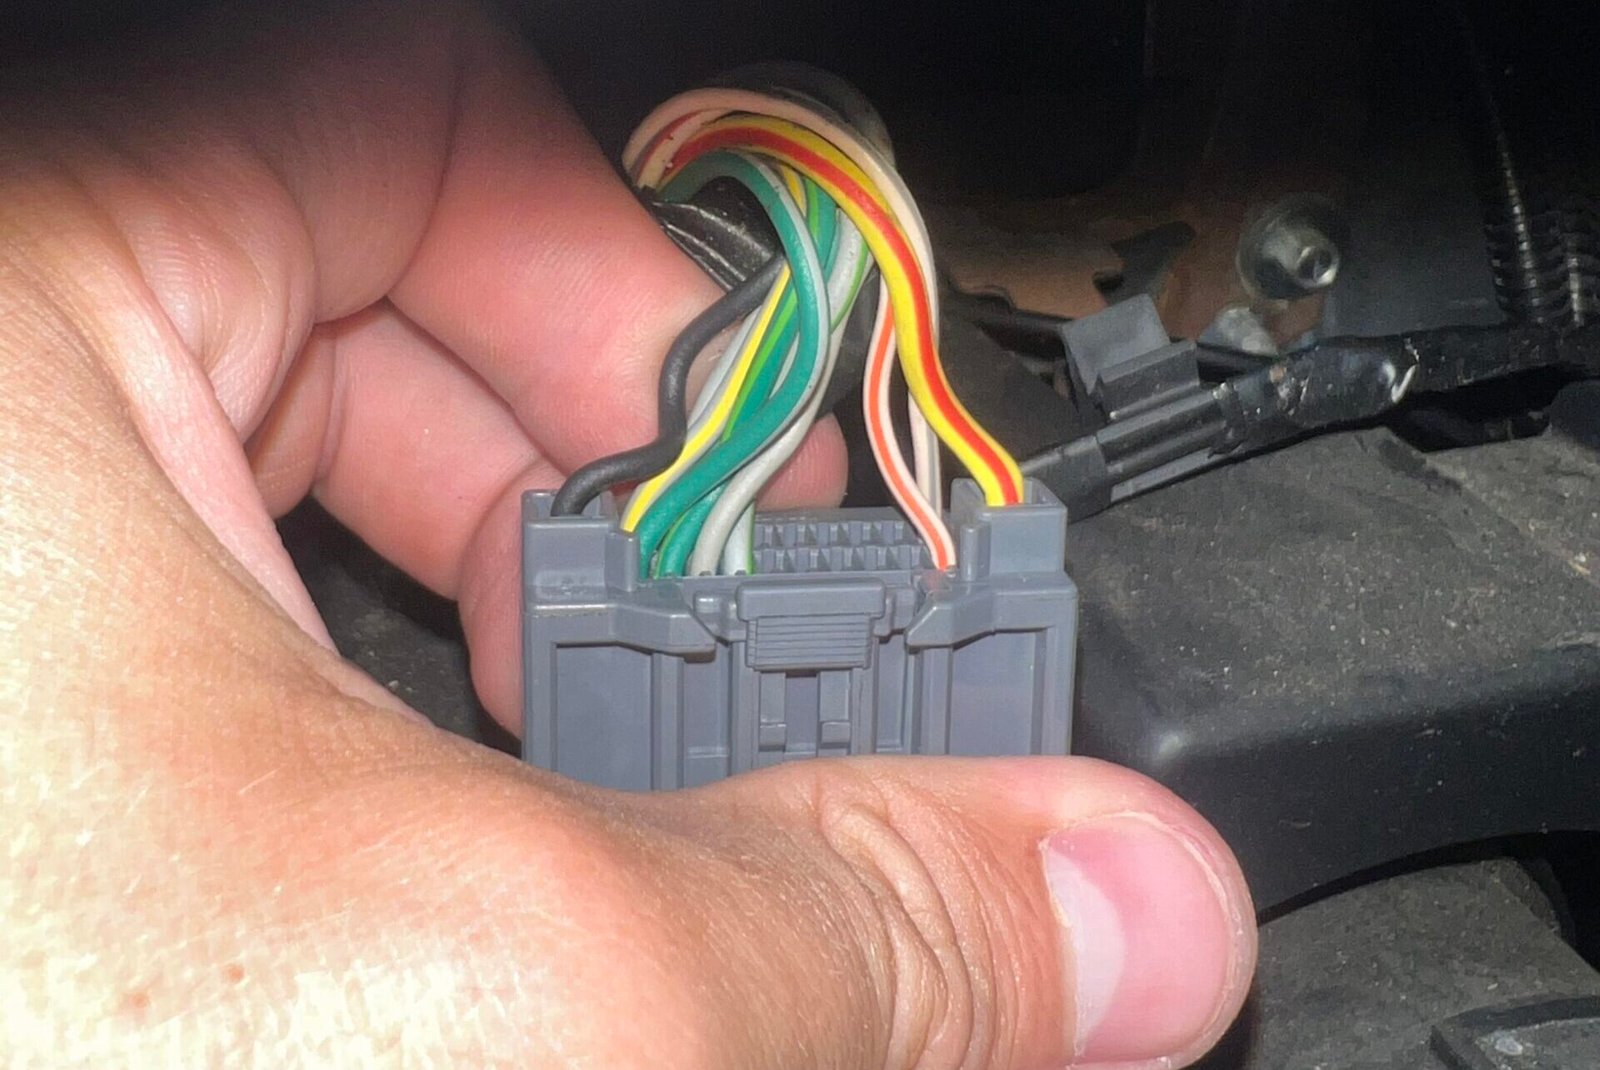
Many Jeep models use screw mounts, but check your owner’s manual to confirm. If your mirror has wires (for auto-dimming or compass), disconnect them carefully.
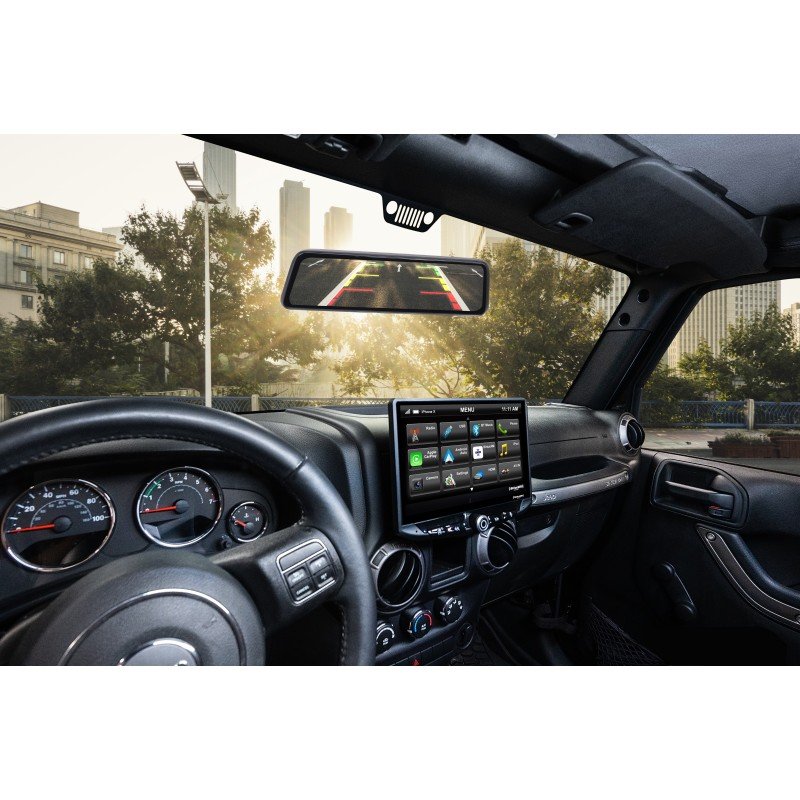
Installing The New Rear View Mirror
Once the old mirror is off, installation is straightforward but must be done accurately.
Screw-mounted Installation
- Align the new mirror: Position it on the mount, making sure holes line up.
- Insert screws: Tighten screws until the mirror is secure, but don’t over-tighten (this can crack plastic).
- Re-attach cover: Snap the trim cover back into place.
Adhesive-mounted Installation
- Clean the glass: Wipe the windshield area with glass cleaner and rubbing alcohol. Let it dry fully.
- Apply adhesive: Follow instructions from the adhesive kit—usually a two-step process.
- Position the mirror: Press the mirror base to the glass. Hold for at least 1 minute.
- Let adhesive cure: Wait the recommended time (often 24 hours) before driving.
Clip-mounted Installation
- Slide the mirror onto the mount: Align and push until it clicks into place.
- Check stability: Make sure the mirror doesn’t wobble.
| Mount Type | Installation Difficulty | Time Required |
|---|---|---|
| Screw | Easy | 10–20 minutes |
| Adhesive | Medium | 20–40 minutes (plus curing time) |
| Clip | Easy | 10–15 minutes |
If your new mirror has electrical features, connect the wiring as described in its manual. Always test the mirror before finishing.
Adjusting The Mirror For Maximum Safety
After installation, proper adjustment is key. A poorly positioned mirror reduces visibility and increases risk.
- Sit in the driver’s seat: Your head should be where it usually rests while driving.
- Adjust horizontally: Move the mirror so you see the entire rear window, not just part.
- Adjust vertically: Tilt the mirror so the horizon line is centered.
- Test range: Check if you can spot vehicles in all lanes behind you.
A common mistake: setting the mirror to see too much of the car’s interior. Focus on maximizing your field of view outside.
Troubleshooting Common Issues
Some problems can occur after installation. Here’s how to handle them:
- Mirror falls off: This usually happens with adhesive mounts. Clean the glass thoroughly and use quality adhesive. Cheap glue fails in hot weather.
- Wobbly mirror: Tighten screws or check clip alignment. Loose mirrors can vibrate and distract you.
- Glare or distorted view: Try adjusting the mirror angle or upgrade to an auto-dimming model.
- Electrical features not working: Double-check wiring connections and consult the manual.
If you experience repeated failures, consider professional installation. Sometimes, windshield chips or old adhesive can cause issues that need expert attention.
How To Choose The Best Replacement Mirror
Picking the right mirror involves more than price. Here are factors to weigh:
- Compatibility: Make sure the mirror fits your Wrangler’s year and model.
- Mounting style: Match the mount type (screw, adhesive, clip) to your vehicle.
- Features: Decide if you want auto-dimming, compass, or temperature display.
- Quality: Choose reputable brands to avoid issues with fit or durability.
- Warranty: Some mirrors offer limited warranties—helpful if problems arise.
| Feature | Benefit | Common Mistake |
|---|---|---|
| Auto-Dimming | Less glare at night | Buying incompatible model |
| Wide-Angle | Better field of view | Choosing poor-quality glass |
| Integrated Electronics | Extra info (compass, temp) | Not connecting wires properly |
Many owners overlook compatibility—always check if your mirror is made for your Jeep’s year and trim. Another insight: aftermarket mirrors may need adapters or extra wiring. Read instructions carefully before buying.
Real-world Examples: Jeep Wrangler Rear View Mirror Replacement
Thousands of Jeep owners replace their mirrors every year. Here are two common scenarios:
- 2015 Jeep Wrangler JK: Owner upgraded to an auto-dimming mirror. The process took about 30 minutes, including wiring. The new mirror reduced night glare and improved comfort.
- 2007 Jeep Wrangler TJ: Mirror fell off in summer heat. Owner tried a cheap adhesive but failed twice. On the third attempt, used a quality adhesive kit and followed cure times—problem solved.
According to a survey by Jeep Wrangler Forum, about 15% of owners report issues with mirror mounts during their vehicle’s lifetime. Most problems are due to improper installation or using low-quality adhesives.
Safety Tips And Extra Advice
- Wear gloves to protect your hands from sharp edges and glass.
- Work in daylight for better visibility.
- Avoid cheap adhesives—they usually fail in extreme temperatures.
- Don’t over-tighten screws; this can crack the mounting bracket.
- Test the mirror before driving—shake it gently to check stability.
One overlooked tip: If you drive off-road often, choose a sturdy mirror with a reinforced mount. Bumpy trails can loosen standard mirrors quickly.