Jeep Wrangler Hood Decal Install: Easy Steps For Custom Vinyl Graphics
Adding a custom vinyl graphic to your Jeep Wrangler’s hood can transform its look. It’s a fantastic way to express your style, whether you’re into rugged off-road designs, sleek racing stripes, or something completely unique.
Many Jeep owners think installing these decals is a difficult job, reserved only for professionals. But that's not true!
With the right preparation and a bit of patience, you can achieve a professional-looking installation yourself. This guide will walk you through the entire process, from choosing the right decal to the final polish.
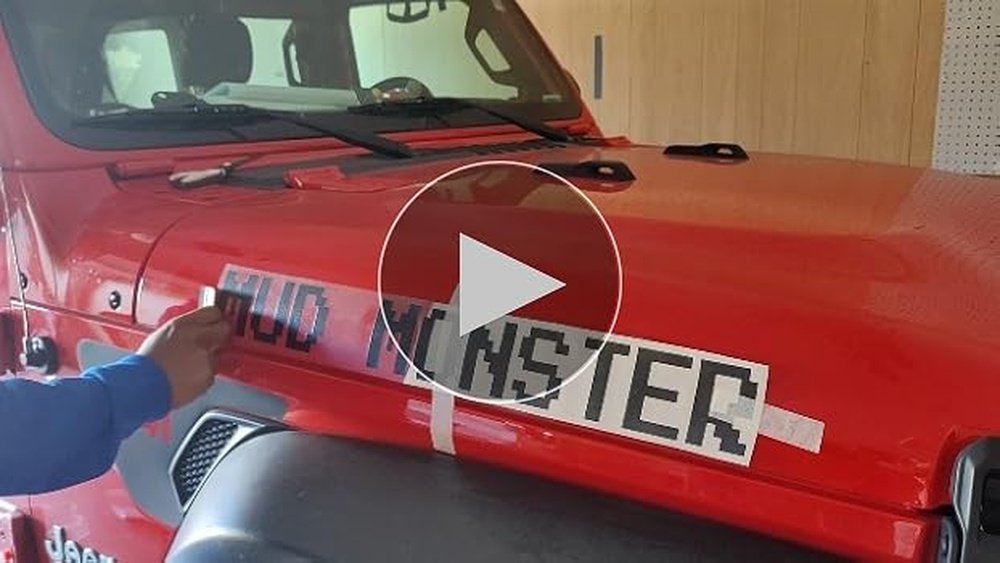
We'll break down each step into simple, easy-to-follow instructions, making it accessible even for beginners. Get ready to give your Jeep Wrangler a fresh, personalized appearance.
Choosing Your Jeep Wrangler Hood Decal
The first step in any customization project is selecting the right part. For hood decals, you have a wide variety of options. Think about the overall aesthetic you want for your Jeep. Do you want something subtle or bold? Something that matches your off-road adventures or a design that reflects your personality?
Types Of Hood Decals
Hood decals come in many forms:
- Full Hood Wraps: These cover the entire hood surface, offering a dramatic change. They can feature complex graphics, patterns, or even a matte or glossy finish.
- Partial Hood Graphics: These are smaller designs that might cover a section of the hood, like the center, sides, or a specific shape. They are great for adding a touch of customization without a full overhaul.
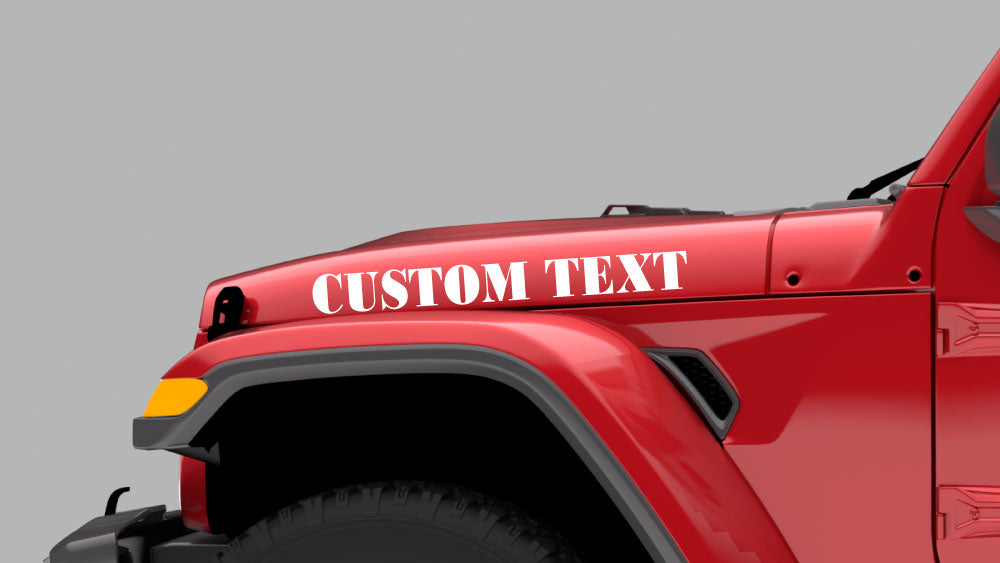
- Text and Logos: Simple text, like your Jeep club name, or custom logos can add a personal touch.
- Themed Decals: Many decals are designed with specific themes in mind, such as military stars, animal silhouettes (like wolves or eagles), abstract designs, or American flag patterns.
Material Matters: Vinyl Quality
Not all vinyl is created equal. For a Jeep Wrangler, which is often exposed to harsh weather, sunlight, and off-road conditions, you need high-quality vinyl.
- Cast Vinyl: This is generally considered the best for vehicle wraps and decals. It’s thinner, more flexible, and conforms better to curves and contours. It also tends to be more durable and resistant to shrinking and cracking over time. Many premium brands use cast vinyl.
- Calendered Vinyl: This is a thicker, less conformable vinyl. While it’s more affordable, it can be prone to shrinking, especially in heat, and may not lay as smoothly on complex surfaces. For a hood decal, especially if it has any contours, cast vinyl is highly recommended.
Look for vinyl that is rated for outdoor use and has UV protection. This will ensure your decal lasts longer and resists fading from sun exposure. Many manufacturers specify a lifespan for their vinyl, such as 5-7 years or more.
Sizing And Fit
Make sure the decal you choose is specifically designed for the Jeep Wrangler hood of your model year. While many universal designs exist, a decal made for your specific Jeep will fit better and look more integrated. Check the dimensions provided by the seller and compare them to your hood. Some sellers offer custom sizing options, which is ideal if you have a specific design in mind.
Preparing Your Jeep Wrangler Hood For Decal Installation
Proper preparation is crucial for a successful decal installation. Skipping this step is the most common reason for bubbles, peeling, and a less-than-perfect finish. You need a clean, smooth surface for the vinyl to adhere to properly.
Cleaning The Surface
This is the most important part of preparation. You need to remove all dirt, grime, wax, grease, and any other contaminants from the hood.
- Wash the Hood: Start by washing your Jeep’s hood thoroughly with a good quality car wash soap and water. Use a clean microfiber wash mitt to avoid scratching the paint. Rinse thoroughly.
- Degrease: Even after washing, there might be invisible residues like wax or silicone from polishes. Use an automotive-specific degreaser or isopropyl alcohol (rubbing alcohol) diluted with water (usually a 50/50 mix).
- Pro Tip: Isopropyl alcohol is excellent because it evaporates quickly and leaves no residue. Make sure to use a high percentage (70% or higher).
- Wipe Down: Apply the degreaser or alcohol solution to a clean microfiber towel and wipe down the entire hood surface where the decal will be placed. Work in small sections.
- Dry Thoroughly: Use a separate, clean, dry microfiber towel to dry the hood completely. Ensure there is no moisture left, especially in crevices or around edges.
Inspecting The Surface
Before applying the decal, carefully inspect the hood for any imperfections.
- Scratches and Dents: Deep scratches or dents can affect how the vinyl lays. Minor scratches might be okay, but if the paint is chipped, the decal might not adhere well to the edges.
- Paint Condition: If your paint is old, faded, or peeling, the decal might pull off the paint when you eventually remove it. It’s best to have a solid paint surface.
- Previous Wax or Sealants: This is why the degreasing step is so vital. Even if the hood looks clean, residual wax can prevent the vinyl from sticking.
Tools You’ll Need
Gathering the right tools beforehand will make the installation process much smoother.
- Squeegee: A felt-edged squeegee is essential for smoothing out the vinyl and pushing out air bubbles. You can often find these specifically for vinyl application.
- Application Fluid/Soapy Water: A mixture of water with a few drops of baby shampoo or a dedicated vinyl application fluid. This creates a slippery surface, allowing you to reposition the decal before it fully adheres.
- Spray Bottle: To apply the application fluid evenly.
- Microfiber Towels: Several clean, lint-free microfiber towels for cleaning, drying, and wiping.
- Rubbing Alcohol (Isopropyl Alcohol): For final surface cleaning.
- Heat Gun or Hair Dryer: To gently warm the vinyl, making it more pliable and helping it conform to curves. Use with caution to avoid overheating.
- Craft Knife or Razor Blade: For trimming excess vinyl if needed (use with extreme care).
- Masking Tape or Painter’s Tape: To temporarily position the decal and mark its location.
- Measuring Tape or Ruler: To ensure accurate placement.
- A Helper: While you can install a decal alone, having a second person makes it significantly easier, especially for larger graphics.
Installing Your Jeep Wrangler Hood Decal: Step-by-step
Now comes the exciting part, applying the decal! Take your time, follow these steps, and don’t rush.
Step 1: Positioning The Decal
This is where you decide exactly where the decal will go. Precision now saves headaches later.
- Dry Fit: Carefully unroll the decal and place it on the hood without removing the backing.
- Center and Align: Use masking tape to hold the decal in place. Measure the distance from the edges of the hood to the edges of the decal on both sides to ensure it’s centered. You can also use the Jeep’s body lines or emblems as reference points.
- Mark the Position: Once you’re happy with the placement, use masking tape to create a hinge. For example, tape along the top edge of the decal. Then, carefully peel back the decal and fold it over itself. You can also use small pieces of tape to mark the corners or center line.
Step 2: Applying The Vinyl (wet Method Recommended For Beginners)
The wet method, using application fluid or soapy water, is generally easier for beginners because it allows you to slide the decal around for perfect positioning before it sticks permanently.
- Prepare the Spray: Mix your application fluid. A common mix is about 1 quart (1 liter) of water with 1-2 teaspoons of baby shampoo or a dedicated vinyl application solution. Pour it into the spray bottle.
- Peel the Backing (Halfway): Carefully peel back about half of the backing paper from the decal, starting from the taped edge. Try not to touch the adhesive side.
- Spray the Surface: Generously spray the exposed adhesive side of the decal *and* the area of the hood where the decal will be placed with your application fluid.
- Apply and Position: Carefully lay the decal onto the hood, starting from the taped edge. The fluid will allow you to slide it into the exact position.
- Smooth Out Excess Fluid: Once positioned, start using your squeegee. Begin from the center of the decal and work your way outwards towards the edges. Apply firm, even pressure. This pushes the fluid and any trapped air bubbles out from under the vinyl.
- Important: Overlap your squeegee strokes by about half an inch.
- Remove the Front Liner: Once the decal is smoothed down and mostly adhered, carefully peel off the front liner (the clear or paper layer on top of the graphic). Do this slowly and at a sharp angle. If the vinyl starts to lift with the liner, stop, lay the liner back down, and squeegee that area again.
- Final Squeegee: After removing the front liner, go over the entire decal again with the squeegee. This ensures good adhesion and removes any remaining fluid or air. Pay special attention to the edges.
Step 3: Heating And Sealing The Edges
Gentle heat helps the vinyl conform to the surface and seals the edges for better durability.
- Gentle Heat: Use a heat gun on a low setting or a hairdryer. Hold it a few inches away from the decal.
- Warm the Edges: Gently warm the edges of the decal. As it warms, it becomes more pliable.
- Press Down: Use your squeegee or a clean microfiber cloth to press the warmed edges down firmly. This helps the adhesive bond and prevents the edges from lifting over time.
- Warning: Do not overheat the vinyl. Too much heat can stretch, warp, or even melt the vinyl, ruining the installation. Keep the heat gun moving constantly.
Step 4: Trimming Excess Vinyl (if Necessary)
If your decal wasn’t a perfect fit or you have a small amount of overlap on a curve or edge, you might need to trim.
- Use a Sharp Blade: Use a very sharp craft knife or a razor blade. Be extremely careful not to scratch your Jeep’s paint.
- Trim Carefully: Gently trim away any excess vinyl. It’s often best to trim just along the edge of a panel line or body crease if possible.
- Seal Trimmed Edges: After trimming, you can apply a tiny bit of heat to the trimmed edge and press it down to help seal it.
Step 5: Curing Time
Vinyl decals need time to cure and fully bond to the surface.
- Avoid Washing: Do not wash your Jeep for at least 48-72 hours after installation. This allows the adhesive to fully set.
- Be Gentle: Avoid heavy pressure or scrubbing on the decal during the curing period.

Troubleshooting Common Decal Installation Problems
Even with the best intentions, you might encounter a few issues. Knowing how to fix them can save your installation.
Bubbles
Bubbles are the most common problem. They can appear immediately or after some time.
- Small Bubbles: For very small bubbles, you can often use a fine-tip pin to carefully prick the bubble. Then, gently press the vinyl down with your finger or a squeegee to flatten it.
- Larger Bubbles: If you have larger bubbles that appeared during installation, and you used the wet method, you might be able to lift the edge of the vinyl carefully (using a bit of heat can help) and re-squeegee the air out. If the bubble formed after the decal has set, try the pinprick method.
- Edge Bubbles: These often indicate poor adhesion at the edge. Gently lift the edge with a bit of heat and press it down firmly with a squeegee.
Peeling Edges
This usually happens if the edges weren’t properly sealed or if the surface wasn’t clean enough.
- Re-adhere: Gently warm the peeling edge with a heat gun or hairdryer. Carefully press the edge back down onto the surface. Use your squeegee to ensure a firm seal.
- Check for Contamination: If the edge continues to peel, it might be due to residual wax or dirt. You may need to carefully lift the edge, clean the area underneath with isopropyl alcohol, let it dry, and then re-apply the edge with gentle heat.
Wrinkles Or Creases
These can be tricky, especially on curved surfaces.
- Lift and Reapply: If the wrinkle is minor and you can still reposition the vinyl (especially if using the wet method), carefully lift the affected area, re-spray with application fluid, and try to smooth it out again.
- Heat and Stretch (Carefully): For minor creases, you can sometimes use a heat gun to gently warm the vinyl. As it warms, it becomes stretchy. Carefully stretch it slightly to smooth out the wrinkle. Be very careful not to over-stretch, as this can distort the graphic or cause the vinyl to thin and tear. This is a technique that requires practice.
Decal Not Sticking
If the decal simply won’t adhere, the most likely cause is a dirty or contaminated surface.
- Re-clean: You will likely need to remove the decal completely, thoroughly clean and degrease the hood again, and then reapply the decal. Ensure you are using a good quality vinyl and that the surface is perfectly clean and dry.
Maintaining Your Jeep Wrangler Hood Decal
To keep your custom vinyl graphic looking great for years to come, proper care is essential.
Washing Your Jeep
- Hand Wash: The best way to wash your Jeep with decals is by hand. Use a soft microfiber wash mitt and a pH-neutral car wash soap.
- Avoid High Pressure: Do not use high-pressure washers directly on the edges of the decal, as this can lift them. If you do use a pressure washer, keep a safe distance and avoid spraying directly at the decal’s edges.
- Gentle Towel Drying: Use clean microfiber towels to dry the vehicle. Avoid abrasive materials.
Polishing And Waxing
- Avoid Abrasives: Do not use abrasive polishes or waxes directly on the vinyl graphic. These can damage the vinyl surface and cause fading or discoloration.
- Use Vinyl-Safe Products: If you want to add shine