Jeep Wrangler Door Lock Actuator: An Easy Step-by-step Installation Guide
A malfunctioning door lock actuator on your Jeep Wrangler can be a real headache. It’s that small, often overlooked component that controls the locking and unlocking of your doors.
When it fails, you might find yourself manually locking doors, dealing with a remote that doesn’t work, or even a door that won't open at all.
Fortunately, replacing a Jeep Wrangler door lock actuator is a DIY-friendly repair that most owners can tackle with basic tools and a little patience. This guide will walk you through the entire process, step by step, making it easy to get your Wrangler’s doors working smoothly again.
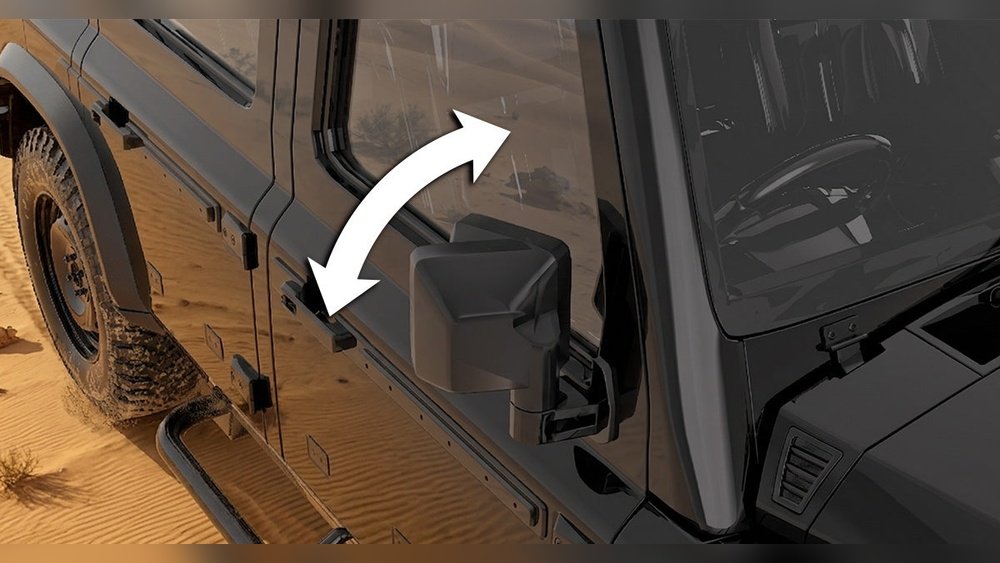
The door lock actuator is essentially an electric motor that pushes and pulls the rods and levers inside your door to operate the lock mechanism. Over time, these motors can wear out, the plastic gears can break, or the electrical connections can become corroded, leading to failure. Symptoms of a bad actuator include: doors not locking or unlocking with the key fob or power lock switch, a single door not responding while others do, or a clicking sound from the door when you try to operate the locks. Ignoring these issues can lead to inconvenience and potential security risks.
Before you begin, it’s crucial to gather all the necessary tools and parts. Having everything ready will make the installation process smoother and faster. You’ll need a set of screwdrivers (Phillips and flathead), a socket set with various sizes, a trim panel removal tool (highly recommended to avoid damaging your door panels), and potentially a small pry bar. The most important part, of course, is the new door lock actuator. Ensure you purchase the correct one for your specific Jeep Wrangler year and model, as they can vary. It’s also a good idea to have a small container for screws and small parts to keep them organized.
Understanding The Door Lock Actuator System
Your Jeep Wrangler’s door lock system is more complex than it might seem. It’s not just a single actuator per door; it’s an integrated system. The central locking module (also known as the Body Control Module or BCM in some models) receives signals from your key fob, the interior lock switch, and sometimes even the door lock cylinder. It then sends commands to each individual door lock actuator. Understanding this basic architecture helps explain why sometimes one actuator fails, or why a problem might seem intermittent.
Each door lock actuator is connected to the door's internal linkage system. This linkage translates the rotational motion of the actuator’s motor into the linear movement needed to engage or disengage the lock.
The actuator itself contains a small electric motor, a set of gears, and a switch that signals the BCM about the lock’s current position (locked or unlocked).
When the actuator fails, it’s usually due to the motor burning out, the gears stripping, or the internal switch malfunctioning.

Preparing For The Installation
Proper preparation is key to a successful DIY repair. Before you even think about taking your door apart, make sure you have the correct replacement actuator. Double-check the part number against your Wrangler’s VIN or by looking up your specific model online. Buying the wrong part will lead to frustration and delays. Also, ensure you have a safe, well-lit workspace. Working on your vehicle in a confined or dark space can lead to mistakes and potential injury.
It’s also wise to disconnect your Wrangler’s battery before starting any electrical work. This prevents accidental short circuits and protects you from electrical shocks. Locate the battery (usually under the hood) and use a wrench to loosen and remove the negative terminal clamp. Tuck it away so it cannot accidentally reconnect. This is a crucial safety step that is often overlooked but highly important.
Finally, take a moment to familiarize yourself with the general layout of your Wrangler’s door. Most modern vehicles, including the Wrangler, use a combination of screws and plastic clips to hold the door panel in place.
The goal is to remove the panel without breaking any of the clips or damaging the underlying door structure.
Step-by-step Installation Guide
Here’s a detailed breakdown of how to replace your Jeep Wrangler door lock actuator. Remember, the exact procedure might vary slightly depending on your Wrangler’s model year, but the general principles remain the same.
Step 1: Removing The Interior Door Panel
This is often the most intimidating part for beginners, but with the right tools and a methodical approach, it’s manageable.
- Locate and Remove Screws: Start by looking for any visible screws holding the door panel in place. These are typically found around the edges of the panel, often hidden behind small plastic covers. Use a trim panel removal tool or a very small flathead screwdriver to gently pry off these covers, then remove the screws with the appropriate screwdriver. Common locations include the armrest, door handle surround, and sometimes along the bottom edge.
- Pry Off Trim Pieces: Once the screws are removed, you’ll need to release the clips that secure the panel to the door frame. Start at a bottom corner or along the side edge. Insert a trim panel removal tool between the door panel and the metal door frame. Gently twist or pry to pop the clips loose. Work your way around the entire perimeter of the panel, listening for the pops as each clip releases. Be firm but gentle; forcing it can break the clips or damage the panel.
- Lift the Panel: After all clips are released, the door panel should be loose. You may need to lift it slightly upwards to disengage it from the window sill channel at the top. Carefully pull the panel away from the door.
- Disconnect Electrical Connectors and Cables: Once the panel is free, don’t pull it off completely yet. It’s still connected by wires for power windows, locks, speakers, and the door handle cable. Carefully reach behind the panel and disconnect any electrical connectors by pressing their release tabs. You’ll also need to unhook the door handle cable from its lever. Once everything is disconnected, you can fully remove the door panel and set it aside in a safe place.
Step 2: Accessing The Door Lock Actuator
With the door panel removed, you’ll see the inner workings of the door, including the window mechanism, speakers, and the door lock linkage. The door lock actuator is usually located near the lock cylinder and the door handle mechanism.
- Remove Protective Sheeting (if applicable): Many vehicles have a plastic or foam vapor barrier behind the door panel. If yours does, you’ll need to carefully peel it back to gain access to the actuator. Try not to tear it; you’ll need to reattach it later to maintain the door’s weatherproofing. If it’s heavily adhered, you might need to use a razor knife to cut around it, but be extremely careful not to cut any wires or internal door components.
- Identify the Actuator: The actuator is typically a small plastic box with electrical wires connected to it and several rods or cables extending from it. It’s usually mounted to the inside of the door frame or the door panel itself. Trace the rods and wires to pinpoint its exact location. It will be connected to the door handle mechanism and the lock rod.
Step 3: Removing The Old Actuator
This involves disconnecting the actuator from the door’s internal mechanisms.
- Disconnect Electrical Connector: First, disconnect the electrical connector that plugs into the actuator. There’s usually a small tab you need to press to release it.
- Unclip Rods and Cables: The actuator will be connected to the door handle and the lock mechanism via small rods or cables. These are typically held in place by plastic clips. Use a small screwdriver or pry tool to carefully release these clips. Pay close attention to how each rod is connected; you’ll need to reassemble them in the same way. Sometimes, there’s a small metal clip holding a rod in place that needs to be gently pried out.
- Remove Mounting Screws: The actuator itself will be secured to the door with a few screws. Remove these screws using the appropriate screwdriver or socket. Keep these screws safe, as you’ll need them for the new actuator.
- Remove the Old Actuator: Once all connections and mounting screws are removed, you should be able to carefully pull the old actuator away from the door. You might need to maneuver it around some internal braces or the window track.
Step 4: Installing The New Actuator
This is essentially the reverse of the removal process.
- Position the New Actuator: Place the new door lock actuator in the same position as the old one. Make sure it aligns with the mounting holes.
- Secure Mounting Screws: Reinstall the screws that hold the actuator in place. Tighten them snugly, but don’t overtighten, as you could strip the plastic threads.
- Reconnect Rods and Cables: This is a critical step. Carefully reattach the rods and cables to the new actuator in the exact same way they were connected to the old one. Ensure the clips snap firmly into place. Test the connection by manually moving the rods slightly to ensure they are secure and don’t pop out.
- Connect Electrical Connector: Plug the electrical connector into the new actuator. You should hear or feel a click as it locks into place.
Step 5: Testing The New Actuator
Before reassembling the door panel, it’s essential to test the new actuator to ensure it works correctly.
- Reconnect Battery (Temporarily): Reconnect the negative battery terminal.
- Test Locks: Use your key fob and the interior lock switch to test the locking and unlocking function of the door. Ensure the door locks and unlocks smoothly and completely. If it doesn’t work, double-check all electrical connections and rod linkages. You might need to remove the actuator again to adjust the rod positions.
- Disconnect Battery Again: Once you’ve confirmed the actuator is working, disconnect the negative battery terminal again for safety during reassembly.
Step 6: Reassembling The Door Panel
This is the reverse of the removal process.
- Reconnect Cables and Wires: Carefully reattach the door handle cable and reconnect all electrical connectors for the power windows, locks, and speakers. Ensure they are firmly seated.
- Reapply Vapor Barrier (if applicable): If you peeled back a vapor barrier, reapply it as best as possible. If you had to cut it, try to seal any gaps with strong tape to prevent water intrusion.
- Position the Door Panel: Align the top edge of the door panel with the window sill and gently push it back into place.
- Secure Clips: Work your way around the perimeter of the panel, pressing firmly to snap the plastic clips back into their housings. You should hear them click into place.
- Reinstall Screws: Replace all the screws you removed earlier and reinstall any screw covers.
- Final Battery Connection: Reconnect the negative battery terminal and tighten it.

Common Issues And Troubleshooting
Even with a step-by-step guide, you might encounter a few snags. Here’s how to address them.
Intermittent Operation
If the new actuator works sometimes but not others, check the electrical connector. Ensure it’s fully seated and that the pins aren’t bent or corroded. Also, inspect the wiring harness for any signs of damage. Sometimes, a loose connection within the BCM can cause intermittent issues, but this is more complex to diagnose.
Actuator Not Locking/unlocking Fully
This usually points to an issue with the linkage rods. They might be bent, kinked, or not properly connected. Ensure the rods move freely and are not binding against anything inside the door. The clips holding the rods to the actuator and the door handle mechanism must be securely fastened.
Clicking Sounds
A clicking sound from the actuator itself often means the internal motor is working, but it’s not engaging the locking mechanism properly. This again points to a problem with the rod connections or a faulty new actuator.
Door Panel Clip Issues
If you find yourself with broken clips, you can often purchase replacements from auto parts stores or online. For a temporary fix, strong double-sided tape or even small zip ties can sometimes hold the panel in place, but it’s best to replace broken clips for a secure fit.
Pro Tips For A Smooth Installation
- Take Photos: Before you disconnect anything or remove any parts, take pictures with your phone. This visual record is invaluable when you’re reassembling and trying to remember where everything goes.
- Organize Screws: Use a magnetic tray or small labeled containers for screws. Different screws might be used in different locations, and keeping them sorted prevents confusion and ensures you use the correct ones.
- Lubricate Linkages: If you notice any of the linkage rods are stiff or rusty, consider applying a dry lubricant spray before reassembling. This can help ensure smooth operation and prevent future binding.
- Work on One Door at a Time: If you have multiple actuators to replace, tackle them one door at a time. This way, if you get stuck, you can still use the other doors for access and reference.
- Don’t Force It: If something feels stuck or requires excessive force, stop. Re-examine the area to ensure you haven’t missed a screw, clip, or connection. Forcing parts can lead to breakage.

When To Call A Professional
While replacing a door lock actuator is a common DIY task, there are times when seeking professional help is the best course of action. If you’re uncomfortable working with car electronics, lack the necessary tools, or encounter problems you can’t resolve after troubleshooting, a qualified mechanic can handle the repair efficiently. For more complex issues involving the vehicle’s BCM or wiring harness, professional diagnosis is often required.
Frequently Asked Questions
How Long Does It Typically Take To Replace A Jeep Wrangler Door Lock Actuator?
For someone with basic mechanical skills and the right tools, replacing a single door lock actuator usually takes between 1 to 2 hours. This includes the time for removing and reinstalling the door panel, disconnecting and reconnecting the actuator, and testing. If it’s your first time, it might take a bit longer as you familiarize yourself with the process.
What Are The Most Common Signs Of A Failing Door Lock Actuator?
The most common signs include doors that fail to lock or unlock with the key fob or interior switch, a single door that operates differently from the others, or unusual clicking or grinding noises coming from inside the door when you try to operate the locks. Sometimes, a door might also be difficult to open from the inside or outside.
Can I Drive My Jeep Wrangler With A Bad Door Lock Actuator?
Yes, you can typically still drive your Wrangler with a bad actuator. However, it poses a security risk as the door may not lock properly. It also causes significant inconvenience, requiring you to manually lock or unlock