The Jeep TJ Wrangler is a beloved vehicle for off-road enthusiasts. Its rugged design and capable platform make it a popular choice for modifications.
One crucial, yet often overlooked, aspect of maintaining a TJ's performance is its vacuum system. This system controls various functions, from the HVAC controls to the four-wheel-drive (4WD) engagement on some models.
Over time, these vacuum lines can degrade, crack, or become disconnected, leading to a host of problems. A Jeep TJ vacuum line kit is designed to replace these worn-out components, restoring proper function and preventing further damage.
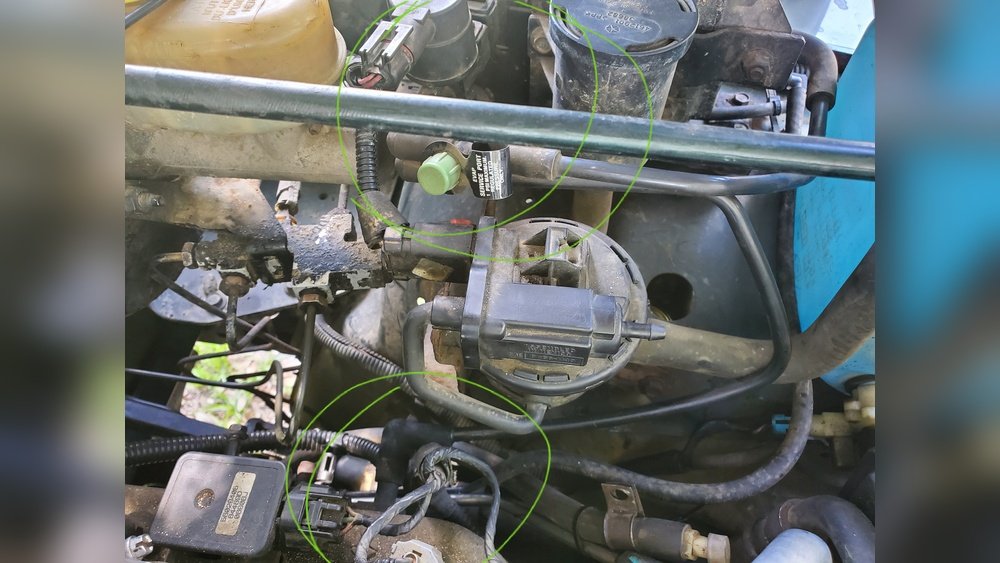
This guide will explore what a vacuum line kit is, why it's essential, what to look for when buying one, and how to install it, ensuring your TJ remains a reliable companion on and off the road.
Understanding The Jeep Tj Vacuum System
The vacuum system in your Jeep TJ is a network of small hoses and lines that use suction, created by the engine's intake manifold, to operate various components. Think of it as the vehicle's nervous system for certain functions.
The engine, while running, constantly pulls air through the intake.
This creates a low-pressure area, or vacuum, which is then distributed through these lines to actuators and diaphragms.
These vacuum-operated components are vital for a comfortable and functional driving experience. On a Jeep TJ, the vacuum system is primarily responsible for:
- HVAC Controls: This is perhaps the most common area where vacuum lines are critical. The system directs airflow within your heating, ventilation, and air conditioning (HVAC) system. When you select “defrost,” “floor,” or “vent,” vacuum actuators move internal flaps to route air to the correct outlets. If your HVAC vents are not working correctly, or if you only get air from one place, a vacuum leak is a prime suspect.
- Four-Wheel Drive (4WD) Engagement: While many TJs use a manual transfer case lever, some models, particularly those with automatic transmissions and specific transfer case options, might utilize a vacuum-operated actuator for engaging the front axle disconnect or the transfer case itself. A faulty vacuum line here could prevent you from engaging 4WD when you need it most.
- Cruise Control: If your TJ is equipped with cruise control, the vacuum system plays a role in its operation, helping to maintain a set speed without constant accelerator input.
- Other Minor Functions: Depending on the specific year and options of your TJ, other small components might rely on vacuum.
The hoses themselves are typically made of rubber or a similar flexible material designed to withstand engine bay temperatures and resist oil and fuel. However, like all rubber components under constant stress and exposure to heat, they eventually break down.
Why A Jeep Tj Vacuum Line Kit Is Essential
Over time, the rubber hoses in your TJ’s vacuum system will inevitably degrade. Heat from the engine, exposure to oil and fuel vapors, and simple aging cause them to become brittle, crack, and lose their flexibility. This degradation leads to vacuum leaks.
A vacuum leak means the system can’t maintain the necessary low pressure. This affects the components that rely on that pressure. The consequences can range from minor annoyances to significant operational problems:
- HVAC Malfunctions: This is the most common symptom. If you can’t switch between defrost, vent, and floor settings, or if the air only comes out of one vent regardless of your selection, you likely have a vacuum leak affecting the HVAC actuators. This can be incredibly frustrating, especially in extreme weather. Imagine being stuck with only defrost in a snowstorm or only vent air on a hot summer day.
- Difficulty Engaging 4WD: If your TJ uses vacuum for 4WD engagement, a leak can prevent the system from properly engaging the front axle or transfer case. This leaves you stuck in two-wheel drive when you need the extra traction.
- Rough Idle or Engine Performance Issues: While less common for the *entire* vacuum system to cause major engine issues (unless it’s a very large leak), small leaks can sometimes contribute to a slightly rougher idle or slightly reduced engine efficiency. The engine computer (ECU) tries to compensate for the unmetered air entering the intake, which can throw off air-fuel ratios.
- Cruise Control Failure: A vacuum leak will prevent the cruise control system from functioning correctly, making long highway drives less convenient.
- Preventing Further Damage: Small leaks can sometimes lead to larger problems. For instance, if a leak is affecting a critical system, it might put undue stress on other related components or lead to situations where a driver might force a system (like 4WD) in a way it wasn’t designed for, potentially causing mechanical damage.
A Jeep TJ vacuum line replacement kit provides all the necessary hoses, connectors, and sometimes even grommets to replace the old, degraded lines. It’s a proactive maintenance item that can save you a lot of headaches and repair costs down the line. It ensures that the components designed to be operated by vacuum function as intended, keeping your TJ comfortable and capable.
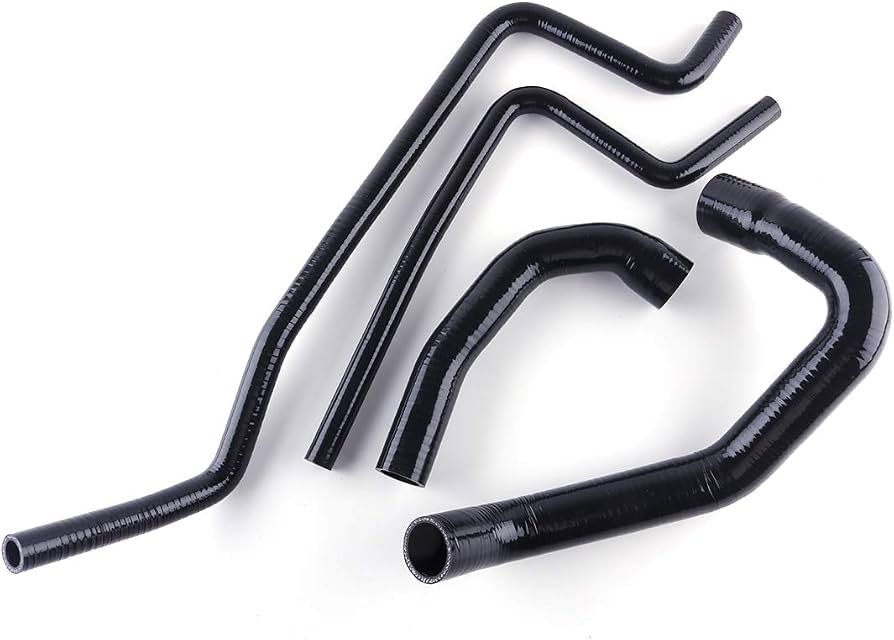
What To Look For In A Jeep Tj Vacuum Line Kit
Not all vacuum line kits are created equal. When you’re shopping for a replacement kit for your Jeep TJ, consider these important factors to ensure you get a quality product that will last.
Material Quality
The hoses are the heart of the vacuum system. Look for kits that use high-quality materials.
- EPDM Rubber: This is a common and durable synthetic rubber. It offers excellent resistance to heat, ozone, and weathering, which are all critical for hoses under the hood of a vehicle.
- Silicone: High-grade silicone hoses are even more heat-resistant than EPDM and can remain flexible in a wider temperature range. They are often more expensive but offer superior longevity in demanding environments.
- Avoid Generic Vinyl or PVC: These materials are often cheaper but will degrade much faster under engine heat and UV exposure. They tend to become brittle and crack quickly.
Fitment And Completeness
A good kit should be specifically designed for your Jeep TJ model year.
- Year-Specific: Jeep TJs (1997-2006) had minor variations over the years. Ensure the kit is listed as compatible with your specific TJ year.
- All Necessary Hoses: A comprehensive kit will include all the vacuum lines for the HVAC system, and any other systems that use vacuum on your particular TJ. Some kits might be “HVAC only,” while others are more complete. Check the product description carefully.
- Connectors and Fittings: High-quality kits will also include the necessary vacuum fittings, elbows, T-connectors, and vacuum block adapters. Sometimes, they even include the rubber grommets that seal lines where they pass through the firewall.
- Pre-Cut Lengths: The best kits will provide hoses cut to the correct lengths for your TJ, making installation much easier. If they aren’t pre-cut, you’ll need to measure and cut them yourself, which requires precision.
Brand Reputation And Reviews
Like any automotive part, the brand and customer feedback matter.
- Reputable Brands: Stick with well-known brands that specialize in Jeep parts or automotive repair components. These brands usually have a reputation for quality and customer support.
- Read Reviews: Before purchasing, read reviews from other Jeep TJ owners. Look for comments about the ease of installation, the quality of the materials, and how well the kit solved their vacuum issues. Pay attention to negative reviews, are they about the product itself, or installation difficulty due to user error?
Cost Vs. Value
While it’s tempting to go for the cheapest option, remember that this is a critical system.
- Don’t Skimp: A cheap kit made with inferior materials will fail prematurely, costing you more in the long run for replacement parts and labor.
- Value Proposition: A slightly more expensive kit made with high-quality EPDM or silicone hoses, correct fittings, and a complete set of pre-cut lines offers better value due to its durability and ease of installation.
Specific Components To Check For
When examining a kit, ensure it includes replacements for:
- HVAC Actuator Lines: These are the most numerous and often the ones that fail first.
- Firewall Grommets: These rubber seals are crucial for preventing leaks where vacuum lines pass through the firewall. They can become hard and cracked.
- Vacuum Reservoir (if applicable): Some TJs might have a small vacuum reservoir to ensure consistent vacuum supply. Check if the kit includes parts for this.
A well-chosen vacuum line kit is an investment in your TJ’s reliability and comfort.
Installing Your Jeep Tj Vacuum Line Kit
Installing a vacuum line kit can seem daunting, but it’s a manageable DIY project for most Jeep owners with basic tools and a bit of patience. The key is organization and careful identification of each line.
Tools And Supplies You’ll Need
Before you start, gather these items:
- Your Jeep TJ Vacuum Line Kit: Ensure it’s the correct one for your year.
- Basic Hand Tools: Screwdrivers (Phillips and flathead), pliers, possibly a socket set.
- Trim Removal Tools: Plastic trim tools are useful for prying off dashboard panels without causing damage.
- Marker or Label Maker: Essential for labeling old hoses before removal.
- Camera or Smartphone: Take plenty of pictures before and during the process.
- Shop Towels or Rags: For cleaning up any debris.
- Optional: Vacuum Gauge: Useful for diagnosing leaks before starting and testing after.
- Optional: Vacuum Cap Plugs: Small rubber caps to temporarily seal off lines if you’re working on one section at a time.
Step-by-step Installation Guide
- Preparation and Diagnosis:
- Identify the Problem: Before buying a kit, try to pinpoint the vacuum leak. Symptoms like HVAC issues are strong indicators. You can sometimes hear hissing sounds or feel air escaping from disconnected hoses. A smoke machine or a can of carb cleaner sprayed around suspected areas (engine off!) Can help locate leaks by changes in engine idle.
- Take Photos: Take clear, detailed photos of the existing vacuum lines, especially around the HVAC controls, firewall, and engine bay. This will be your primary reference.
- Document Everything: If your kit doesn’t come with a diagram, draw one based on your photos or a service manual.
- Accessing the Vacuum Lines:
- HVAC Controls: You’ll likely need to remove parts of the dashboard to access the vacuum actuators behind the climate controls. This often involves removing trim pieces around the radio, climate controls, and glove box. Be gentle with clips and fasteners.
- Firewall: Locate where the vacuum lines pass through the firewall. You may need to remove the battery or other components in the engine bay to get good access.
- Engine Bay: Identify the main vacuum source (usually a port on the intake manifold) and trace the lines from there.
- Removing Old Lines:
- Labeling is Key: As you disconnect an old hose, immediately label both ends with its destination (e.g., “Defrost Actuator,” “Intake Manifold”). Use your photos as a guide.
- Careful Removal: Gently twist and pull hoses off their fittings. If a hose is stuck, use pliers to carefully grip the fitting (not the hose) and twist. Avoid yanking, which can damage the actuators or ports.
- Inspect Fittings and Actuators: While the old hoses are off, inspect the fittings and the actuators themselves for any signs of damage or wear. Clean any debris from the ports.
- Installing New Lines:
- Use the Kit: Refer to your photos, diagram, and the new hoses provided in the kit.
- Cut to Length (if necessary): If hoses aren’t pre-cut, measure carefully against the old hoses or the intended path. It’s better to have a hose slightly too long than too short.
- Connect Firmly: Push the new hoses onto the fittings securely. They should feel snug. If a hose feels loose, you might need to use a small zip tie or a specific hose clamp if provided in the kit, but usually, a good fit is sufficient.
- Install Grommets: If your kit includes new firewall grommets, install them first, then route the new vacuum lines through them. Ensure a tight seal.
- Follow Your Diagram: Systematically connect each new hose to its correct port, working from the vacuum source towards the actuators, or vice-versa, as per your documentation.
- Testing and Reassembly:
- Double-Check Connections: Once all lines are connected, go back and verify every single connection. Ensure no hoses are kinked, stretched too tightly, or routed near hot engine components or moving parts.
- Reconnect Battery: If you disconnected the battery, reconnect it.
- Initial Test: Start the engine. Listen for any unusual noises (hissing).
- Test HVAC: Cycle through all HVAC settings (defrost, vent, floor, AC, heat). Ensure air is coming from the correct vents for each setting.
- Test 4WD (if applicable): If your 4WD system uses vacuum, test its engagement.
- Test Cruise Control (if applicable): Check if cruise control functions properly.
- Reassemble Dashboard: Once you’re confident everything is working, carefully reassemble all the dashboard trim and panels you removed.
Pro Tip: If you’re unsure about the routing of a specific line, consult a Jeep TJ service manual or online forums dedicated to TJs. Many owners share detailed diagrams and installation tips.
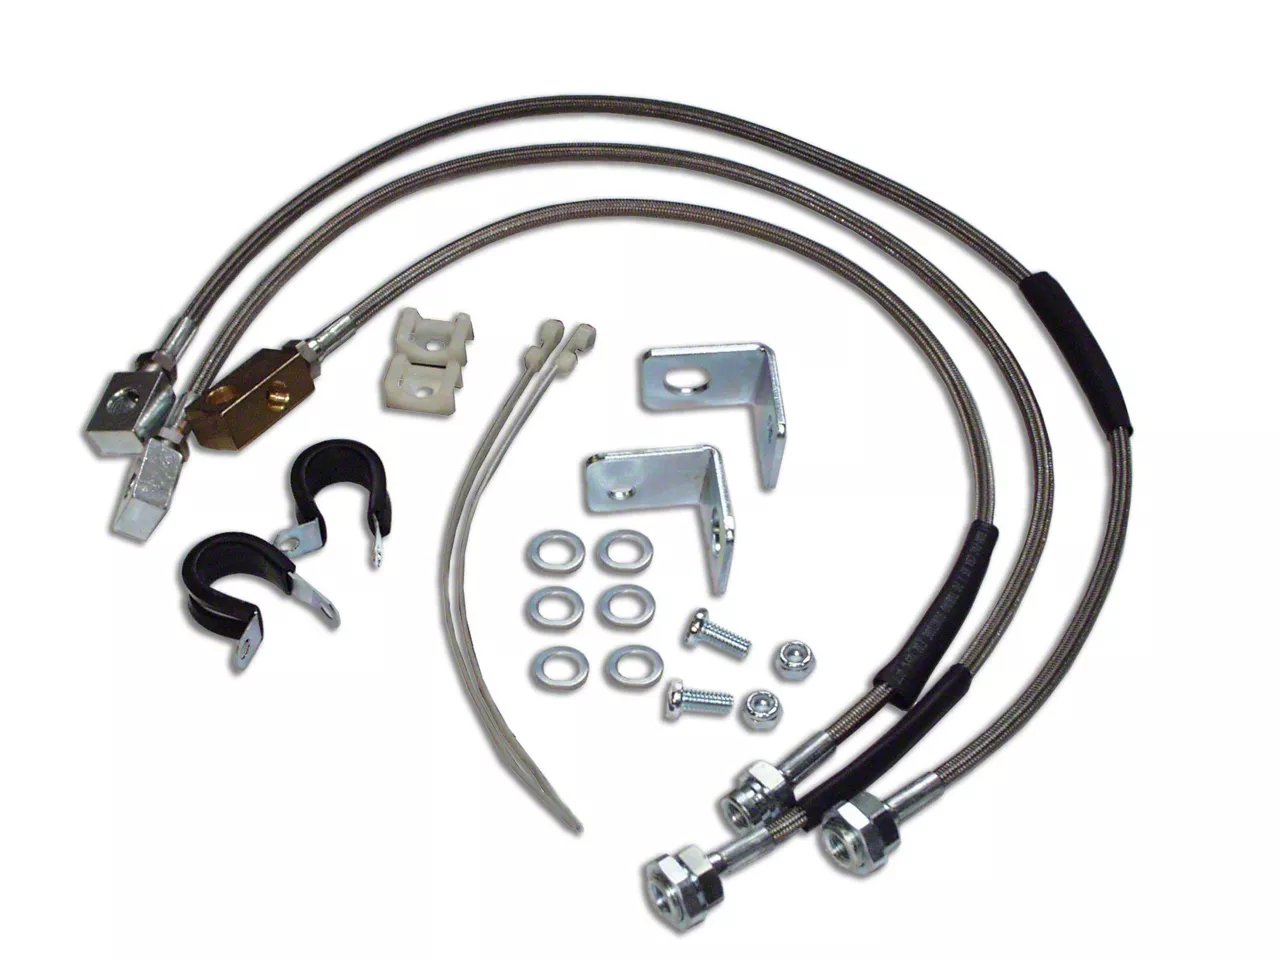
Common Problems And Troubleshooting
Even with a new vacuum line kit, you might encounter issues. Here are some common problems and how to troubleshoot them.
Hvac System Not Responding Correctly
- Problem: You’ve replaced the lines, but the air still only comes from one vent, or you can’t switch modes.
- Troubleshooting:
- Re-check Connections: The most common cause is a loose or incorrect connection. Go back and meticulously verify every single hose connection against your photos or diagram.
- Kinked Hoses: Ensure no new hoses are kinked, which restricts vacuum flow.
- Faulty Actuator: The vacuum line might be fine, but the HVAC actuator itself could be damaged or stuck. These are small, often plastic, diaphragm-operated devices. Sometimes, they can be repaired, but often they need replacement. You might need to remove the dashboard again to access and test them.
- Vacuum Block Issue: The central vacuum block or manifold where multiple lines connect might be cracked or clogged. Inspect this component carefully.
- Blend