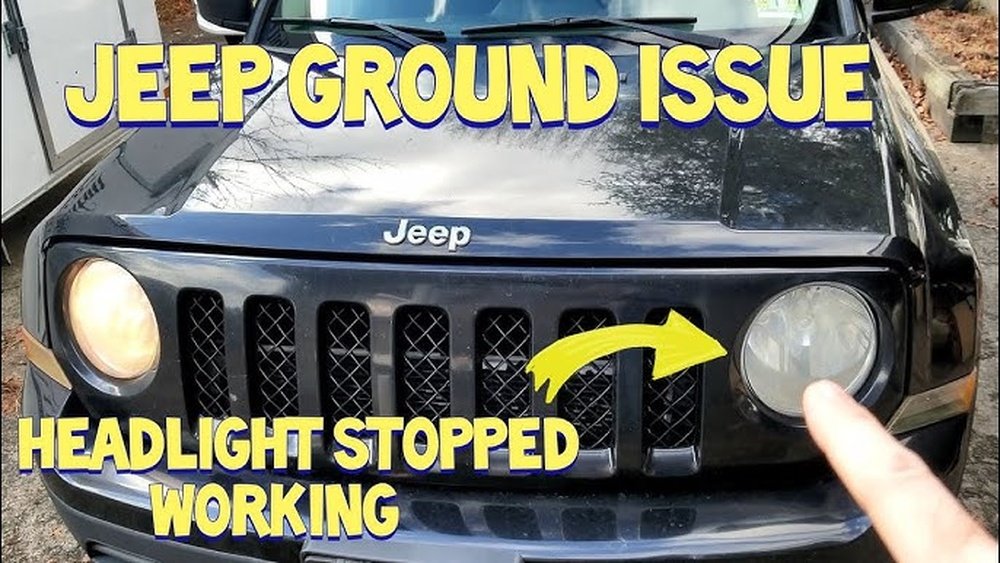
When your Jeep headlights suddenly go out, it’s more than just an inconvenience; it’s a safety hazard. Driving at night or in poor visibility without proper illumination can lead to accidents.
Whether it’s one headlight or both, a sudden failure points to a problem that needs quick attention. This guide will walk you through the common reasons why your Jeep’s headlights might not be working and provide practical solutions.
We’ll cover everything from simple checks to more complex troubleshooting, helping you get your Jeep’s lights back on safely.
Understanding Jeep Headlight Systems
Jeep vehicles, like most modern cars, use a relatively standard electrical system for their headlights. However, specific components and their locations can vary between models and generations. The headlight system typically involves the headlight bulbs, fuses, relays, wiring harnesses, and the headlight switch on your dashboard.
How Headlights Get Power
The process starts when you turn your headlight switch. This action sends a signal to a relay. The relay acts like an electronic switch, using a small amount of power to control a larger flow of electricity. When activated, the relay allows power from the battery to flow through a fuse (which protects the circuit from overloads) and then to the headlight bulbs. The bulbs themselves contain a filament that heats up and glows when electricity passes through it, producing light. If any part of this chain fails, your headlights won’t work.
Common Jeep Headlight Issues
The most frequent culprits for non-working headlights on a Jeep are:
- Burnt-out Bulbs: This is the simplest and most common reason. Headlight bulbs have a limited lifespan and will eventually fail.
- Blown Fuses: A fuse is designed to sacrifice itself by melting if too much current flows through the circuit, preventing damage to more expensive components.
- Faulty Relays: Relays can fail over time, preventing power from reaching the headlights even if the fuse and bulb are good.
- Wiring Problems: Damaged or corroded wires, loose connections, or short circuits can interrupt the flow of electricity.
- Bad Headlight Switch: The switch itself can wear out or develop internal faults.
- Grounding Issues: Headlights often rely on a good ground connection to complete the circuit. A poor ground can cause them to flicker or fail.
Step-by-step Troubleshooting Guide
When faced with a Jeep headlight issue, a systematic approach is best. Start with the easiest checks and move towards more complex diagnostics.
1. Inspect The Headlight Bulbs
This is the most straightforward fix. Headlight bulbs, especially halogen ones, have a filament that can break.
How to Check:
- Locate the Bulbs: Refer to your Jeep’s owner’s manual for the exact location of the headlight bulbs. They are usually accessed from behind the headlight assembly in the engine bay.
- Remove the Bulb: You might need to disconnect a wiring connector and then twist or unclip the bulb housing. Be gentle to avoid breaking any plastic parts.
- Visual Inspection: Once removed, look closely at the filament inside the bulb. If it appears broken, dark, or the bulb is blackened internally, it needs replacement.
- Replace the Bulb: Purchase a direct replacement bulb. It’s often recommended to replace both bulbs at the same time, even if only one has failed. This ensures consistent brightness and color, and the other bulb is likely nearing the end of its life anyway.
Pro Tip: When handling new halogen bulbs, avoid touching the glass with your bare fingers. Skin oils can cause the bulb to overheat and fail prematurely. Use a clean cloth or gloves.
2. Check The Fuses
Fuses are small, inexpensive components that protect your electrical system. A blown fuse is a common reason for a single headlight or both to stop working.
How to Check:
- Locate the Fuse Box(es): Jeeps typically have at least two fuse boxes: one under the hood and another inside the cabin (often on the driver’s side dash or kick panel). Consult your owner’s manual for their exact locations and the fuse layout diagram.
- Identify the Headlight Fuse: The manual will specify which fuse(s) relate to the headlights (often labeled “Headlamps,” “Low Beam,” “High Beam,” or similar).
- Remove the Fuse: Use a fuse puller (often found in the fuse box) or a pair of needle-nose pliers to carefully remove the suspected fuse.
- Inspect the Fuse: Hold the fuse up to the light. You’ll see a thin metal wire running through the plastic body. If this wire is broken or melted, the fuse is blown.
- Replace the Fuse: If the fuse is blown, replace it with a new one of the exact same amperage rating. Using a higher-rated fuse is dangerous and can cause electrical fires. If the new fuse blows immediately, it indicates a more serious short circuit in the wiring.
3. Test The Relays
Relays are electro-mechanical switches. If a relay fails, it won’t send power to the headlights.
How to Test:
- Locate the Headlight Relay: Again, your owner’s manual is key here. Relays are usually in the fuse box under the hood. They are typically larger than fuses and have multiple pins.
- Swap Relays (The Easy Method): If there’s another relay in the fuse box with the same part number (e.g., a fog light relay, horn relay) that you can temporarily do without, try swapping it with the headlight relay. If the headlights start working with the swapped relay, you’ve found your faulty component.
- Listen for a Click: With the headlight switch on, you should hear a faint click from the relay when it’s supposed to activate. If you don’t hear a click, the relay might be dead or not receiving power itself.
- Professional Testing: Testing a relay thoroughly often requires a multimeter and knowledge of its internal circuitry. If swapping doesn’t work, it might be time for a mechanic or further research specific to your Jeep model.
4. Inspect Wiring And Connectors
Damaged wires or corroded connectors are common issues, especially on older Jeeps or those exposed to harsh environments.
How to Inspect:
- Visual Check: Carefully inspect the wiring harness leading to the headlights. Look for any signs of damage, such as frayed insulation, cuts, or melted sections. Pay close attention to areas where wires might rub against metal parts of the chassis.
- Check Connectors: Examine the electrical connectors plugged into the headlight bulbs and any other components in the circuit. Look for corrosion (a green or white powdery substance), bent pins, or loose connections.
- Clean Connections: If you find corrosion, you can try cleaning the connectors. Disconnect them (ensure the battery is off) and use electrical contact cleaner or a small wire brush to remove the corrosion. Ensure they are completely dry before reconnecting.
- Secure Connections: Make sure all connectors are firmly seated and locked in place.
Warning: Working with electrical wiring can be dangerous. If you’re unsure, it’s best to let a professional handle this step. Incorrectly repaired wiring can lead to further electrical problems or even fire hazards.
5. Test The Headlight Switch
The headlight switch on your dashboard controls the entire lighting system. If it fails, none of the headlights will work.
How to Test:
- Check Other Lights: Does the dashboard illumination, interior lights, or parking lights work when you operate their respective switches? If only the headlights are affected, it points more strongly to a headlight-specific issue.
- Feel for Resistance: Sometimes, a failing switch will feel loose, mushy, or have inconsistent resistance when you turn it.
- Testing with a Multimeter: This requires removing the switch assembly (which can be tricky depending on the Jeep model) and testing for continuity and voltage at different positions. This is best left to a mechanic if you’re not comfortable with electrical diagnostics.
- Replacement: If the switch is indeed faulty, it will need to be replaced. This can often be a DIY job, but it requires careful disassembly of dashboard components.
6. Investigate Grounding Issues
A proper ground connection is crucial for any electrical circuit. The headlight assembly needs to be securely connected to the Jeep’s chassis (the ground).
How to Inspect:
- Locate Ground Points: Look for wires that connect from the headlight harness or the headlight assembly directly to the metal body of the Jeep. These are your ground points.
- Check for Corrosion or Looseness: Ensure these ground connections are clean, tight, and free of rust or corrosion. A wire brush can be used to clean the connection point on the chassis and the terminal itself.
- Test Ground Continuity: Using a multimeter set to resistance (Ohms), you can test the continuity of the ground. Place one probe on the ground wire terminal and the other on a clean metal point of the Jeep’s chassis. You should get a very low resistance reading (close to 0 Ohms). A high reading indicates a poor ground connection.
Specific Jeep Models And Headlight Quirks
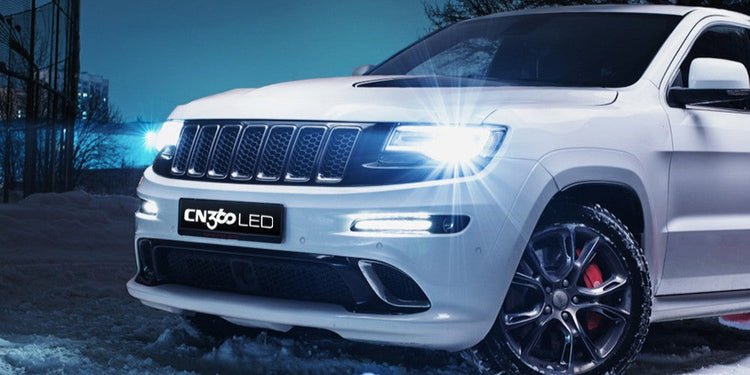
While the general troubleshooting steps apply to most Jeeps, certain models might have specific known issues or unique headlight designs.
Jeep Wrangler (jk, Jl)
Wrangler models, especially newer ones, often use LED headlights. These are more durable and brighter but can be more complex to diagnose if they fail.
- LED Specifics: Unlike halogen bulbs, LED headlights don’t have a filament to burn out. Failure is usually due to internal LED failure, a faulty driver module (the component that regulates power to the LEDs), or wiring issues.
- Aftermarket LEDs: Many Wrangler owners opt for aftermarket LED headlights. Quality can vary significantly, and sometimes these units have their own specific failure modes or require special adapters.
- CAN Bus System: Newer Wranglers (like the JL) use a sophisticated CAN bus (Controller Area Network) system. This means the headlights are electronically controlled and monitored by the vehicle’s computer. A simple bulb swap might not be enough; sometimes, the computer needs to be reprogrammed or a special resistor/decoder needs to be installed, especially with aftermarket lights.
Jeep Grand Cherokee
Grand Cherokees, particularly earlier generations, might have issues with headlight dimmer switches or multi-function switches that control headlights, turn signals, and wipers. These can wear out over time.
- Corrosion: Due to their more complex interiors and potential for water leaks, Grand Cherokees can sometimes suffer from corrosion in electrical connectors, including those for the headlights.
Jeep Cherokee (xj, Kj, Kk, Kl)
Older Cherokee models (like the XJ) are known for their robust but sometimes aged electrical systems.
- Aging Wiring: With age, the wiring insulation can become brittle and crack, leading to short circuits or open circuits. Ground points can also become heavily corroded.
- Headlight Upgrade Kits: Many XJ owners opt for headlight wiring harness upgrade kits. These kits bypass the original, sometimes undersized, wiring and relays to provide more direct power to the headlights, improving brightness and reliability.
Advanced Diagnostics And Tools
If the basic checks don’t solve the problem, you might need more advanced tools and knowledge.
Multimeter Usage
A multimeter is an essential tool for any DIY mechanic. It can measure voltage, resistance (ohms), and current.
- Voltage Test: With the headlight switch on, you can check if voltage is reaching the headlight connector. If you have 12V at the connector but the bulb doesn’t light (and you’ve confirmed the bulb is good), the issue is likely with the bulb’s ground connection.
- Resistance Test: As mentioned earlier, you can test fuses (should show very low resistance if good), relays, and ground connections for continuity.
Troubleshooting Relays And Fuses More Deeply
- Relay Testing: Beyond swapping, a relay can be tested by applying a small voltage to its control pins (usually pins 85 and 86) to activate it, and then using the multimeter to check if the high-current pins (usually 30 and 87) now have continuity.
- Fuse Box Issues: Sometimes, the fuse box itself can develop internal problems, like cracked solder joints or corroded busbars, preventing proper electrical contact.
Wiring Diagrams
For complex issues, a wiring diagram specific to your Jeep model and year is invaluable. These diagrams show the exact path of electricity through the vehicle’s circuits, helping you trace the problem from the switch to the bulb. You can usually find these in repair manuals like Haynes or Chilton, or sometimes online through Jeep forums or service databases.
When To Call A Professional
While many headlight issues are fixable with basic tools and patience, some situations warrant professional help:
- Complex Electrical Systems: If your Jeep has advanced features like automatic headlights, adaptive lighting, or a complex CAN bus system, diagnosing issues can be difficult without specialized equipment.
- Persistent Blown Fuses: If a new fuse blows immediately after installation, it signals a short circuit that could be hard to find and potentially dangerous to repair yourself.
- Uncertainty or Lack of Tools: If you’re not comfortable working with car electrical systems, lack the necessary tools, or can’t pinpoint the problem after basic checks, it’s safer and often more cost-effective to take it to a qualified mechanic.
- Damage to Mounting or Body: If troubleshooting requires removing significant body panels or risks causing further damage, professional expertise is recommended.
Maintenance Tips For Headlight Longevity
Preventing headlight issues is easier than fixing them.
- Regular Inspections: Periodically check your headlights. Look for dimming, flickering, or discoloration, which can indicate an impending failure or a problem with the electrical system.
- Keep Connectors Clean: Especially if you drive in areas with salt or heavy moisture, periodically inspect and clean electrical connectors, including those for the headlights.
- Use Quality Bulbs: Opt for reputable brands when replacing headlight bulbs. While cheaper options exist, they often don’t last as long and may not provide the same light output or pattern.
- Protect Against Moisture: Ensure headlight assemblies are properly sealed. Water intrusion can lead to corrosion and bulb failure.
Frequently Asked Questions
Why Did Only One Of My Jeep’s Headlights Go Out?
This is very common and usually points to the specific component related to that single headlight failing. The most likely culprits are the headlight bulb itself burning out, or a problem with the fuse or wiring specific to that side. If both headlights went out simultaneously, it would suggest a problem with a shared component like the headlight switch or relay.