The Jeep Cherokee XJ is a beloved vehicle known for its ruggedness and off-road capabilities. For owners who want to keep their XJ running smoothly and reliably, understanding and maintaining its fuel filter is crucial.
This seemingly small component plays a vital role in the overall health of your engine, ensuring that only clean fuel reaches its critical parts. Ignoring it can lead to a cascade of problems, from poor performance to costly engine damage.
This guide will walk you through everything you need to know about the Jeep Cherokee XJ fuel filter. We’ll cover its importance, how to identify signs of a failing filter, the different types available, and the process of changing it.
Whether you’re a seasoned mechanic or a new owner looking to tackle some DIY maintenance, this information will help you keep your XJ performing at its best.
Understanding The Role Of The Fuel Filter
The fuel filter in your Jeep Cherokee XJ acts as a guardian for your engine’s fuel system. Its primary job is to trap contaminants that might be present in the fuel. These contaminants can include dirt, rust particles from the fuel tank, paint chips, or other debris. If these impurities were allowed to pass through to the fuel injectors or carburetor (depending on the XJ model year), they could cause significant damage.
Think of it like the air filter for your engine, but for fuel. Just as an air filter prevents dust and debris from entering your engine’s combustion chamber, the fuel filter prevents harmful particles from entering your fuel injectors or carburetor.
Clogged injectors can lead to poor fuel atomization, resulting in a less efficient burn, reduced power, and increased emissions. In severe cases, abrasive particles can wear down the internal components of the fuel pump and injectors, leading to premature failure and expensive repairs.
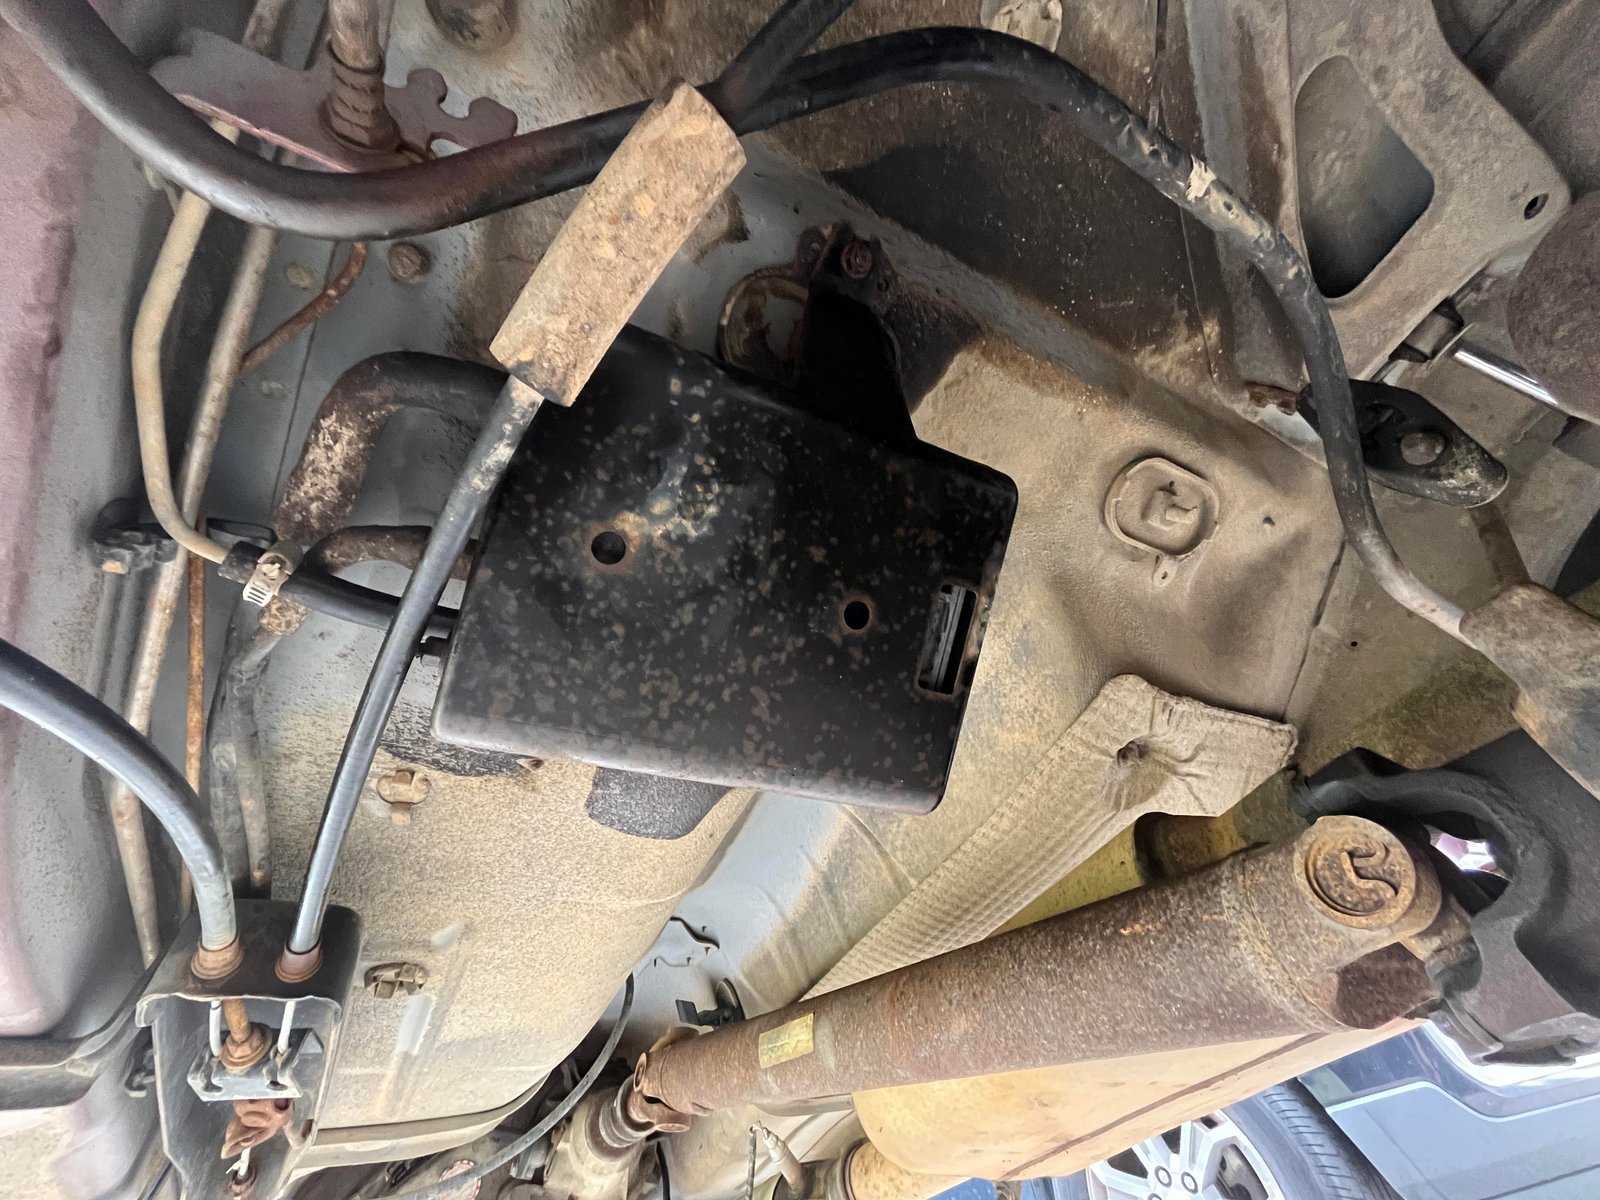
The fuel filter is typically located along the fuel line, somewhere between the fuel tank and the engine. Its exact placement can vary slightly depending on the specific year and configuration of your XJ, but it’s usually accessible for maintenance.
Signs Of A Clogged Or Failing Fuel Filter
A clogged fuel filter won’t necessarily cause an immediate breakdown, but it will gradually degrade your Jeep Cherokee XJ’s performance and fuel economy. Recognizing these signs early can save you from more serious issues down the road.
Here are the common symptoms that indicate your fuel filter might need attention:
- Reduced Engine Power and Hesitation: As the filter becomes more clogged, it restricts the flow of fuel to the engine. This means the engine isn’t getting enough fuel, especially under load or during acceleration. You might notice the Jeep feeling sluggish, hesitating when you press the gas pedal, or struggling to maintain speed, particularly uphill. This is one of the most noticeable signs that the fuel pump is working harder to draw fuel through a restricted path.
- Difficulty Starting the Engine: If the fuel filter is severely blocked, it can make it difficult for the engine to start. The starter motor might crank for longer than usual, or the engine might sputter and fail to catch. This happens because the engine isn’t receiving a sufficient initial fuel supply to begin combustion.
- Rough Idling and Stalling: A restricted fuel flow can also cause the engine to idle unevenly. You might feel vibrations or notice the RPM gauge fluctuating more than usual. In extreme cases, the engine might stall unexpectedly, especially when coming to a stop or when the engine is under a light load. This often occurs because the fuel supply is inconsistent.
- Poor Fuel Economy: When the fuel filter is clogged, the engine has to work harder to get the fuel it needs. This increased effort often translates to more fuel being consumed to achieve the same level of performance, leading to a noticeable drop in your miles per gallon (MPG). While many factors affect fuel economy, a dirty fuel filter is a common culprit.
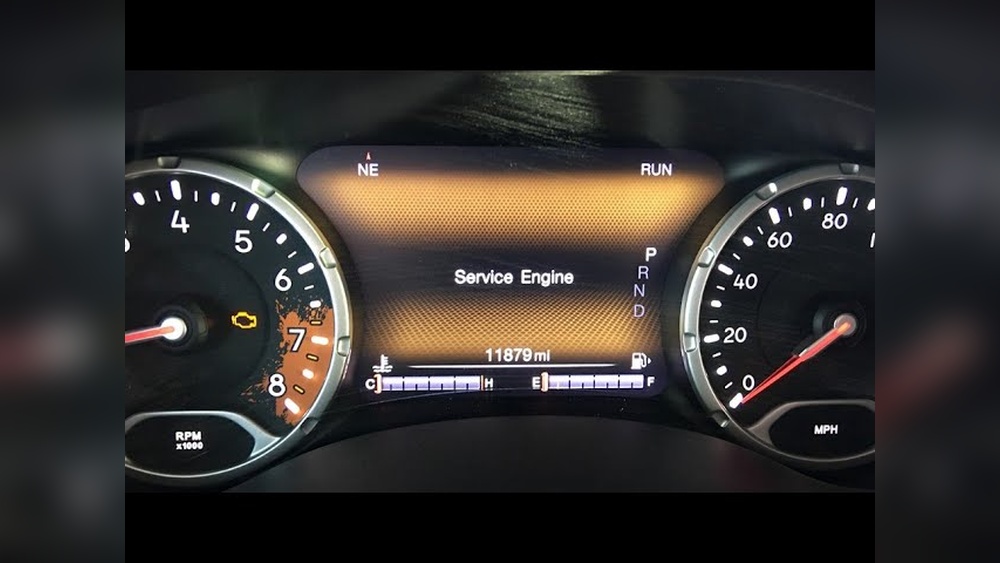
- Check Engine Light: In some cases, a severely restricted fuel flow can trigger the Check Engine Light on your dashboard. The engine’s computer might detect an issue with fuel delivery or air-fuel mixture and illuminate the warning light. While the Check Engine Light can indicate many different problems, a fuel filter issue is certainly a possibility.
- Sputtering or Misfiring: A dirty fuel filter can lead to an inconsistent fuel supply, causing the engine to sputter or misfire. This means that not all cylinders are firing correctly, which can lead to a rougher running engine and a loss of power. You might even hear popping sounds from the exhaust if misfires are occurring.
It’s important to note that some of these symptoms can overlap with other engine problems, such as a failing fuel pump, clogged fuel injectors, or ignition system issues. However, the fuel filter is a relatively inexpensive maintenance item, and replacing it as a preventative measure or when these symptoms appear is often a good first step in troubleshooting.
Types Of Fuel Filters For The Jeep Cherokee Xj
The Jeep Cherokee XJ has seen different fuel delivery systems throughout its production run, which means there are a couple of main types of fuel filters you might encounter. Understanding which type your XJ uses is essential for purchasing the correct replacement part.
In-line Fuel Filters
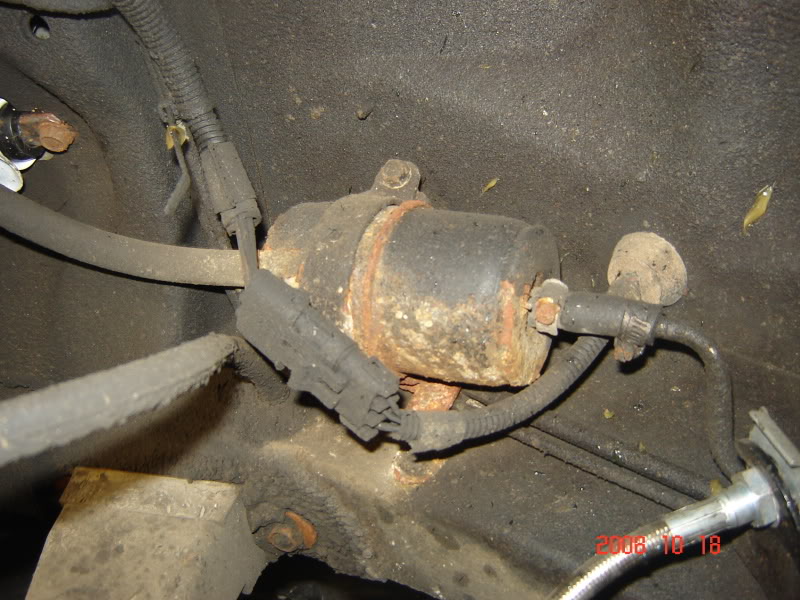
Many Jeep Cherokee XJ models, particularly those with earlier fuel injection systems or carbureted versions, use an in-line fuel filter. This type of filter is a standalone unit that is installed directly into the fuel line. It’s typically a cylindrical metal or plastic housing with inlet and outlet ports for the fuel line to connect to.
These filters are generally the most straightforward to replace. They are usually mounted on the frame rail, under the hood, or near the fuel tank.
The fuel line is disconnected from the filter's ports, and the old filter is removed and replaced with a new one, ensuring the flow direction arrow on the new filter points towards the engine.
In-tank Fuel Filters (fuel Pump Module)
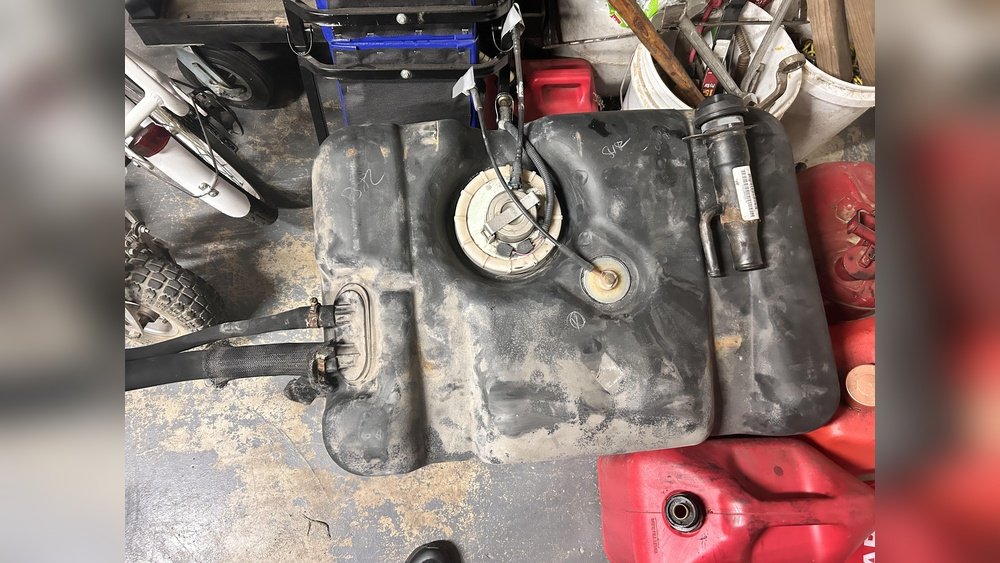
Later model Jeep Cherokee XJs, especially those with more advanced fuel injection systems, often have the fuel filter integrated into the fuel pump module, which is located inside the fuel tank. In this setup, the filter is part of a larger assembly that includes the fuel pump, fuel level sender, and sometimes a pre-filter sock.
Replacing an in-tank filter is a more involved process than replacing an in-line filter. It requires dropping the fuel tank or accessing the fuel pump module through an access panel (if equipped).
This is often a more labor-intensive job and might be best left to experienced DIYers or professional mechanics, especially if you are not comfortable working with the fuel system.
How to Identify Your Filter Type:
The easiest way to determine which type of fuel filter your XJ has is to consult your owner’s manual or visually inspect the fuel lines and the area around the fuel tank. If you see a separate canister in the fuel line, it’s an in-line filter.
If the filter is part of the fuel pump assembly inside the tank, you’ll need to consider an in-tank filter replacement. Online forums and Jeep-specific parts websites can also be valuable resources for identifying the correct part for your specific year and model.
When To Replace Your Jeep Cherokee Xj Fuel Filter
There isn’t a single, universally mandated replacement interval for every Jeep Cherokee XJ fuel filter because it depends on several factors. However, most manufacturers and mechanics recommend a general guideline.
- Manufacturer Recommendations: Check your owner’s manual for the specific replacement interval recommended by Jeep for your model year. This is the most reliable starting point.
- General Guideline: For in-line fuel filters, a common recommendation is to replace them every 20,000 to 30,000 miles (approximately 32,000 to 48,000 kilometers).
- In-Tank Filters: Filters integrated into the fuel pump module are often considered more durable and may last longer, sometimes up to 60,000 to 100,000 miles (96,000 to 160,000 kilometers). However, their lifespan is still dependent on fuel quality and driving conditions.
- Driving Conditions: If you frequently drive in dusty environments, use fuel from less reputable stations, or tow heavy loads, your fuel filter might clog faster than usual. In such cases, consider replacing it more frequently.
- Symptoms: As discussed earlier, if you experience any of the symptoms of a clogged fuel filter, it’s a strong indication that it needs to be replaced, regardless of the mileage.
Pro Tip: It’s generally a good idea to replace the fuel filter when you replace your spark plugs or perform other major tune-up services. This helps ensure you’re staying ahead of potential issues and makes the maintenance task more efficient.
How To Replace The Fuel Filter (in-line Type)
Replacing an in-line fuel filter on a Jeep Cherokee XJ is a manageable DIY project for many owners. However, it involves working with the fuel system, so safety precautions are paramount. Always work in a well-ventilated area, away from open flames or sparks. Wear safety glasses and fuel-resistant gloves.
Here’s a general step-by-step guide. Note: Procedures can vary slightly by year, so always consult a service manual specific to your XJ if possible.
Tools And Materials You’ll Need:
- New fuel filter (correct type for your XJ)
- Wrench set (metric and/or SAE, depending on your XJ)
- Pliers (for hose clamps, if applicable)
- Rag or shop towels
- Catch pan or bucket to collect spilled fuel
- Safety glasses
- Fuel-resistant gloves
- Fire extinguisher (just in case)
Step-by-step Replacement Process:
- Relieve Fuel Pressure: This is a critical safety step. Locate the fuel pump relay or fuse and remove it. Then, try to start the engine and let it run until it stalls. This will relieve most of the pressure in the fuel system. Alternatively, you can disconnect the fuel pump connector.
- Locate the Fuel Filter: Find the existing fuel filter. It’s usually a metal or plastic cylinder mounted on the frame rail or firewall, with fuel lines connected to it. Note the direction of fuel flow, which is typically indicated by an arrow on the filter housing.
- Prepare for Fuel Spillage: Place a catch pan underneath the fuel filter to collect any residual fuel that will inevitably spill out when you disconnect the lines. Have rags ready to wipe up spills immediately.
- Disconnect Fuel Lines: Using the appropriate wrenches, carefully loosen and disconnect the fuel lines from both ends of the filter. Be prepared for a small amount of fuel to drip out. Some older XJs might use spring-lock fittings or hose clamps, so use the correct tools to release them without damaging the lines.
- Remove the Old Filter: Once the fuel lines are disconnected, remove the old fuel filter. It might be held in place by a bracket or clamp.
- Install the New Filter: Ensure the new filter is oriented correctly, with the flow direction arrow pointing towards the engine (away from the fuel tank). Install the new filter into the bracket or clamp.
- Reconnect Fuel Lines: Reconnect the fuel lines to the new filter, making sure they are securely attached. If using hose clamps, tighten them appropriately. If it’s a push-lock system, ensure the line clicks firmly into place.
- Restore Fuel Pressure: Reinstall the fuel pump relay or fuse, or reconnect the fuel pump connector.
- Check for Leaks: Turn the ignition key to the “ON” position (without starting the engine) for a few seconds. This will activate the fuel pump and pressurize the system. Carefully inspect both connections at the new fuel filter for any signs of leaks. If you see any fuel dripping, turn the key off immediately and re-tighten the connections.
- Start the Engine: Once you’re confident there are no leaks, start the engine. Let it run for a few minutes and continue to check for leaks. The engine might run a little rough for a moment as air is purged from the system.
- Dispose of Old Filter: Properly dispose of the old fuel filter and any spilled fuel according to local regulations.
Warning: Fuel is highly flammable. Always prioritize safety. If you are uncomfortable with any part of this process, it’s best to have a professional mechanic perform the replacement.
How To Replace The Fuel Filter (in-tank Type)
Replacing an in-tank fuel filter is a significantly more complex procedure than changing an in-line filter. It involves removing the fuel tank or accessing the fuel pump module from above, which can be a challenging and potentially dangerous task due to the presence of fuel and the weight of the tank.
This job is generally recommended for experienced mechanics or those with a good understanding of automotive fuel systems and safety protocols.
General Steps (may Vary Significantly):
- Safety First: Ensure you are in a well-ventilated area, away from ignition sources. Wear safety glasses and fuel-resistant gloves. Have a fire extinguisher readily available.
- Relieve Fuel Pressure: Similar to the in-line filter, relieve fuel pressure from the system.
- Access the Fuel Pump Module:
- Dropping the Tank: This is the most common method. You’ll need to disconnect the fuel lines, electrical connectors, filler neck, and vent hoses. Then, support the tank with a floor jack and carefully lower it. This is a heavy and awkward job.
- Access Panel: Some vehicles have an access panel under the rear seat or in the cargo area that allows direct access to the top of the fuel tank and the fuel pump module. If your XJ has this, it makes the job much easier.
- Remove the Fuel Pump Module: Once the tank is accessible, disconnect the electrical connector and fuel lines from the top of the module. You’ll then need to unbolt or un-clasp the retaining ring that holds the module in place. Carefully lift the module out of the tank. Be aware that the module can be fragile, and you’ll want to avoid damaging the float arm of the fuel level sender.
- Replace the Filter Element: The fuel filter is usually a small component attached to the bottom of the fuel pump module, often covered by a pre-filter sock. Carefully remove the old filter element and install the new one, ensuring it’s properly seated. Replace the pre-filter sock if it’s a separate part.
- Reassemble: Reinstall the fuel pump module into the tank, securing the retaining ring. Reconnect the fuel lines and electrical connectors.
- Reinstall the Tank: If you dropped the tank, carefully raise it back into position and reattach all the hoses, lines, and straps.
- Final Checks: Turn the ignition key to the “ON” position a few times to pressurize the system and carefully check for any fuel leaks around the module connections.
- Start the