If your Jeep Grand Cherokee headlight is dim, broken, or filled with moisture, removing it may seem tough. But with the right tools and clear steps, you can do this at home.
This guide shows you exactly how to remove your headlight safely, explains key differences between models, and gives you tips only experienced mechanics usually know.
Tools And Preparation
Before starting, gather these tools:
- Socket wrench set (8mm and 10mm sockets are common)
- Flathead screwdriver
- Phillips screwdriver
- Torx bit set (for some models)
- Gloves to protect your hands
Always disconnect the battery before working with headlights to avoid electrical shock or short circuits. Park your Jeep on a flat surface, and make sure the engine is cool.
Understanding Headlight Types And Model Differences
Jeep Grand Cherokee headlights come in different types:
- Halogen (most common on older models)
- HID (Xenon)
- LED (found on newer models)
Not all models have the same headlight removal method. For example, the 2011–2020 WK2 generation uses more plastic clips and hidden bolts than earlier models. Check your owner’s manual for specific information. Here’s a quick comparison:
| Model Year | Main Fasteners | Headlight Type |
|---|---|---|
| 2011-2020 (WK2) | Plastic clips, 3 bolts | Halogen/HID/LED |
| 2005-2010 (WK) | 2 bolts | Halogen/HID |
| 1999-2004 (WJ) | 2 bolts | Halogen |
Step-by-step Headlight Removal
Follow these steps for safe removal. The process may vary a little depending on your Jeep’s year, but these instructions cover the most common setups.
1. Open The Hood And Locate Fasteners
Pop the hood and use the prop rod to keep it open. Look for screws or bolts holding the headlight to the frame.
Most will be on top or behind the headlight.
2. Remove The Front Grille (if Required)
On many Grand Cherokees, you must remove the grille to access all headlight bolts.
- Use a flathead screwdriver to gently lift plastic clips along the top edge of the grille.
- Pull the grille forward carefully. Don’t force it, or you may break tabs.
A common mistake is pulling the grille too hard, which can snap off mounting tabs. Work slowly.
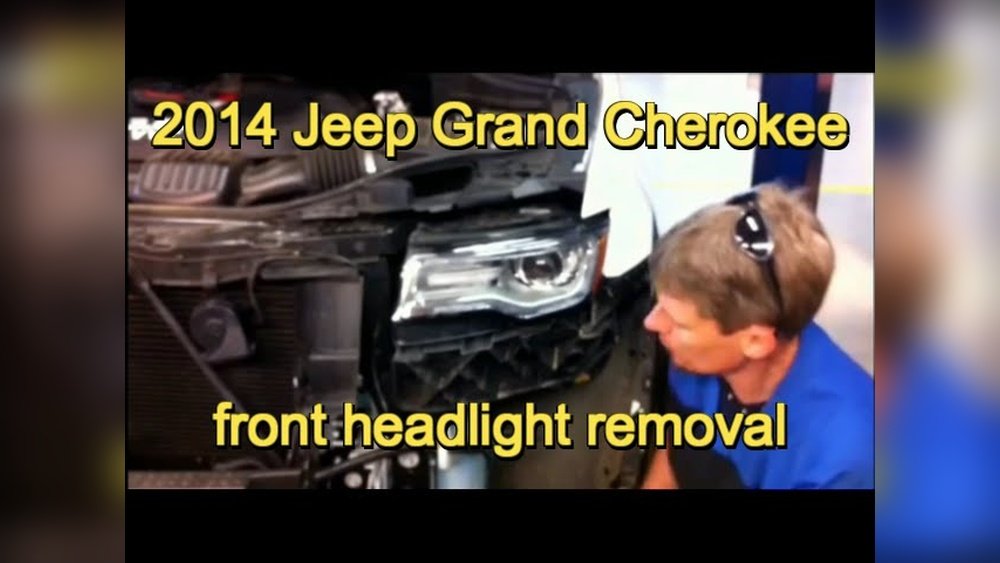
3. Unscrew Headlight Mounting Bolts
Use your socket wrench to remove the bolts holding the headlight. There are usually two or three. Some bolts may be hidden behind the grille or a trim piece.
| Fastener Location | Typical Tool |
|---|---|
| Top of headlight | 10mm socket |
| Side near fender | 8mm socket or Torx |
| Bottom (rare) | Phillips screwdriver |
4. Disconnect Wiring Harness
Gently pull the headlight assembly forward. Behind it, you’ll see one or more electrical connectors.
Press the release tab and carefully unplug these.
Pro tip: Some connectors have a red locking tab. Slide this out before pressing the main release.
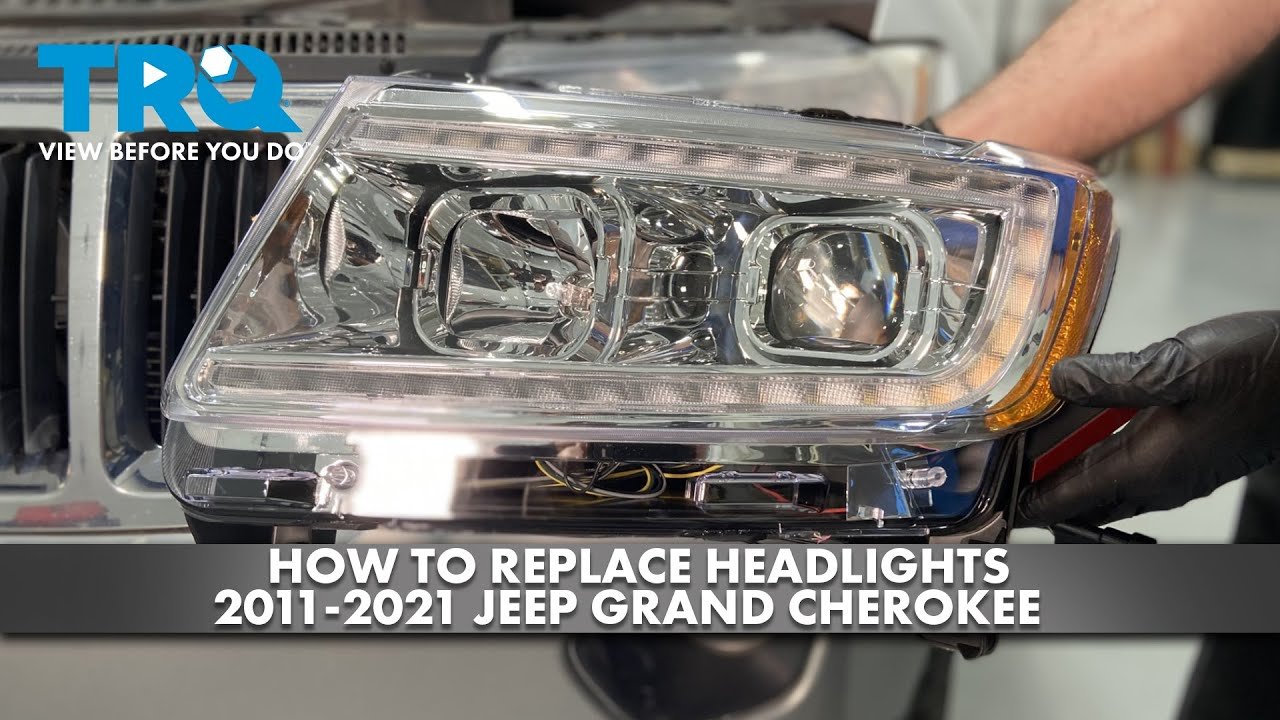
5. Remove The Headlight
With all bolts and connectors removed, pull the headlight straight out. If it’s stuck, wiggle it gently.
Never pry with force plastic mounting points can snap.
If you notice moisture or broken clips, now is a good time to replace seals or order new clips for reinstallation.
Tips And Common Pitfalls
- Label bolts as you remove them. Some are different lengths, and mixing them up can cause fit problems later.
- Always check for hidden screws behind fender liners or trim pieces.
- If you plan to reuse the same bulbs, avoid touching the glass with your fingers—skin oil can shorten bulb life.
- For 2011 and newer models, you may need to turn the steering wheel to access certain side bolts.
One thing beginners often miss: headlight assemblies sometimes have alignment pins. These need to be lined up perfectly when reinstalling, or your headlights will aim incorrectly.

Reinstallation Essentials
Reinstalling is the reverse of removal. But before you finish:
- Check all electrical connectors are secure. Loose connectors cause flickering or non-working lights.
- Test the headlights before fully bolting everything back. If something doesn’t work, check connectors and fuses.
- Make sure the assembly sits flush. If there are gaps, check for misaligned pins or trapped wires.
Here’s a quick reference for reinstallation checks:
| Check | Why It Matters |
|---|---|
| Wiring Secure | Prevents flickering |
| Bolts Tightened Evenly | Avoids headlight misalignment |
| Seals in Place | Keeps moisture out |
When To Seek Professional Help
If you see signs of burned wires, broken plastic around the mounting area, or severe water damage, it’s safer to consult a professional. Also, some LED or HID models may require headlight reprogramming after replacement.
For more information on vehicle repair and safety, check this official NHTSA resource.

Frequently Asked Questions
How Long Does It Take To Remove A Jeep Grand Cherokee Headlight?
For most people, the job takes 30 60 minutes. If it’s your first time or you need to remove the grille, allow a bit longer.
Do I Need To Remove The Front Bumper?
Usually, you do not need to remove the bumper. On some special trims or for certain HID/LED upgrades, bumper removal might help, but it’s rarely required for standard headlight removal.
Are Both Headlights Removed The Same Way?
Yes, the left and right headlights use the same steps. Some wiring harnesses may be slightly different, but the removal process is identical.
Can I Upgrade To Led Headlights During Removal?
Yes, many owners upgrade to LED headlights for better brightness. Make sure the new assembly fits your model year and is street legal in your area.
What If My Headlight Won’t Come Out After Removing All Bolts?
Double-check for hidden clips or screws. Sometimes debris or old sealant can stick the assembly in place. Wiggle gently never force it out.
With these steps and tips, you can remove your Jeep Grand Cherokee headlight confidently and safely. Take your time, stay organized, and you’ll save money while learning more about your vehicle.