Removing the center console in a Jeep Wrangler JL can look intimidating, especially if you have not done interior work before. However, with careful steps and the right tools, you can do this job at home and save money. Whether you want to add accessories, fix wiring, or just clean thoroughly, understanding the process will help you avoid damage and mistakes.
Preparation Before You Begin
First, make sure you have everything ready. You do not want to stop halfway and search for a missing tool.
Tools You Will Need:
- Phillips head screwdriver
- 10mm socket and ratchet
- Plastic trim removal tool (to prevent scratches)
- Small flathead screwdriver (optional)
Safety Steps:
- Turn off the engine and remove the key.
- Disconnect the negative battery terminal using the 10mm socket. This prevents any electrical short or airbag deployment.
- Move both front seats all the way back for more room.
Tip: Take a photo of the console area before starting. This helps with reassembly if you forget the order of parts.
Step-by-step Center Console Removal
Each Jeep Wrangler JL may have some small differences depending on trim and year, but the main process is similar.
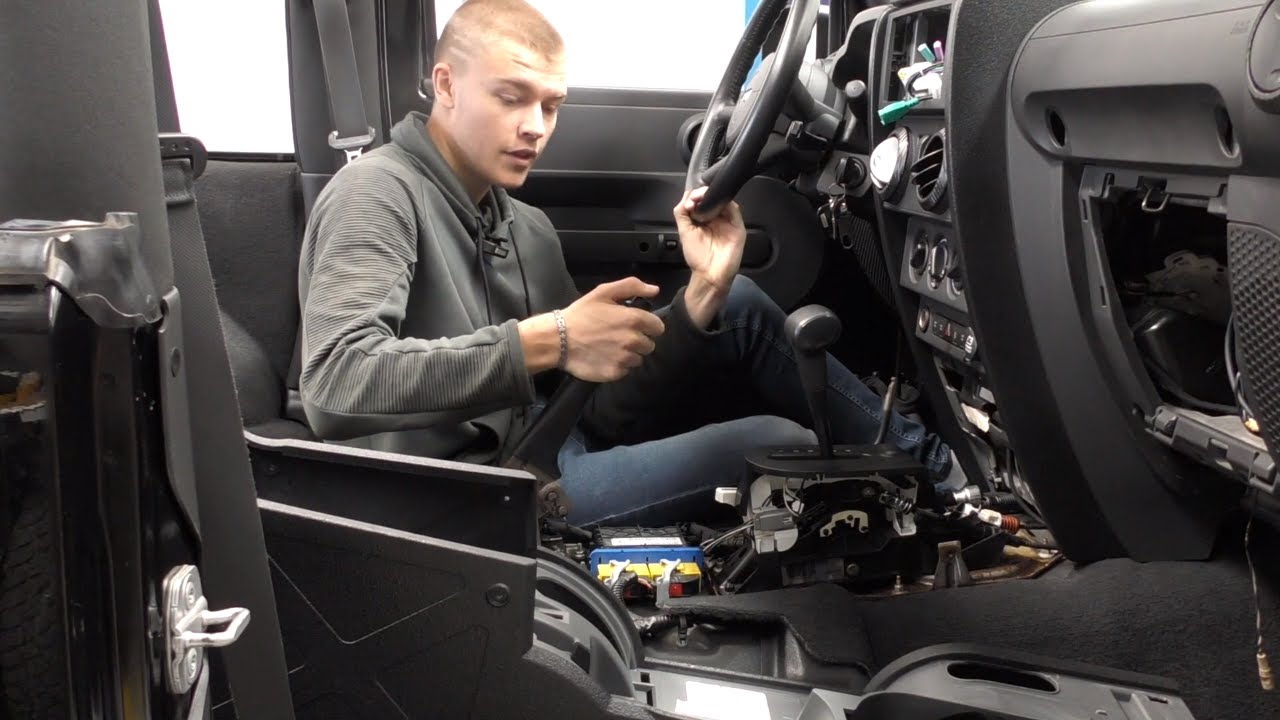
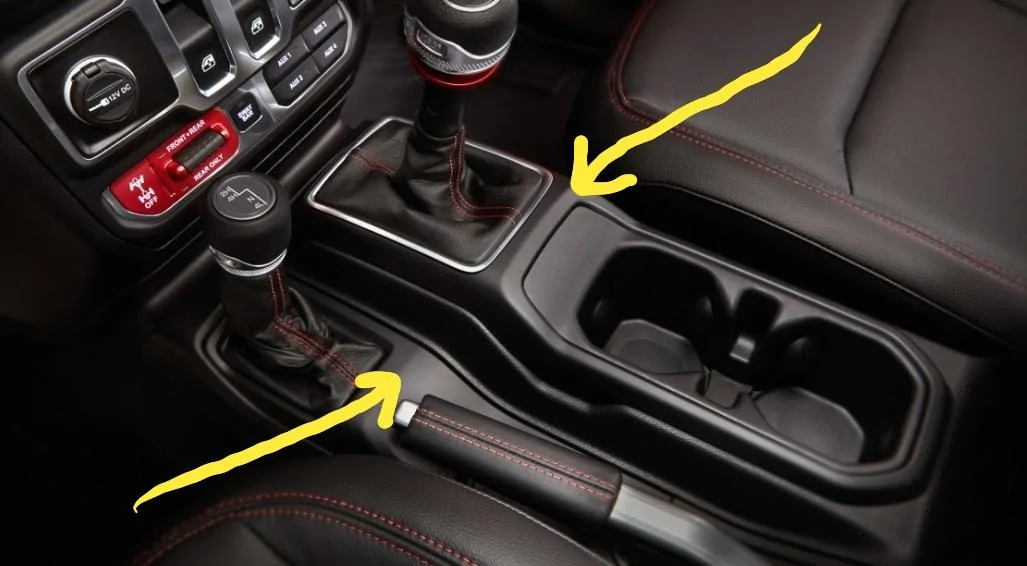
1. Remove Shifter Knobs
Start by taking off the shift lever knobs. Grip the knob firmly, then pull up with a bit of force. In most JLs, the transfer case knob (for 4WD) also pulls straight up. If they are tight, gently twist while pulling.
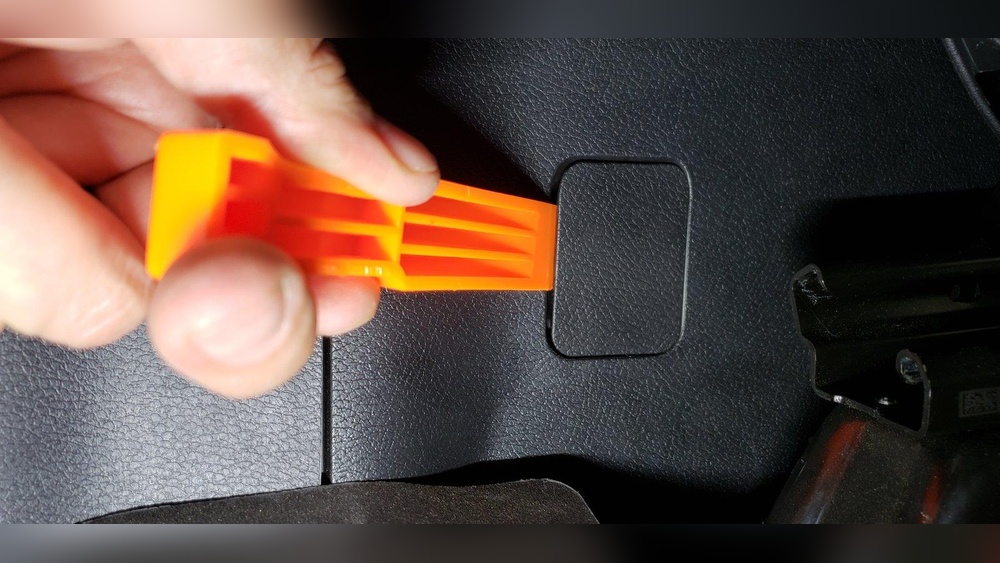
2. Pry Up Trim Panels
Use your plastic trim tool to carefully work around the console’s side panels and cupholder trim. Insert the tool under the edge and gently pry up. Work slowly to avoid cracking the plastic.
Insight: Some clips can pop out suddenly. Keep your face away from the area as you work.
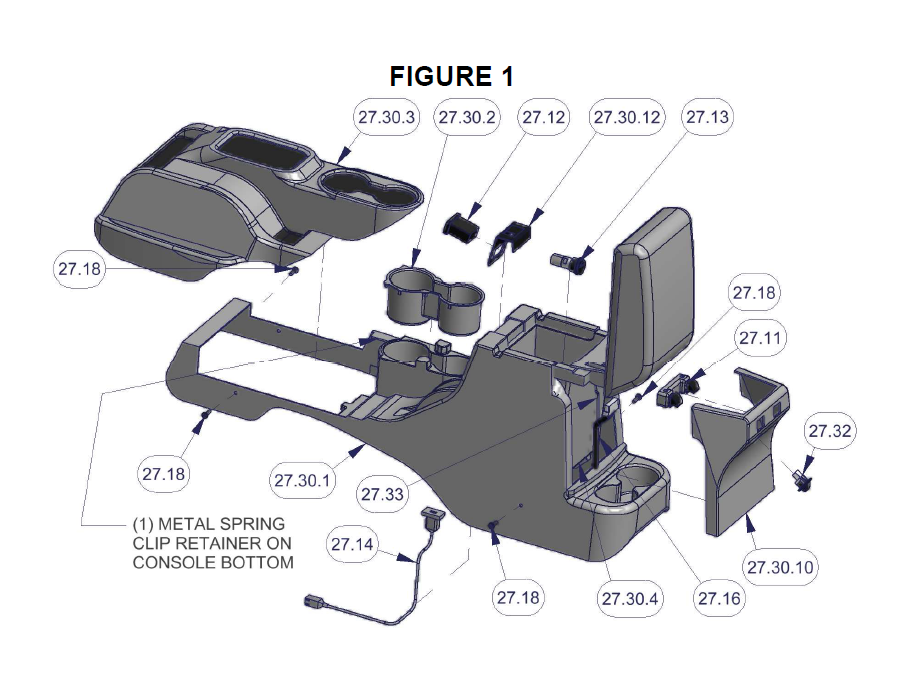
3. Remove Bolts And Screws
After removing trim, you will see several screws and bolts holding the console:
- Two screws at the front near the shifters.
- Two screws under the rubber tray or mat inside the main storage compartment.
- Two bolts at the rear, usually under a plastic cover.
Use a Phillips screwdriver or 10mm socket as needed. Place all hardware in a cup so you do not lose anything.
4. Disconnect Electrical Connectors
If your Jeep has USB ports or 12V outlets in the console, gently disconnect the wiring harnesses. Press the release tabs and pull apart without yanking.
Non-obvious insight: Some models have hidden connectors under foam or tape—check carefully so you don’t tear wires.
5. Lift Out The Console
Now, the console should be free. Tilt it slightly and lift it straight up. Watch for any wire still attached—never force the console out if something feels stuck.
Tip: The console is bulkier than it looks. It helps to open both front doors for more space.
Common Problems And How To Avoid Them
Removing the center console is simple, but some issues are common for beginners.
| Problem | How to Avoid |
|---|---|
| Broken clips | Use plastic tools, pull evenly, and work slowly |
| Lost screws | Keep hardware in a labeled cup or tray |
| Damaged wiring | Check for hidden connectors and disconnect gently |
Reinstalling The Center Console
After your work is done, putting the console back is just as important as removal.
- Check all wiring before lowering the console into place.
- Reconnect all electrical plugs.
- Align the console carefully, making sure it sits evenly.
- Reinstall screws and bolts in reverse order.
- Snap trim panels back in place. They should click softly.
- Push shifter knobs back onto their levers until secure.
- Reconnect the negative battery terminal.
Pro tip: Test all electrical functions (USB, lights) before finishing up.
Time And Difficulty
Most people can complete this job in 45–90 minutes. If you work carefully and keep track of screws, you will avoid problems.
| Skill Level | Time Needed | Special Tools? |
|---|---|---|
| Beginner | 60–90 min | No |
| Intermediate | 45–60 min | No |
Practical Tips For First Timers
- Label everything: Use tape to mark where each screw or bolt came from.
- Work in daylight: Good lighting helps you see hidden clips and wires.
- Stay organized: Lay out parts in the order you remove them.
Many owners forget about the small plastic clips that hold trim panels. These clips can break if you rush. Replacement clips are cheap, but waiting for parts delays your project.
Some people use metal screwdrivers for prying. This scratches soft plastic. Always use a plastic trim tool to keep the finish looking new.
When To Get Professional Help
If your Wrangler JL has options like the proximity key system, extra wiring, or aftermarket accessories, consider asking a professional for help. Complex wiring can trigger warning lights if disconnected wrong. Dealerships and trusted shops have experience with these systems.
More Resources
For official diagrams and wiring details, check the Jeep JL service manual. Many forums and YouTube channels also offer step-by-step guides with photos or videos. One helpful source is Wrangler Forum, where owners share their experiences and tips.
Frequently Asked Questions
How Hard Is It To Remove The Jeep Wrangler Jl Center Console?
It is a moderate DIY task. With basic tools and patience, most people can finish in about an hour. Beginners should go slowly to avoid breaking clips.
Will Removing The Console Void My Warranty?
No, as long as you do not damage wiring or electronics. However, if you break something, repairs may not be covered.
Do I Need To Remove The Seats?
No, you do not need to remove the seats. Sliding them back gives you enough space to work around the console.
Can I Reuse The Plastic Clips?
Usually yes, but some may break during removal. Replacement clips are available online or at auto parts stores.
Why Disconnect The Battery Before Starting?
Disconnecting the battery protects you from electrical shocks and prevents accidental airbag deployment, especially if your console has wiring for power outlets or sensors.
By following these steps, you can remove your Jeep Wrangler JL center console safely and confidently. Take your time, stay organized, and you will get the job done without stress.