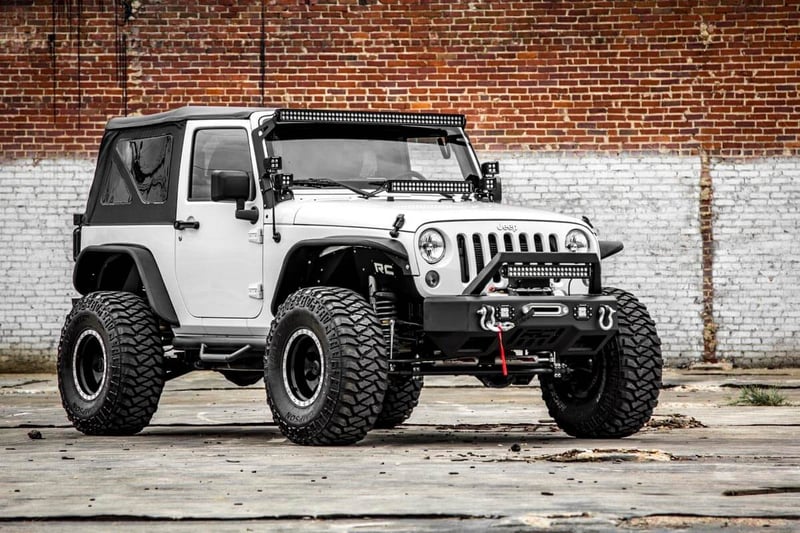
Installing a lift kit on your Jeep Cherokee can transform both its appearance and off-road capabilities. Many Jeep owners choose a lift kit to fit larger tires, gain extra ground clearance, and handle rough trails.
While it seems complex, the process is manageable with the right preparation, tools, and patience. This guide will walk you through the steps, highlight common mistakes, and offer practical tips to ensure a successful installation.
Understanding Lift Kits For Jeep Cherokee
Lift kits come in different sizes and types, each designed for specific uses. The most popular options for the Jeep Cherokee (XJ, KL, or newer models) include spacer lifts (budget boost), suspension lifts, and body lifts.
| Lift Kit Type | Height Increase | Main Purpose |
|---|---|---|
| Spacer Lift | 1-2 inches | Appearance, mild off-road |
| Suspension Lift | 2-6 inches | Serious off-road, larger tires |
| Body Lift | Up to 3 inches | Clearance for tires, minor off-road |
Suspension lifts are the most common choice for Jeep Cherokee owners aiming for better performance on rough terrain.
Tools And Preparation
Start by gathering essential tools and ensuring a safe workspace. Most installations require:
- Jack and jack stands
- Socket and wrench set (metric and SAE)
- Pry bar
- Torque wrench
- Spring compressors (for some kits)
- WD-40 or similar lubricant
Check the lift kit box for all parts before beginning. Read the instructions fully.
Skipping this step is a common mistake and can lead to missing pieces or confusion during the process.
Safety tip: Always work on a level surface and use jack stands. Never rely on a jack alone to support your vehicle.
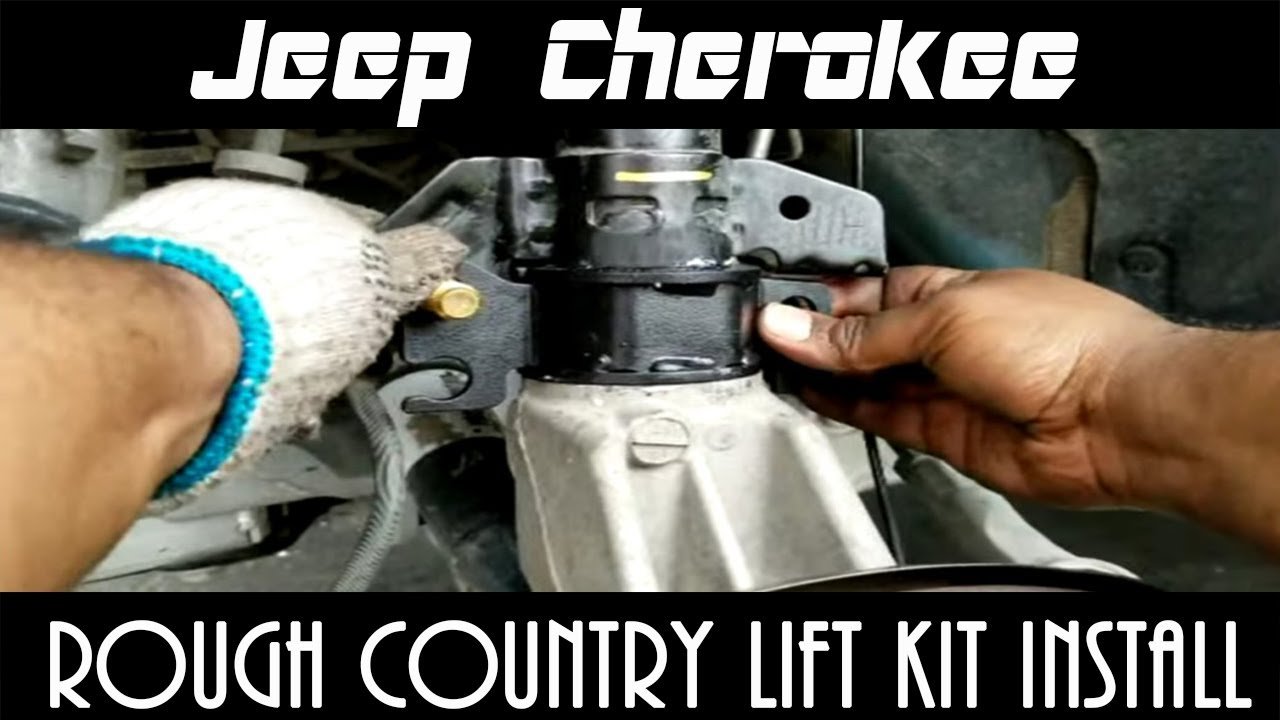
Step-by-step Installation Process
1. Secure Your Jeep
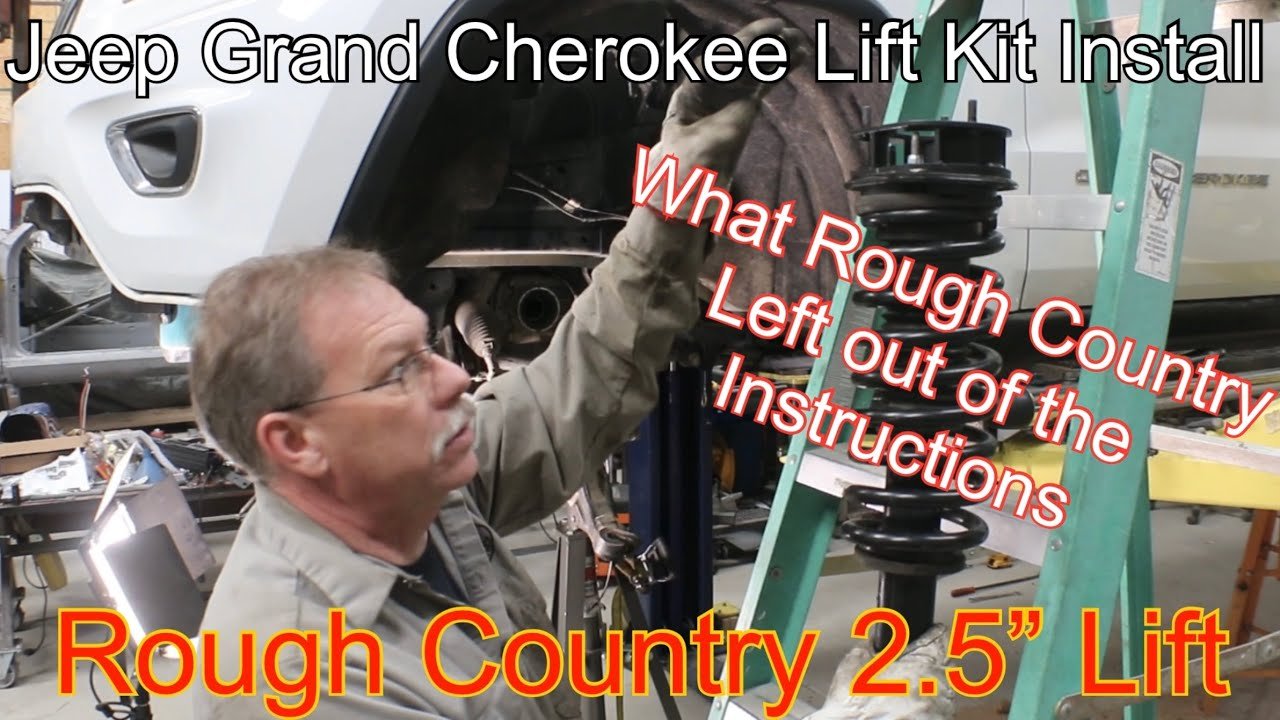
Park your Jeep Cherokee on a flat surface. Loosen lug nuts on the wheels but do not remove them. Use the jack to lift the vehicle, then secure it on jack stands. Remove the wheels.
2. Remove Factory Suspension Components
Depending on your kit, you may need to remove:
- Shocks
- Coil springs
- Control arms
- Sway bar links
Apply lubricant to all bolts and let it soak for a few minutes. This helps prevent broken bolts, which is a frequent headache for beginners.
3. Install New Lift Kit Components
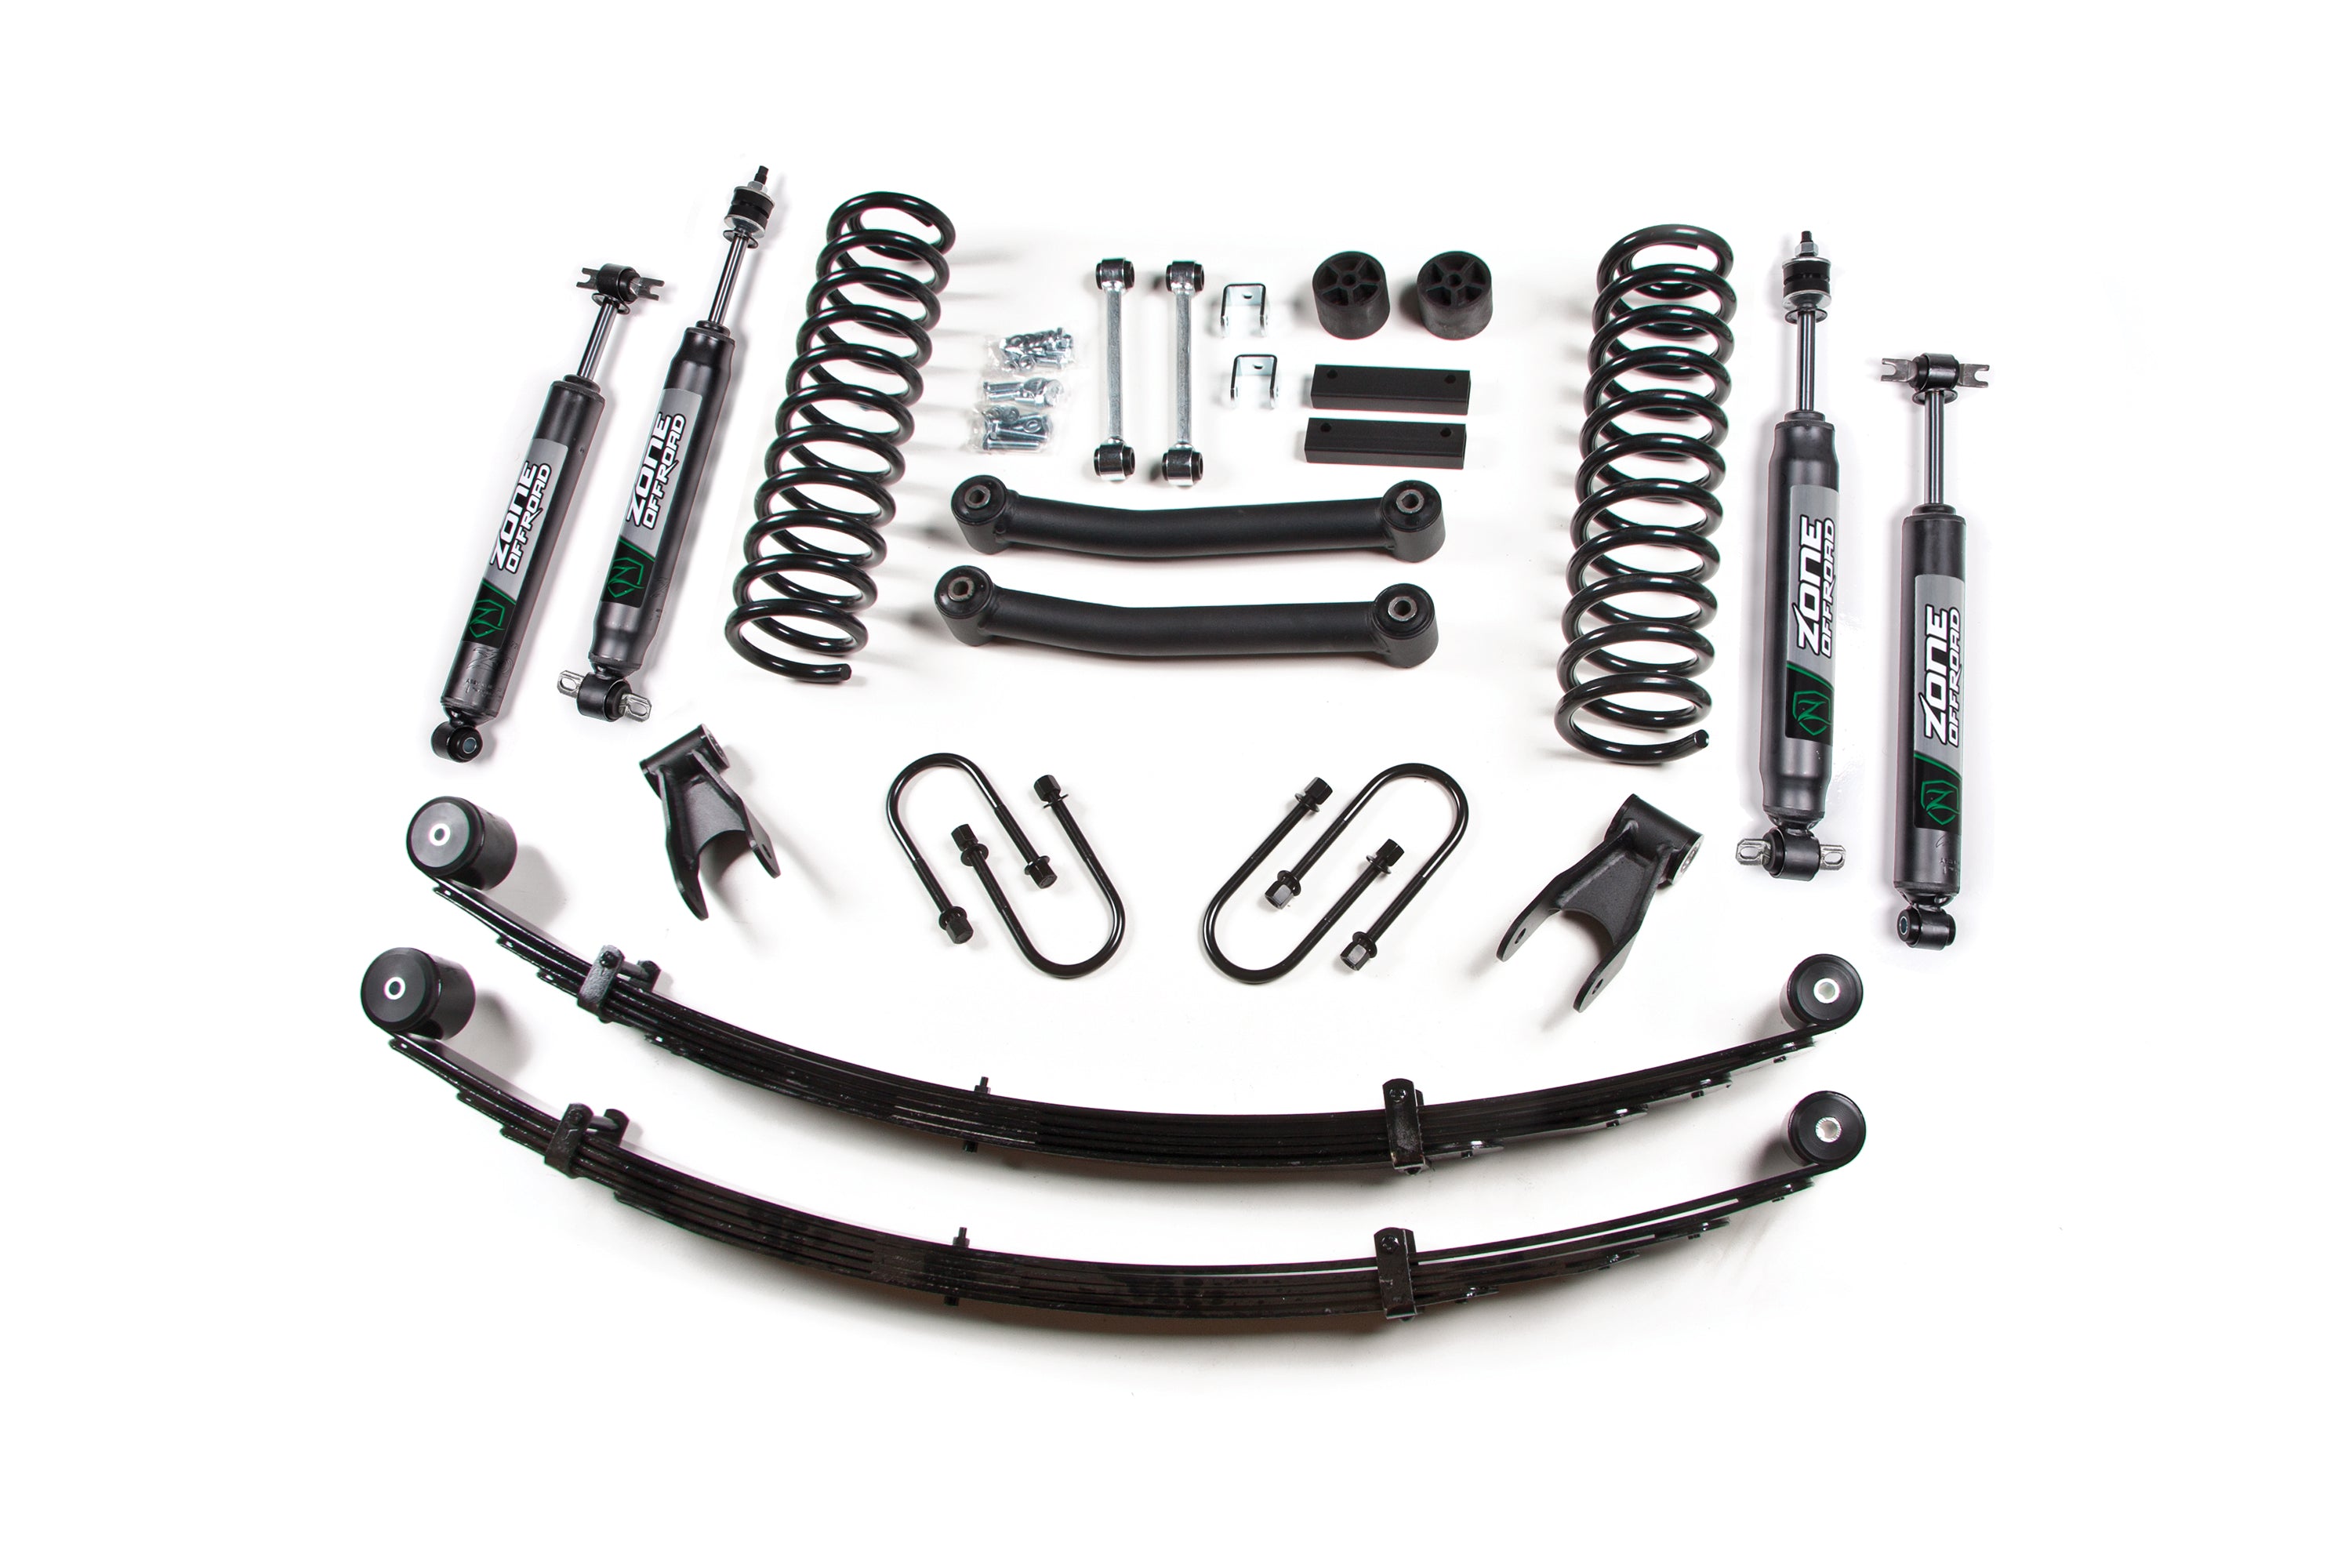
Follow the specific instructions provided with your kit. Usually, you will:
- Install new or extended coil springs and/or spacers
- Attach new shocks
- Replace or adjust control arms (for larger lifts)
- Install drop brackets or track bar brackets as needed
Take care to install all bushings and hardware in the correct order. Some kits require minor drilling or cutting measure twice before modifying any part.
4. Reassemble And Tighten
Reinstall the wheels and hand-tighten the lug nuts. Lower the vehicle from the jack stands. Use a torque wrench to tighten all nuts and bolts to the manufacturer’s specifications.
5. Alignment And Final Checks
After the lift, your Jeep Cherokee’s alignment will be off. Drive slowly to a tire shop for a professional alignment. Check all fasteners again after the first 100 miles, as parts may settle or loosen.
| Component | Pre-Lift Torque (ft-lbs) | Post-Lift Torque (ft-lbs) |
|---|---|---|
| Control Arm Bolts | 85 | 130 |
| Shock Mounts | 60 | 80 |
| Lug Nuts | 90 | 100 |
Common Mistakes And How To Avoid Them
- Not checking all kit parts before starting. Missing bolts or parts can stop the project halfway.
- Skipping the alignment. This leads to uneven tire wear and poor handling.
- Over-tightening or under-tightening bolts. Always use a torque wrench and follow specifications.
- Forgetting to extend brake lines. Lifting your Jeep without proper brake line extension can lead to dangerous brake failure.
- Not considering driveshaft angles. Lifts over 3 inches may require new driveshafts or adjustments to prevent vibration.
Tips For A Smoother Installation
- Soak bolts with WD-40 a day before you start, especially for older Cherokees.
- Have a friend help. Some steps, like compressing springs, are safer with two people.
- Take photos as you remove parts. This helps during reassembly.
- Label factory bolts and nuts. Mixing hardware can cause problems later.
- Plan for extra time. The first install often takes longer than expected.
What To Expect After The Lift
Lifting your Jeep Cherokee changes its center of gravity. You may notice a stiffer ride, different handling, and increased wind noise. Larger tires can reduce your fuel efficiency by 1-3 mpg. On the upside, you gain better ground clearance, more aggressive looks, and the ability to tackle rougher trails.
Some owners notice small vibrations after a lift, especially above 2.5 inches. If this happens, you may need to adjust the driveshaft angle or install transfer case drop kits.
| Lift Height | Recommended Tire Size | Possible MPG Drop |
|---|---|---|
| 2 inches | 30 inches | 1 mpg |
| 3-4 inches | 31-32 inches | 2 mpg |
| 6 inches | 33 inches | 3 mpg |
When To Consider Professional Help
While many Jeep owners install lift kits themselves, it’s smart to seek professional help if:
- You lack the right tools or space.
- You notice frame rust or damaged bolts.
- The lift is over 4 inches (requires more modifications).
- You feel unsure at any stage.
A shop can complete the job faster and ensure everything is safe, especially when it comes to steering geometry and driveshaft adjustments.
For more technical guidance, check the official Jeep Maintenance site.
Frequently Asked Questions
How Long Does It Take To Install A Lift Kit On A Jeep Cherokee?
Most DIY installs take 6 to 10 hours, depending on experience and lift kit complexity. Suspension lifts take longer than simple spacer kits.
What Size Lift Is Best For Daily Driving?
A 2 to 3-inch lift is best for most daily drivers. It allows for larger tires and mild off-roading without major changes to handling or ride comfort.
Will A Lift Kit Void My Jeep’s Warranty?
Lifting your Cherokee can affect the warranty on suspension and drivetrain parts. Always check with your dealer before installing.
Can I Fit 33-inch Tires With A 2-inch Lift?
No, a 2-inch lift usually fits up to 30-inch tires. For 33-inch tires, you’ll need at least a 4-inch suspension lift and possible trimming.
What’s The Cost To Install A Lift Kit Professionally?
Professional installation costs $400 to $1,200, plus the price of the kit. Costs rise with lift height and extra modifications.
Lifting your Jeep Cherokee is a rewarding upgrade that brings both style and substance. With careful planning, the right tools, and attention to detail, you can enjoy new adventures on and off the road.