Cleaning oil off an engine is a task many car owners face, especially after a leak or regular maintenance. Oil buildup can lead to overheating, poor performance, and even fire risk. Knowing how to clean oil safely and efficiently can extend your engine’s life and keep your vehicle running smoothly.
This guide explains the process step-by-step, highlights key tools and products, and shares practical tips you won’t find everywhere. Even if you are not a mechanic, you can do this with some care and patience. Let’s explore how to clean oil off an engine the right way.
Why It’s Important To Remove Oil From Your Engine
Oil on the engine surface isn’t just unsightly. It attracts dirt and dust, which can clog vital parts. Excess oil can also degrade rubber hoses and electrical wiring. Studies show that engines with frequent oil spills have a higher risk of malfunction and reduced efficiency. Cleaning not only improves appearance but also prevents long-term damage.
Leaving oil on your engine can also create a strong odor, especially when the engine heats up. Some car owners notice a burning smell or see smoke, which is often caused by oil dripping onto hot engine parts. Over time, oil can cause sticky buildup that is hard to remove and may hide cracks or leaks.
Even small oil spills can attract rodents, who might chew on wires or hoses. Keeping your engine clean helps you spot problems early, such as leaks or worn-out gaskets.
Preparing For Cleaning
Before you start, gather the right tools and take safety precautions.
- Turn off the engine and let it cool for at least 30 minutes. Cleaning a hot engine is risky and can cause burns.
- Wear gloves and eye protection to avoid skin contact. Engine oil contains chemicals that can irritate your skin or eyes.
- Remove any loose debris with a soft brush. Dirt and leaves can make cleaning less effective, so clear the area first.
Some extra items you might need include old towels, a bucket, and plastic wrap for covering sensitive parts. Make sure you have enough time—rushing can lead to mistakes. If possible, park your car on a flat surface and open the hood fully for easy access.
Here’s a quick comparison of common cleaning products:
| Product | Effectiveness | Safety | Cost (USD) |
|---|---|---|---|
| Degreaser Spray | High | Medium | 10-20 |
| Dish Soap & Water | Medium | High | 2-5 |
| Brake Cleaner | High | Low | 8-15 |
Choose a degreaser spray for best results, but dish soap is safer for sensitive parts. Brake cleaner works fast but is harsher and can dry out rubber or plastic. Always read product instructions before use.
Step-by-step Guide To Cleaning Oil Off The Engine
Step 1: Protect Sensitive Areas
Cover the air intake, battery, and exposed wiring with plastic wrap or bags. This prevents water or chemicals from causing electrical issues.
For extra protection, use tape to secure the plastic covers. It’s easy to forget small connectors or sensors, but even a little water can cause trouble. If your car has a fuse box under the hood, cover that as well.
Taking a few minutes to protect these areas will save you from costly repairs.
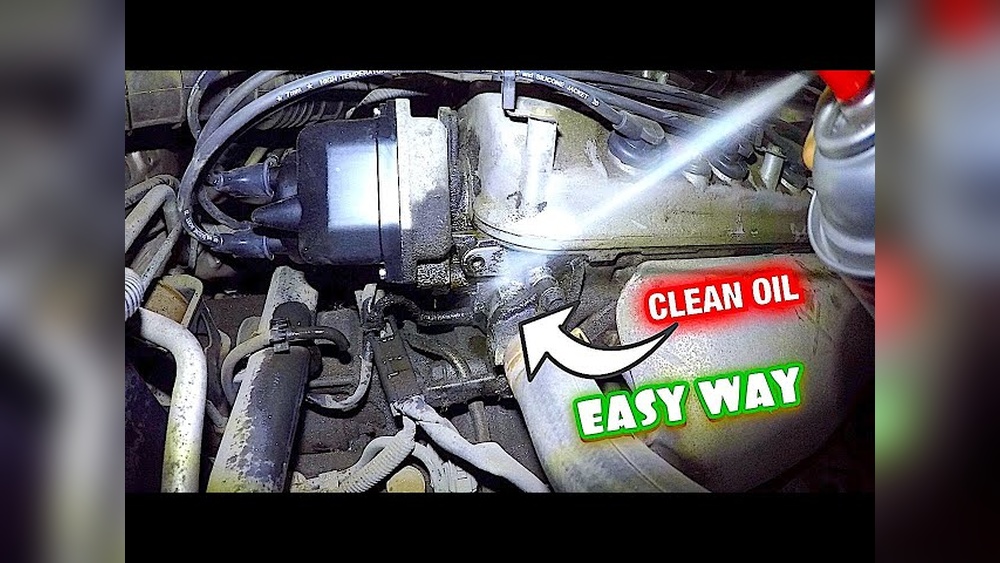
Step 2: Apply Degreaser
Spray a generous amount of degreaser on oily spots. Let it sit for 5–10 minutes. For stubborn stains, use a soft brush to loosen the oil.
Work section by section, focusing on visible oil patches. Don’t spray too much at once—excess liquid can drip onto places you want to keep dry. For heavy buildup, repeat the brushing several times. Some degreasers foam up; this is normal and helps lift the oil.
For hard-to-reach areas, try a small detailing brush.
Step 3: Rinse Carefully
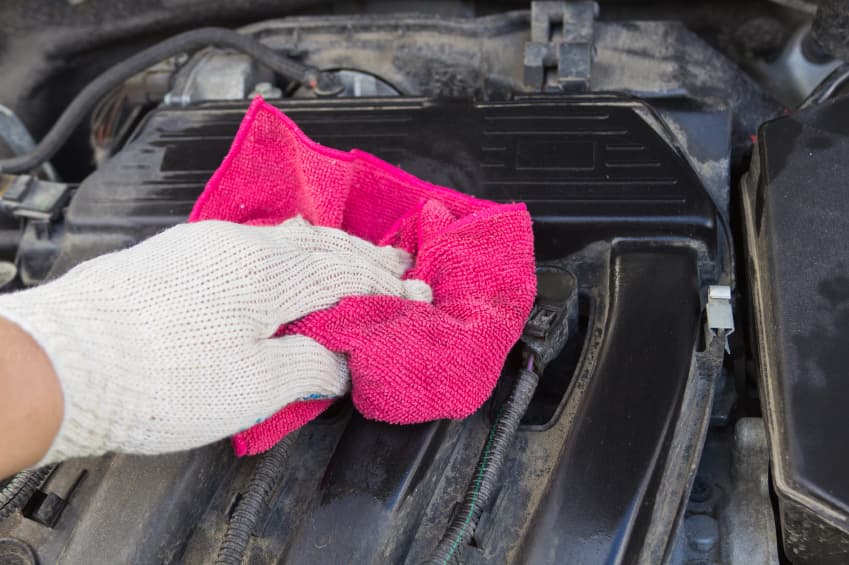
Use a low-pressure hose or spray bottle with water. Avoid direct spraying on electrical parts. Wipe with a microfiber cloth to remove residue.
If you don’t have a hose, pour water gently from a bottle. Microfiber cloths are better than paper towels, as they don’t shred and pick up oil easily. Take your time and rinse until no visible soap or degreaser remains.
If you spot oil running down, wipe it quickly to avoid spreading.
Step 4: Dry Thoroughly
Allow the engine to air dry or use compressed air. Removing moisture prevents rust and electrical problems.
If you have access to compressed air, use short bursts to blow water out of tight spaces. Otherwise, leave the hood open for at least 30 minutes. You can also use dry towels to speed up the process. Don’t rush—water trapped under covers or inside connectors can cause trouble later.
Step 5: Inspect And Repeat If Needed
Check for remaining oil spots. If needed, repeat the degreaser and rinsing steps.
Look carefully around the valve cover, oil cap, and lower engine areas. Sometimes, oil hides under pipes or behind belts. If you find new spots, clean them right away. Repeating the process is normal, especially after big leaks.
Here’s a simple overview of the cleaning steps:
| Step | Action | Time Required |
|---|---|---|
| 1 | Protect sensitive parts | 5 min |
| 2 | Apply degreaser | 10 min |
| 3 | Rinse | 5 min |
| 4 | Dry engine | 10 min |
| 5 | Inspect/Repeat | 5 min |
Total cleaning time is about 30–40 minutes, depending on how dirty the engine is and how many spots you need to clean again.
Tips For Best Results
- Clean outside or in a well-ventilated area to avoid fumes. Engine cleaners can smell strong and make you dizzy indoors.
- Use microfiber cloths for wiping, as they absorb oil better and leave less lint.
- Avoid high-pressure water, which can force moisture into connectors and lead to electrical failures.
- Work slowly and carefully, especially around hoses and plastic parts. Rushing often leads to missed spots or accidental damage.
A common mistake is using too much water or strong chemicals, which can damage engine parts. Beginners often miss the importance of drying thoroughly—moisture left behind can lead to corrosion. Another mistake is forgetting to remove protective covers after cleaning, which can trap moisture.
If you’re unsure about a product, test it on a small area first.
A non-obvious tip: use a flashlight for final inspection. Oil can be hard to see in low light, and hidden spots are easy to miss. Also, check under the engine for drips, as oil can flow downward during cleaning.

What Not To Do
- Don’t clean a hot engine; it can cause burns or crack parts from sudden cooling.
- Avoid harsh solvents like gasoline, which are unsafe and can damage rubber seals and plastic.
- Never ignore protective covers; water in the wrong place can cause expensive electrical issues.
- Don’t let degreaser dry on the engine, as it can leave stains or damage paint.
When To Call A Professional
If oil covers large areas or seeps into wiring, it’s best to seek help. Mechanics have specialized tools and know how to protect sensitive components. According to the National Institute for Automotive Service Excellence, over 20% of engine failures are linked to improper cleaning after oil leaks (ASE).
If you see oil pooling or notice repeated leaks after cleaning, a mechanic can check for faulty gaskets or seals. If your car has warning lights after cleaning, don’t try to fix it yourself—seek expert help.

Frequently Asked Questions
How Often Should I Clean Oil Off My Engine?
Clean oil spills as soon as you notice them. For general maintenance, inspect your engine every 6 months or after any repair. If you drive in dusty or dirty areas, check more often. A clean engine makes it easier to spot leaks early.
Is It Safe To Use A Pressure Washer?
No. High-pressure water can force moisture into electrical parts, causing damage. Stick to low-pressure methods. If you must use a washer, keep it far from sensitive areas and use the lowest setting.
Can I Use Household Cleaners?
Yes, mild dish soap mixed with water works for light spills. Avoid bleach or ammonia-based cleaners. Some people use baking soda for tough spots, but test first. Never use abrasive pads, as they scratch surfaces.
Will Cleaning Oil Improve Engine Performance?
Removing oil helps prevent overheating and protects components, which can slightly improve performance and extend engine life. Clean engines run cooler and are easier to maintain.
What Should I Do If Oil Keeps Leaking Onto The Engine?
Persistent leaks mean there’s a problem with gaskets, seals, or lines. Have a mechanic inspect and repair the source before cleaning. Cleaning without fixing the leak means oil will return soon.
Cleaning oil off your engine is a simple but important job. With the right tools and steps, you can keep your engine healthy and your car running safely. Remember to protect sensitive parts, use safe products, and avoid common mistakes.
If a spill seems too much to handle, don’t hesitate to get professional help. Keeping your engine clean not only improves performance but also helps you avoid costly repairs in the future.