Cleaning intake valves is essential for keeping your engine running smoothly. Over time, carbon deposits build up on the valves, reducing performance, causing rough idling, and affecting fuel efficiency. Many drivers worry that cleaning intake valves requires removing the cylinder head, which is a complex and expensive job. Fortunately, you can clean intake valves without removing the head using modern methods and tools. This guide explains how to do it safely and effectively, with clear steps, practical tips, and important details most beginners overlook.
Why Intake Valve Cleaning Matters
Intake valves control air flow into the engine. When they get dirty, your engine struggles to breathe. Studies show that direct injection engines are especially prone to carbon buildup. For example, a 2019 survey by AAA found that vehicles with clogged intake valves can lose up to 15% of their original horsepower. Cleaning them restores performance, helps prevent engine knocking, and prolongs engine life.
Methods To Clean Intake Valves Without Removing Head
There are several ways to clean intake valves without taking apart your engine. Each method suits different needs and budgets. Below is a comparison of the main options:
| Method | Effectiveness | Cost | Skill Required |
|---|---|---|---|
| Walnut Blasting | High | Medium | Moderate |
| Chemical Intake Cleaner | Medium | Low | Basic |
| DIY Aerosol Spray | Low-Medium | Low | Beginner |
1. Walnut Blasting
Walnut blasting uses crushed walnut shells and compressed air to remove carbon deposits. This method is highly effective and safe for metal surfaces.
- Requires removing the intake manifold, but not the cylinder head.
- Needs a blasting tool, compressor, and walnut shells.
- Ideal for direct injection engines with heavy buildup.
2. Chemical Intake Cleaner
Many brands offer chemical intake cleaners that dissolve carbon on valves. These are poured or sprayed into the intake system while the engine runs.
- Easy to use, often requires only basic tools.
- Works best on mild to moderate buildup.
- Not as thorough as walnut blasting, but helpful for regular maintenance.
3. Diy Aerosol Spray
You can use aerosol sprays made for intake cleaning. These are sprayed into the throttle body while the engine is running.
- Most affordable option.
- Results vary depending on engine design.
- Useful for light deposits and preventive care.

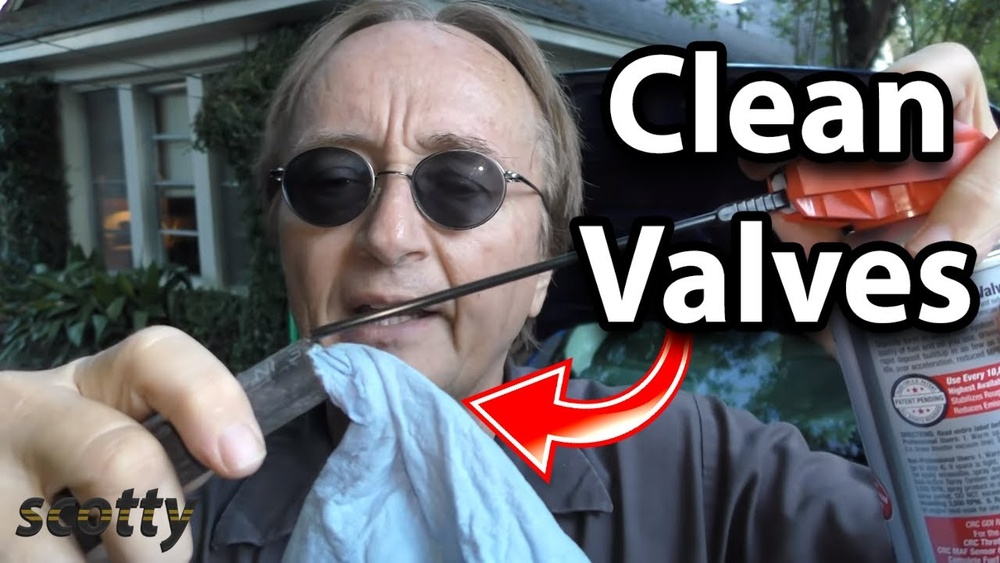
Step-by-step Guide: Using Chemical Intake Cleaner
Chemical cleaning is the most beginner-friendly method. Here’s how to do it:
- Choose the Right Cleaner: Select a cleaner designed for intake valve cleaning, such as CRC Intake Valve Cleaner.
- Warm Up the Engine: Run the engine for 5–10 minutes to reach normal operating temperature. This helps the cleaner work better.
- Access the Intake: Remove the air filter and locate the intake manifold or throttle body.
- Spray the Cleaner: Follow product instructions. Usually, you spray the cleaner in short bursts while the engine is idling.
- Allow Soaking: Some cleaners recommend turning off the engine and letting the product soak for 15–30 minutes.
- Restart and Rev: After soaking, restart the engine and rev it to clear out loosened carbon.
- Reassemble: Reinstall the air filter and any removed parts.
Safety tip: Always work in a well-ventilated area. Wear gloves and eye protection.
Common Mistakes To Avoid
Many beginners make errors that reduce cleaning effectiveness or damage their engine. Here are some pitfalls to watch for:
- Using a cleaner not intended for intake valves can harm sensors and hoses.
- Spraying too much at once may cause engine stalling.
- Not following soak times means the cleaner won’t dissolve deposits fully.
- Ignoring safety gear increases risk of burns or chemical exposure.
How Often Should You Clean Intake Valves?
Cleaning frequency depends on your car’s design and driving habits. Direct injection engines often need cleaning every 30,000–50,000 miles. Older port injection engines may go longer. If you notice symptoms like poor acceleration, rough idle, or engine knocking, cleaning may be needed sooner.
Here’s a quick reference:
| Engine Type | Recommended Interval | Symptoms |
|---|---|---|
| Direct Injection | 30,000–50,000 miles | Loss of power, rough idle |
| Port Injection | 50,000–70,000 miles | Mild performance drop |
Extra Tips Most People Miss
- Check engine codes: Before cleaning, scan for trouble codes. Intake valve issues can trigger codes like P0300 (random misfire).
- Use quality fuel: Top-tier gasoline reduces carbon formation, especially in direct injection engines.
- Preventive maintenance: Regularly clean the intake every 1–2 years, even if symptoms aren’t obvious.

When To Visit A Professional
If you see heavy carbon buildup, or if DIY methods don’t improve performance, consider professional walnut blasting. A skilled technician can clean valves thoroughly without risking engine damage. Prices vary from $200 to $500 depending on engine size and location. For complex engines, professional cleaning is often safer and more effective.
Frequently Asked Questions
How Do I Know If My Intake Valves Need Cleaning?
Look for signs like rough idle, loss of power, poor fuel economy, or engine knocking. A mechanic can inspect valves with a borescope for confirmation.
Is Walnut Blasting Safe For All Engines?
Walnut blasting is safe for most engines, but always check your vehicle’s manual or consult a technician. Some delicate components may require special care.
Can I Use Regular Fuel Additives To Clean Intake Valves?
Regular fuel additives are not effective for intake valve cleaning, especially in direct injection engines. Specialized cleaners are needed.
How Long Does A Chemical Cleaning Take?
The process usually takes 30–60 minutes, including soaking and reassembly. Walnut blasting can take longer, often 1–2 hours.
Where Can I Find More Information About Intake Valve Cleaning?
For deeper technical details, visit Wikipedia’s Intake Valve page.
Keeping your intake valves clean improves engine life, performance, and efficiency. Whether you choose chemical cleaners or professional walnut blasting, regular maintenance saves money and prevents major engine problems. Always follow product instructions and safety guidelines for best results.