Building a LEGO Jeep is a fun project for both kids and adults. It combines creativity, problem-solving, and hands-on skills. With the right instructions, anyone can make a Jeep that looks good and rolls smoothly. This guide will walk you through each step, using clear language and practical advice.
Whether you’re new to LEGO or already experienced, you’ll find helpful tips and a few advanced tricks to make your Jeep stand out.
Choosing The Right Lego Pieces
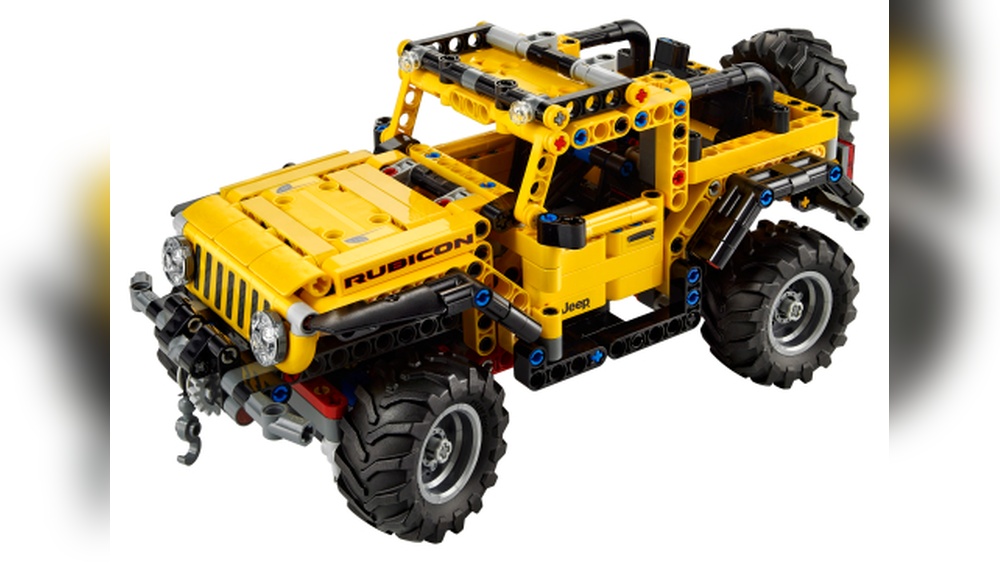
Before you start, it’s important to gather the right parts. Most basic LEGO Jeeps use bricks, plates, wheels, axles, and slopes. You can either use a specific LEGO set, like the LEGO Creator Jeep, or collect individual pieces from your collection.
Here’s a simple list of what you’ll need:
- Chassis pieces (for the base)
- Wheel and axle sets (4 wheels, 2 axles)
- Seats (2-4 bricks)
- Steering wheel
- Windshield pieces
- Sloped bricks (for the hood)
- Doors (optional)
- Headlights and grill pieces
- Roof bricks (for a hard-top Jeep)
Many builders overlook the importance of color matching. If you want your Jeep to look realistic, choose colors like green, black, or tan, which are popular for real Jeeps.
| Part | Quantity | Recommended Color |
|---|---|---|
| Chassis | 1 | Black |
| Wheel | 4 | Gray/Black |
| Seats | 2 | Tan |
| Sloped Bricks | 4 | Green |
| Headlight Bricks | 2 | Clear/Yellow |
Step-by-step Jeep Building Instructions
These instructions are designed for a simple, classic Jeep. You can adjust them to fit your own style or available parts.
Building The Chassis
Start with a 6×12 plate as your base. This gives enough space for the wheels and interior. Attach two axles underneath, spaced about 8 studs apart, and connect the wheels. Make sure the wheels spin freely—many beginners forget to leave enough space for movement.
Assembling The Body
- Place 4×6 plates on top of the chassis to form the floor.
- Build up the sides with 2×4 bricks, leaving room for doors.
- Add sloped bricks at the front to create the classic Jeep hood shape.
- Attach a grill piece and headlight bricks at the front.
A common mistake is forgetting to reinforce the body. For extra strength, use overlapping bricks where the sides meet the floor. This helps the Jeep stay together during play.
Adding Interior Details
- Put seat bricks in the middle. Leave space for minifigures if you have them.
- Snap in a steering wheel—even a simple round brick can work.
- Place a dashboard using flat tiles.
Many builders skip the interior, but adding details makes your Jeep look more realistic and is fun to customize.
Attaching The Roof And Windshield
- Use transparent windshield pieces at the front.
- Build a roof from plates or bricks. You can make it removable or fixed.
For an open-top Jeep, skip the roof and focus on roll bars. This is a popular design, especially for off-road models.
| Roof Type | Difficulty | Looks Like |
|---|---|---|
| Hard Top | Medium | Classic Jeep |
| Soft Top | Easy | Off-Road Jeep |
| Open Top | Easy | Sport Jeep |
Finishing Touches
Add small details to make your Jeep unique:
- Mirrors: Use clips and small tiles
- Spare tire: Attach a fifth wheel to the back
- License plate: Use a printed tile or sticker
- Light bars: Add clear bricks to the roof
These details are often missed by beginners but make your build more professional.
Advanced Tips For Customization
If you want to go beyond the basics, there are ways to make your Jeep more impressive.
- Suspension: Use LEGO Technic pieces to create working suspension. It’s not required, but adds realism.
- Opening doors: Attach doors with hinge bricks. This feature is rare in small builds but adds play value.
- Custom colors: Mix different colored bricks for a camo or two-tone look.
- Minifigure compatibility: Adjust seat height and steering wheel position so minifigures fit perfectly.
| Customization | Skill Level | Benefit |
|---|---|---|
| Suspension | Advanced | Realism |
| Opening Doors | Intermediate | Play Value |
| Color Mix | Beginner | Personal Style |
Common Mistakes And How To Avoid Them
Many beginners make mistakes that can be fixed easily:
- Loose wheels: Make sure axles are secured with bricks underneath.
- Weak body: Reinforce corners with extra plates.
- Unstable roof: Use longer plates to connect the roof to the sides.
- Missing details: Add headlights, grill, and mirrors for realism.
Double-check your build before finishing. If it feels shaky or parts fall off, rebuild those sections for strength.
Where To Find Inspiration And Instructions
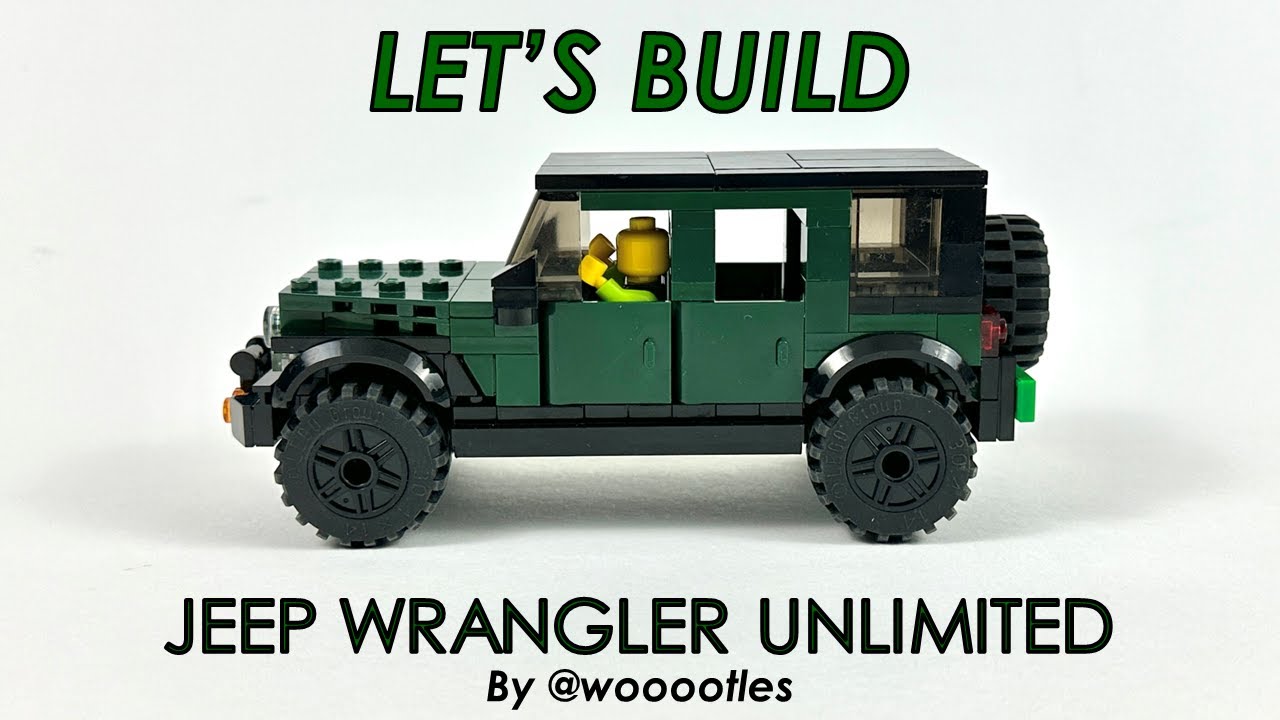
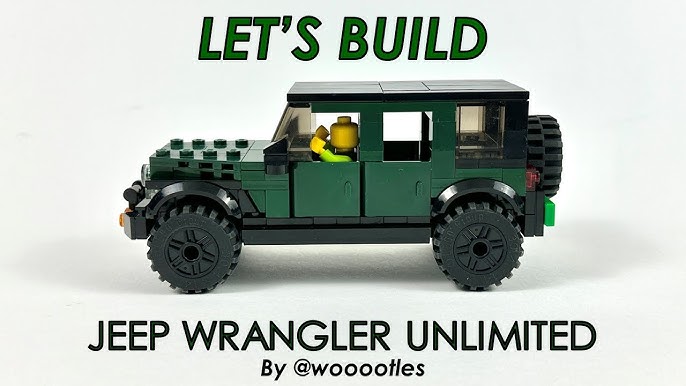
You can find many Jeep designs online. Websites like LEGO Creator offer official instructions and inspiration. Watching YouTube tutorials or joining LEGO fan forums can also give you ideas and help you solve tricky problems.
Frequently Asked Questions
How Many Pieces Do I Need For A Basic Lego Jeep?
Most simple Jeeps use around 50-80 pieces. If you add details like doors, roof, or suspension, you may need up to 120 pieces.
Can I Build A Jeep With Regular Lego Bricks, Not Technic?
Yes, you can build a basic Jeep using standard LEGO bricks. Technic pieces are only needed for advanced features like moving suspension.
How Do I Make My Jeep’s Wheels Turn Smoothly?
Leave extra space around the axles and use bricks with holes for axles. Don’t press wheels too tightly against the body.
What Colors Are Best For A Realistic Lego Jeep?
Popular Jeep colors are green, black, tan, and gray. You can mix colors for a custom look or match a real Jeep you like.
Where Can I Find More Jeep Building Ideas?
Check the official LEGO website, YouTube channels, and LEGO fan blogs for step-by-step guides and inspiration.
Building a LEGO Jeep is a rewarding project that combines creativity and skill. By following these instructions and avoiding common mistakes, you can create a model that looks great and works well. Don’t be afraid to add your own touches, and remember: every Jeep can be unique. Enjoy the process and share your build with others!