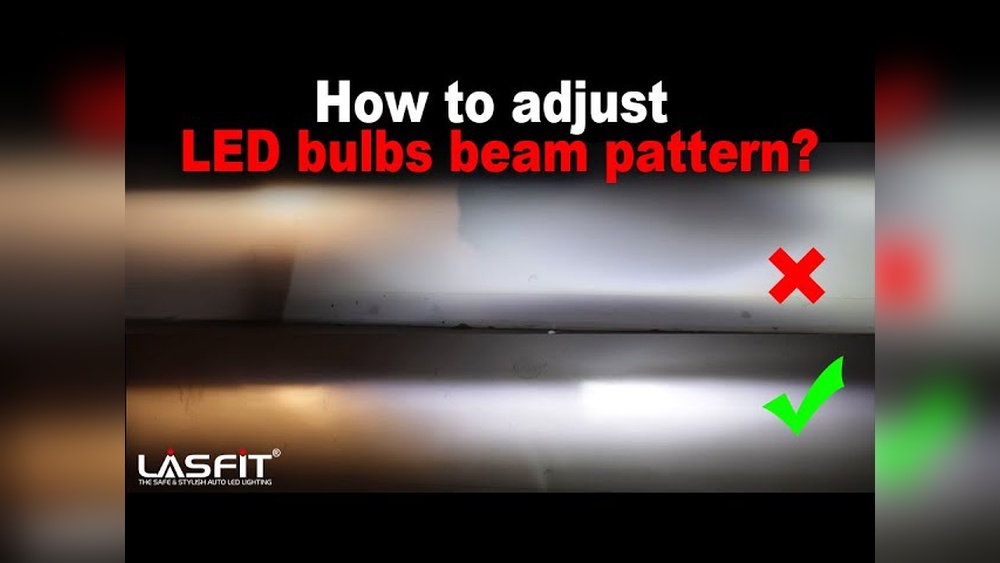
Adjusting the beam pattern of your LED headlights is more than a detail—it’s a crucial part of road safety. A well-aligned headlight ensures you see the road clearly at night without blinding oncoming drivers.
Many people install LED headlight bulbs but forget to adjust the pattern, which can cause glare, poor visibility, and even legal trouble. If you want to get the best performance from your LED headlights, understanding beam adjustment is essential.
Why Led Headlight Beam Pattern Matters
Unlike older halogen bulbs, LED headlights have a different light output and spread. If the beam is too high, it blinds other drivers. Too low, and your own view is limited. Proper adjustment gives you:
- Better road visibility: See hazards sooner and drive more confidently.
- Less glare: Avoid dazzling oncoming vehicles.
- Legal compliance: Meet inspection and safety standards.
A National Highway Traffic Safety Administration study found that misaligned headlights are a leading cause of nighttime accidents. That’s why even small misalignments matter.
Tools And Preparation
Before you adjust your LED headlights, gather:
- Screwdriver (usually Phillips or flathead)
- Measuring tape
- Masking tape
- Level surface (driveway or garage wall)
- Owner’s manual (for headlight screw locations)
Check that your car’s tires are properly inflated and the fuel tank is half full. Remove extra weight from the trunk and ask someone to sit in the driver’s seat for the most accurate results.
Step-by-step: Adjusting Led Headlight Beam Pattern
Follow these steps for a safe and precise adjustment.
1. Park And Prepare
Park your car on a flat surface facing a wall, about 25 feet away. Switch on your low-beam headlights.
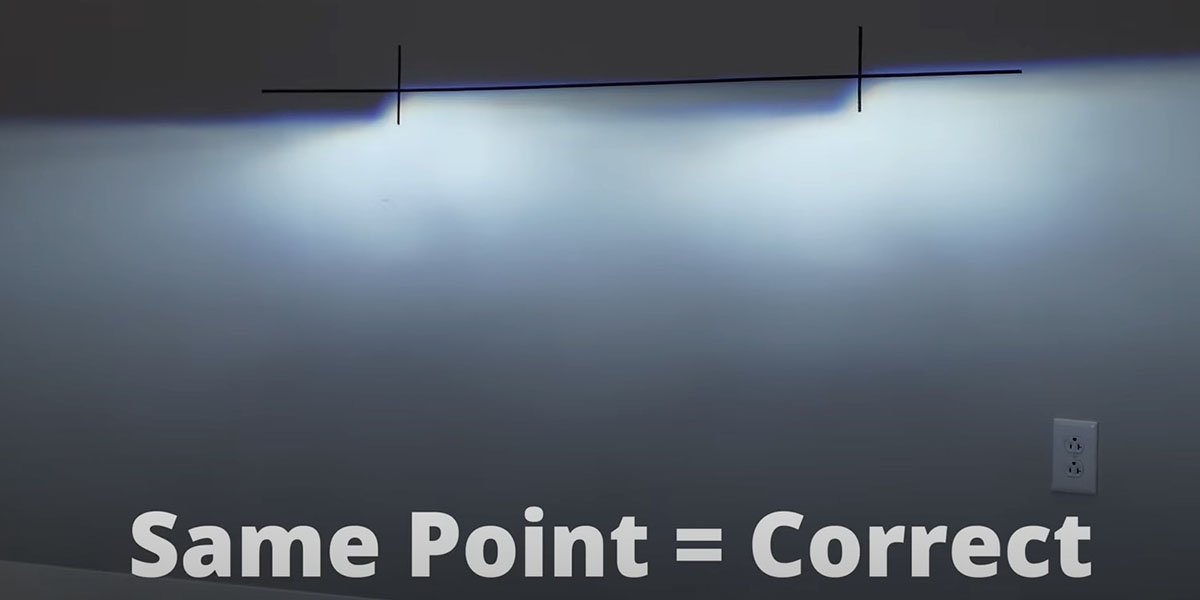
Mark the horizontal and vertical centerlines of each beam on the wall with masking tape. These lines are your reference.
2. Identify Adjustment Screws
Most vehicles have two screws for each headlight: vertical (up and down) and horizontal (side to side). Check your car’s manual for their location. They’re usually behind or beside the headlight housing.
3. Adjust Vertical Aim
- Turn the vertical screw to move the beam up or down.
- The top of the brightest part of the beam should be at or slightly below the height of the headlight center (usually marked on the wall).
- For US cars, the right headlight can be a bit lower to avoid blinding other drivers.
4. Adjust Horizontal Aim
- Turn the horizontal screw to move the beam left or right.
- The brightest part of the beam should center with the vertical line you made earlier.
5. Test And Fine-tune
After adjustments, take your car for a short drive at night. Check for good road illumination and no glare for other drivers. Make small tweaks if needed.
Common Mistakes To Avoid
Even with instructions, some errors can lead to poor results.
- Not using a flat surface: Sloped driveways cause inaccurate alignment.
- Skipping measurements: Eyeballing the pattern rarely works.
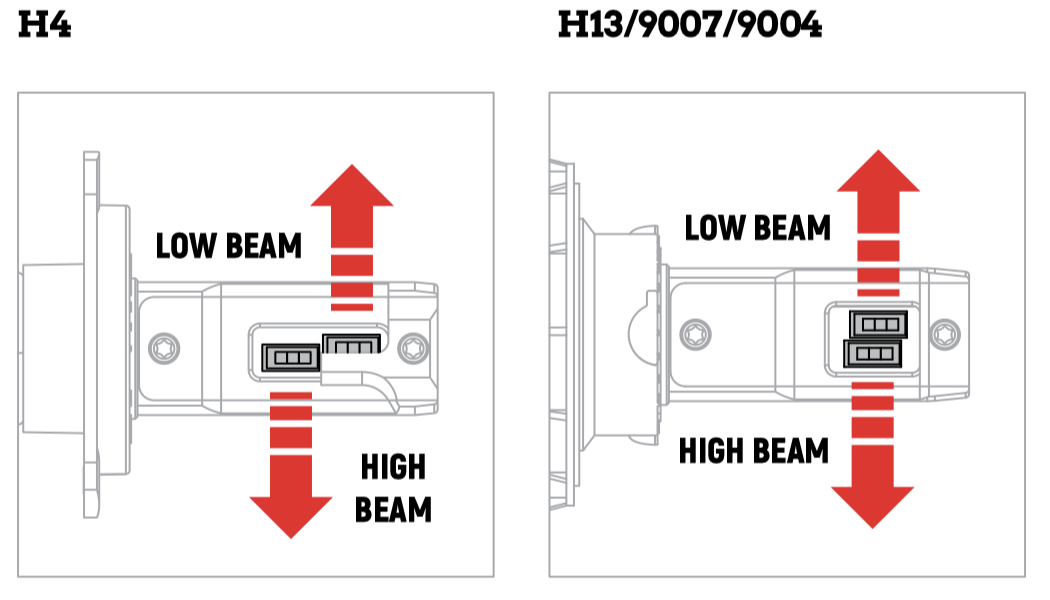
- Ignoring bulb orientation: LED bulbs have a specific position; if installed wrong, the pattern will be off.
- Adjusting with high beams: Always set the pattern using low beams.
Many people forget to recheck their alignment after a month. Vibrations or new bulbs can shift the aim, so regular checks are wise.
Led Vs. Halogen Beam Patterns
Switching from halogen to LED bulbs changes the light shape and intensity. Here’s a comparison:
| Feature | LED Headlights | Halogen Headlights |
|---|---|---|
| Brightness | 4,000–6,000 lumens | 1,000–1,500 lumens |
| Beam Sharpness | Crisp cutoff | Softer edges |
| Color Temperature | 5,000–6,500K (white-blue) | 3,000–4,300K (yellow-white) |
| Adjustment Need | High | Moderate |
LEDs provide a stronger, whiter light, but they are less forgiving if misaligned.
Laws And Inspection Standards
Every state has rules about headlight aim. In the US, most laws require that the top of the low-beam pattern hits no higher than the headlight center at 25 feet. Some states use meters instead of feet. If your car fails inspection, it’s often due to misaligned headlights.
For more details, you can check the US Department of Transportation’s recommendations on headlight standards.
Practical Tips For Best Results
- Adjust headlights in low light or at dusk for clearer patterns.
- Clean your headlights before adjusting; dirt can scatter light and change the pattern.
- If you upgrade to LEDs, choose bulbs specifically designed for your car’s reflector or projector housing. Poor bulb design can make perfect alignment impossible.
Here’s a quick look at ideal adjustment values:
| Distance from Wall | Drop (inches per 25ft) | Horizontal Offset |
|---|---|---|
| 25 feet | 2.0 inches | 0 inches (centered) |
| 20 feet | 1.6 inches | 0 inches (centered) |
Many new cars have bubble levels near the headlight housing use them if available.
Frequently Asked Questions
How Often Should I Check My Led Headlight Alignment?
Check alignment every 6 months or after any bulb change. Bumps and vibrations can move the beam over time.
Do I Need Special Tools For Adjusting Led Headlights?
Usually, only a screwdriver is needed. Some cars require a Torx or Allen wrench. Always consult your owner’s manual.
Can I Adjust The Beam Pattern If I Have Projector Headlights?
Yes, the adjustment method is similar. Projector headlights have their own screws for vertical and horizontal alignment.
Why Does My Led Beam Pattern Look Scattered?
Scattered light often means the bulb orientation is wrong or the LED is incompatible with your housing. Check installation and consider quality bulbs.
Is Professional Alignment Better Than Diy?
A professional can use special tools for perfect results, but most people achieve good results at home by following the steps above.
Adjusting your LED headlight beam pattern is a quick job with a big impact. Take the time to do it right, and you’ll drive more safely and confidently every night.