Changing the wheel cylinder on a 2000 Jeep Cherokee is a task that can save money and prevent brake failure. Many drivers don’t realize that a leaking wheel cylinder can reduce braking power and cause unsafe driving. If you’re noticing brake fluid near your rear wheels, soft brake pedal, or poor braking, it’s probably time to replace this part. With the right tools and careful steps, even beginners can do this repair. This guide will show you how to change the wheel cylinder safely and efficiently, plus offer tips that most first-time mechanics miss.
Understanding Wheel Cylinders In The 2000 Jeep Cherokee
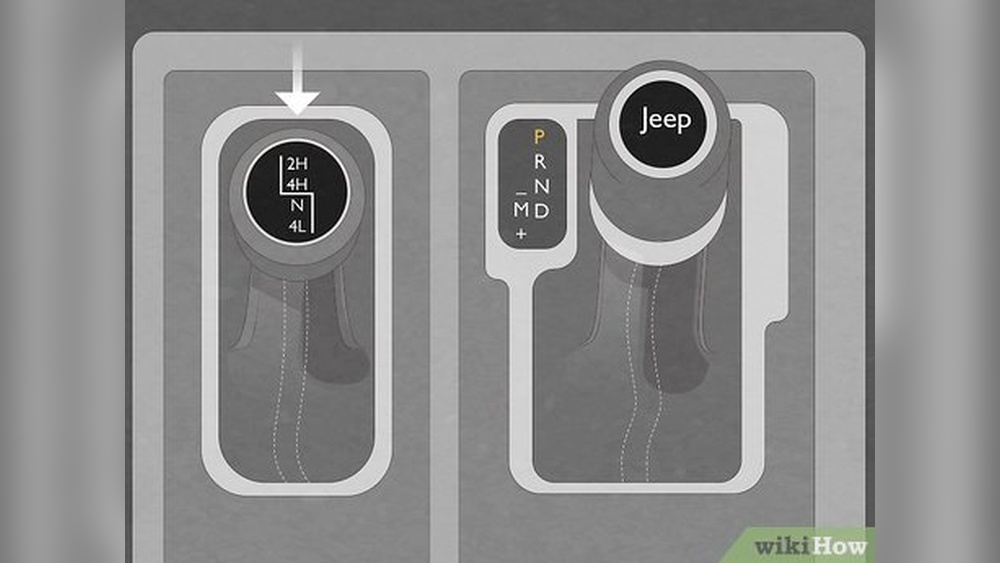
The wheel cylinder is a small hydraulic component in drum brakes. On the 2000 Jeep Cherokee, it sits inside the rear brake drum, pushing brake shoes outward when you press the brake pedal. A faulty wheel cylinder can cause fluid leaks and weak brakes.
Many people don’t know that a bad wheel cylinder can also lead to uneven braking and extra wear on other brake parts. Replacing it early prevents bigger repairs later. For this model, it’s common to replace both rear wheel cylinders at once since they often wear out together.
Tools And Supplies Needed
Before starting, gather these tools and supplies:
- Jack and jack stands
- Lug wrench
- Brake line wrench (10mm)
- Socket set
- Screwdrivers
- Brake cleaner
- Replacement wheel cylinder (for 2000 Jeep Cherokee)
- Brake fluid
- Drain pan
- Shop rags
- Safety gloves and glasses
Having all tools ready avoids delays and mistakes. Some beginners forget the brake line wrench, but it’s important for avoiding damage to brake fittings.

Safety Steps Before Starting
Never skip safety steps. Here’s what to do:
- Park on a flat surface. Engage the parking brake.
- Wear safety gloves and glasses.
- Place wheel chocks behind the front wheels.
- Loosen rear wheel lug nuts before lifting.
- Use a jack to raise the vehicle. Support with jack stands under the frame.
Always double-check the jack stands. A common mistake is relying on the jack alone, which can collapse.
Removing The Brake Drum
With the Jeep secure, start removing the brake drum:
- Take off the rear wheel.
- Gently tap the drum with a rubber mallet if it’s stuck. Avoid hard hits.
- Pull the drum away. If it won’t move, check for corrosion or adjust the brake shoes inward.
Some people miss cleaning the drum area first. Use brake cleaner to remove dust and make the job cleaner.
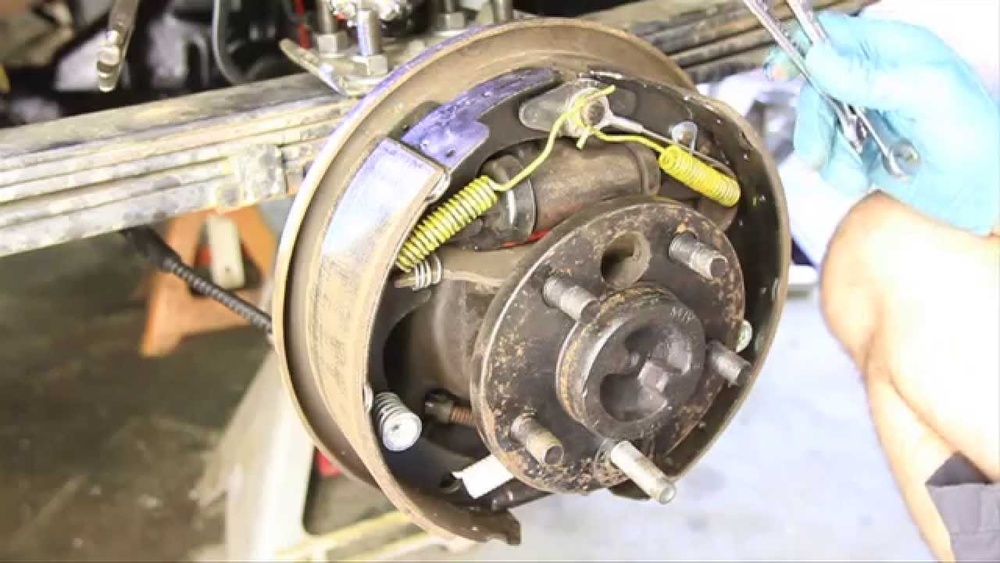
Locating And Inspecting The Wheel Cylinder
Inside the drum, you’ll see the wheel cylinder at the top, attached to the backing plate. It has two small pistons that touch the brake shoes.
Look for fluid leaks or corrosion. If you see wetness around the cylinder, it’s definitely time for replacement. Inspect the brake shoes for contamination. If brake fluid has soaked them, replace the shoes too.
Removing The Old Wheel Cylinder
Carefully remove the old wheel cylinder:
- Place a drain pan under the brake assembly.
- Use a brake line wrench to loosen the brake line from the wheel cylinder. Don’t force it — twisting can break the line.
- Remove the two bolts holding the cylinder to the backing plate.
- Slide out the cylinder. Some brake shoes may need to be pushed aside gently.
Beginners often miss the step of supporting the brake line to prevent bending. Use a zip tie or wire to keep it stable.

Installing The New Wheel Cylinder
Now install the new wheel cylinder:
- Clean the area with brake cleaner. Wipe dry.
- Slide the new cylinder into position.
- Align holes and insert mounting bolts. Tighten securely.
- Reconnect the brake line. Start by hand, then finish with the wrench.
Check for cross-threading — it’s easy to damage the threads if you rush. Always start bolts and lines by hand.
Reassembling The Brake Drum
Finish the repair:
- Check brake shoes and springs for correct position.
- Replace the drum. Tap gently if needed.
- Reinstall the wheel and hand-tighten lug nuts.
Some skip checking shoe adjustment. Always make sure shoes are not too tight or too loose against the drum.
Bleeding The Brake System
After changing the wheel cylinder, you must remove air from the brake system:
- Fill the master cylinder with new brake fluid.
- Ask a helper to press the brake pedal.
- Open the bleeder valve on the wheel cylinder. Let fluid (and air) out.
- Close the valve. Repeat until fluid flows without bubbles.
Keep the master cylinder topped up. If air enters the system, brakes will feel soft.
Here’s a quick look at typical brake fluid types and their boiling points:
| Brake Fluid Type | Boiling Point (Dry) | Boiling Point (Wet) |
|---|---|---|
| DOT 3 | 401°F | 284°F |
| DOT 4 | 446°F | 311°F |
| DOT 5 | 500°F | 356°F |
Use DOT 3 or DOT 4 for the 2000 Jeep Cherokee. Avoid mixing types.
Common Mistakes And How To Avoid Them
Changing a wheel cylinder isn’t hard, but mistakes can lead to bigger problems. Here are some common errors:
- Forgetting to bleed brakes: Air in the system causes brake failure.
- Using wrong tools: Damage to brake lines is expensive.
- Cross-threading brake lines: Leads to leaks.
- Skipping shoe inspection: Contaminated shoes reduce braking.
- Not tightening bolts: Loose cylinder can move and leak.
Always double-check each step before moving to the next. Take photos if you’re unsure how parts fit together.
Cost Comparison: Diy Vs. Mechanic
Many wonder if it’s worth doing this job themselves. Here’s a simple comparison:
| Repair Method | Estimated Cost | Time Required |
|---|---|---|
| DIY | $35–$80 | 1–2 hours |
| Mechanic | $120–$250 | 1–2 hours |
Doing it yourself saves money, but you must follow each step carefully. If you’re not confident, a mechanic is safer.
Practical Tips For A Smooth Repair
Here are two practical tips that most guides don’t mention:
- Take photos of the brake assembly before disassembly. It helps you remember how springs and shoes are arranged.
- Pre-soak bolts and brake line fittings with penetrating oil a few hours before starting. It makes removal much easier and reduces risk of breaking parts.
These steps can make the job faster and less stressful.

After The Repair: Testing And Final Checks
Once everything is back together:
- Lower the vehicle and tighten lug nuts fully.
- Pump the brake pedal until it feels firm.
- Check for leaks at the wheel cylinder.
- Test brakes at low speed in a safe area.
Always check fluid level after testing. If the pedal feels soft or drops, re-bleed the brakes.
Data: How Often Should You Change Wheel Cylinders?
Wheel cylinders on the 2000 Jeep Cherokee usually last 60,000–100,000 miles. However, driving in wet conditions, using old brake fluid, or ignoring leaks can shorten their life.
Here’s a quick data overview:
| Condition | Expected Lifespan |
|---|---|
| Normal driving | 80,000 miles |
| Heavy off-road | 60,000 miles |
| Frequent rain/snow | 70,000 miles |
| Old brake fluid | 50,000 miles |
Check wheel cylinders every time you inspect brakes. Early leaks mean early replacement.
Frequently Asked Questions
How Do I Know If My Wheel Cylinder Is Bad?
Look for brake fluid leaks near the drum, a soft brake pedal, or uneven braking. Wet brake shoes are another sign.
Can I Drive With A Leaking Wheel Cylinder?
No. Driving with a leaking wheel cylinder is unsafe. It reduces braking power and can cause total brake failure.
What Type Of Brake Fluid Does My 2000 Jeep Cherokee Use?
The 2000 Jeep Cherokee uses DOT 3 or DOT 4 brake fluid. Check the cap or owner’s manual for the right type.
Do I Need To Replace Both Wheel Cylinders At The Same Time?
It’s recommended. If one fails, the other is likely close to failing. Replacing both saves time and ensures balanced braking.
Where Can I Find Official Specifications For The Wheel Cylinder?
You can find specs and part numbers on the official Jeep website or from Jeep’s official parts catalog.
Changing the wheel cylinder on your 2000 Jeep Cherokee is a smart way to keep your brakes safe and reliable. With good tools, careful steps, and patience, even beginners can do this repair. Always double-check your work and test the brakes before driving.
If you’re unsure, ask a mechanic for help. Taking care of brake parts means safer driving for you and your passengers.